Hi, this is Takazudo. I’ve been writing various articles, and I decided to publish them as columns on the website. Last time I wrote about Synth DIY and DIY Kits.
This time, as a follow-up, here’s Column #2: Tools Needed for Synth DIY.
If you bought a synth DIY kit like the ones we sell at our shop, what tools do you need at home to build it? This article is written for people who haven’t done any electronics work before. As I was writing, I ended up mixing in some explanations about what soldering actually involves.
- Tools Needed for Synth DIY
- 1. Essential
- 2. General Tools
- 3. Nice to Have - Level 1
- 4. Nice to Have - Level 2
- 5. Nice to Have - Level 3
Tools Needed for Synth DIY
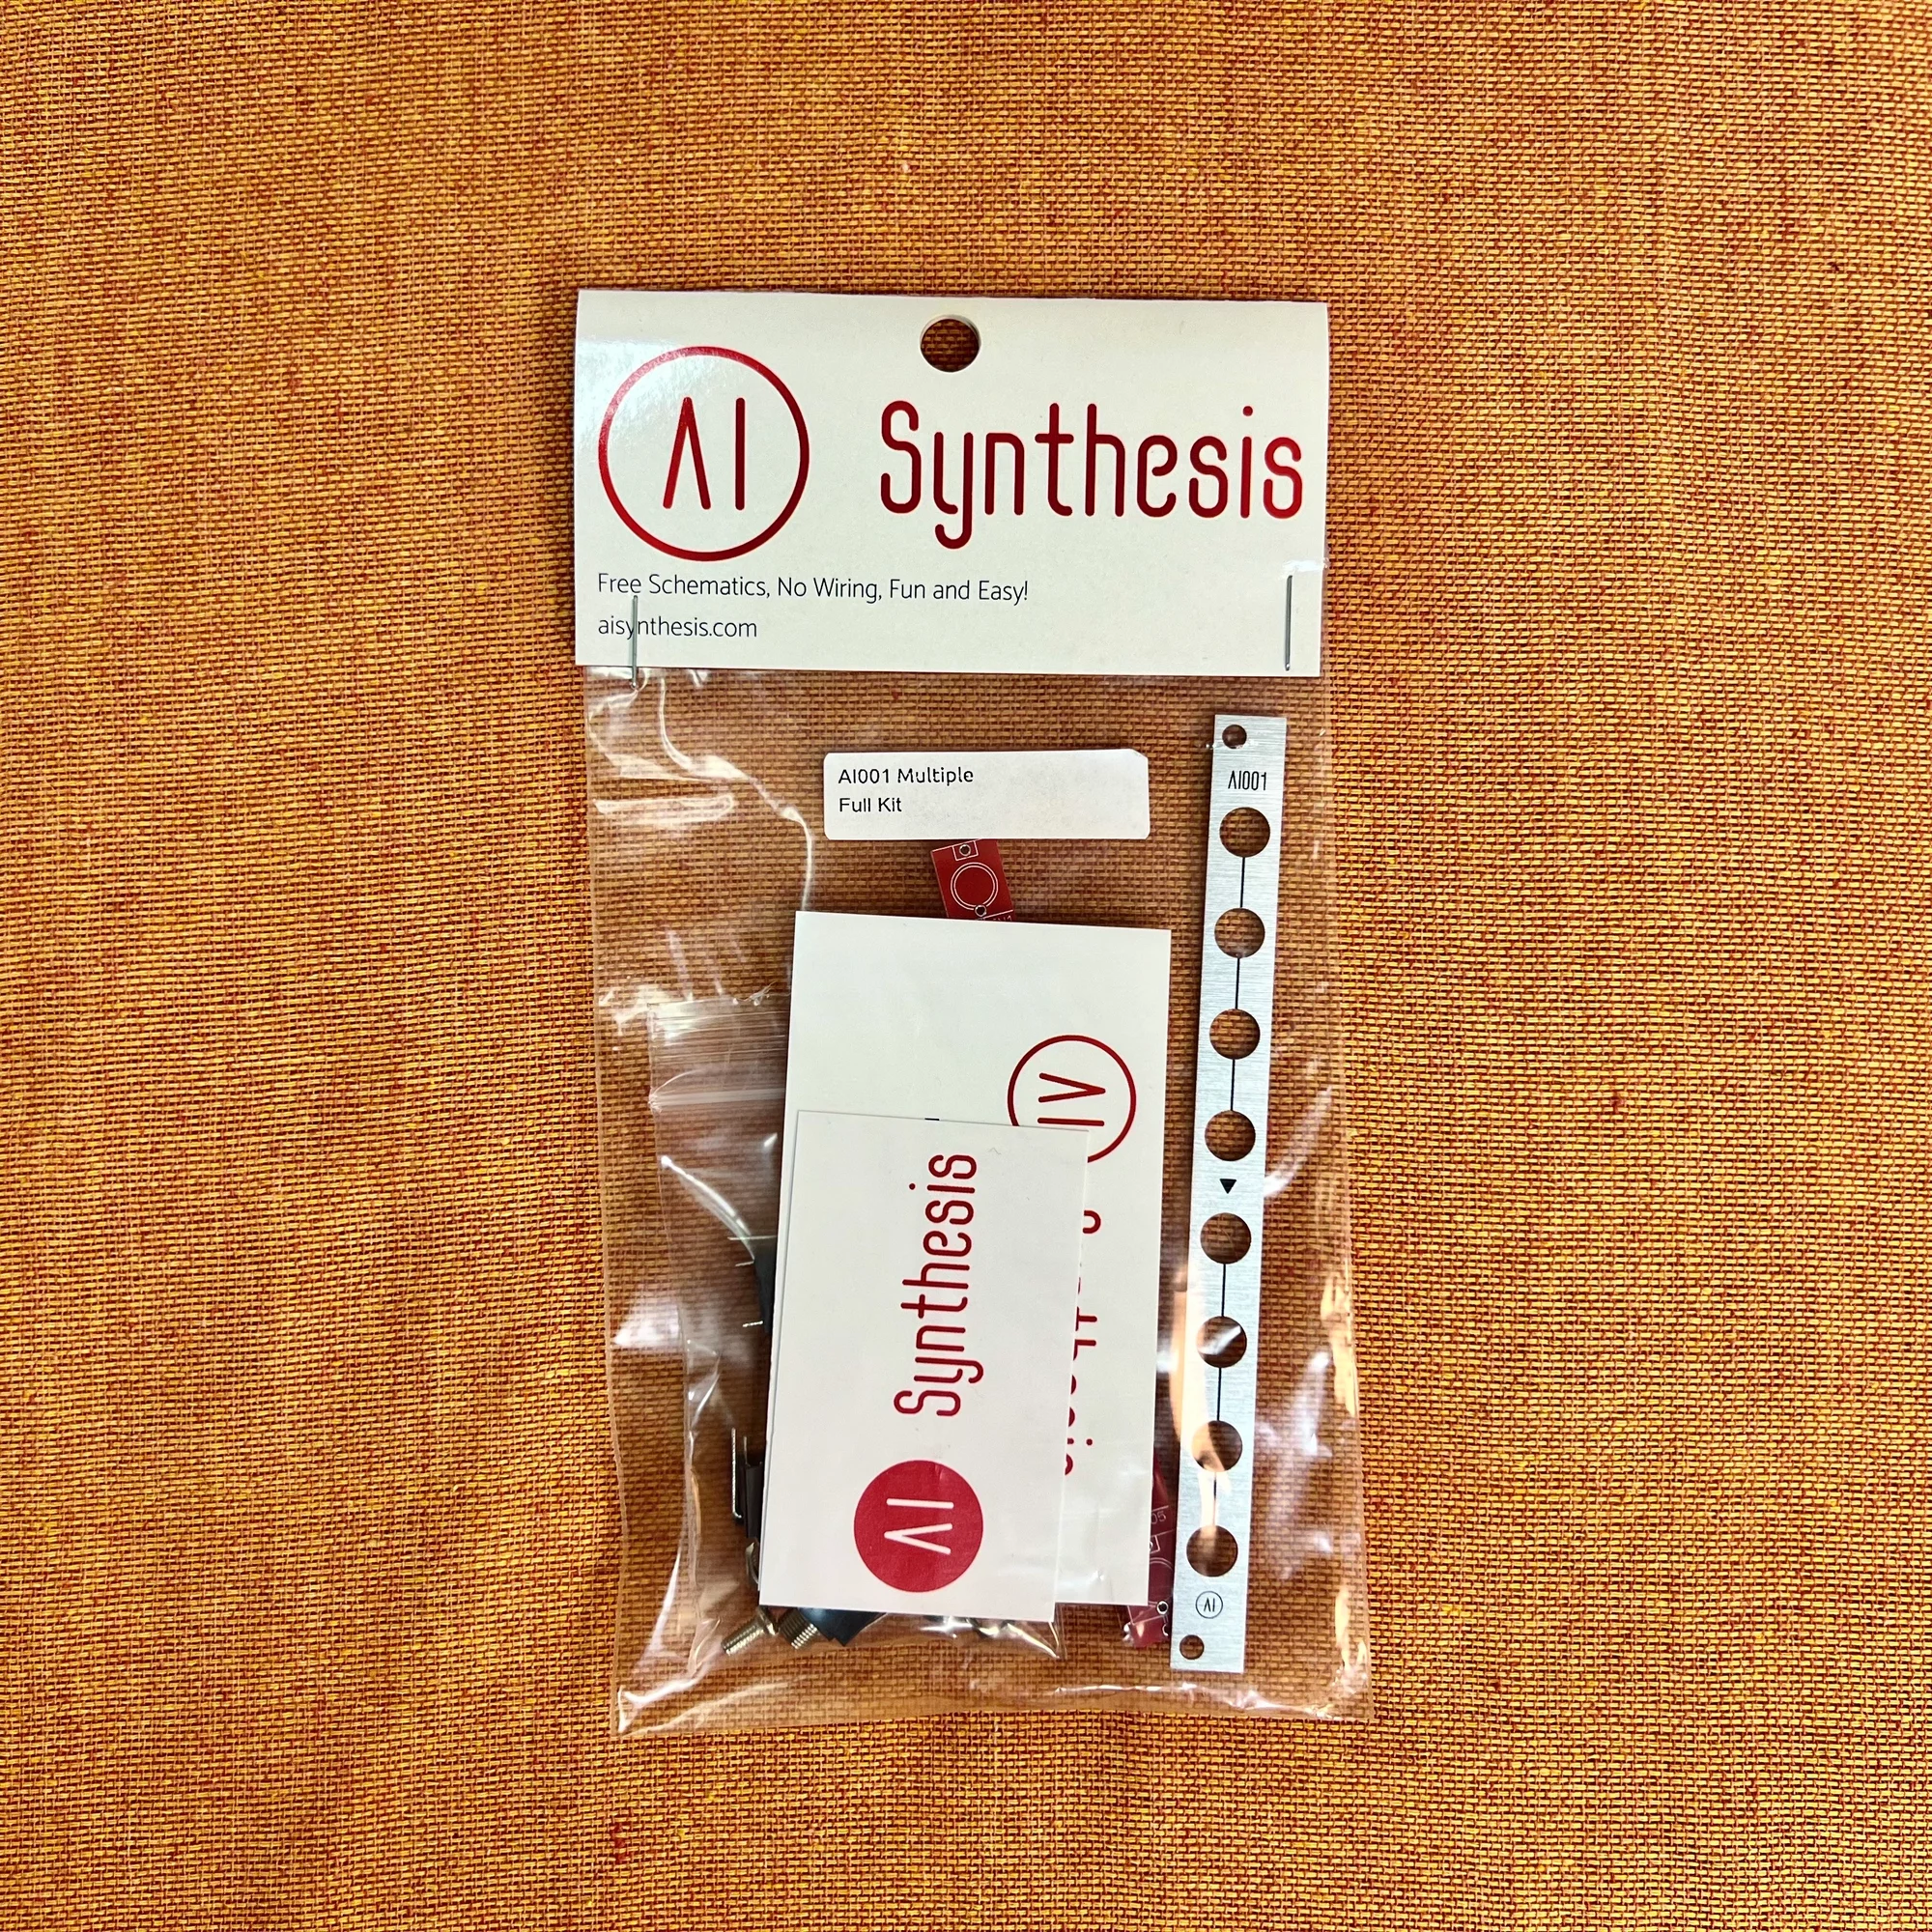
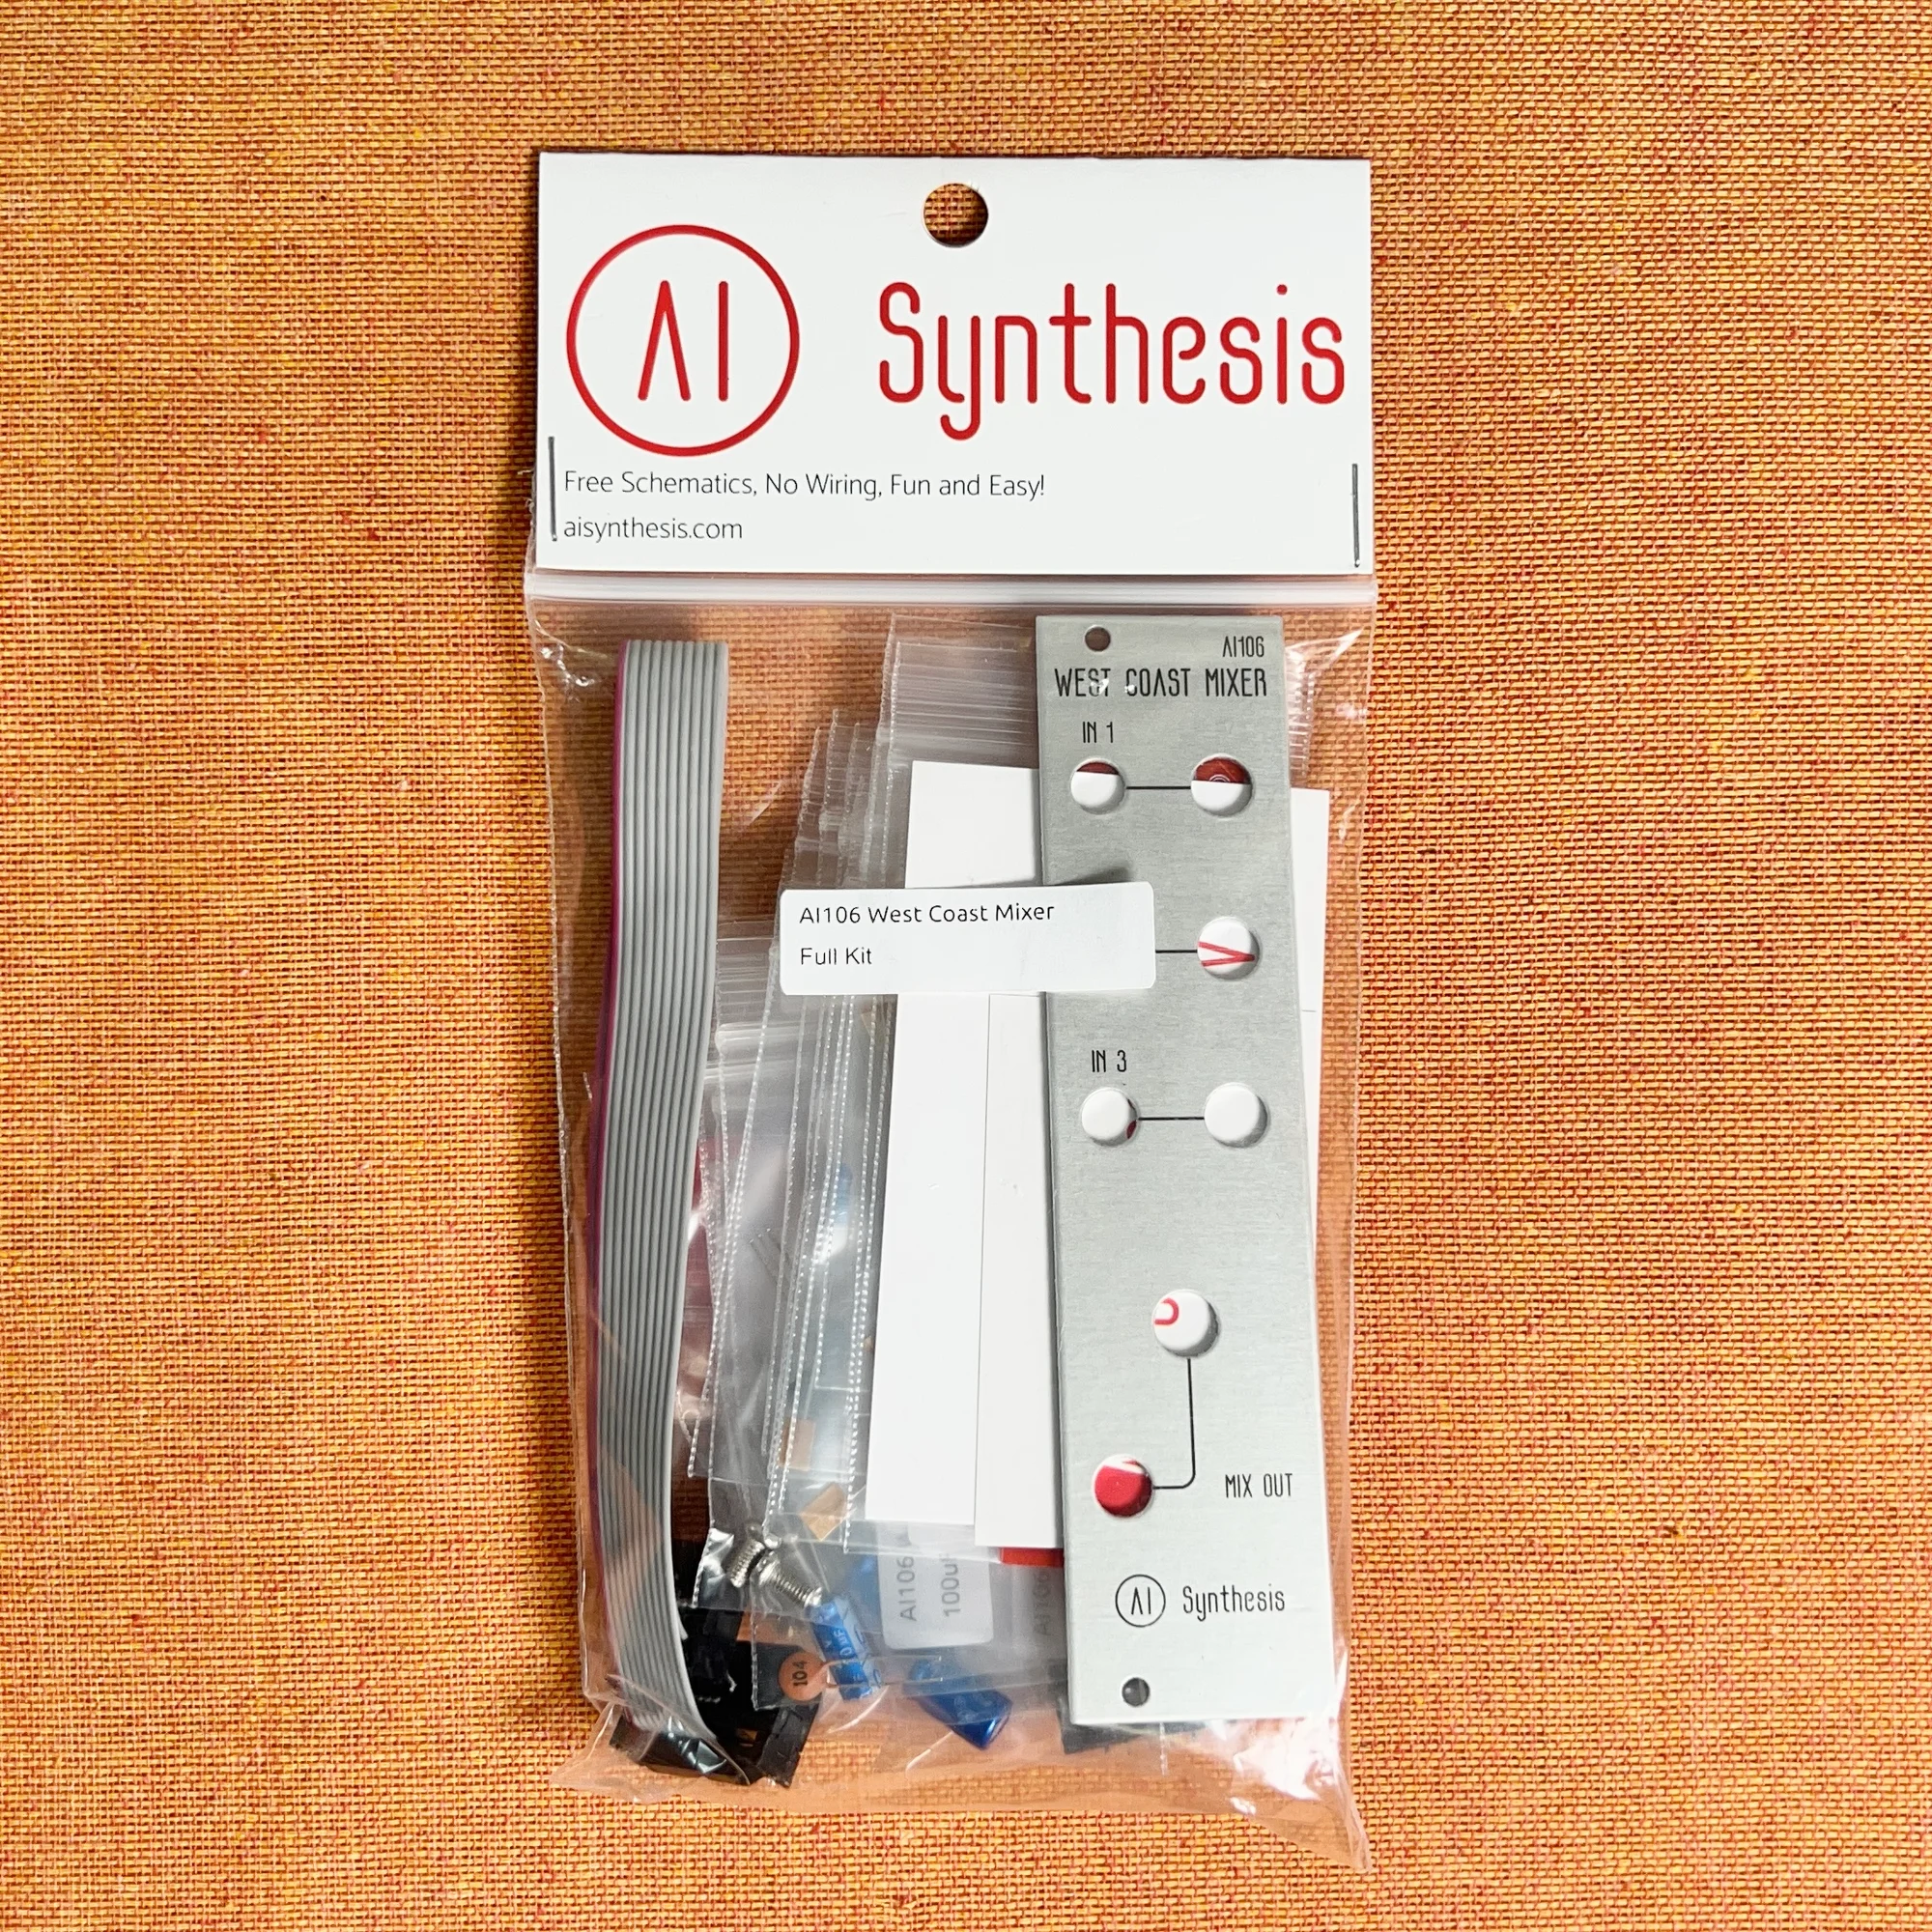
So you’ve decided to give DIY a try! Let’s say you’ve kindly purchased one of our shop’s DIY kits. For example, something like these:

Can someone with no electronics experience just jump right in? In a typical household, you probably don’t have the tools for this kind of work. So let me introduce the tools you’ll need.
As I reviewed everything I’ve purchased so far, the list turned out to be quite extensive, so I’ve categorized them as follows:
- Essential
- General Tools
- Nice to Have - Level 1
- Nice to Have - Level 2
- Nice to Have - Level 3
Before I start introducing the tools, let me note that I am by no means a professional in electronics work, nor do I possess deep expert-level knowledge. I’ve been doing synth DIY for less than a year. However, since I’ve been building modules with the intention of selling them, I’ve built the same module multiple times.
So I’d say I’ve done a fair amount of soldering, and I’m introducing the tools I actually use — think of this as “here’s what I personally use and how I go about it.” I hope you’ll read it with that context in mind.
1. Essential
Let’s start with the essentials — the things you absolutely cannot do without.
Soldering Iron
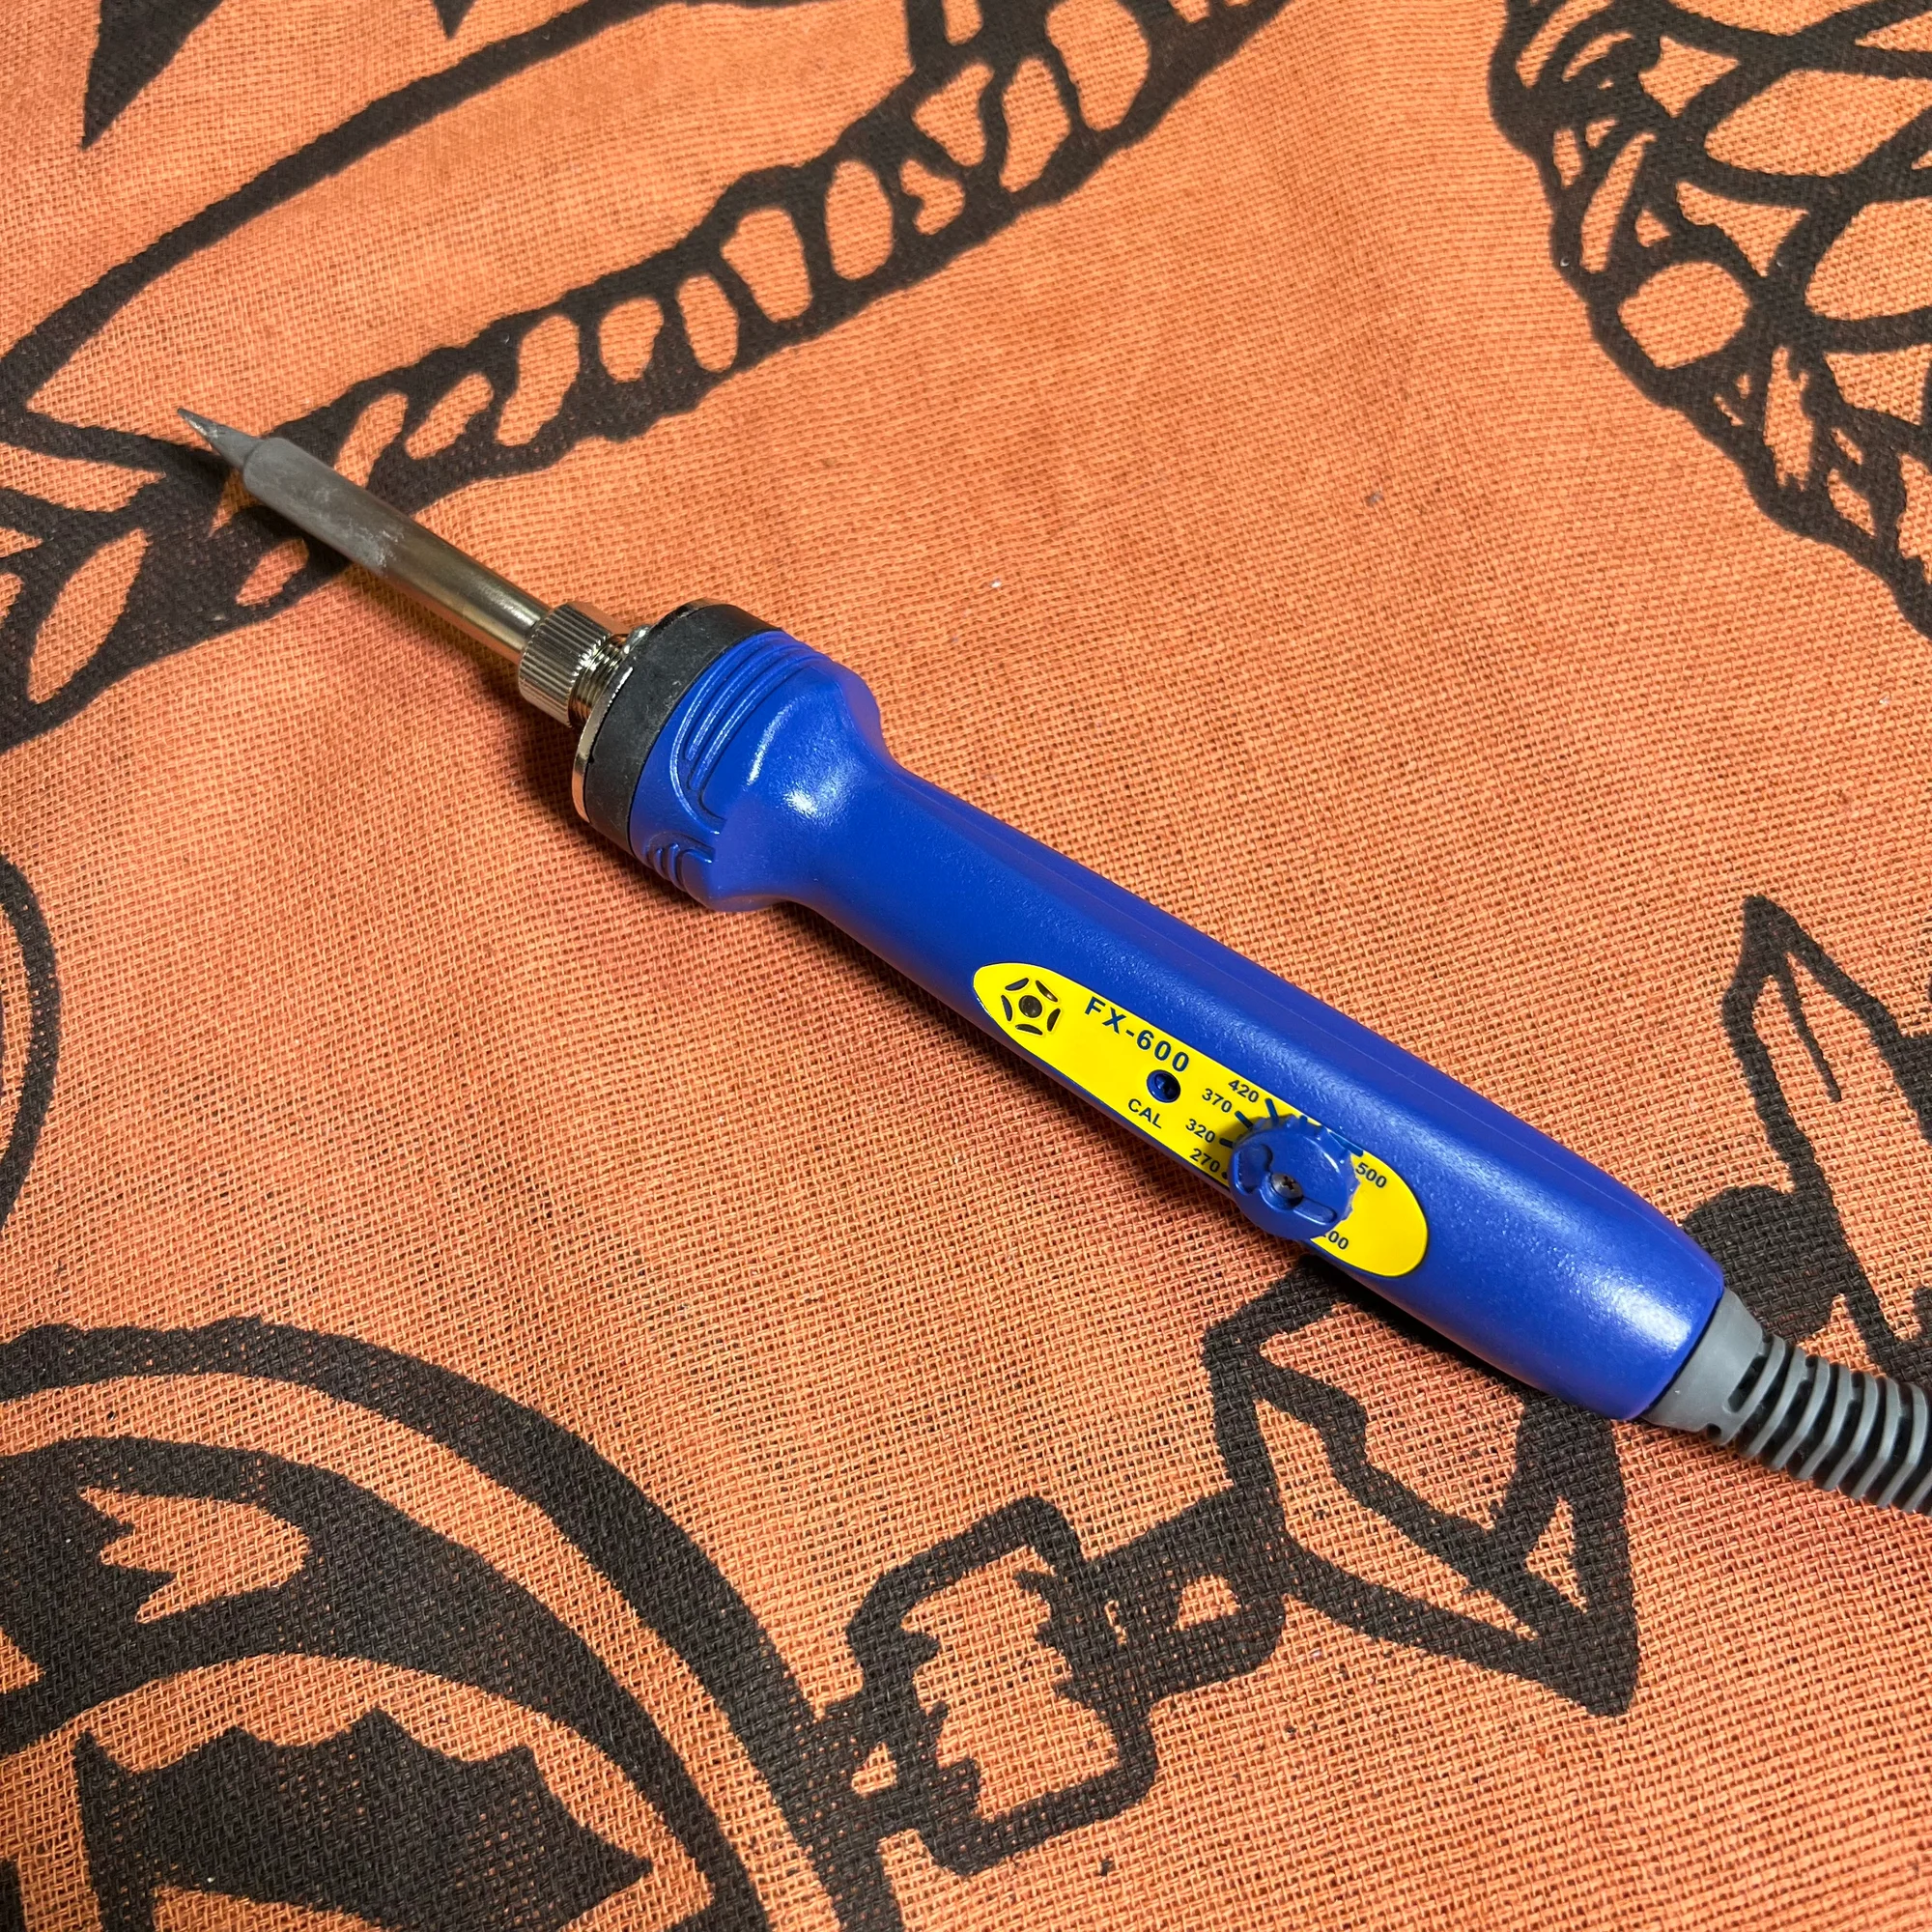
First up is the soldering iron. Why do you need a soldering iron? Because with these DIY kits, you need to attach various components to a printed circuit board (PCB). The components have leads, terminals, pins, etc., and you attach them to the PCB one by one. The PCB has copper traces running across its surface, and through these traces, current from the power supply flows through ICs that generate sine waves and other signals, resistors, capacitors, and various other small components that create voltage fluctuations. Ultimately, these drive a speaker and make the whole thing function as a synthesizer.
So first and foremost, you need a soldering iron to attach those components.
I honestly haven’t tried many different models, so there may be better options out there, but here’s the soldering iron I have at home and that seems to be standard in the DIY community:
HAKKO is a Japanese soldering iron manufacturer, and you can tell how well-known they are from the number of Amazon reviews on this product. Even though it has a dial for temperature adjustment, you’ll likely end up using it at roughly the same temperature most of the time, but you can get a feel for how solder melts at different temperatures.
To avoid buying a cheap one and ending up unable to solder properly, and also to understand the fundamentals of soldering, this iron is a solid, standard choice.
Solder Wire
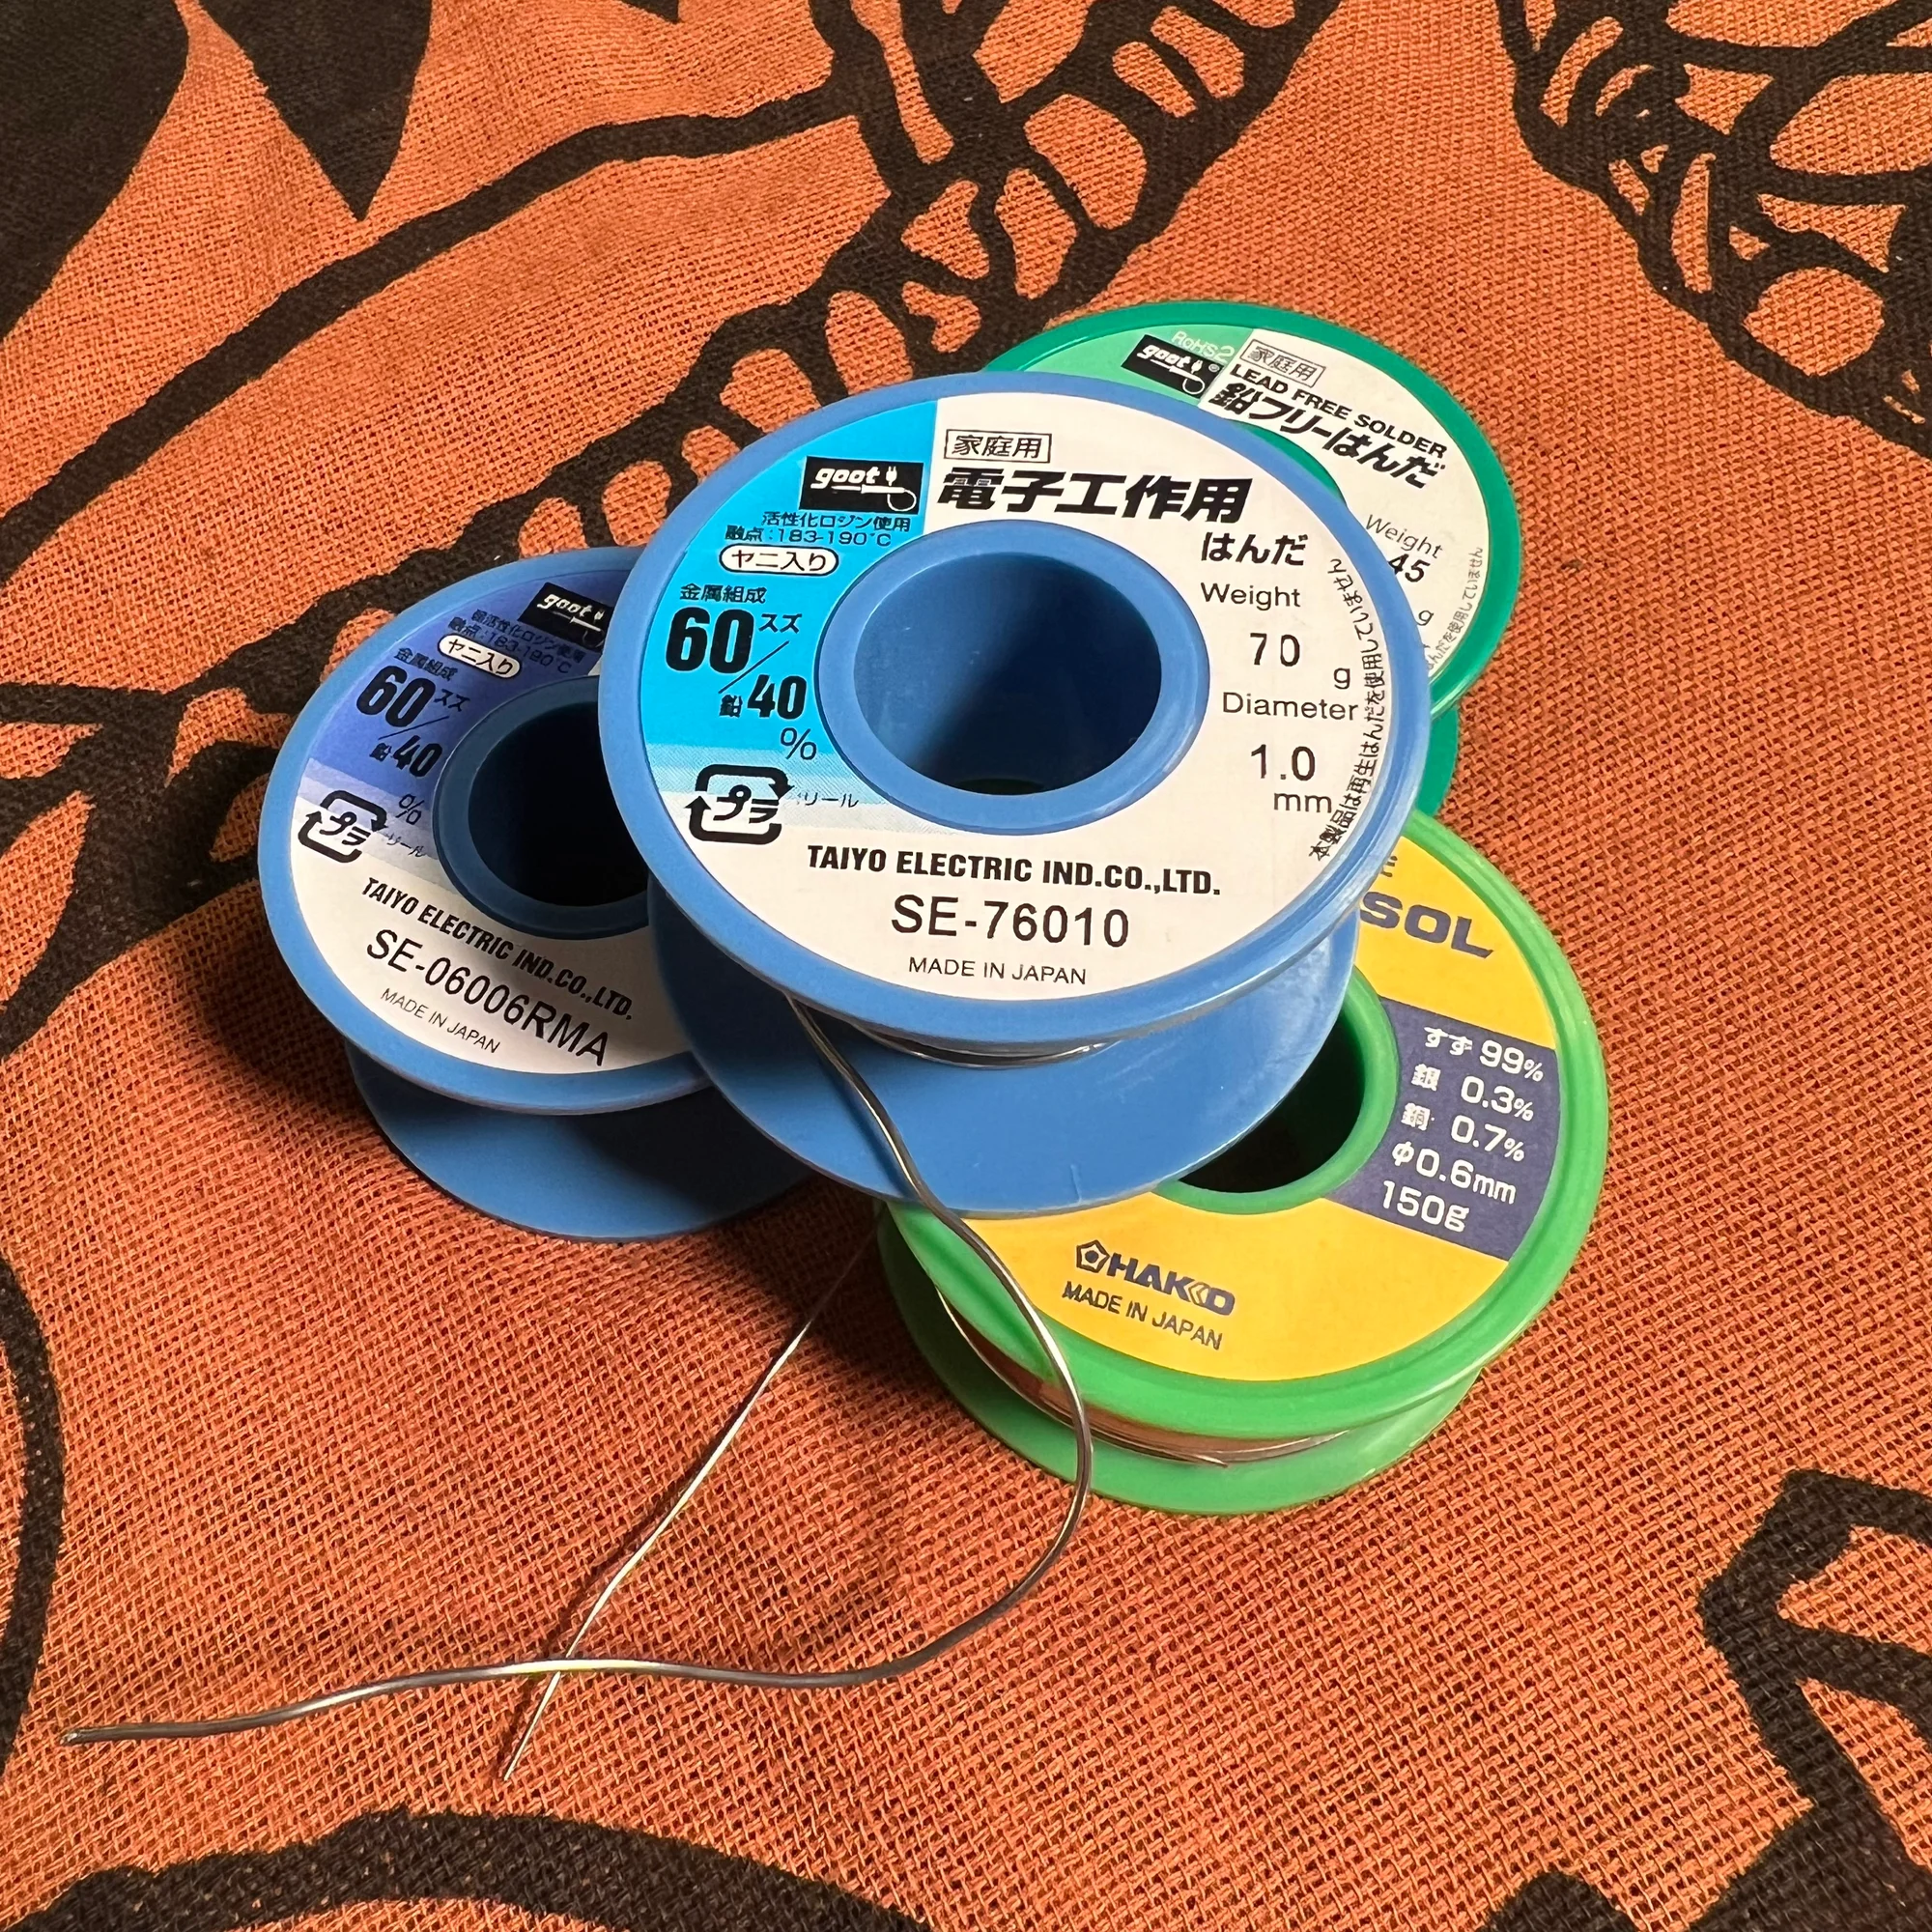
Even if you have a soldering iron, you can’t attach components with it alone. You need to buy solder. Specifically, you need solder wire — solder that comes in wire form.
The PCB has many connection points called pads, where you place pins or leads, apply the soldering iron to heat them up, and then touch solder wire to the joint. The solder wire melts and bonds the component to the PCB. This is how components are secured to the board and electrical connections are established — that’s the result of soldering.
For DIY kits like the ones we sell, the following solder wire should work well:
The difference between these two is the amount of solder included: the first one has 11g and the second has 70g. If you plan to do lots of DIY projects, go with the latter, but the former is more than enough for beginners.
The key points here are:
- Leaded
- 0.6mm diameter
Leaded
Leaded means the solder contains lead as a component. Leaded solder melts more easily, which makes electronics work easier. So it’s best to start with leaded solder.
As additional background knowledge, lead is harmful to both the environment and human health. Under Europe’s RoHS regulations, lead is classified as a hazardous substance. Because of this, imported modular synths almost certainly don’t use leaded solder.
Lead-free solder is also available, labeled as “lead-free,” “Pb-free,” “0% lead,” etc. However, lead-free solder requires a higher tip temperature to melt properly, which increases the difficulty somewhat. So for getting started, leaded solder is the safer choice.
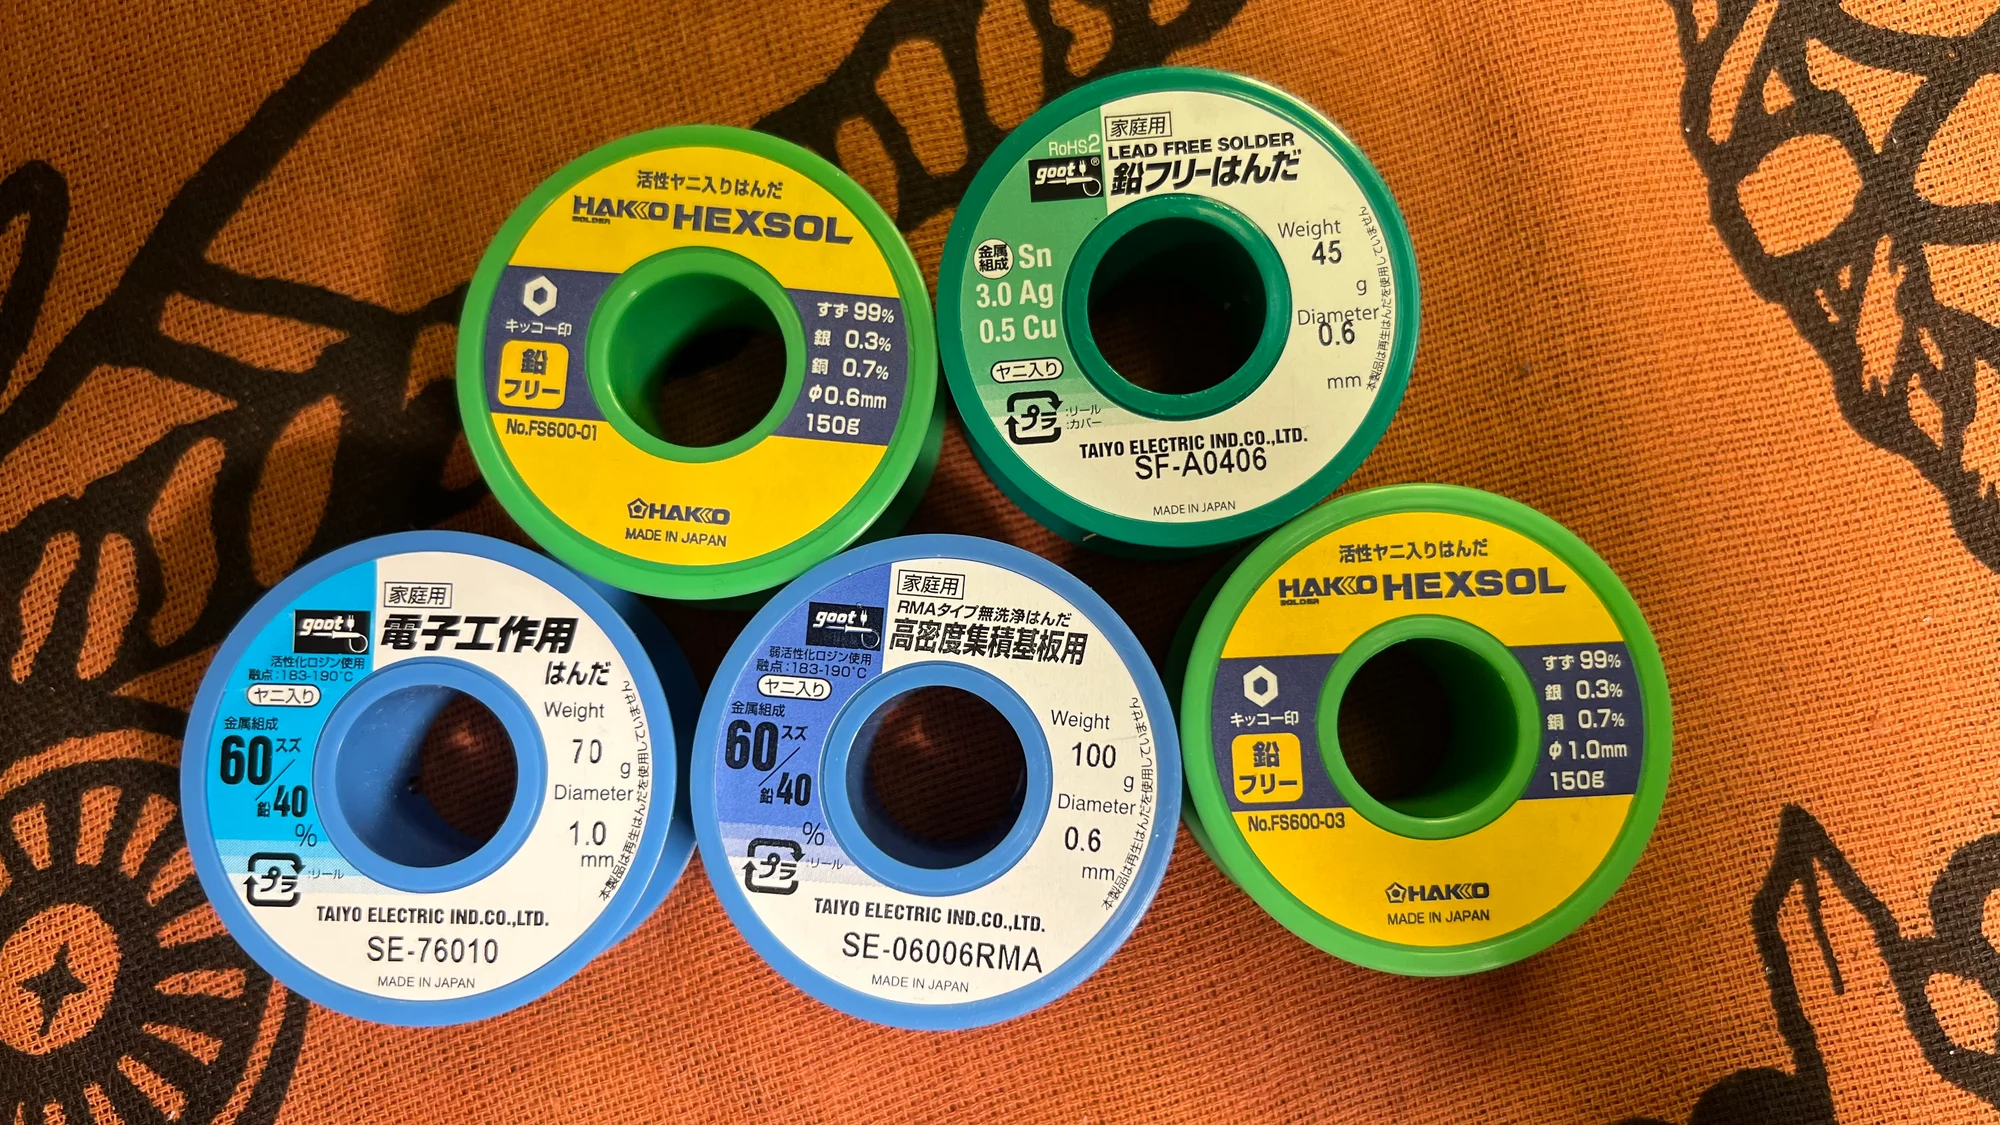
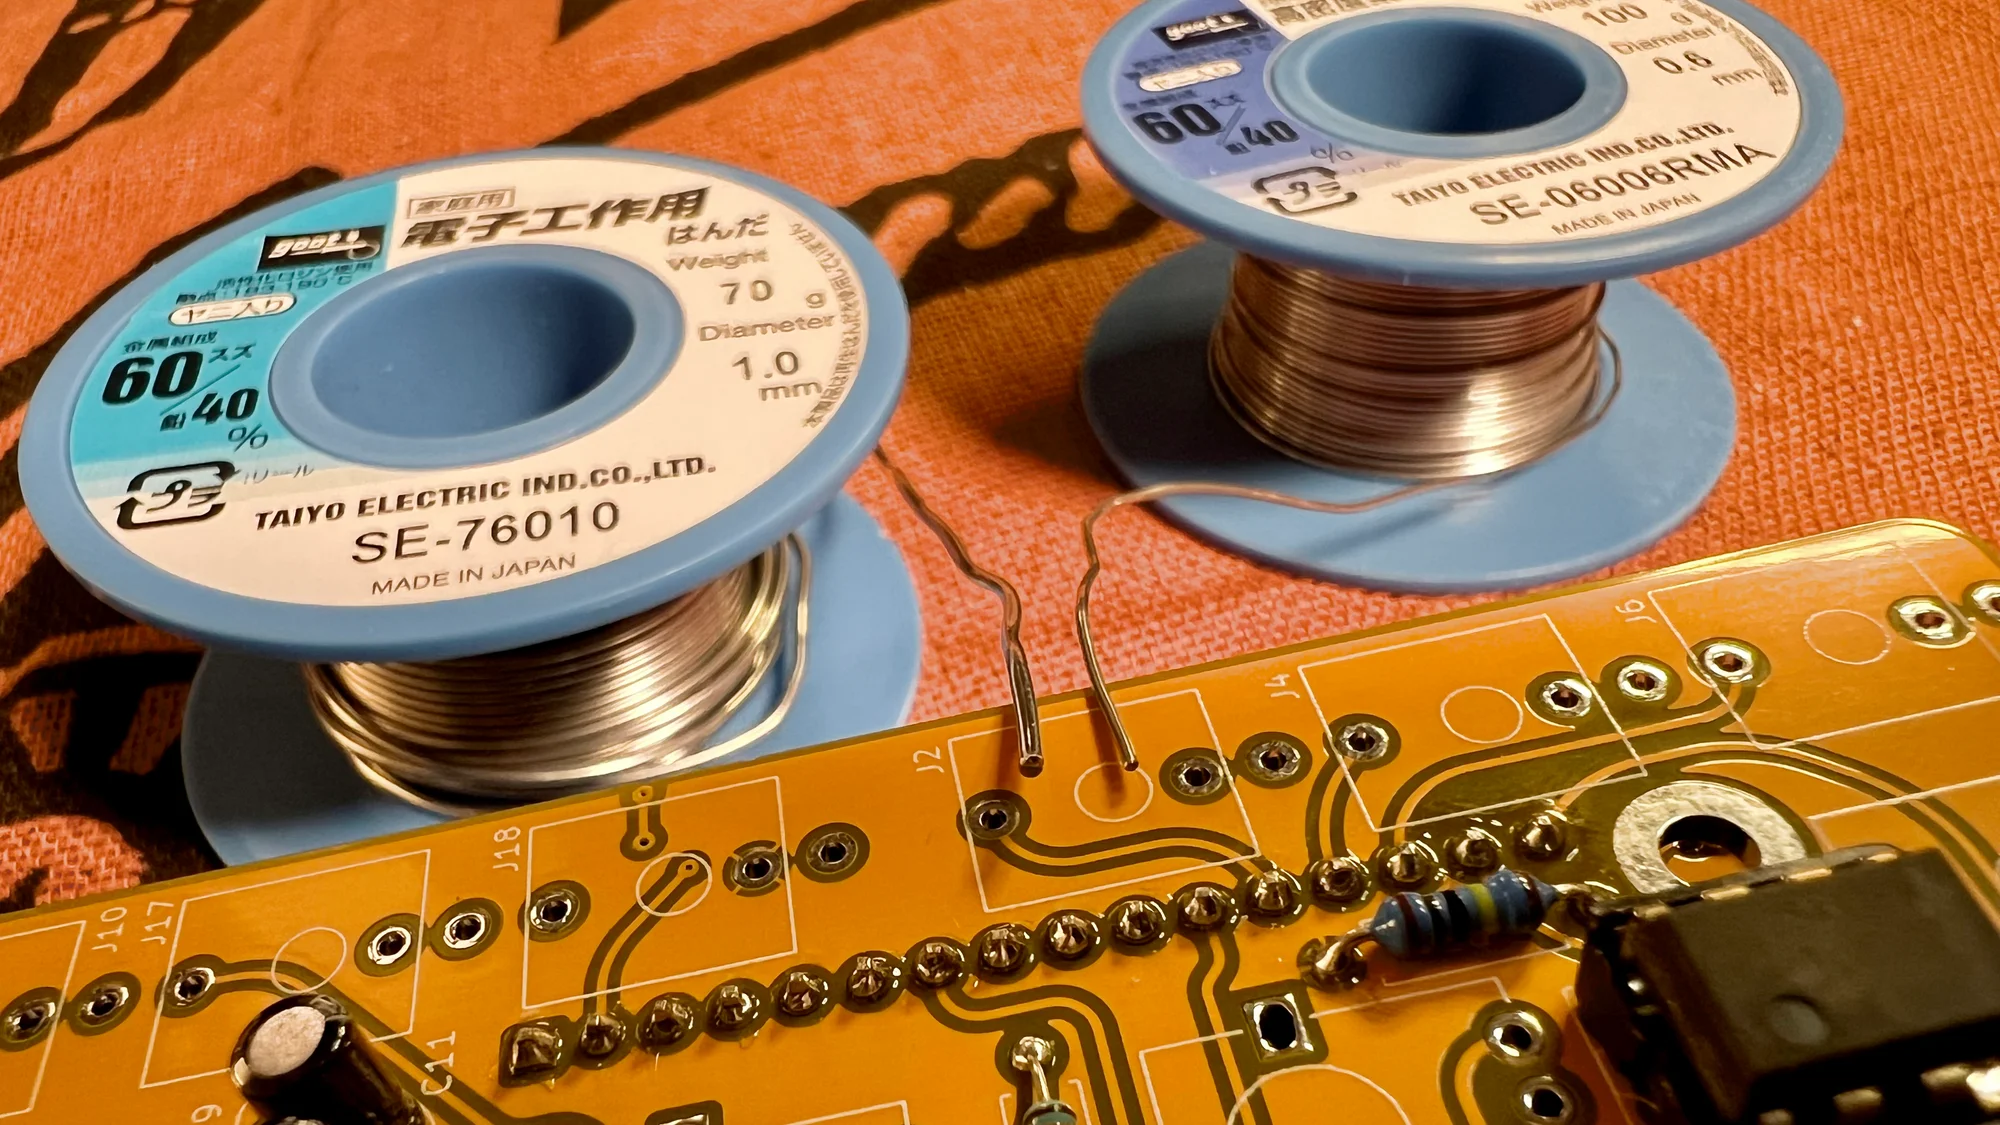
0.6mm Diameter
The other key point, 0.6mm, refers to the diameter of the solder wire. For modular synth DIY, 0.6mm or 0.8mm is a good fit. With 1mm diameter solder, quite a lot of solder melts at once when you touch it to the iron, which tends to result in excessive solder amounts — especially if you’re soldering for the first time.
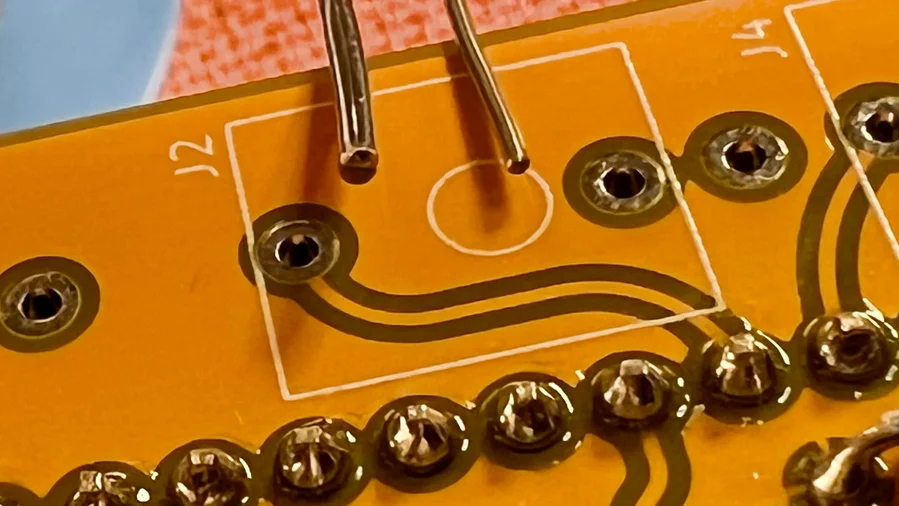
The photo below shows 1mm diameter solder wire on the left and 0.6mm on the right, placed side by side. Compare the thickness of the solder wire to the holes in the PCB.
Rosin Core
You’ll also see rosin core written on most solder. This solder wire actually contains flux — a kind of lubricant — inside it. The main component of this flux is rosin, hence the name. Flux has the property of reducing the surface tension of metals, so when you melt solder wire with the iron, the flux melts along with it, helping the solder, the PCB pad, and the component’s pin all come together as one. When you pull the iron away, it cools and solidifies — that’s the basic mechanism of soldering.
Soldering Work Mat
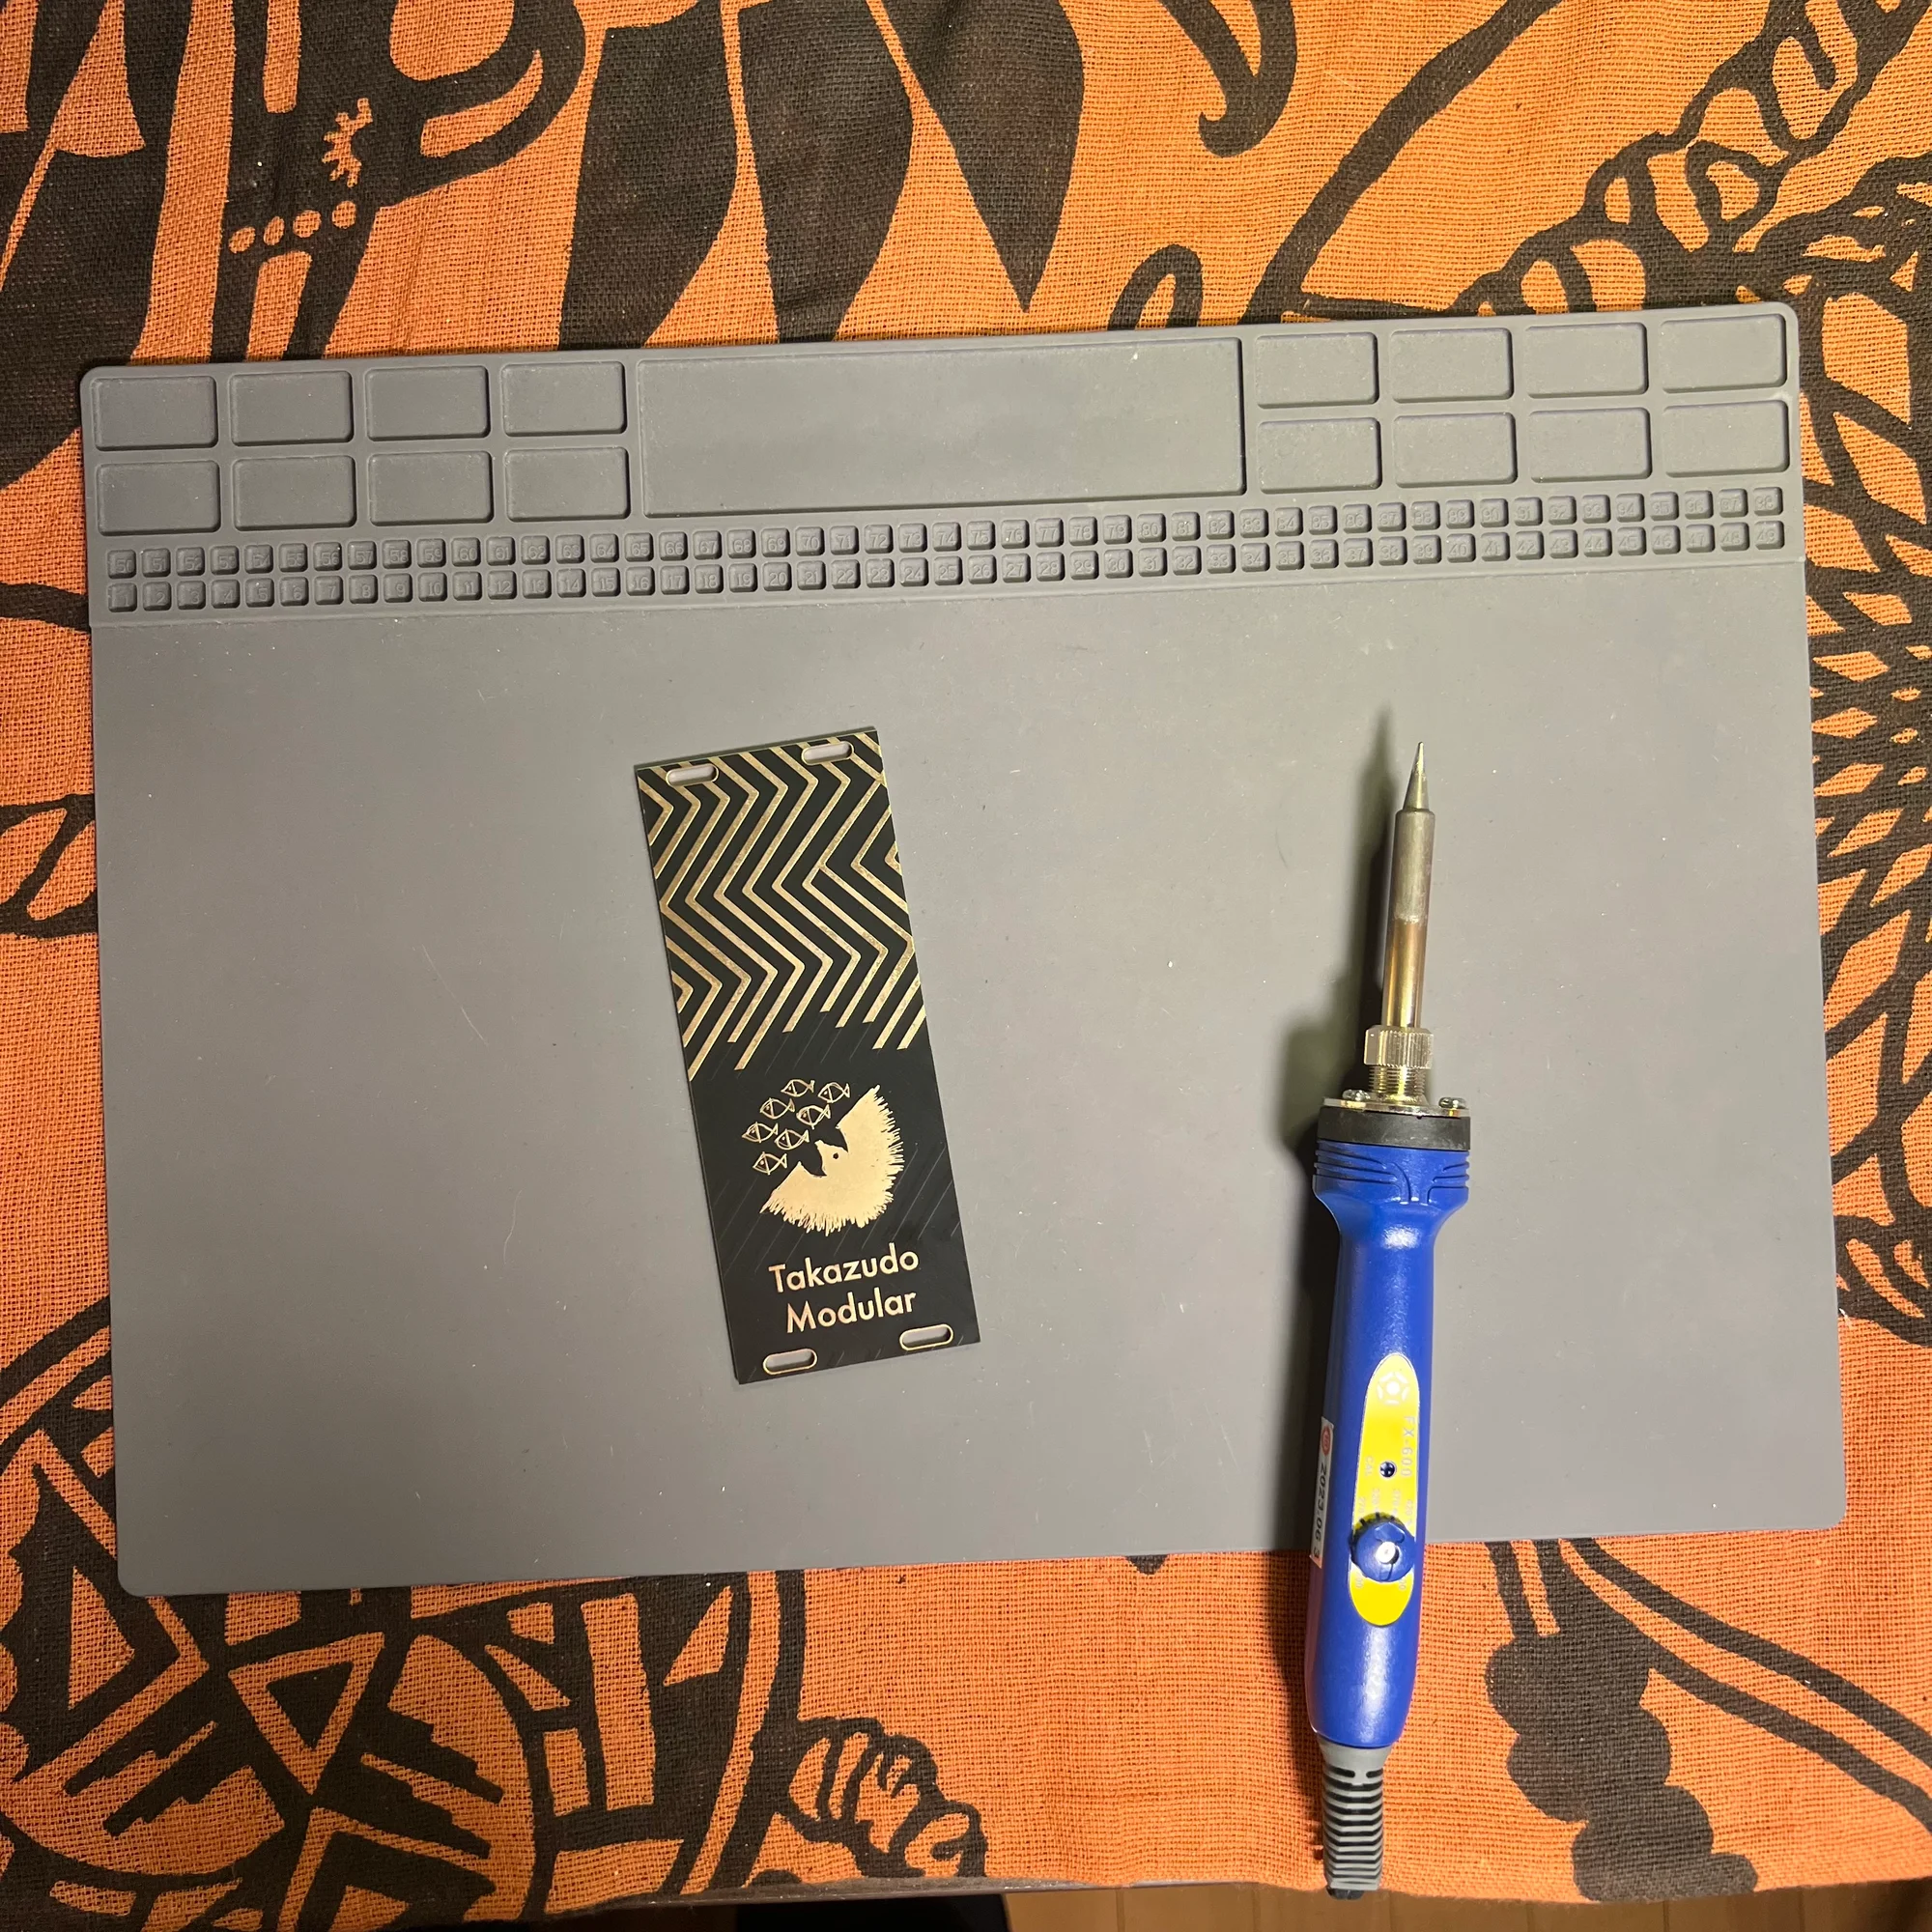
A work mat with heat resistance is good to have when soldering. Here’s the one I use:
If you work directly on a desk or tablecloth, the components, solder, and soldering iron get very hot, and if you drop them, they’ll scorch the surface. The mat protects against that, and since there are many small components to work with, having a mat makes it easier to keep track of them.
This particular mat has an area at the top for organizing small components. You can sort resistors, capacitors, and other parts there and work through them in order.
Soldering Stand
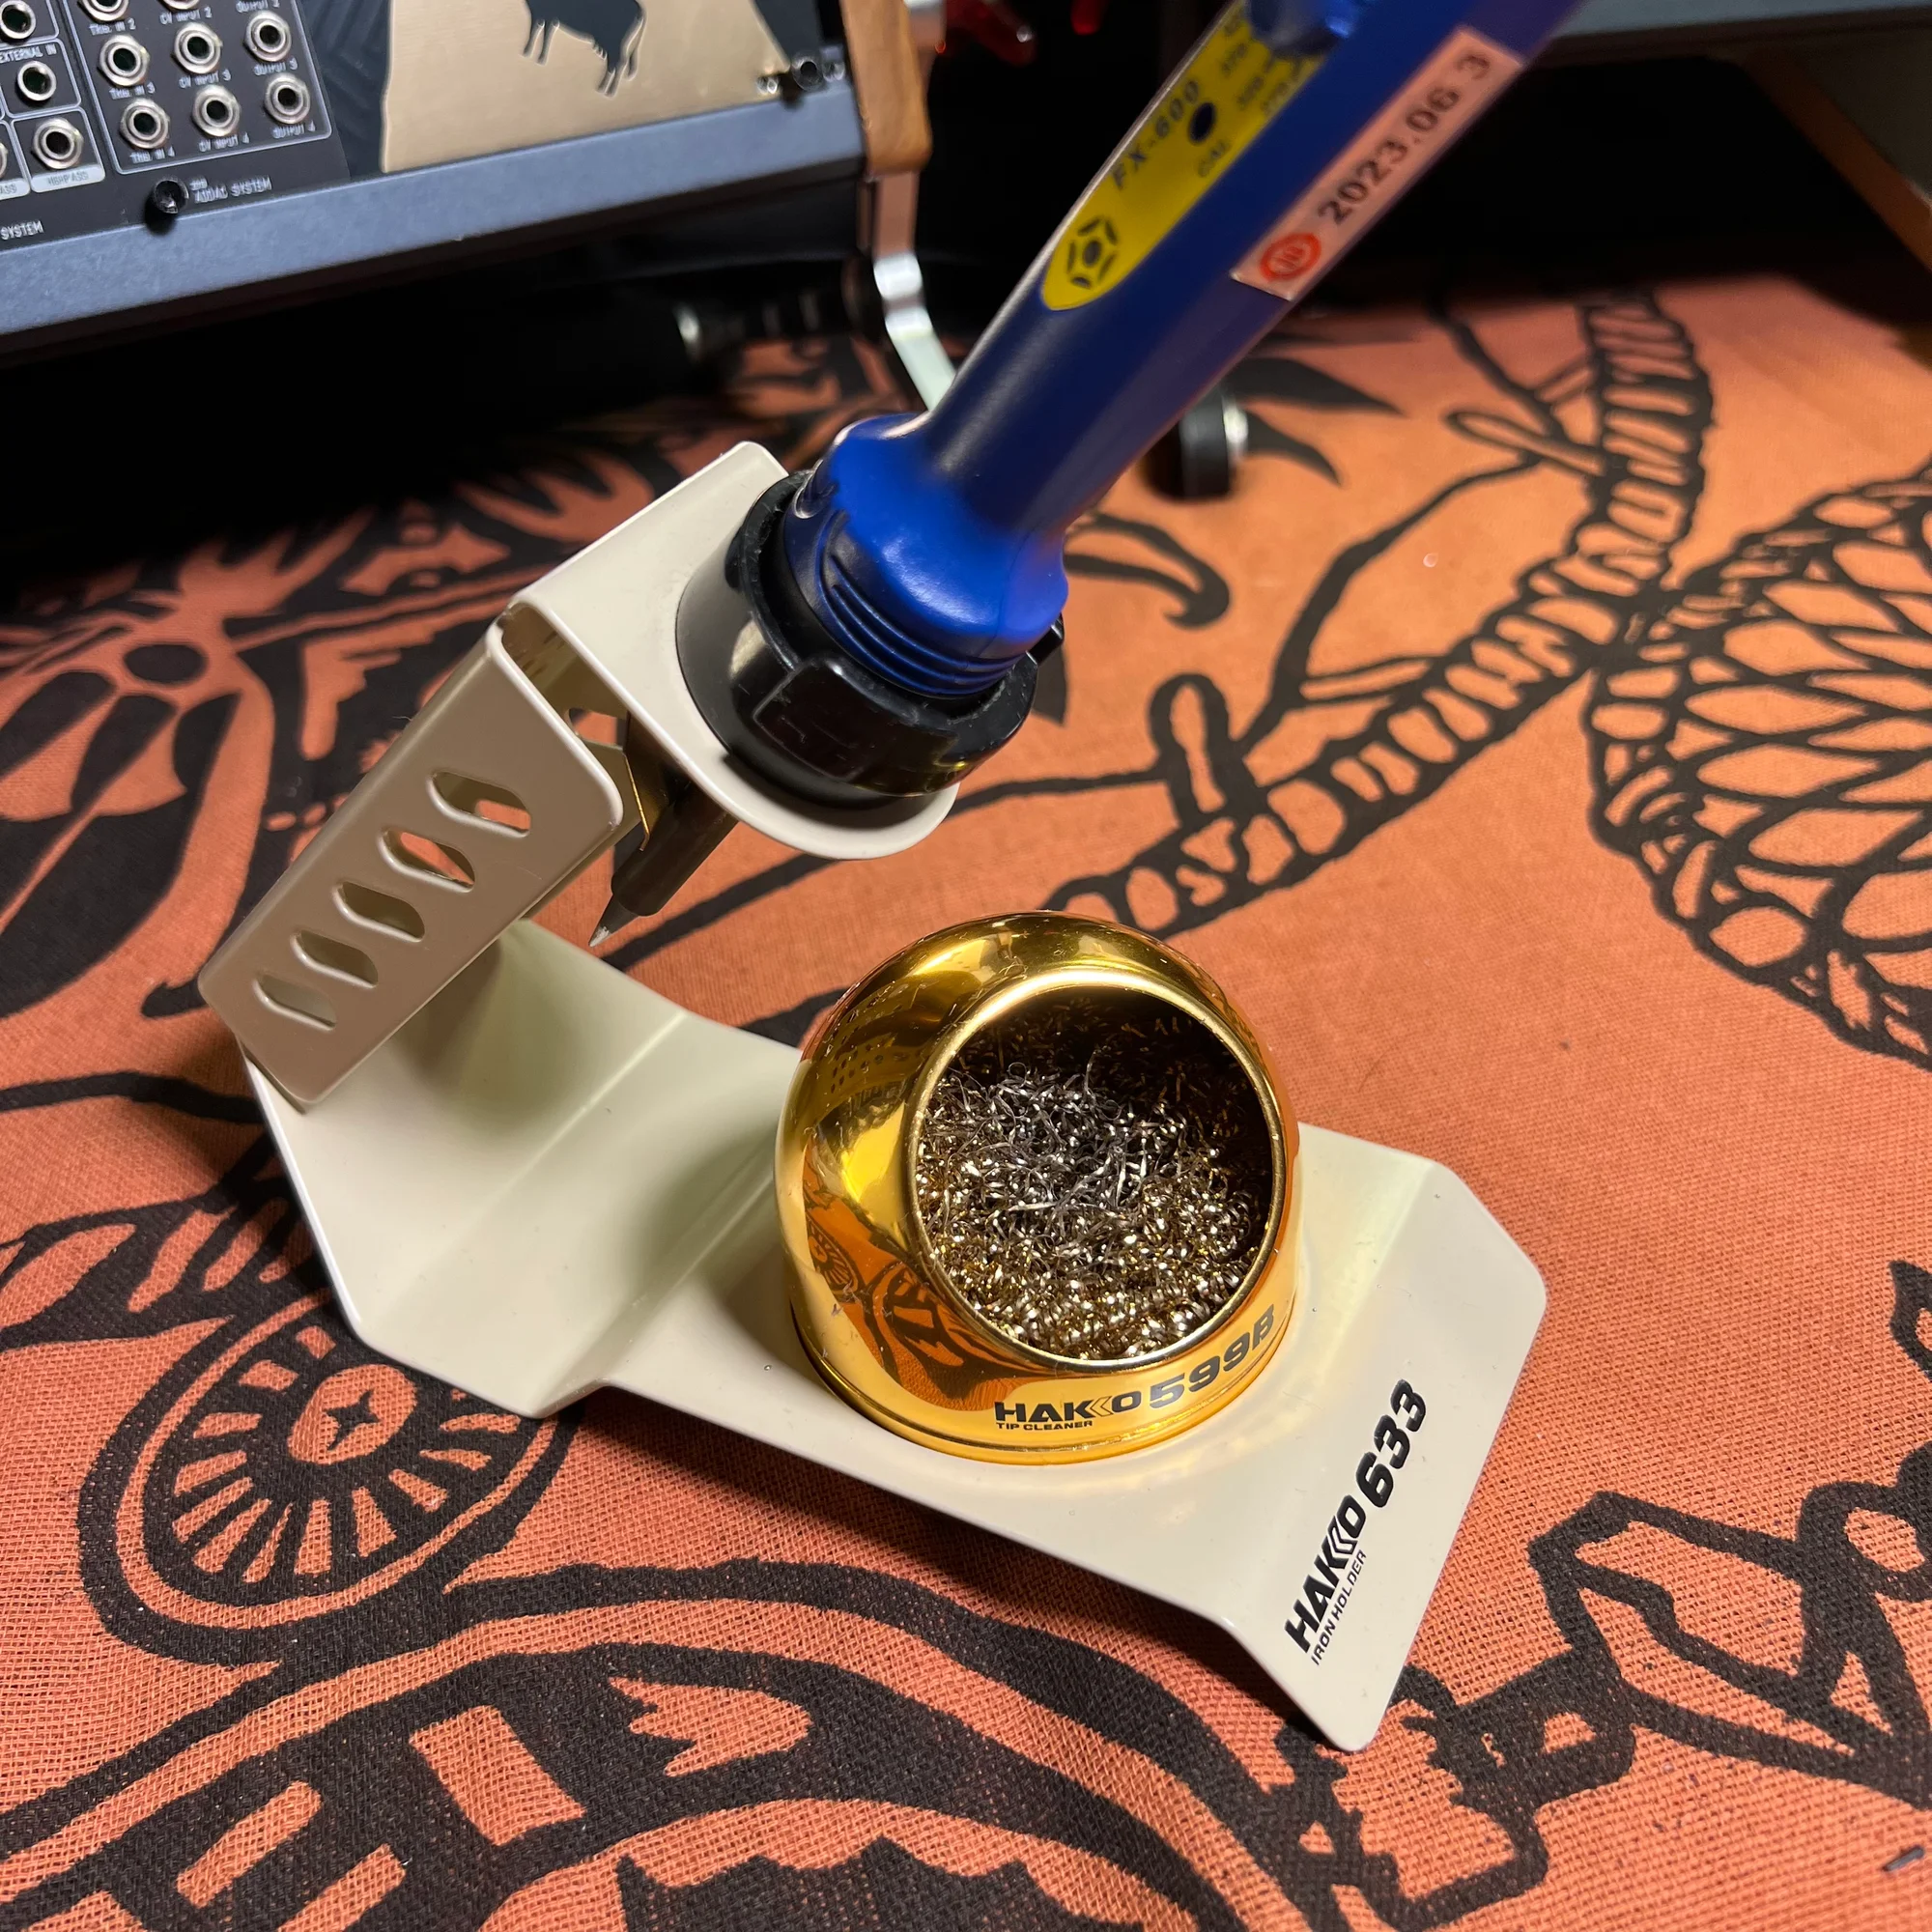
When using a soldering iron, you also need a soldering stand. Without one, you’d have to lay the iron on its side somewhere, which would scorch your desk and pose a safety hazard if it rolls. Here’s the one I use:
This stand typically comes with a cleaning sponge and a metal wool-type cleaning wire, both of which are also necessary items.
When soldering, solder sometimes remains on the tip after finishing a joint. Also, if you don’t solder quickly, the flux in the solder wire evaporates, making it difficult to get a good joint. Sometimes the tip gets a bit burnt-looking. In these cases, you clean the tip by touching it to the cleaning wire or sponge.
Regarding this stand — Takazudo initially bought a cheaper, lighter one that came with a sponge, but ended up re-purchasing this model. Personal preference varies, but since you’ll be placing the iron on and picking it up from the stand repeatedly during soldering, a stand with some weight allows you to handle the iron more casually, which makes work easier. I also found that cleaning wire is quicker for cleaning the tip than a sponge.
So while there might be a 1,000-2,000 yen difference, if you’ll be using it long-term, I recommend getting a reasonably solid stand.
Desoldering Braid
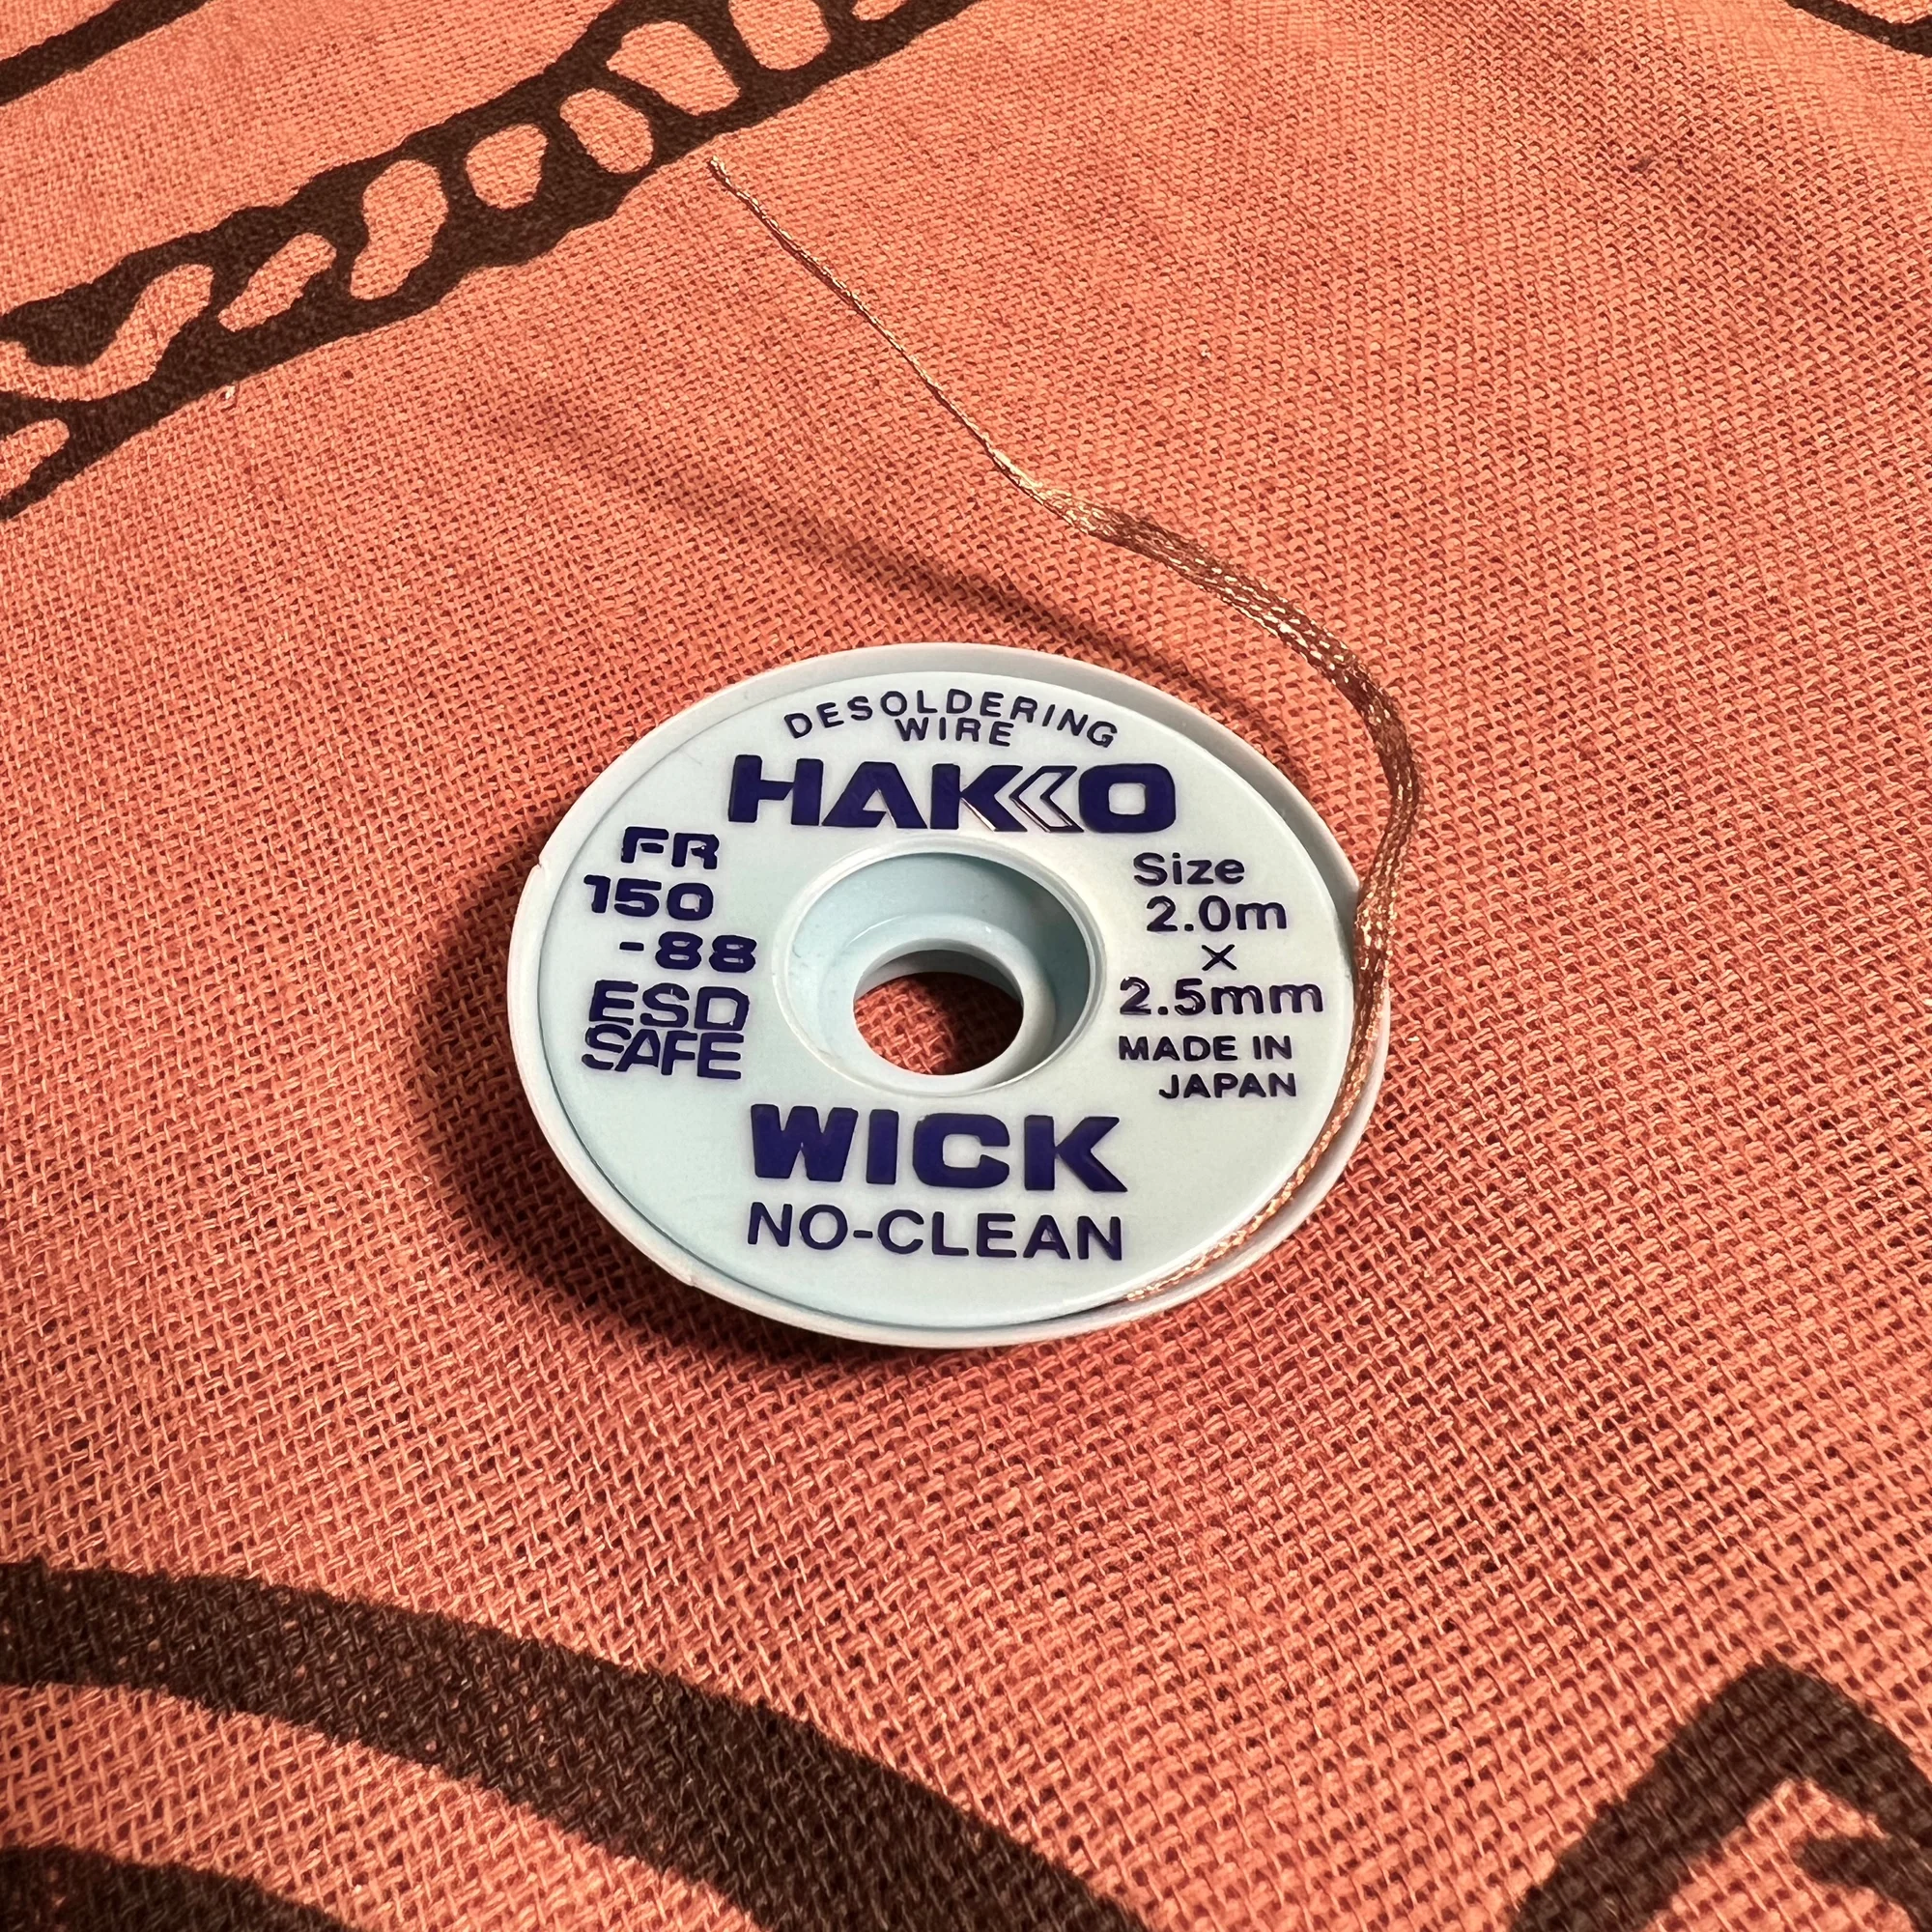
With the tools listed so far, you can technically solder, but it’s a good idea to also have desoldering braid on hand.
Desoldering braid is used to remove solder when a soldering job goes wrong. I don’t fully understand the science behind it, but when you place this braid on the solder you want to remove and apply the soldering iron, the solder gets absorbed into the braid.
The braid is made of woven fine metal threads, and much like a rag soaking up spilled water, the solder gets drawn into it. There are various solder removal solutions available, but desoldering braid is the most basic solder removal tool. Feel free to use it whenever you’ve applied too much solder.
That covers the essential tools.
2. General Tools
Next, let me introduce the general tools.
Some of these are essential, but unlike the soldering-related tools described above, you may already have many of them at home, so I’ve categorized them under “General Tools.”
Tool Set
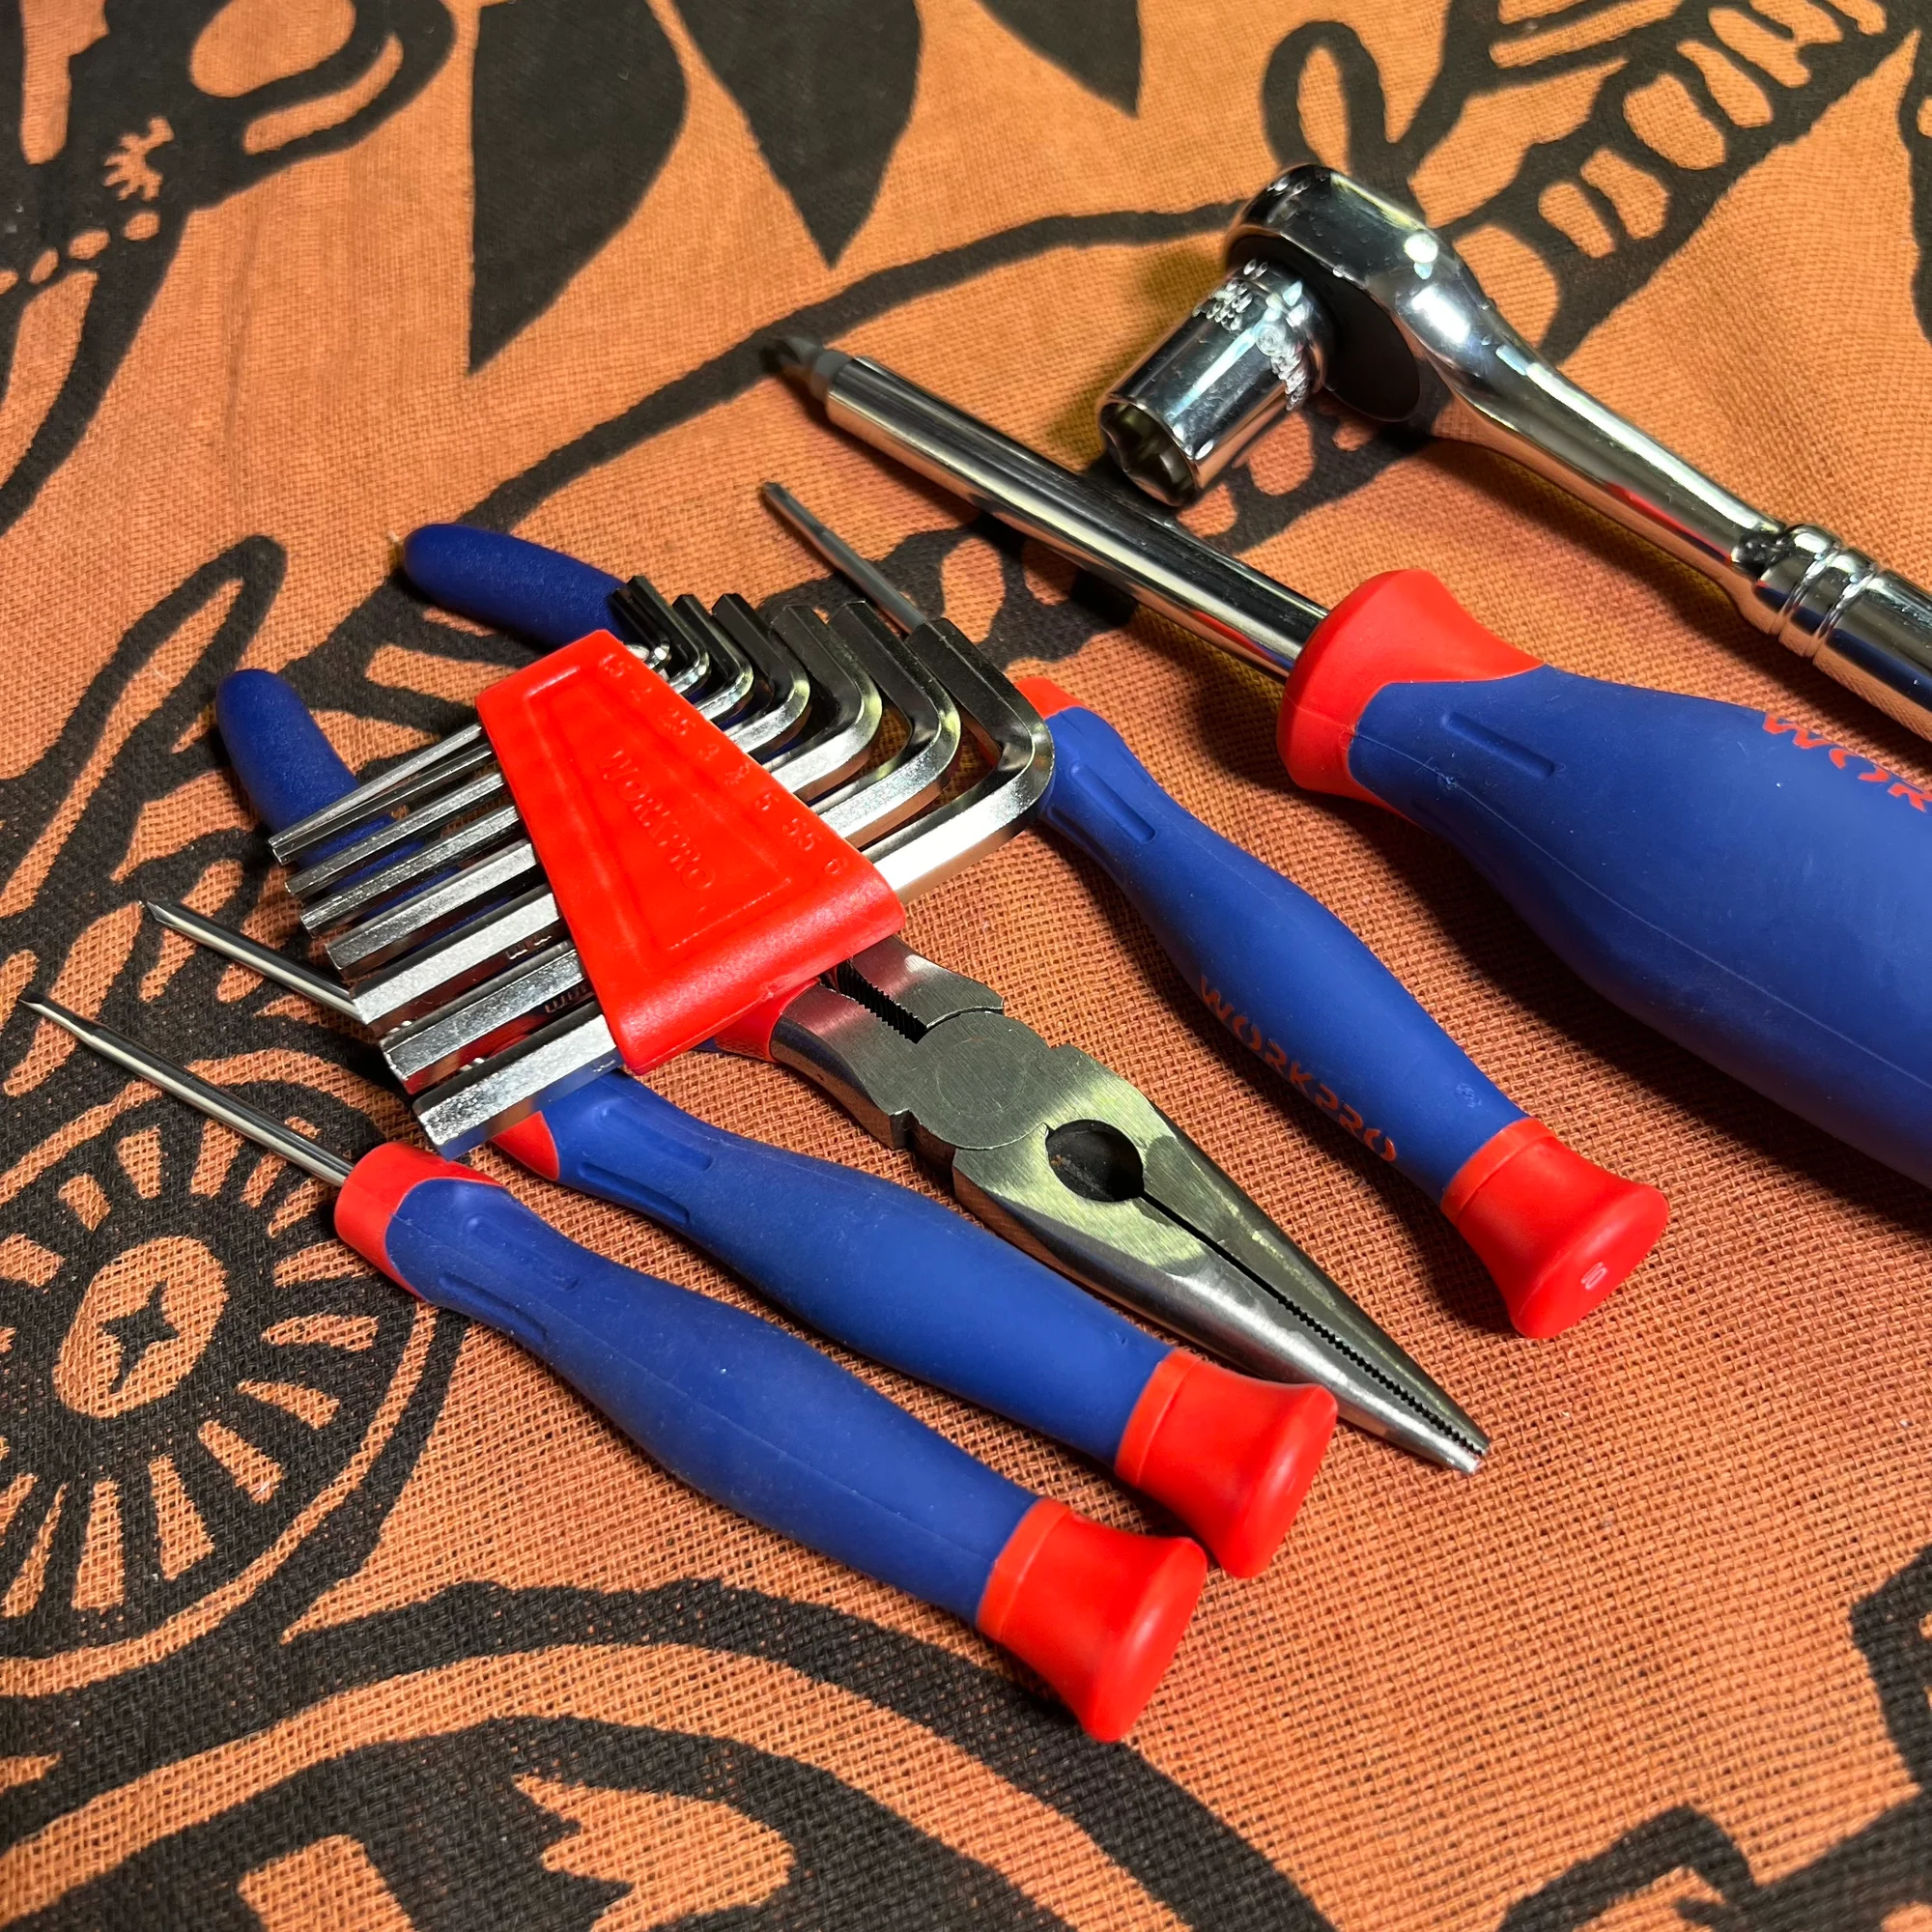
Screwdrivers, wire cutters, pliers, hex wrenches, and other common tools are used in synth DIY, so they’re essential. Buying these individually can actually end up costing more, so if you don’t have them at home, you might want to get a set like this:
I bought this set when I started because I didn’t have any of these tools at home, but if you already have various tools around the house, there’s no need to buy a set like this.
Precision Wire Cutters

Tool sets like the one above include wire cutters (nippers), but I find the following pair particularly useful, so let me introduce them:
These nippers have a scatter-prevention clip. When you cut component leads like resistor legs, the clipped-off wire is caught by the clip next to the cutting edge.
Regular nippers will do the job, but if you plan to continue doing DIY, having nippers like these will significantly improve your work efficiency.
Washer Driver
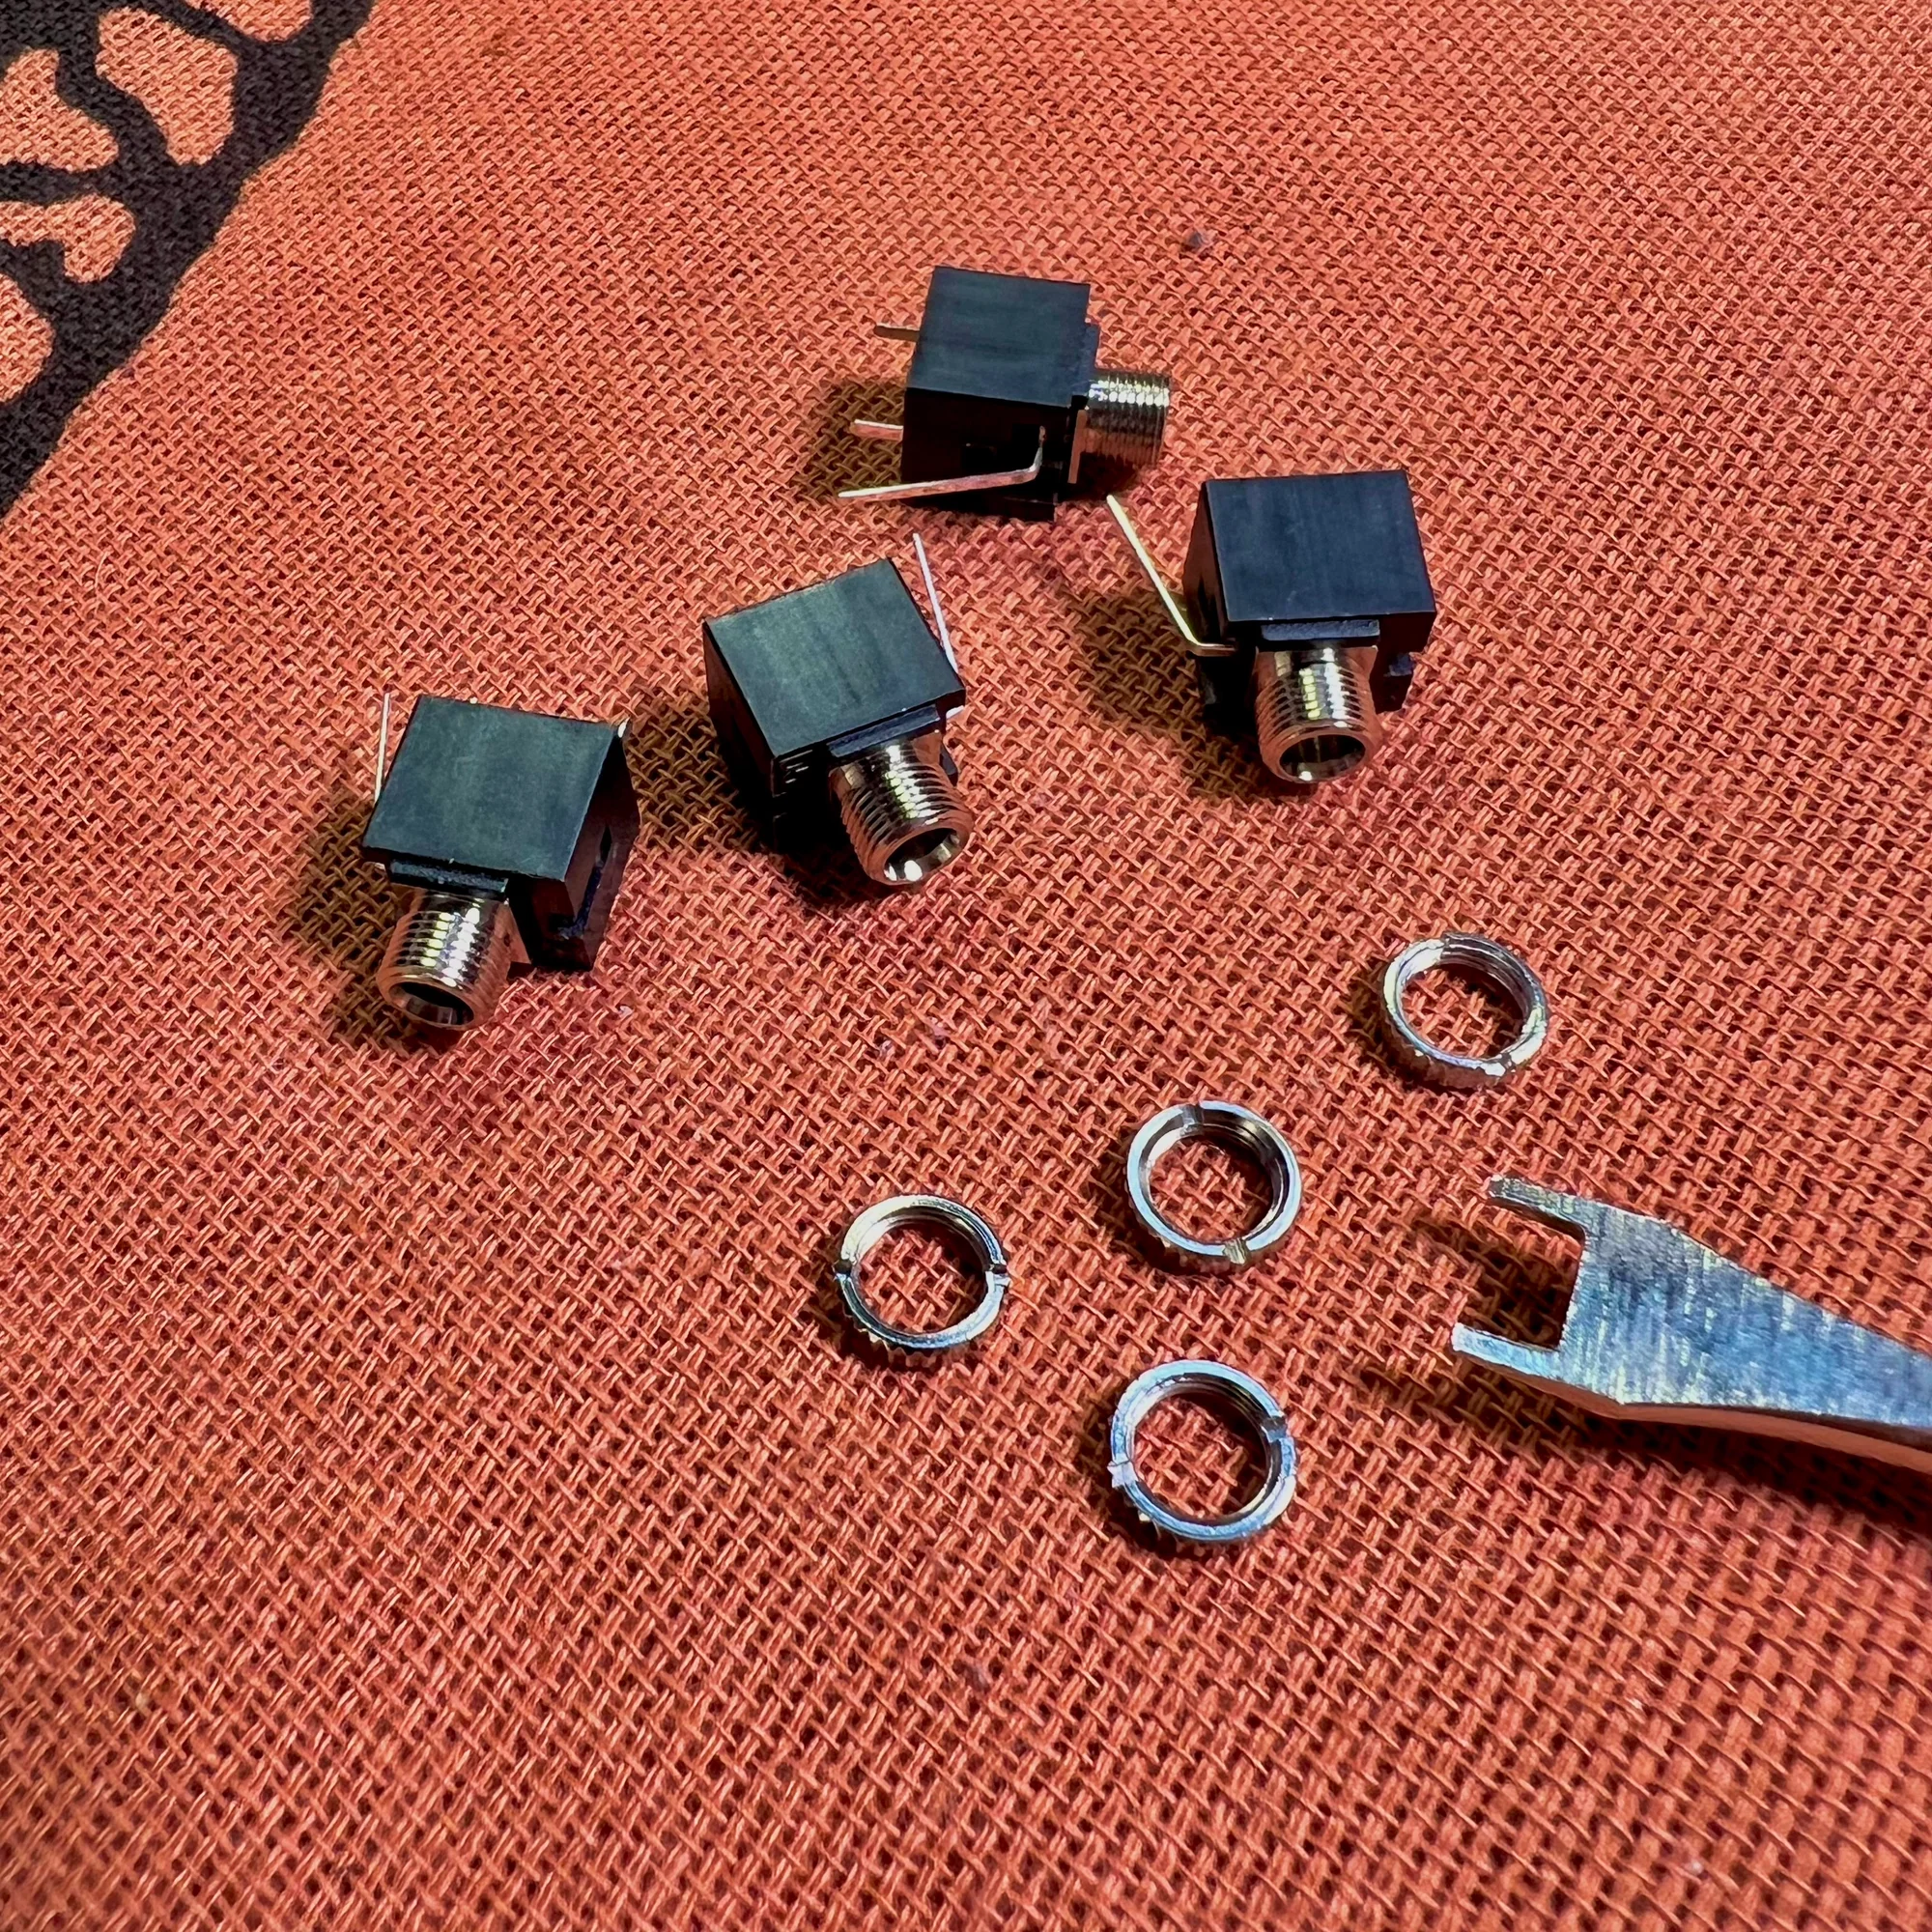
The jacks used in modular synths for patching cables are generally the same type of component. The following jack, commonly known as Thonkiconn in the community, is used widely. It’s probably used in the modular synths you already own.
This jack uses a two-slotted washer to secure it to the panel, and you need a driver to tighten it. Here’s that driver:
On Amazon, you can only buy a minimum of two, and it’s become something of a meme that you don’t need two — but since hand-tightening alone will eventually loosen them, it’s handy to have.
Nut Wrench

Another thing — modular synths have many knobs, and these knobs are generally the same type of component.
These knobs are potentiometers — components that divide voltage — and they’re secured to the panel with hex nuts. Here’s the wrench for tightening those nuts:
This isn’t strictly necessary. For example, the tool set mentioned earlier includes wrenches that can tighten these nuts, and those work fine. However, if you’re doing modular synth DIY, you’ll encounter these nuts frequently, so having a compact, easy-to-use wrench like this is convenient.
That wraps up the general tools section. For these, just get what seems necessary for now, and buy more as needed.
3. Nice to Have - Level 1
Next up are the Level 1 nice-to-have tools. I personally consider many of these essential, but telling someone to buy everything at once before they’ve even started might be overwhelming, so I’ve grouped items that people who’ve tried DIY a bit will likely find useful under “Nice to Have - Level 1.”
If you haven’t started yet, feel free to skim through this section just to get an idea of what’s available.
PCB Clamp
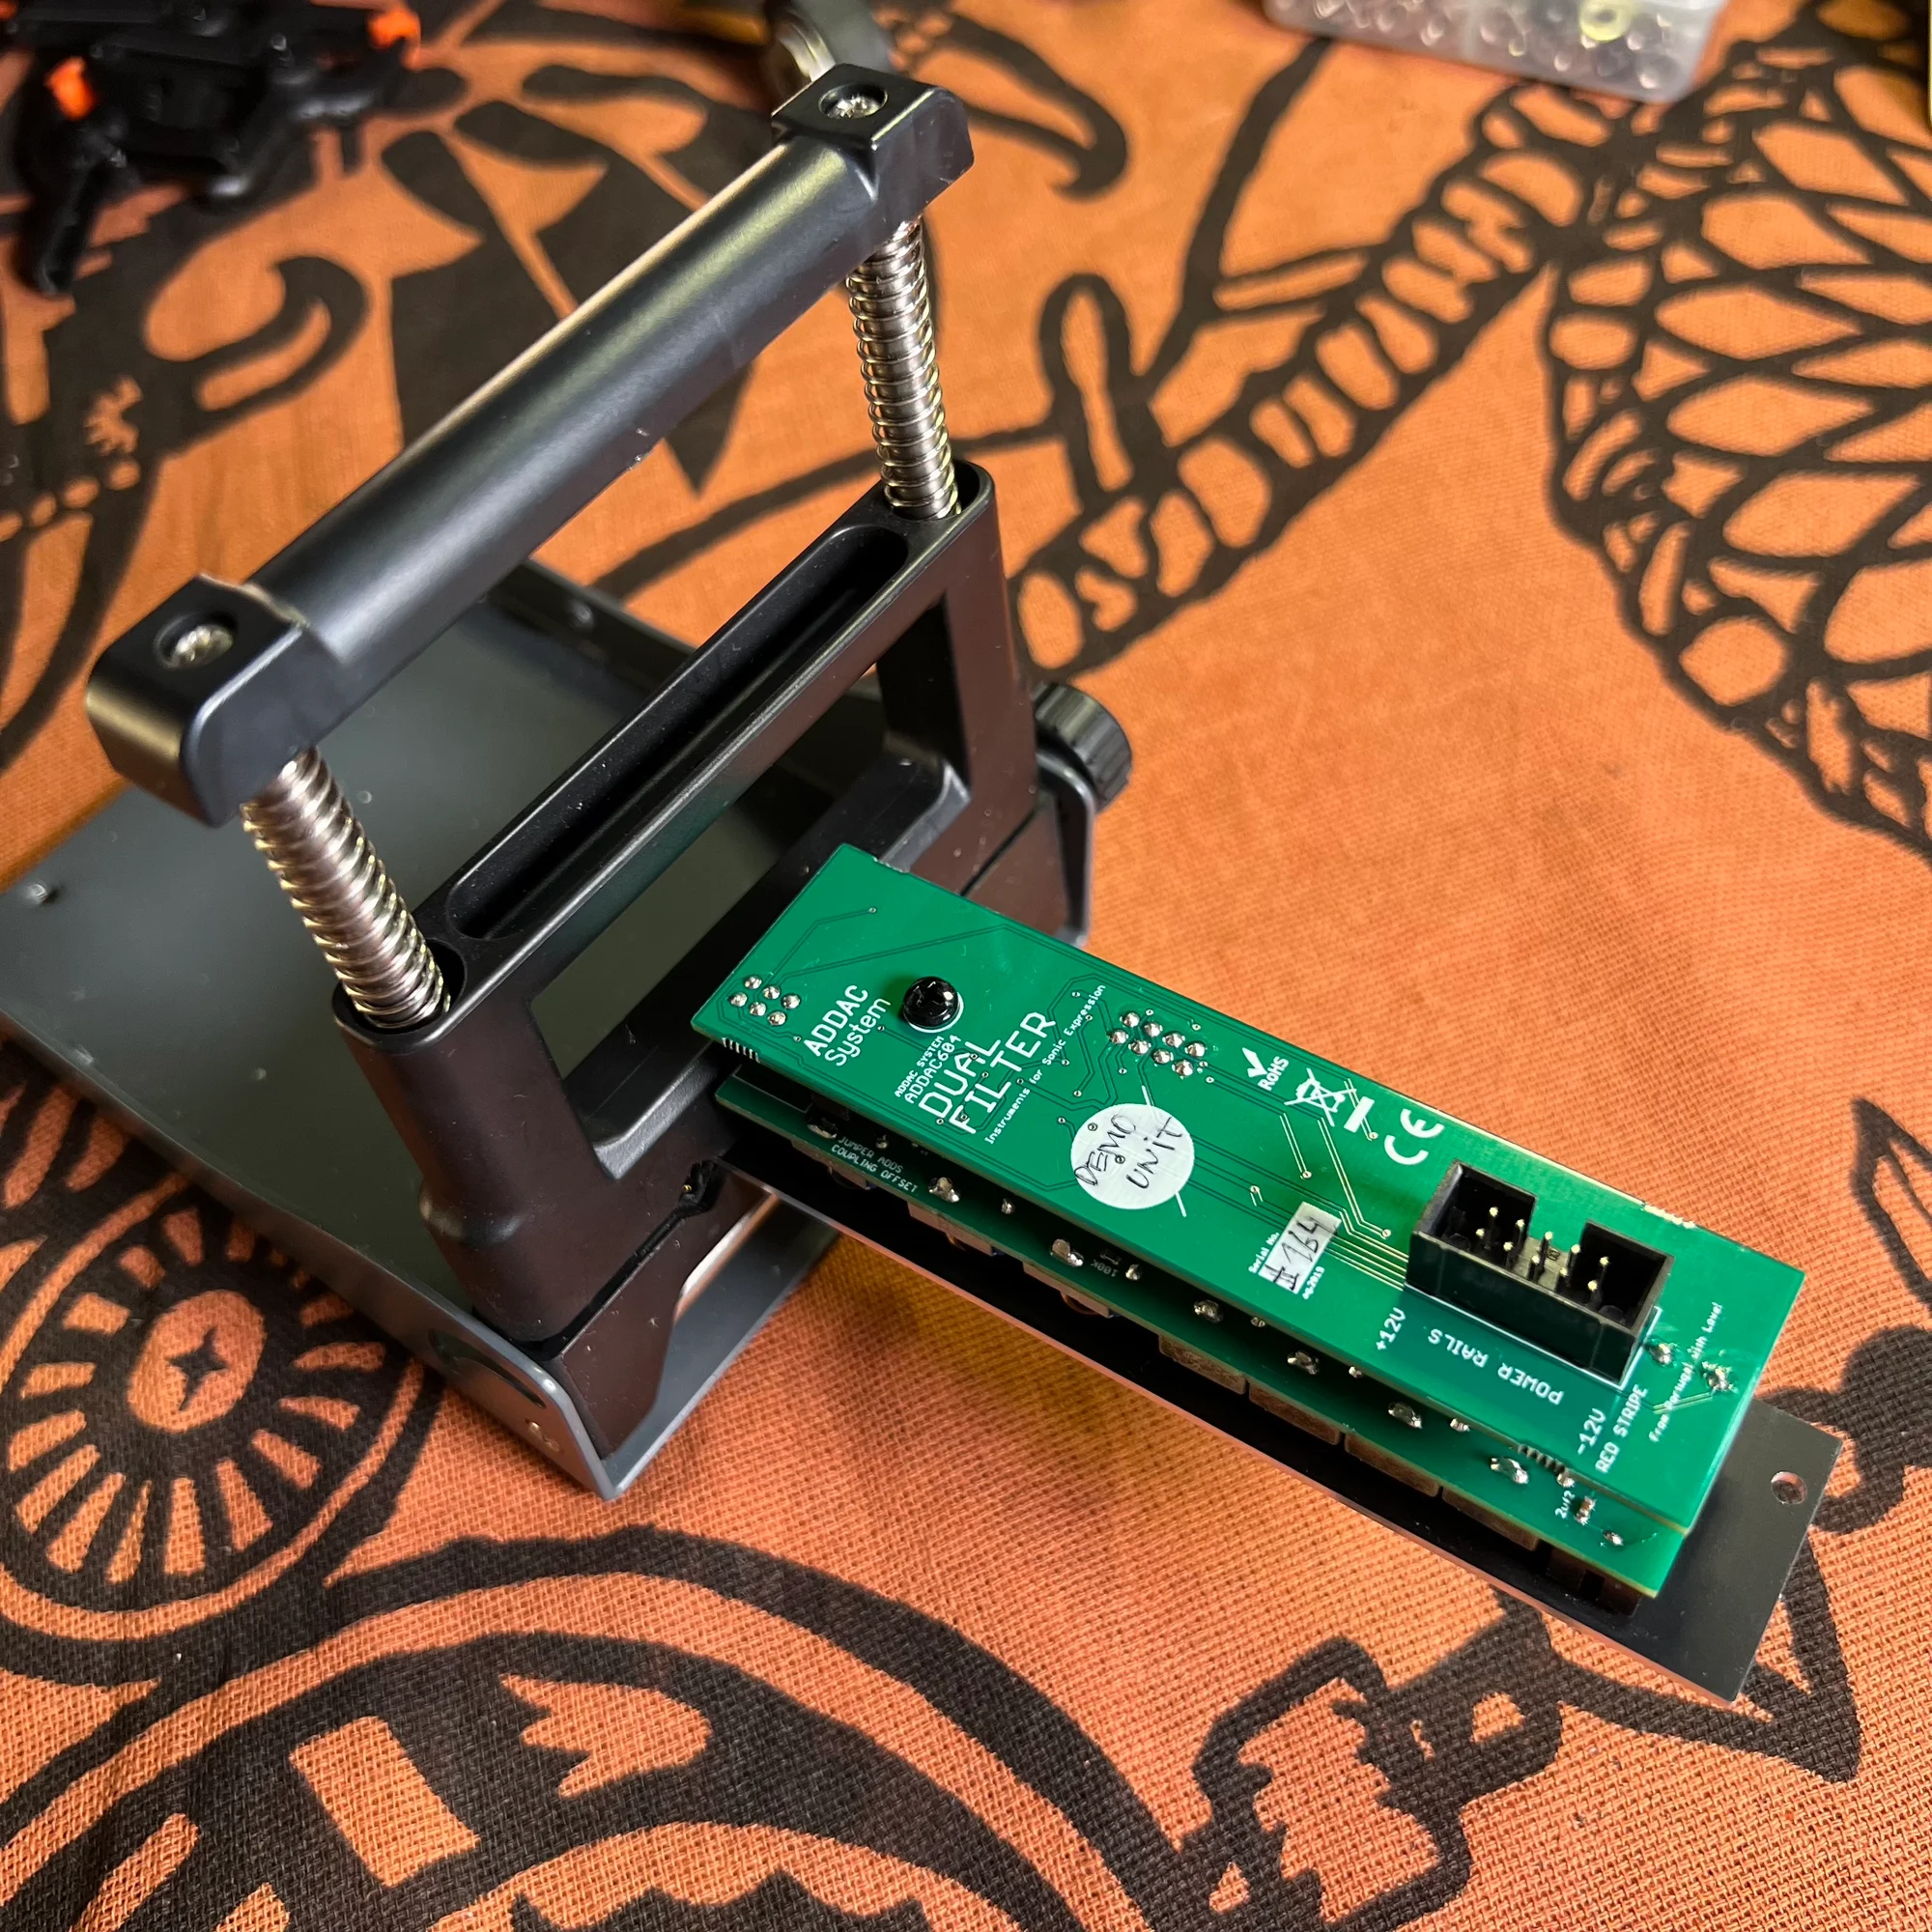
When soldering, you attach components to the PCB one by one, and as you progress, the varying heights of components cause the board to tilt when placed on the mat. In such cases, a PCB clamp comes in handy.
I own the first clamp. It’s compact and convenient, but toward the end of assembly when many components have been attached, you start running out of places to grip the board. However, by that point you’re nearly done, so it’s not a major issue.
I saw the second clamp holder at a DIY event. It can grip both ends of the board, so you can use it from start to finish, but it’s physically larger. There are also clip-type holders and ones with built-in magnifying glasses, so find one that suits your preference.
Lead Bender
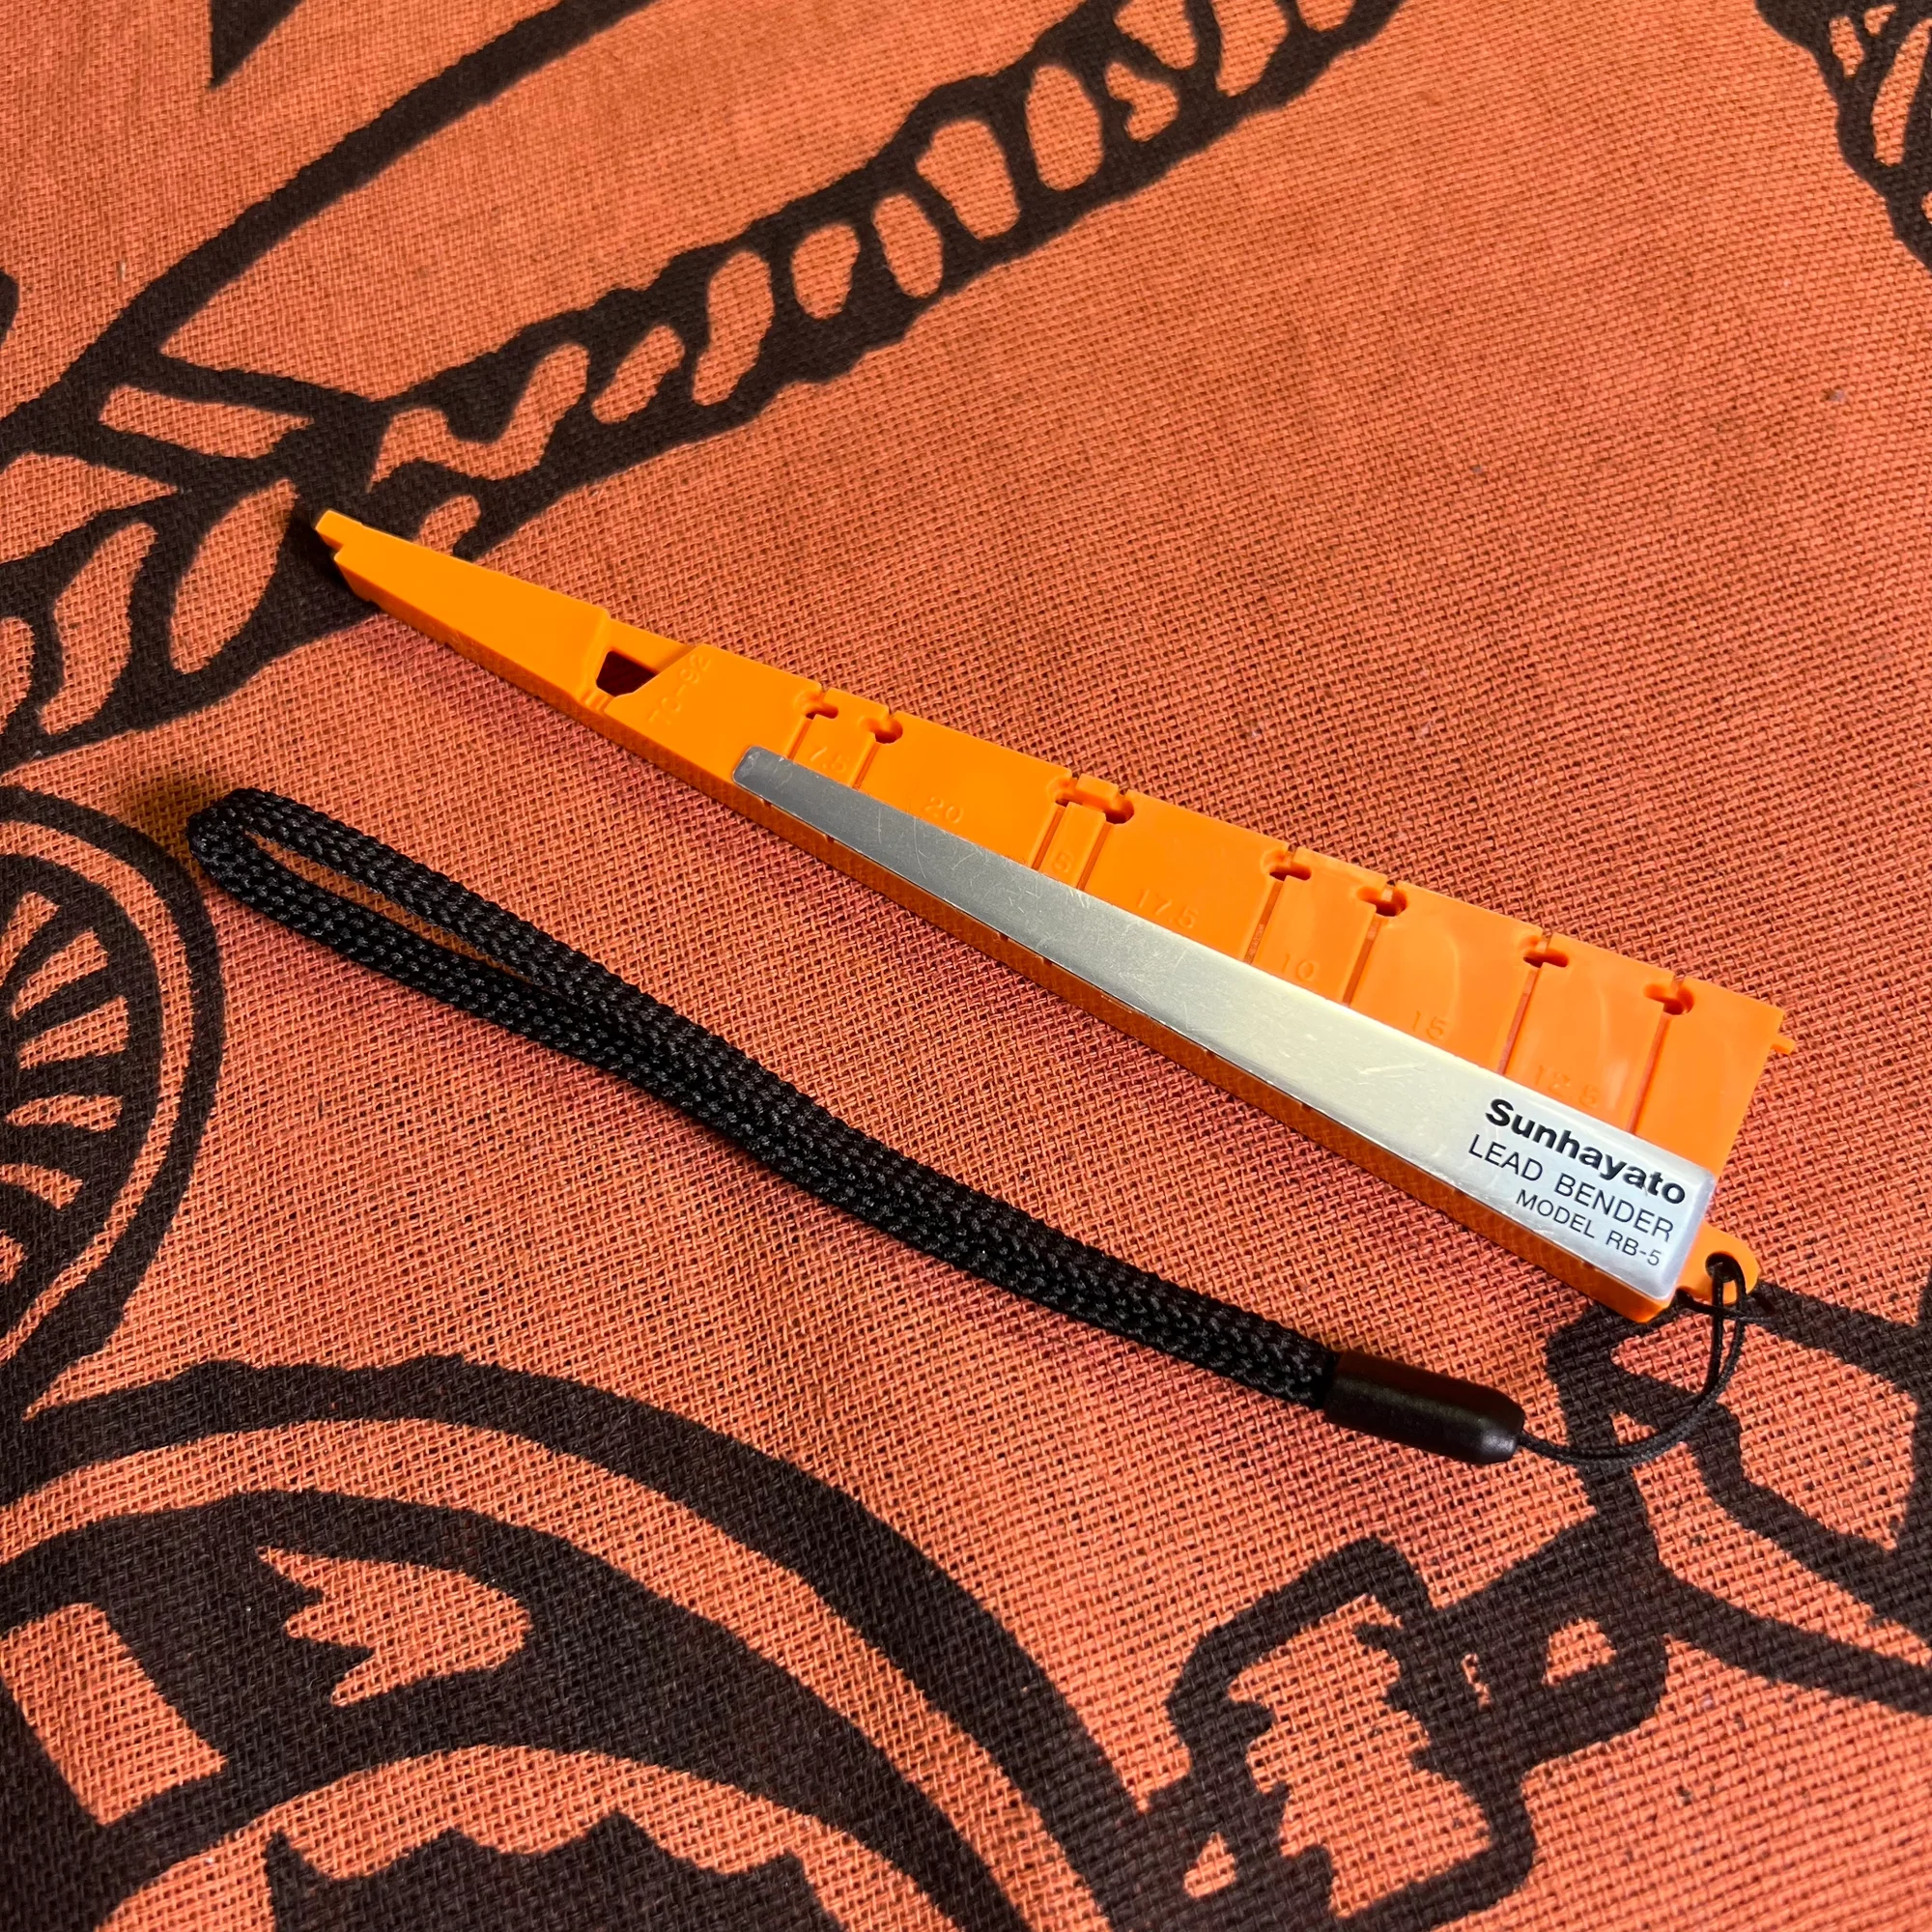
A lead bender. This is for bending the leads of resistors, transistors, and similar components.
Please check the product photos on Amazon for details, but you’ll be soldering a very large number of these components, and bending each one by hand results in inconsistent widths. Using this tool, you can bend them all to a uniform width, which is extremely convenient.
I personally consider this an essential item and almost placed it in the “Essential” category, but since you can technically manage without it, I’ve categorized it here. It’s also inexpensive, so if you’re doing DIY, I definitely recommend having one.
Gloves
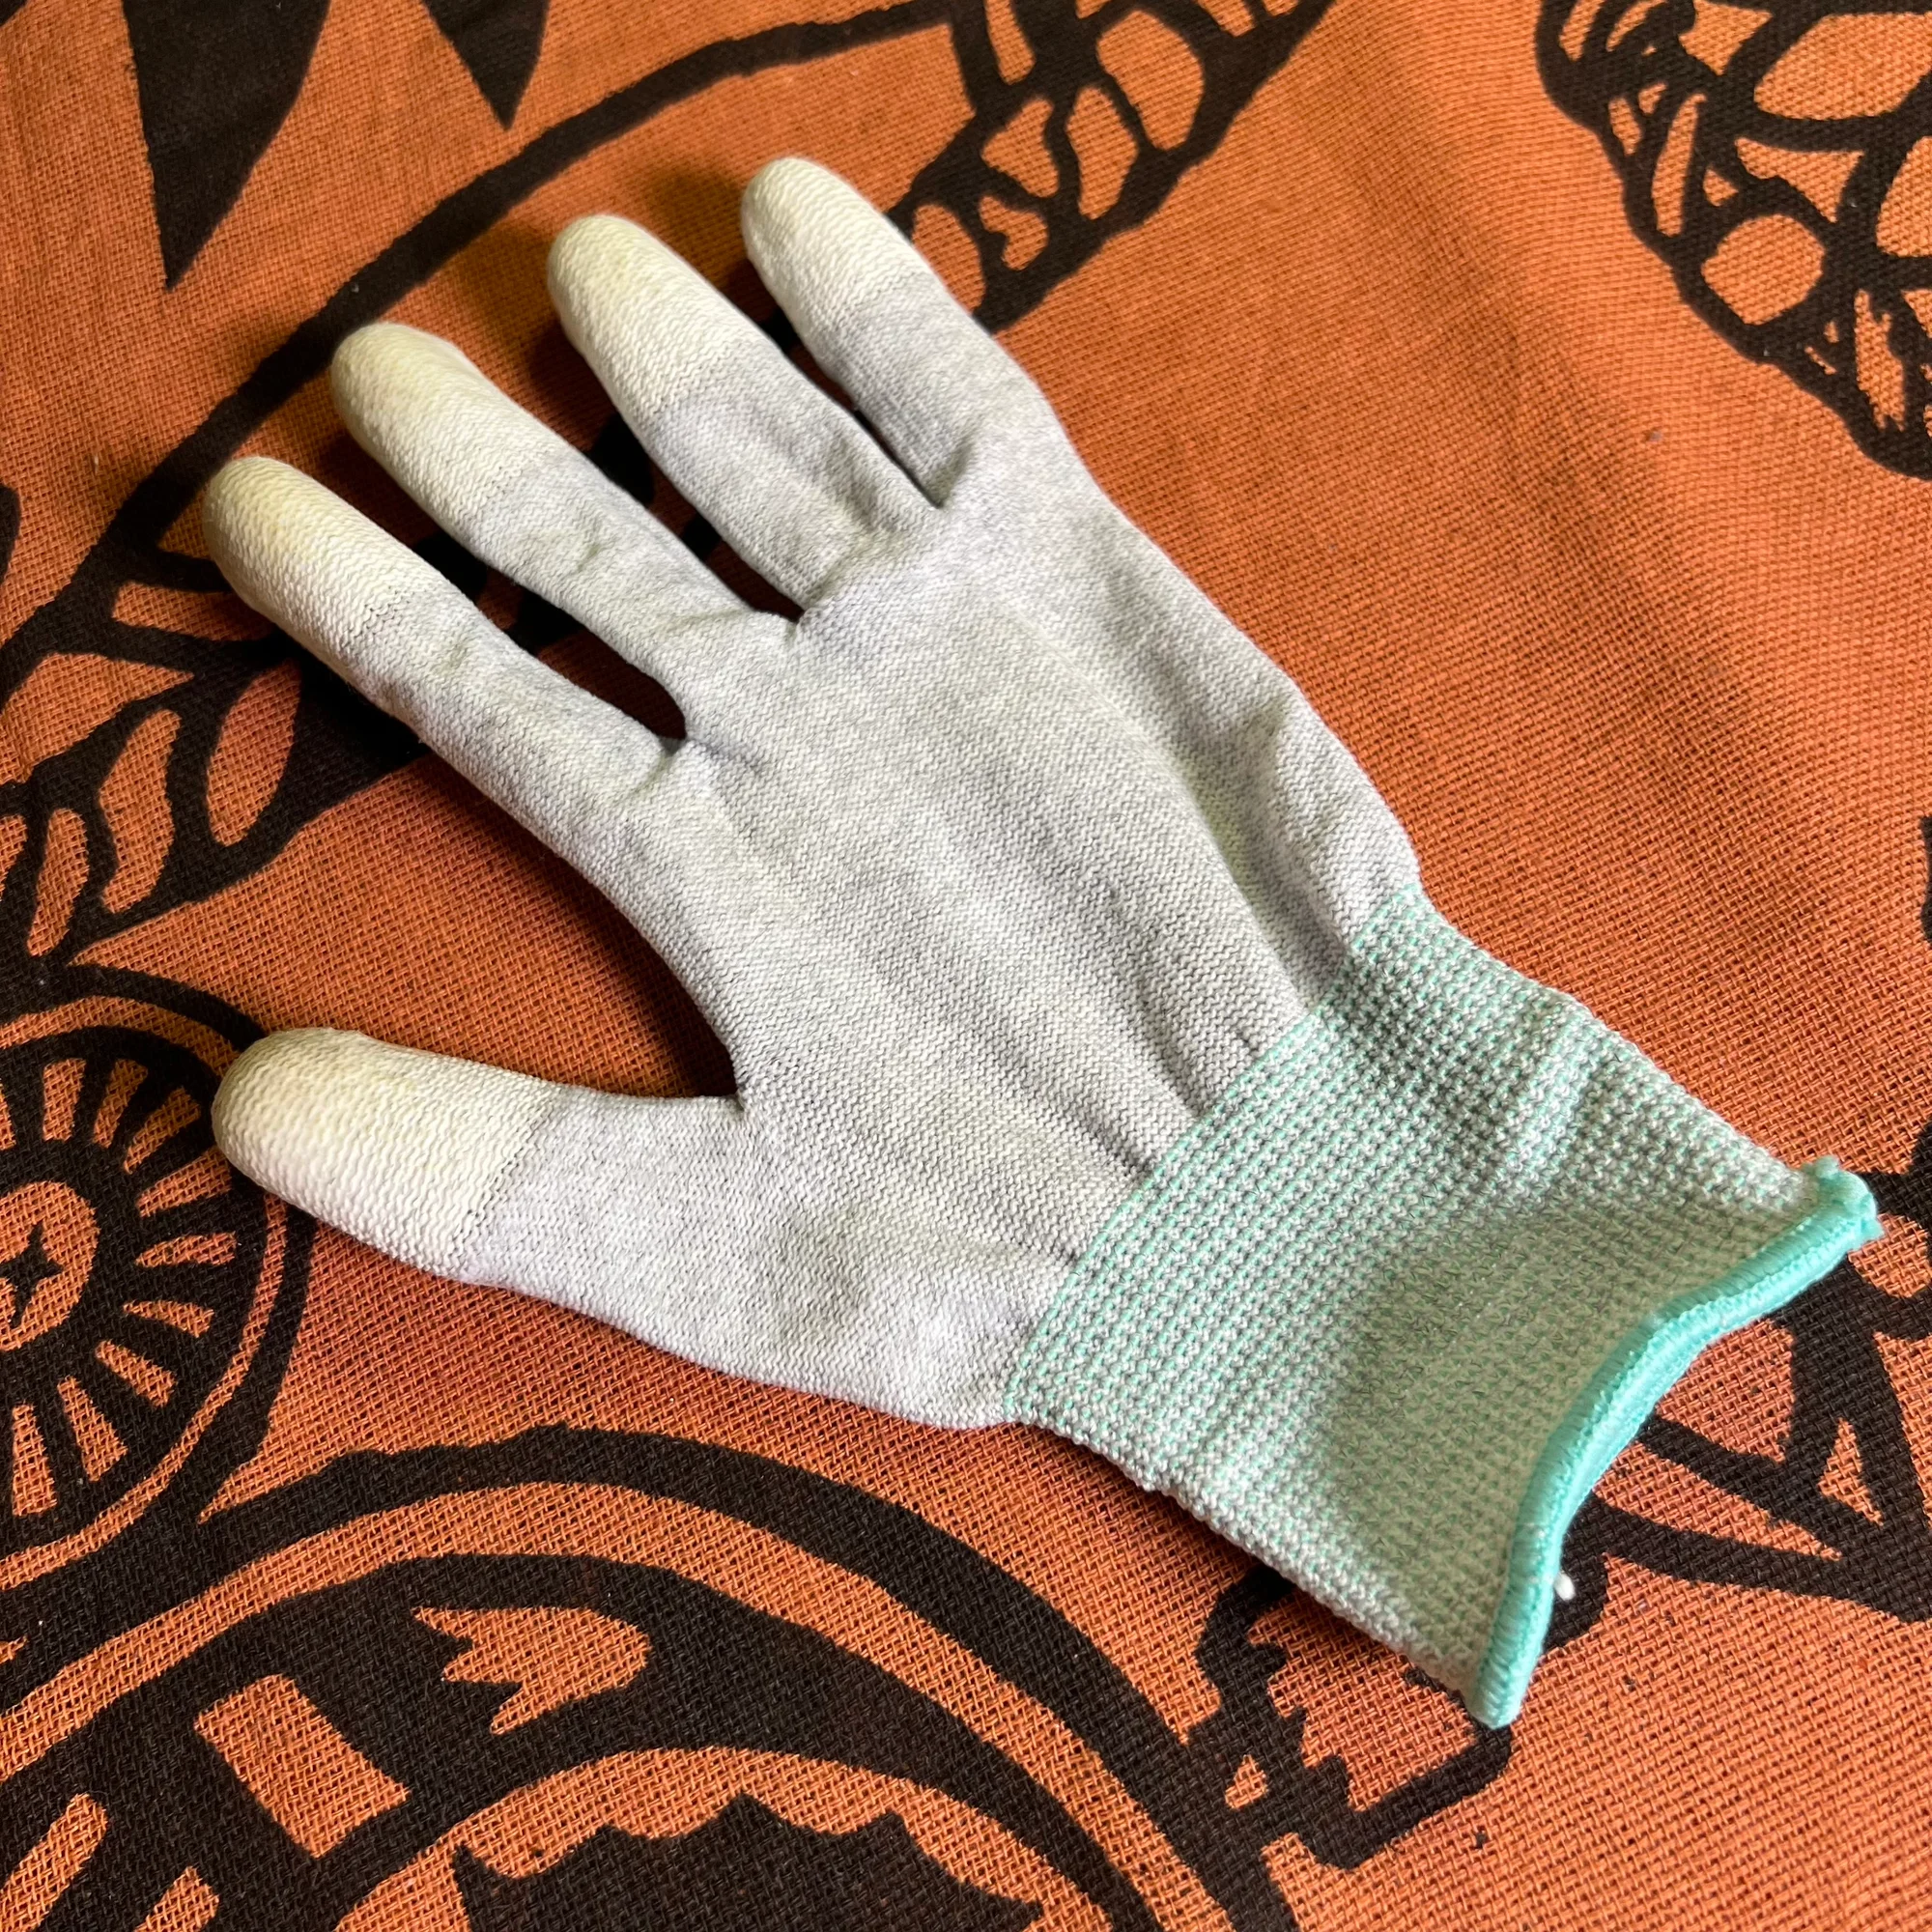
Anti-static gloves. These aren’t essential, but it’s good to have a pair.
One reason to wear these gloves is to protect components from static electricity. ICs, for example, are delicate and can be damaged by static discharge. Takazudo hasn’t had that happen yet, but wearing gloves while working is ideal for preventing failures.
That said, I honestly don’t worry about it that much during regular work… But even in that case, these gloves come in handy when things get hot. For example, the desoldering braid mentioned earlier is metal and conducts heat easily, so if you don’t work quickly, the hand holding the braid will get burned. Wearing gloves helps with that.
Also, when removing an installed resistor, for instance, you might apply the soldering iron in your right hand to the joint on the board while pulling the resistor out with your left hand — without gloves, you’ll get burned.
So even if you don’t wear gloves regularly, there are plenty of small situations where they prove useful.
Desoldering Pump
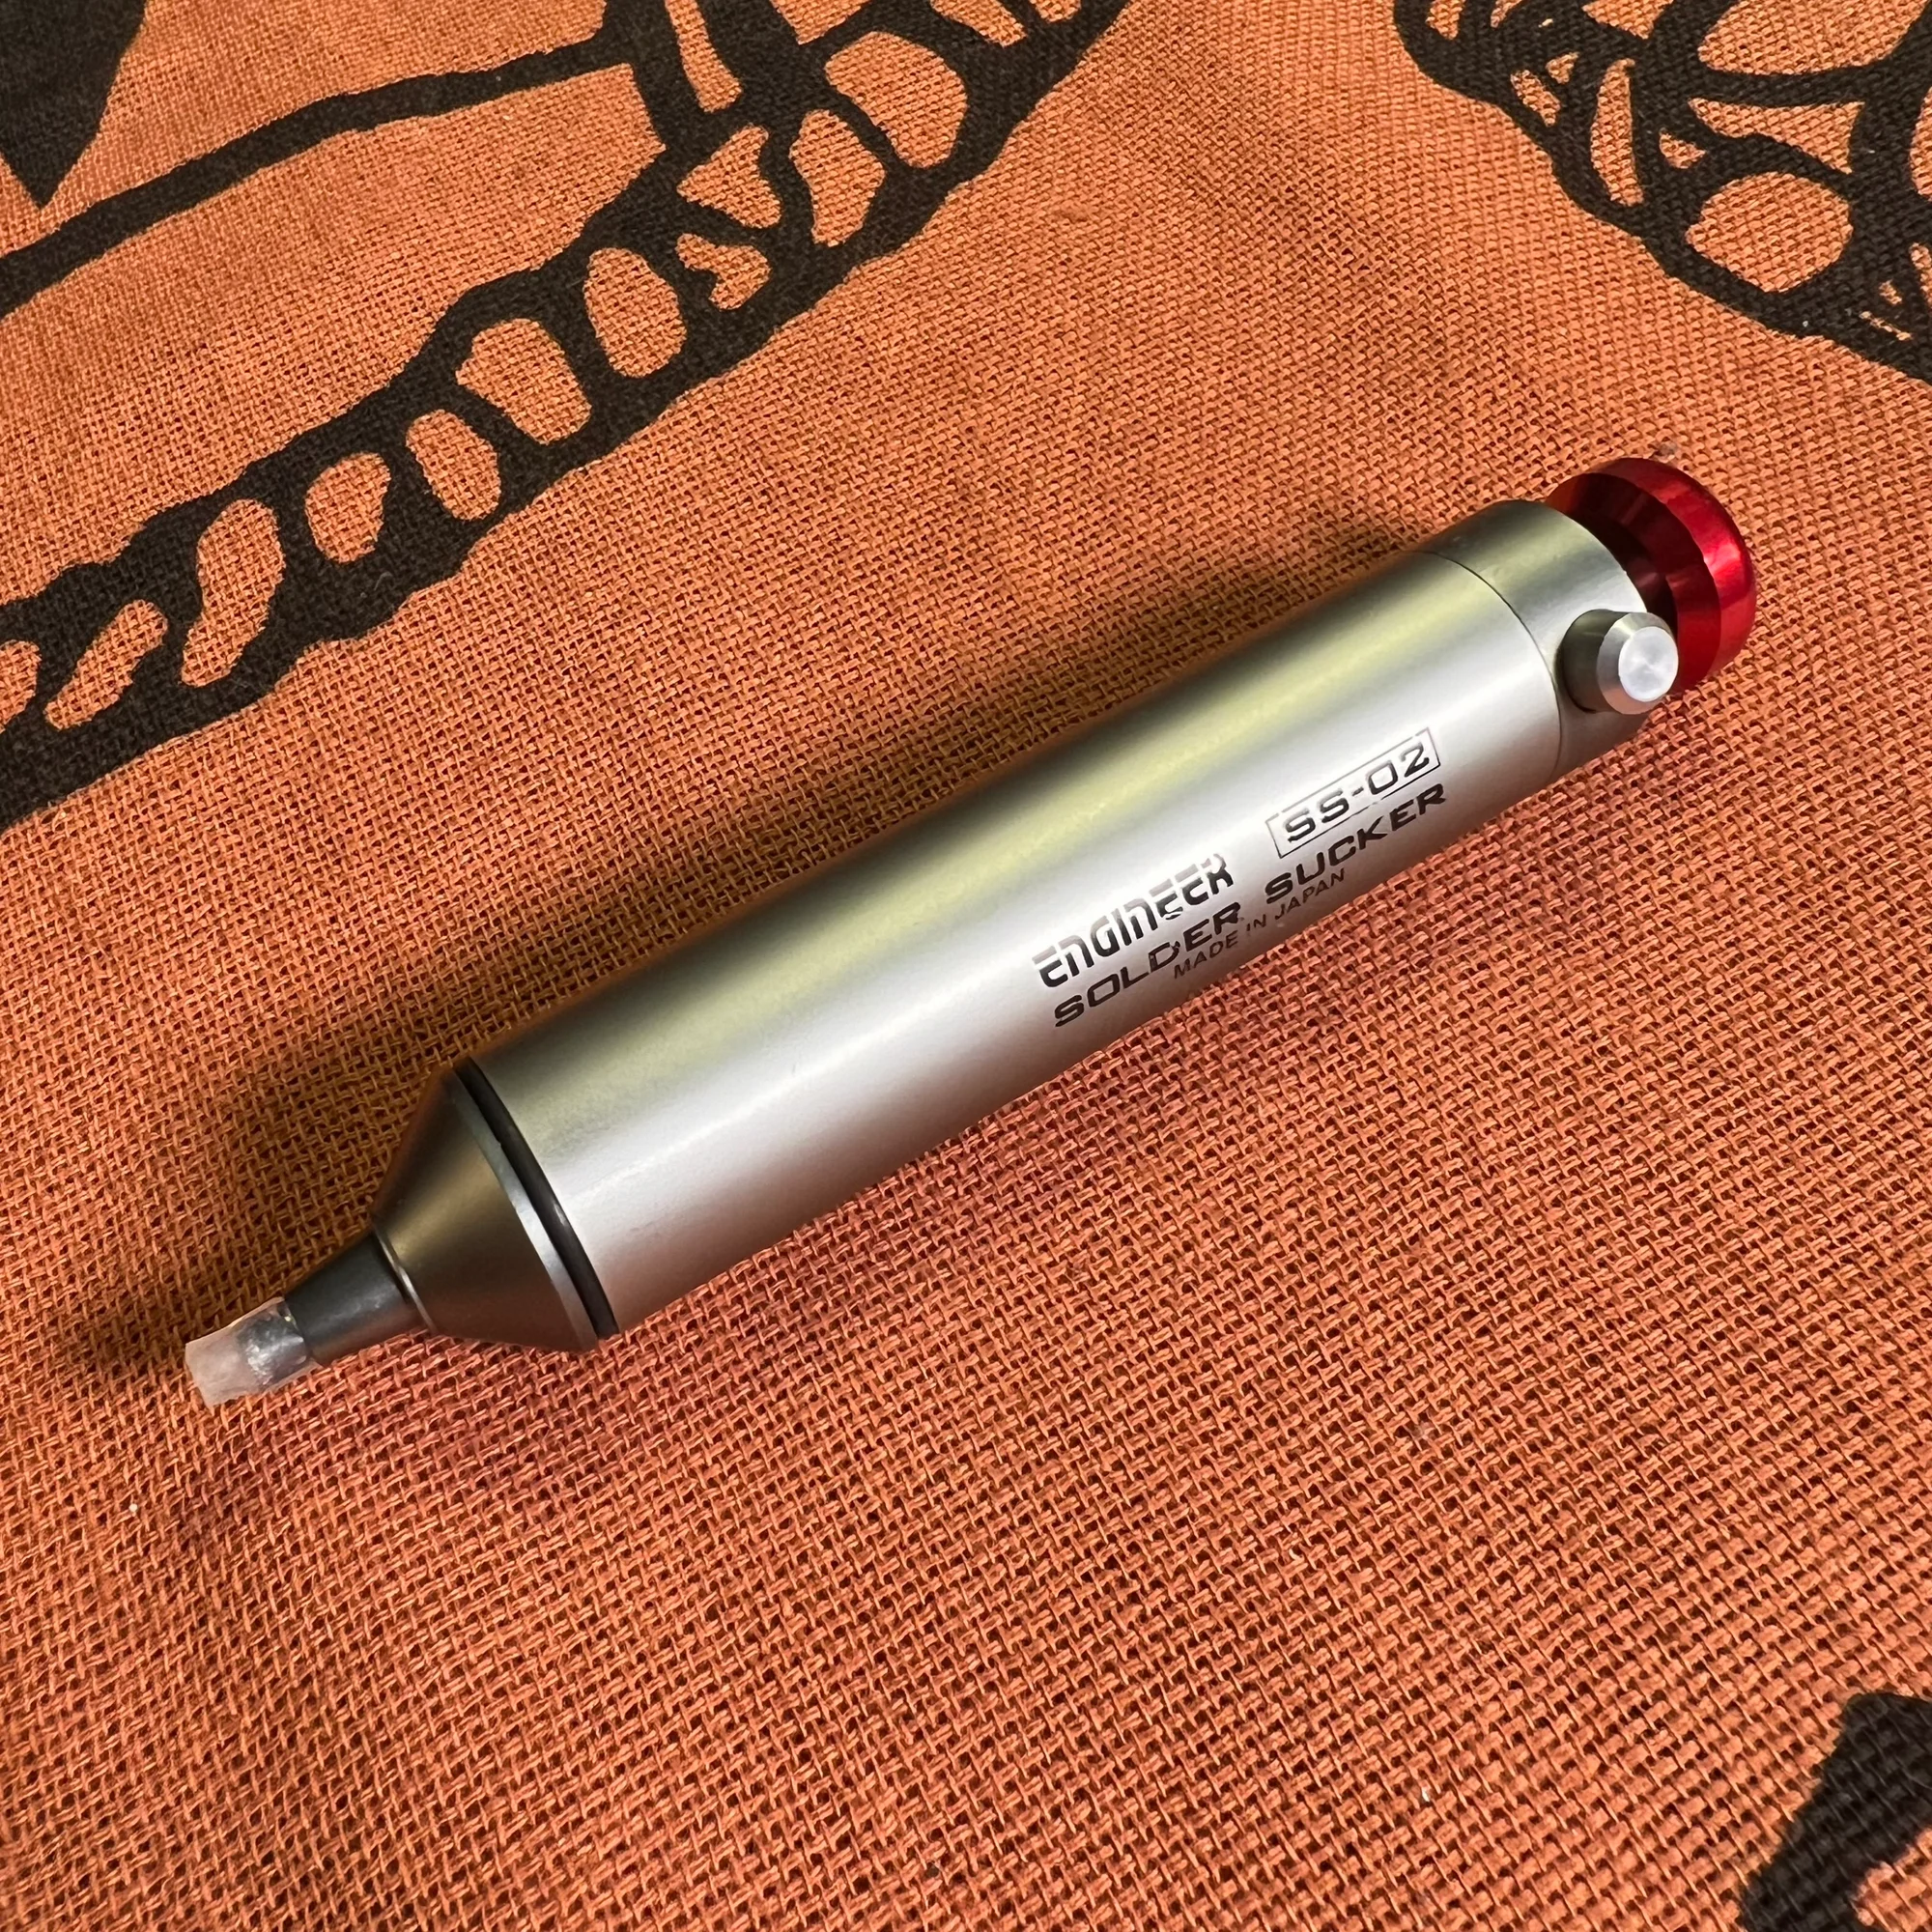
A desoldering pump is also good to have. For example, here’s an affordable option:
In the Japanese DIY community, everyone calls this type of tool “Shutaro” — named after a specific product. It seems to have been upgraded to the Shutaro NEO.
This isn’t something I’d specifically recommend, but it’s necessary when you need to remove solder. The desoldering braid mentioned earlier works well for removing small amounts of solder, but it’s difficult to remove larger amounts with it.
The Shutaro is a bit hard to describe in words — I’d recommend watching the product video on Amazon — but it has a spring inside, and when you press the button, it creates suction at the tip to quickly suck up solder. You apply the soldering iron to the area you want to desolder, then use the pump to suck the solder away.
However, you end up with the soldering iron in your right hand, the pump in your left hand, and the PCB sitting on the mat, so you run out of hands — it’s not the most ergonomic setup. But if you’re not doing repairs all that frequently, it gets the job done.
There is a more powerful tool that combines both functions — a solder sucker with a built-in heater. Here it is, though the price is quite high, so it’s not really for DIY beginners — just mentioning it for reference. I got to try one once and it was incredibly convenient:
I haven’t used the Shutaro NEO mentioned above, but it might also be quite useful.
Note: I later bought the Shutaro NEO. It’s overwhelmingly convenient. If you plan to build various projects, I’d recommend considering it.
Magnifier / Magnifying Glass
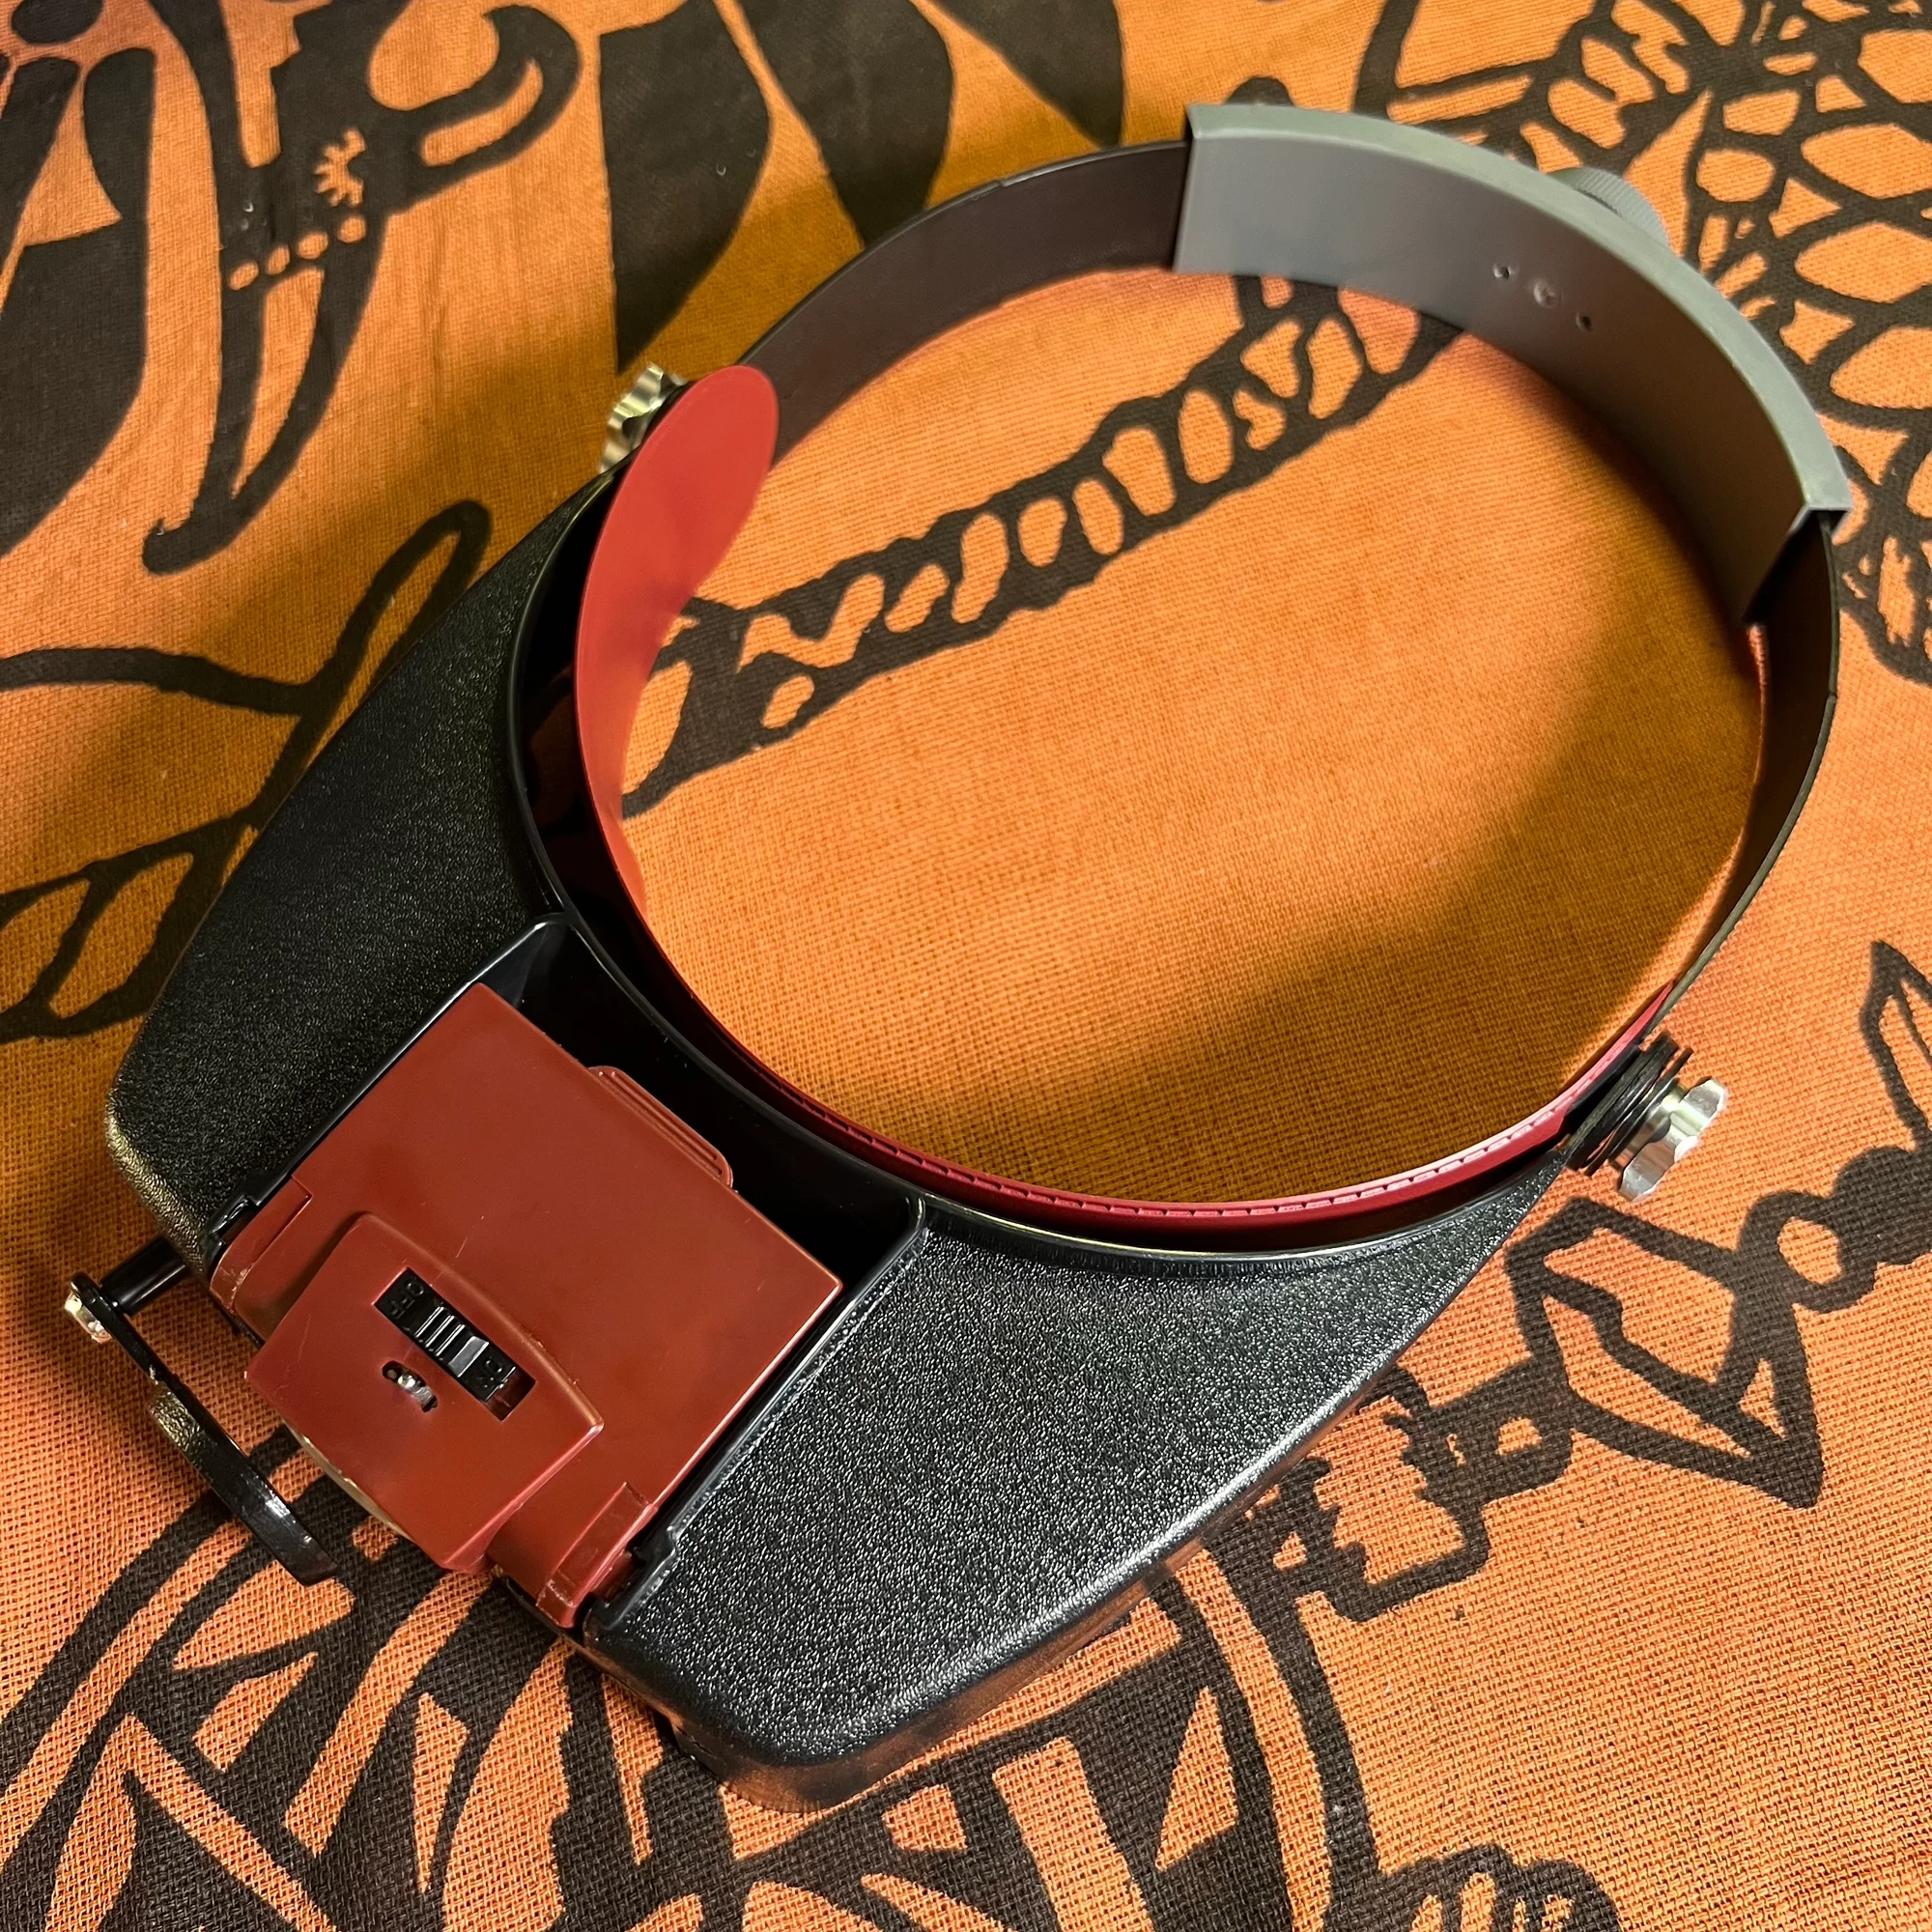
Soldering involves extremely detailed work. If you find it hard to see, a magnifier or magnifying glass is a good idea. Here’s the one I use:
Looking at Amazon reviews, many magnifiers seem to have rather low ratings. Before this headband type, I had an arm-mounted desk magnifier, but it was awkward to position and I considered it a failed purchase.
Preferences vary, so I’d suggest browsing and comparing options. I wear glasses, so I needed something that could be worn over them. And since I don’t need the magnifier on all the time, being able to quickly put it on and take it off made this headband type a great fit for me.
Light
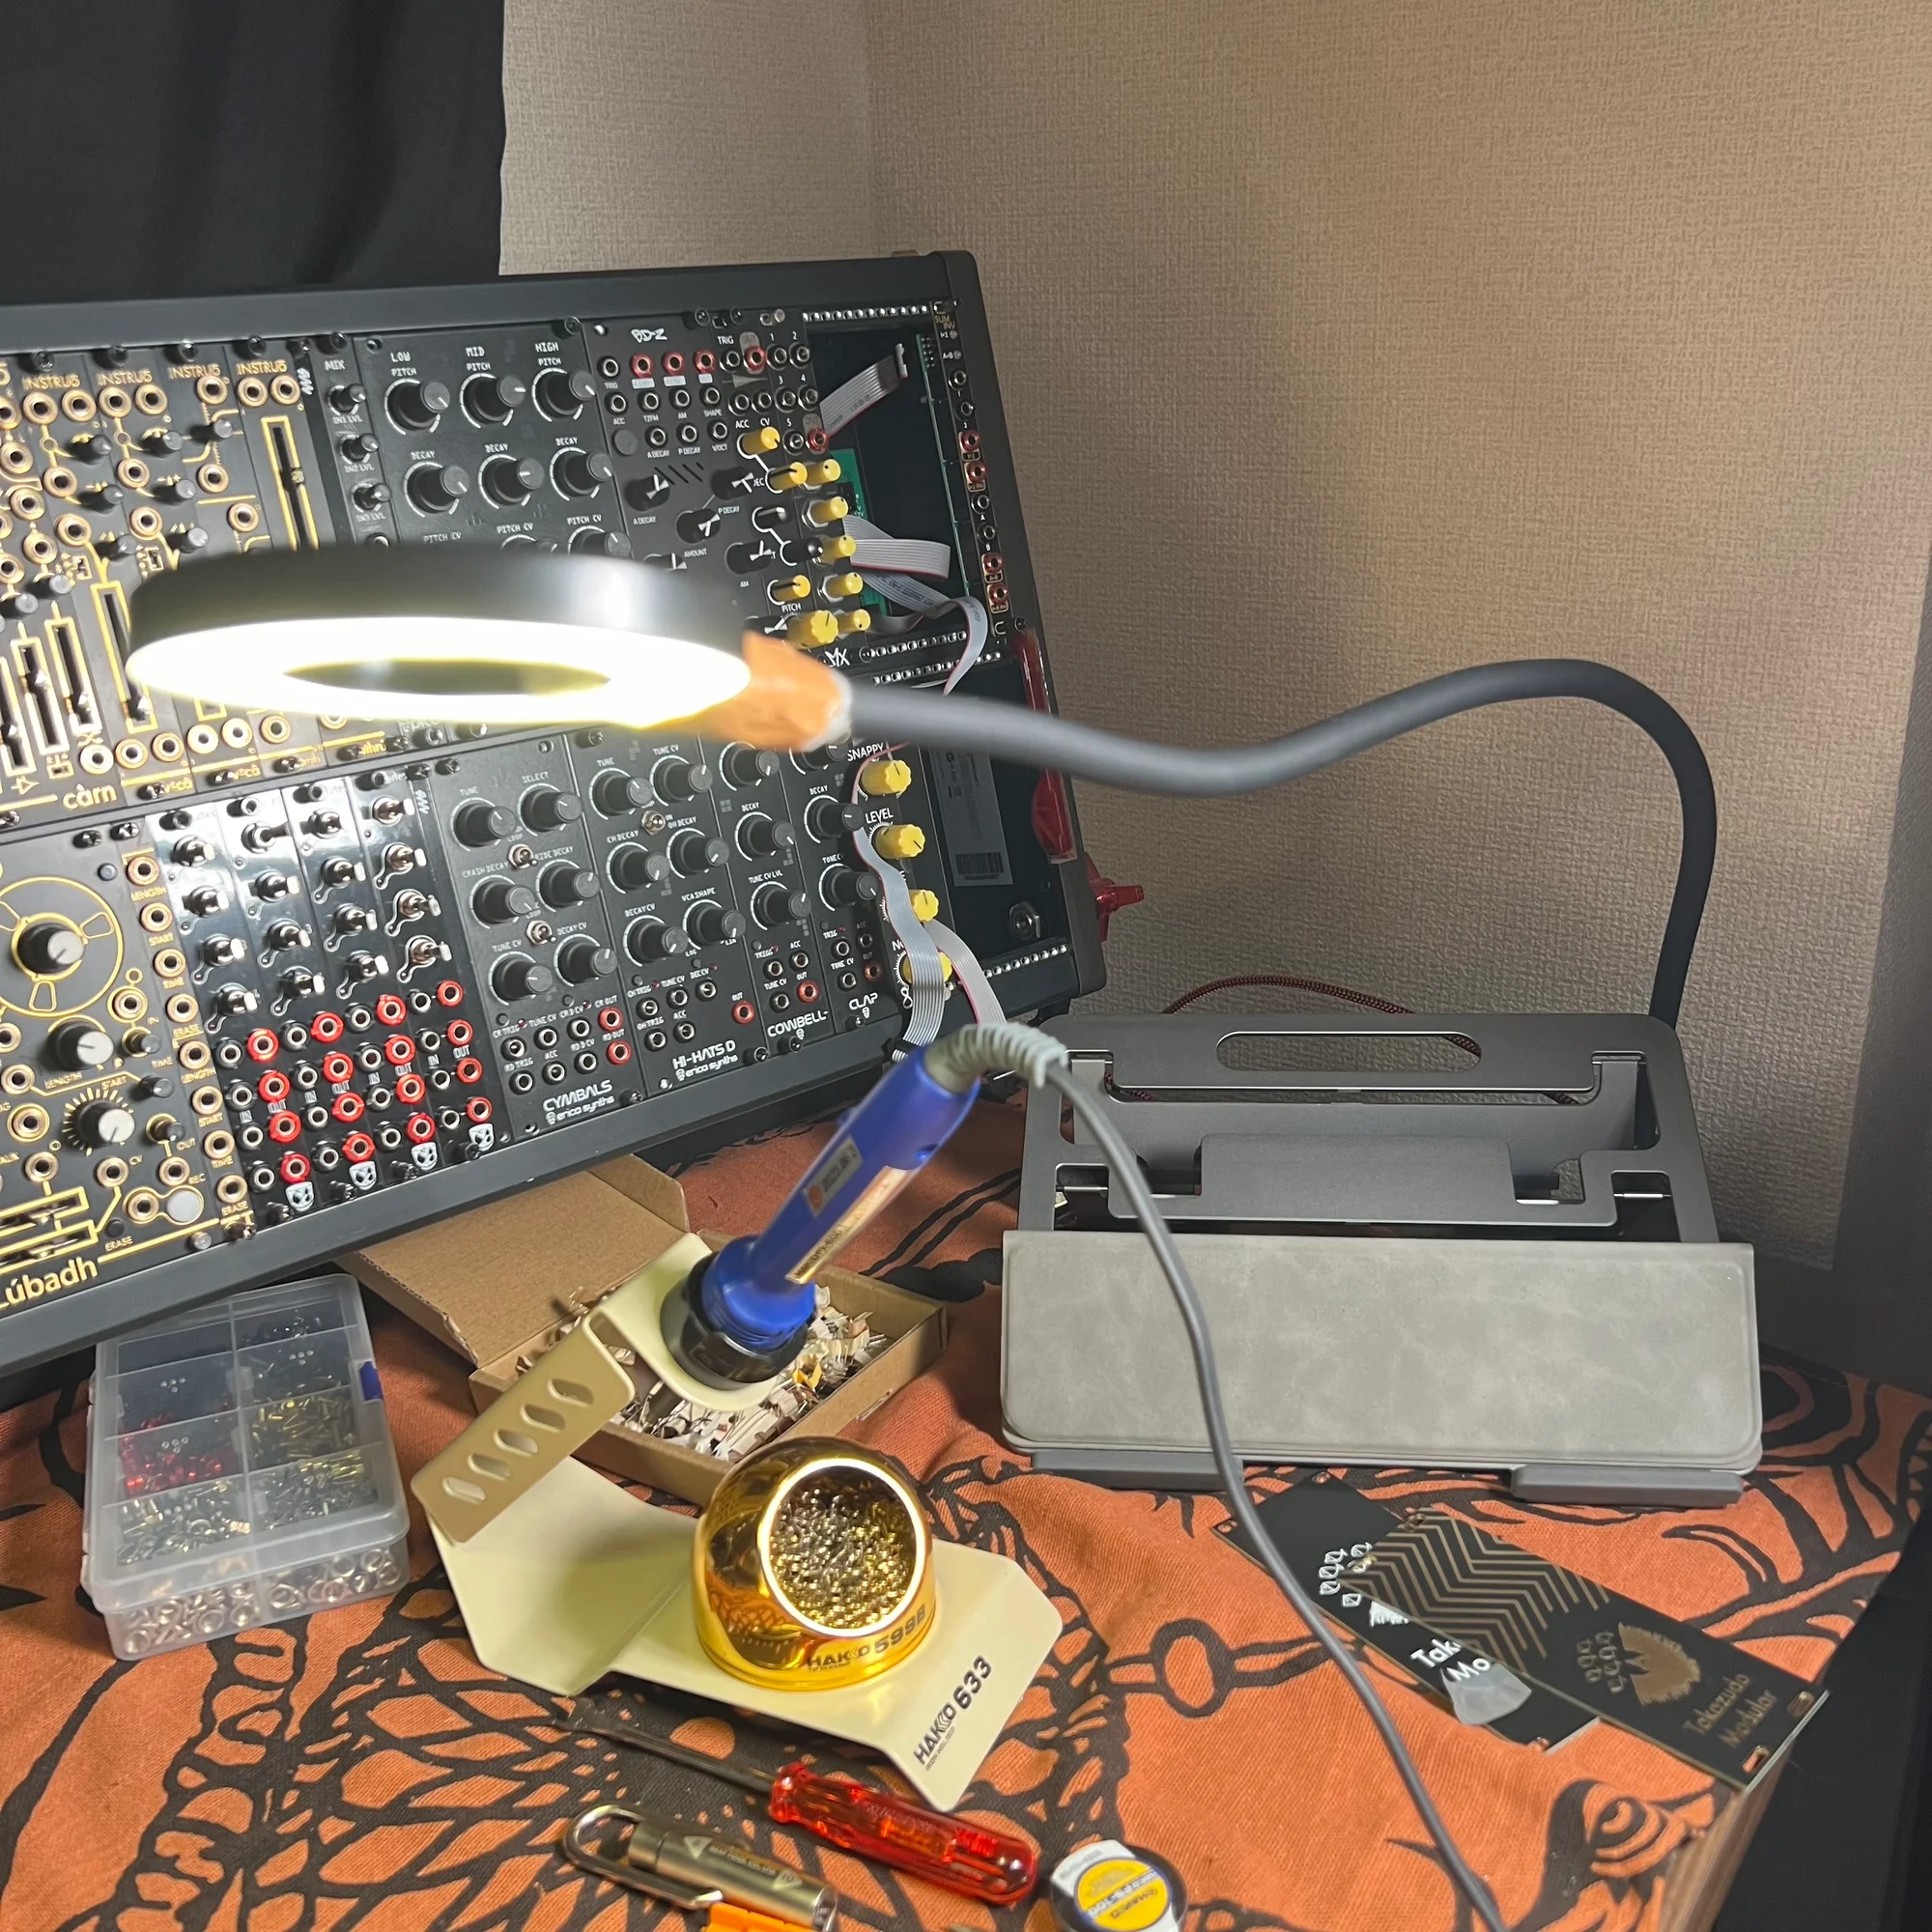
When soldering, you need your work area to be quite well-lit. If your desk already has sufficient lighting for reading, you may not need additional lighting, but otherwise a light is practically essential.
In my case, I have various other lights, but when soldering I use the following clip light:
It’s not particularly bright and I wouldn’t call it a strong recommendation, but when soldering, your desk gets covered in tools, so a standing light would just be in the way. This clip light can be moved to the side and positioned as a spot light close to your work, and it’s affordable — that’s why I’m mentioning it.
By the way, this light isn’t very durable — as you can see in the photo, I tried to bend the neck and broke it, so I’ve got it held together with tape.
That covers the Level 1 nice-to-have tools.
4. Nice to Have - Level 2
Next are the Level 2 nice-to-have tools.
These aren’t essential, but they’re the kind of things you’ll start wanting as you do more DIY.
Mini Clamps
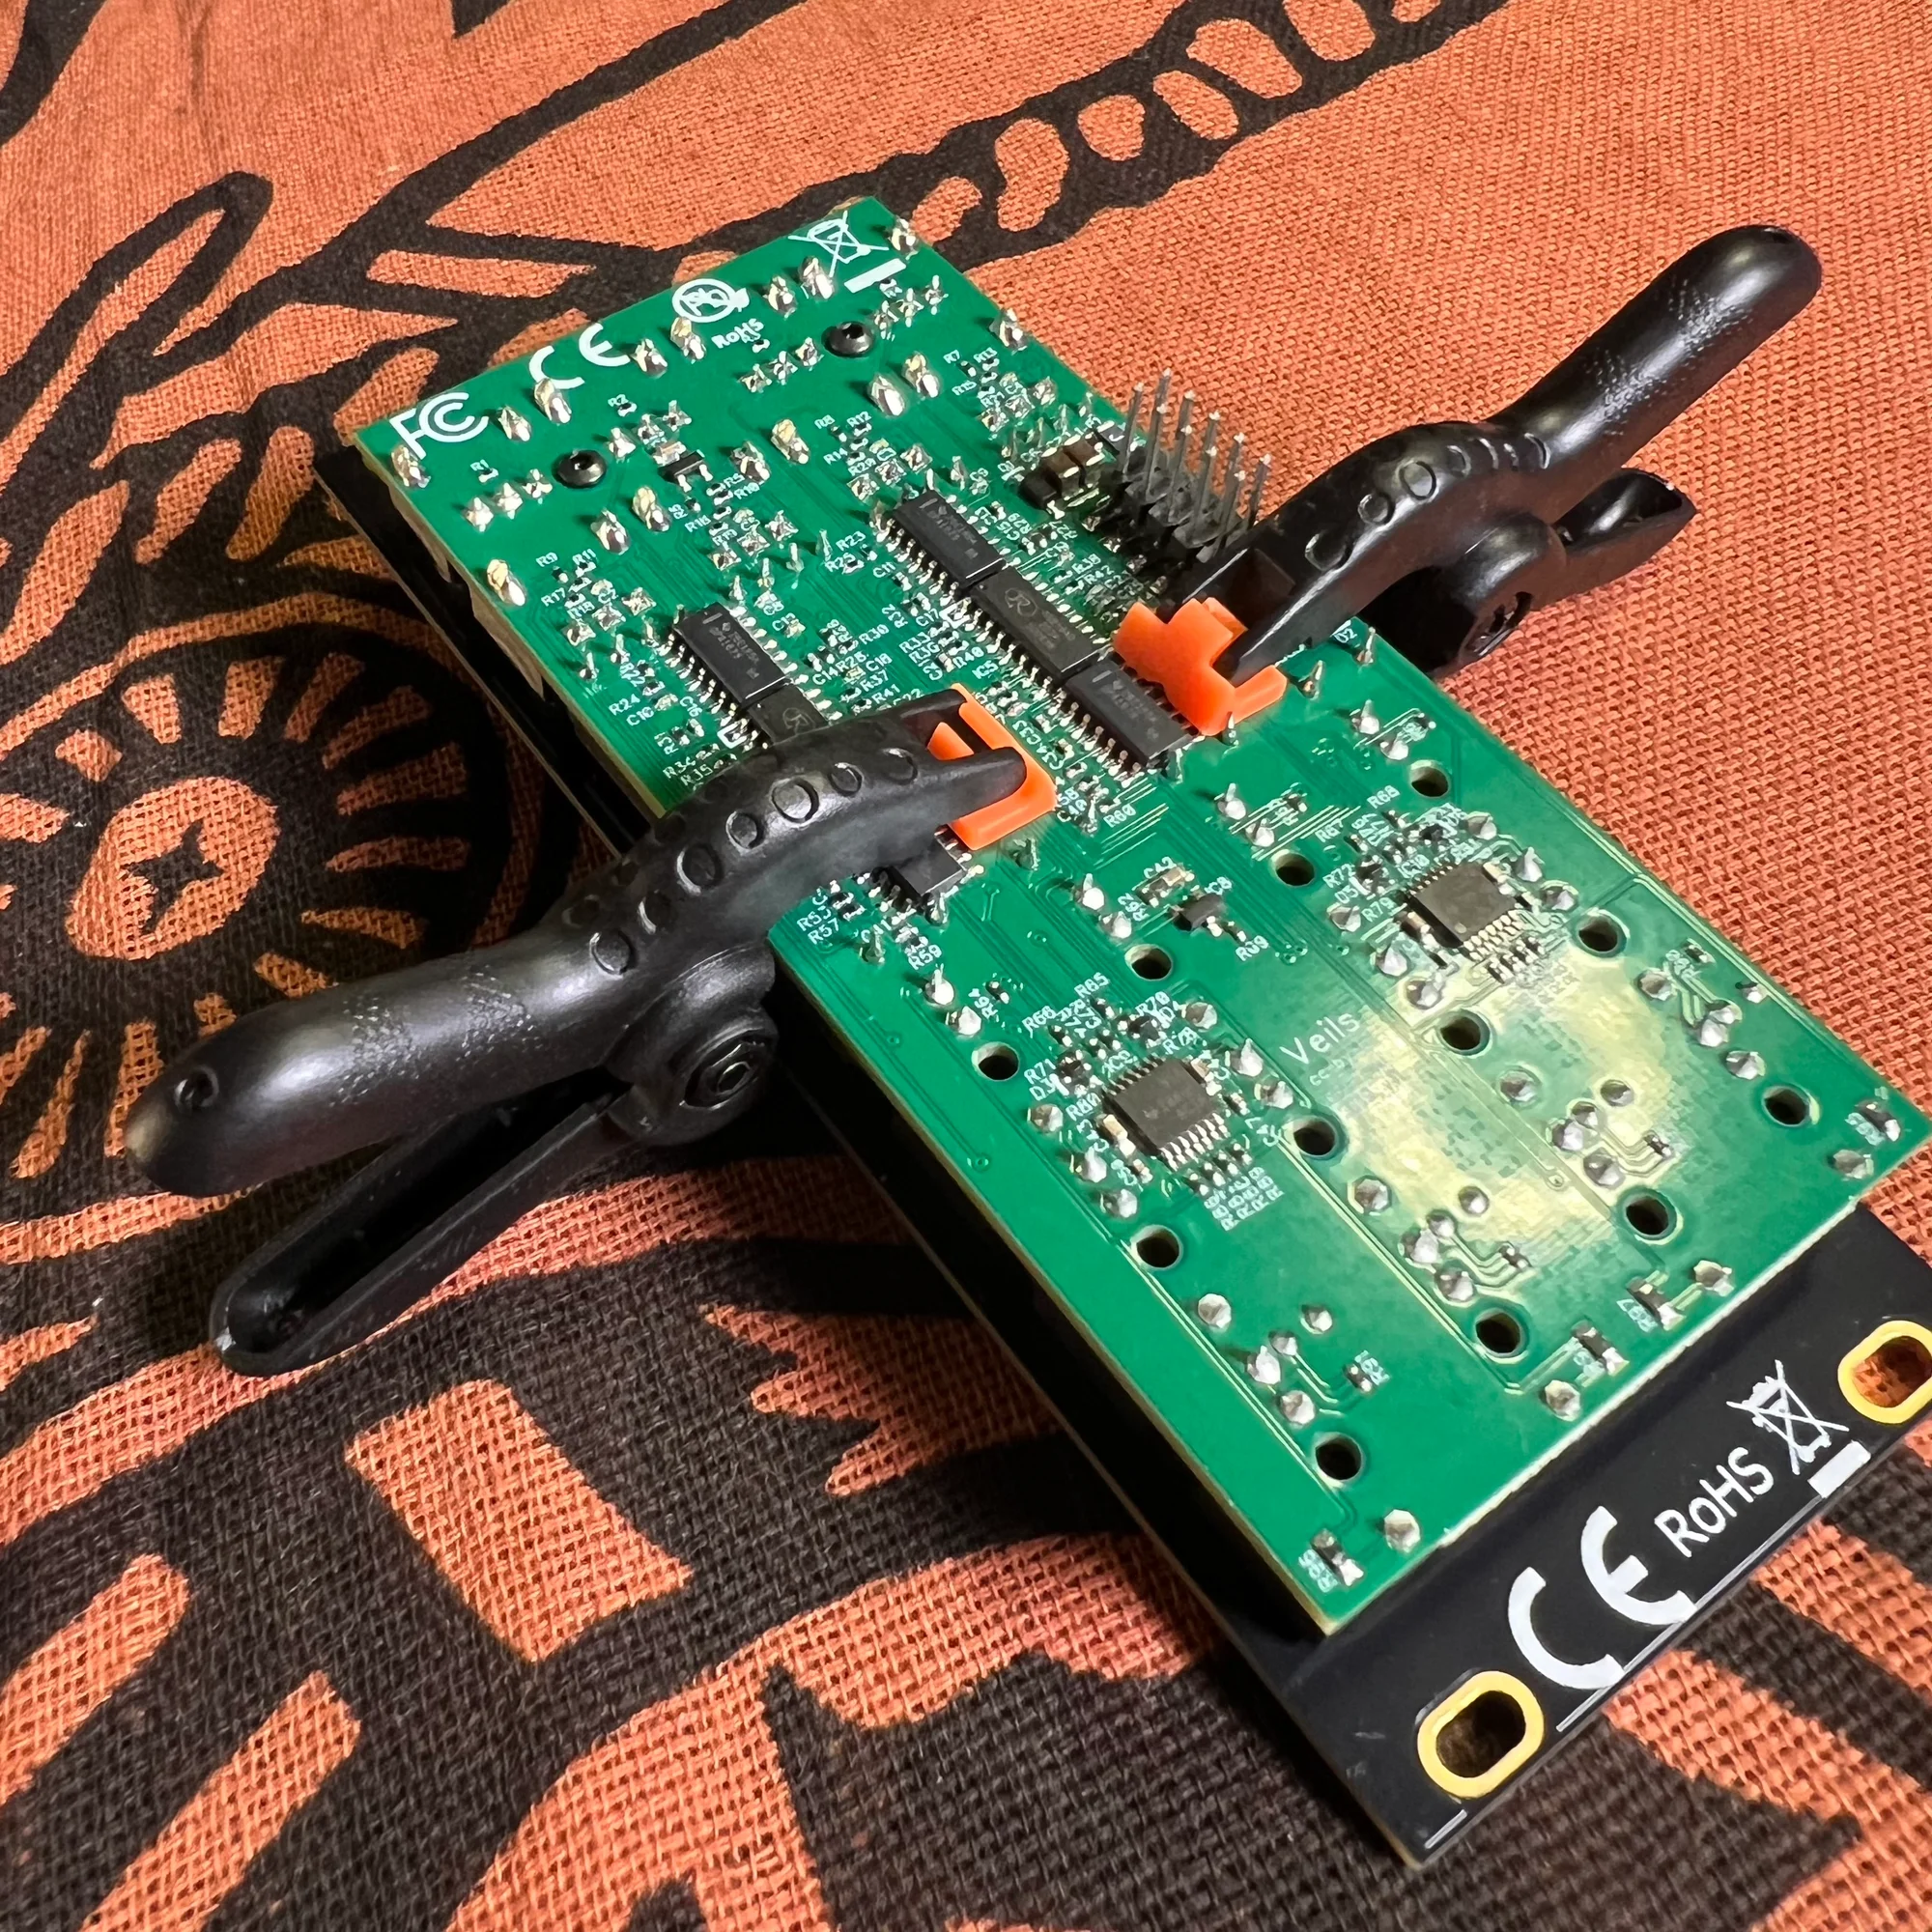
When soldering boards and components, sometimes you need to hold things firmly in place. For example, when soldering connectors between a board and panel, or between multiple boards. In such cases, you might use tape or rubber bands for temporary holding, but mini clamps are much more convenient for this purpose.
These provide a secure hold.
One word of caution: these clamps grip quite strongly, so forcing them can potentially damage components. This product comes in various sizes, so having a few different sizes on hand might be useful. While writing this article, I realized I wanted more, so I went ahead and bought a larger size as well.
Plastic-Tip Pliers
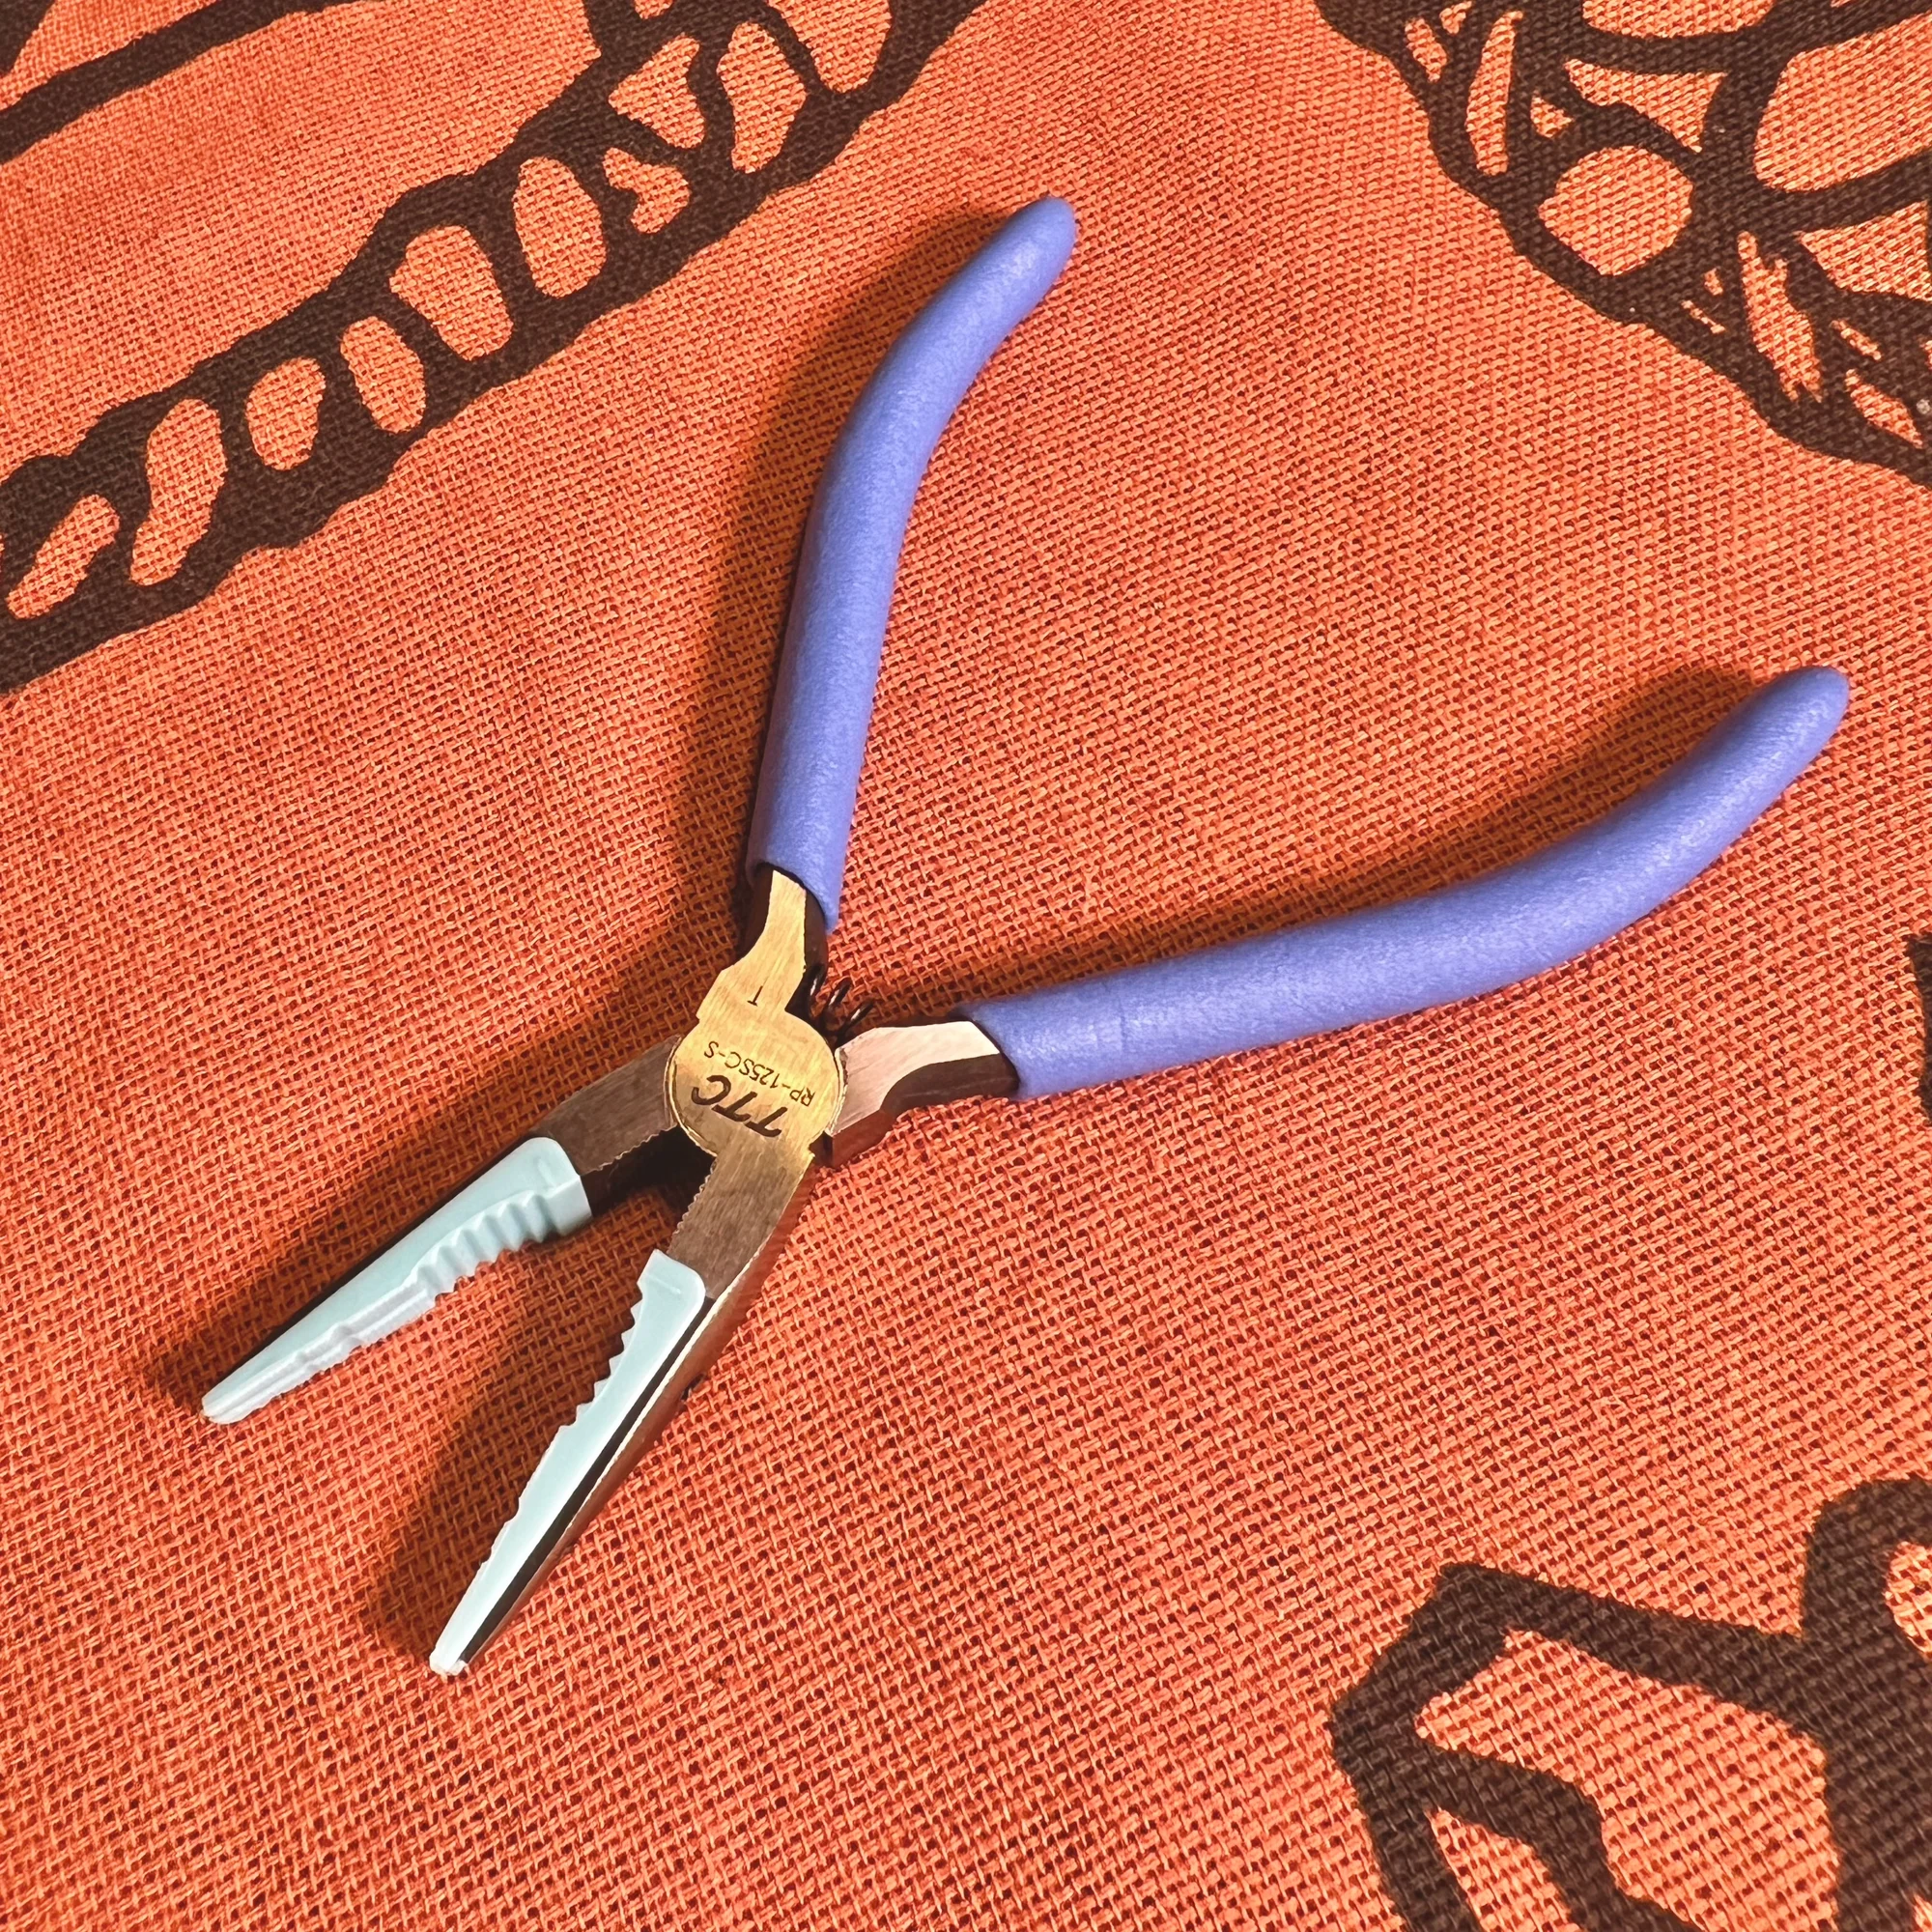
Plastic-tip pliers are pliers with tips made of a soft plastic-like material.
What makes these great is that the soft tip material won’t scratch or damage the synth. Specifically for modular synths, they’re useful when attaching components to panels. If a panel nut is stuck or you need to apply force to remove a component, these pliers let you do so without scratching the panel.
If you use metal pliers for this kind of work, you’ll quickly notice that they scratch the panels.
Tip Polisher
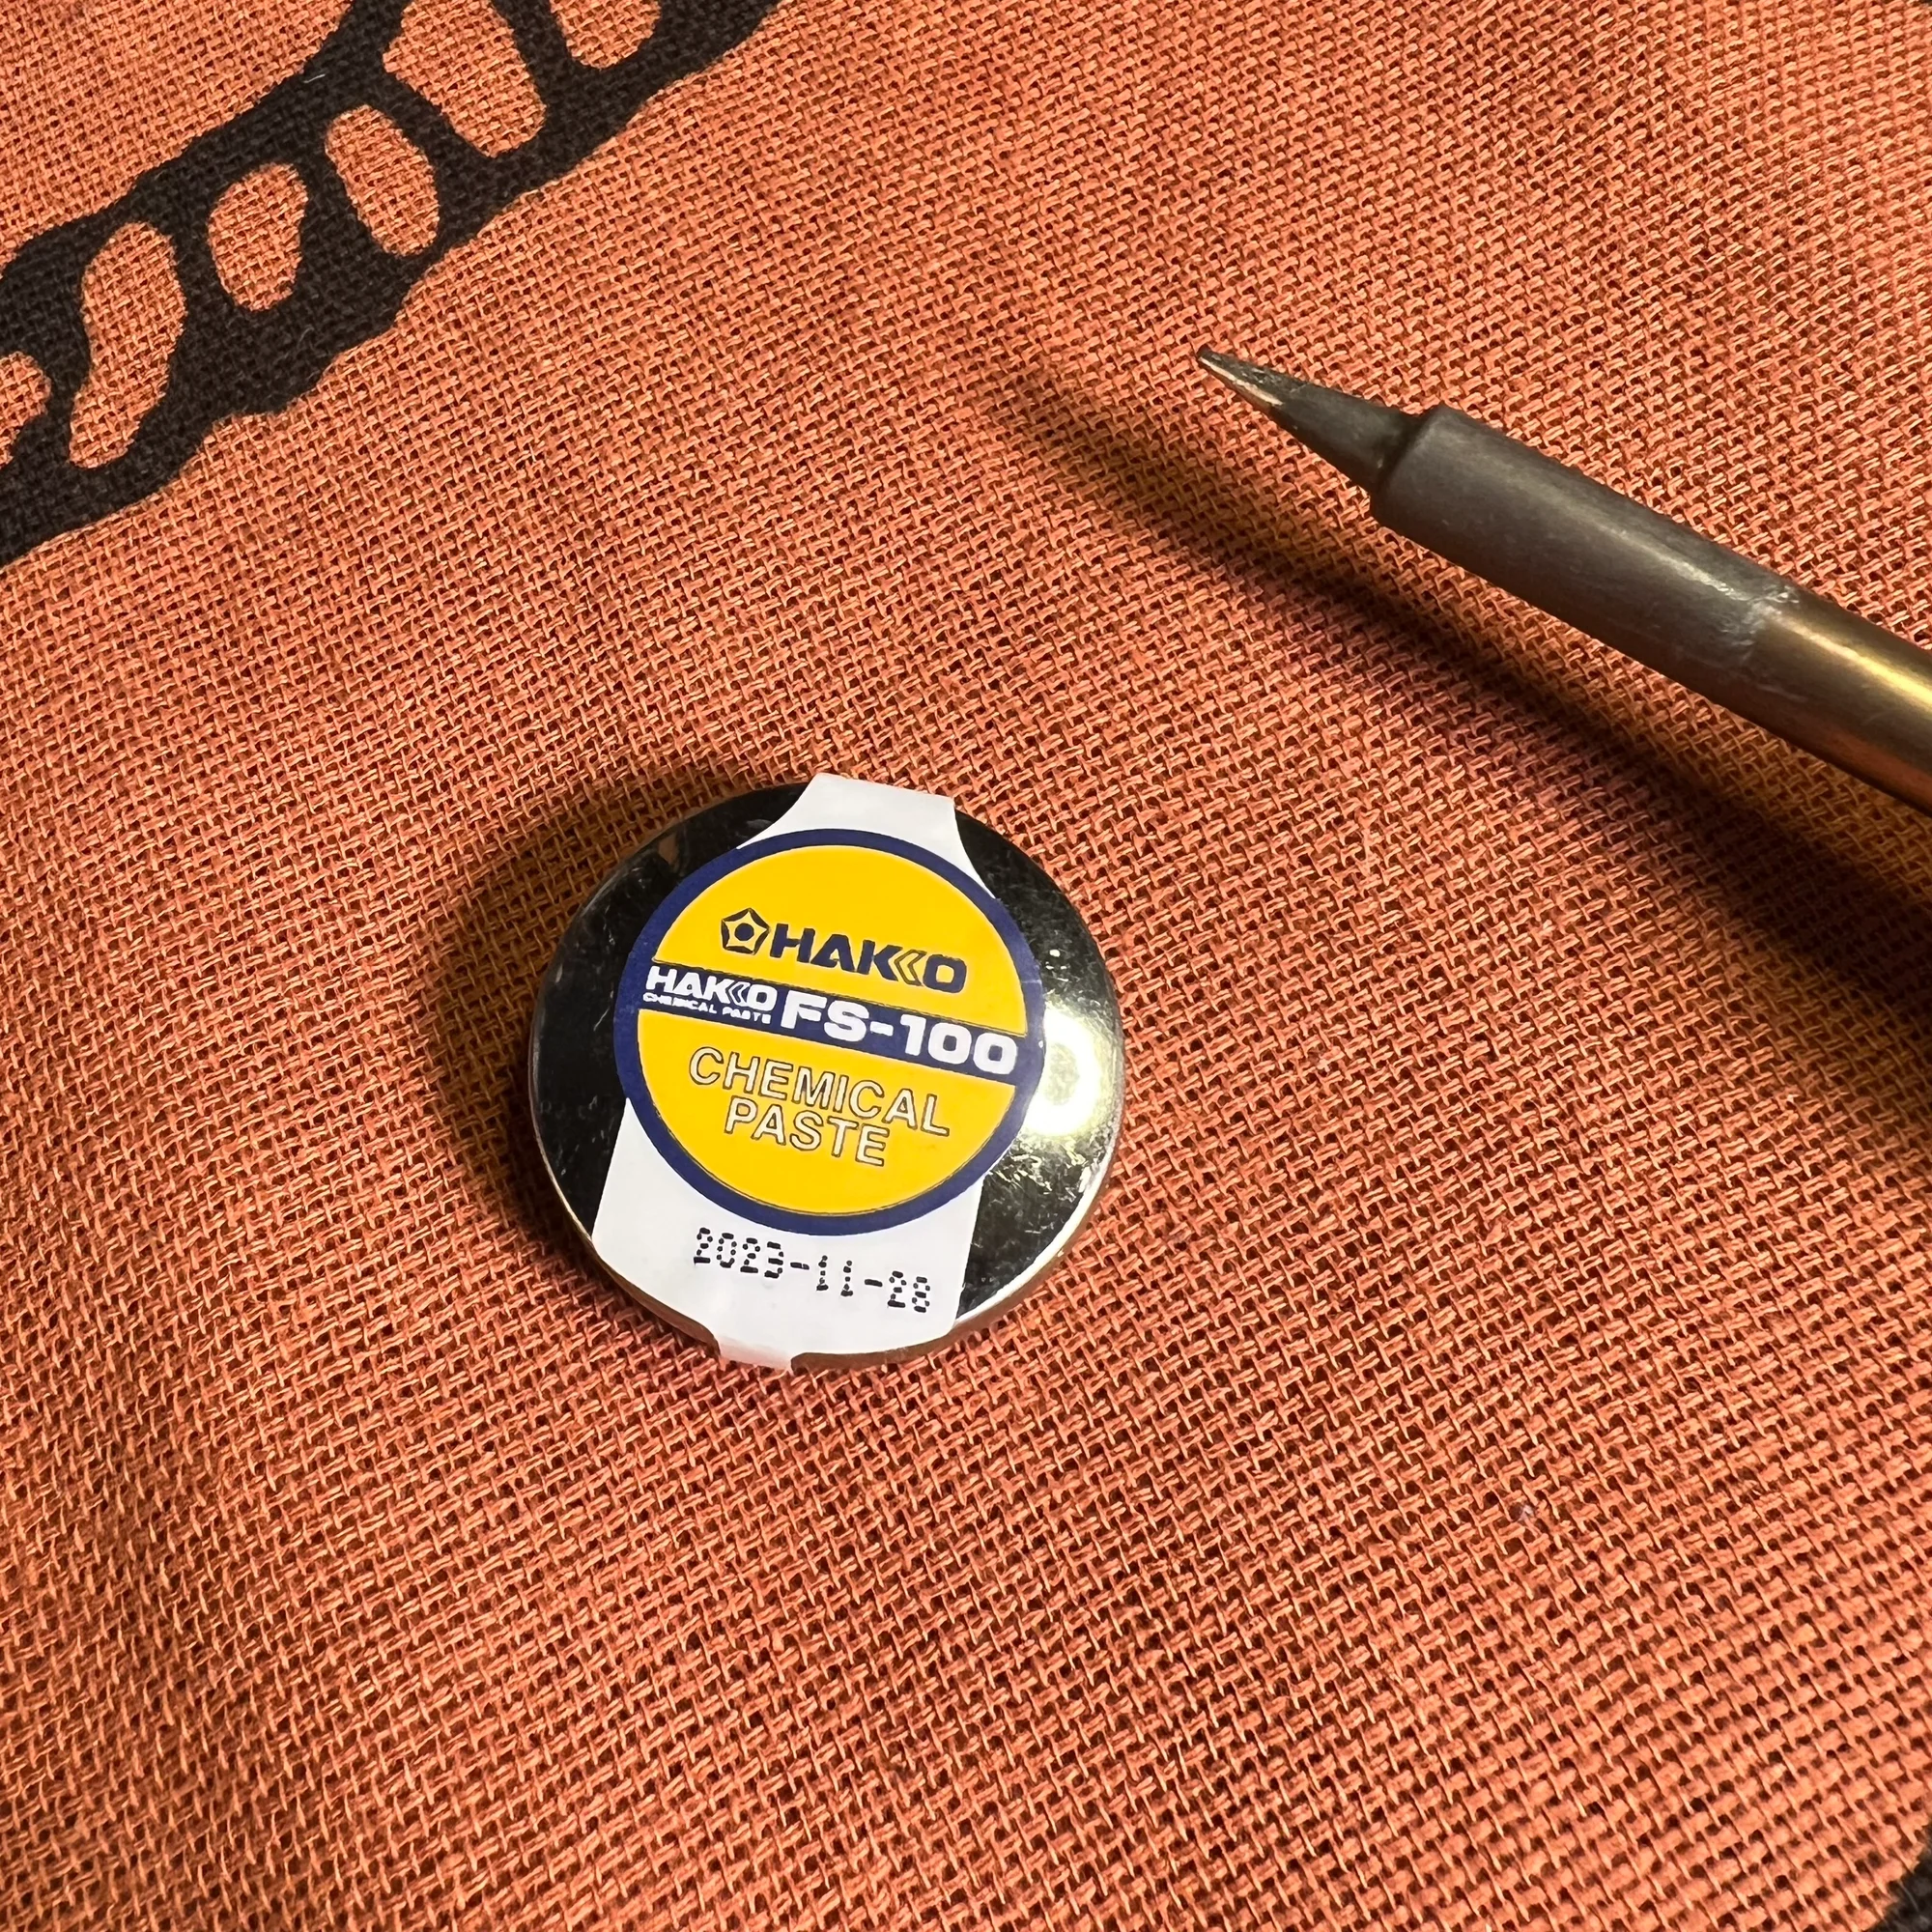
Over time, your soldering iron tip will darken and solder will seem harder to melt. When that happens, you can maintain the tip with a tip polisher maintenance product.
The soldering iron tip apparently has a coating, and this product helps restore it.
After lightly polishing the tip with cleaning wire and applying this paste followed by solder, the tip becomes shiny and solder melts properly again. I don’t fully understand the science, but in practice, as you continue using the soldering iron, you’ll eventually hit moments where solder wire won’t melt on the tip. Using this tip polisher restores it to working condition immediately.
For usage instructions, please refer to the following HAKKO pages:
- HAKKO: When you can’t solder (tip repels solder / solder won’t melt)
- HAKKO: Maintenance when solder won’t spread on the tip
Auto-Off Timer
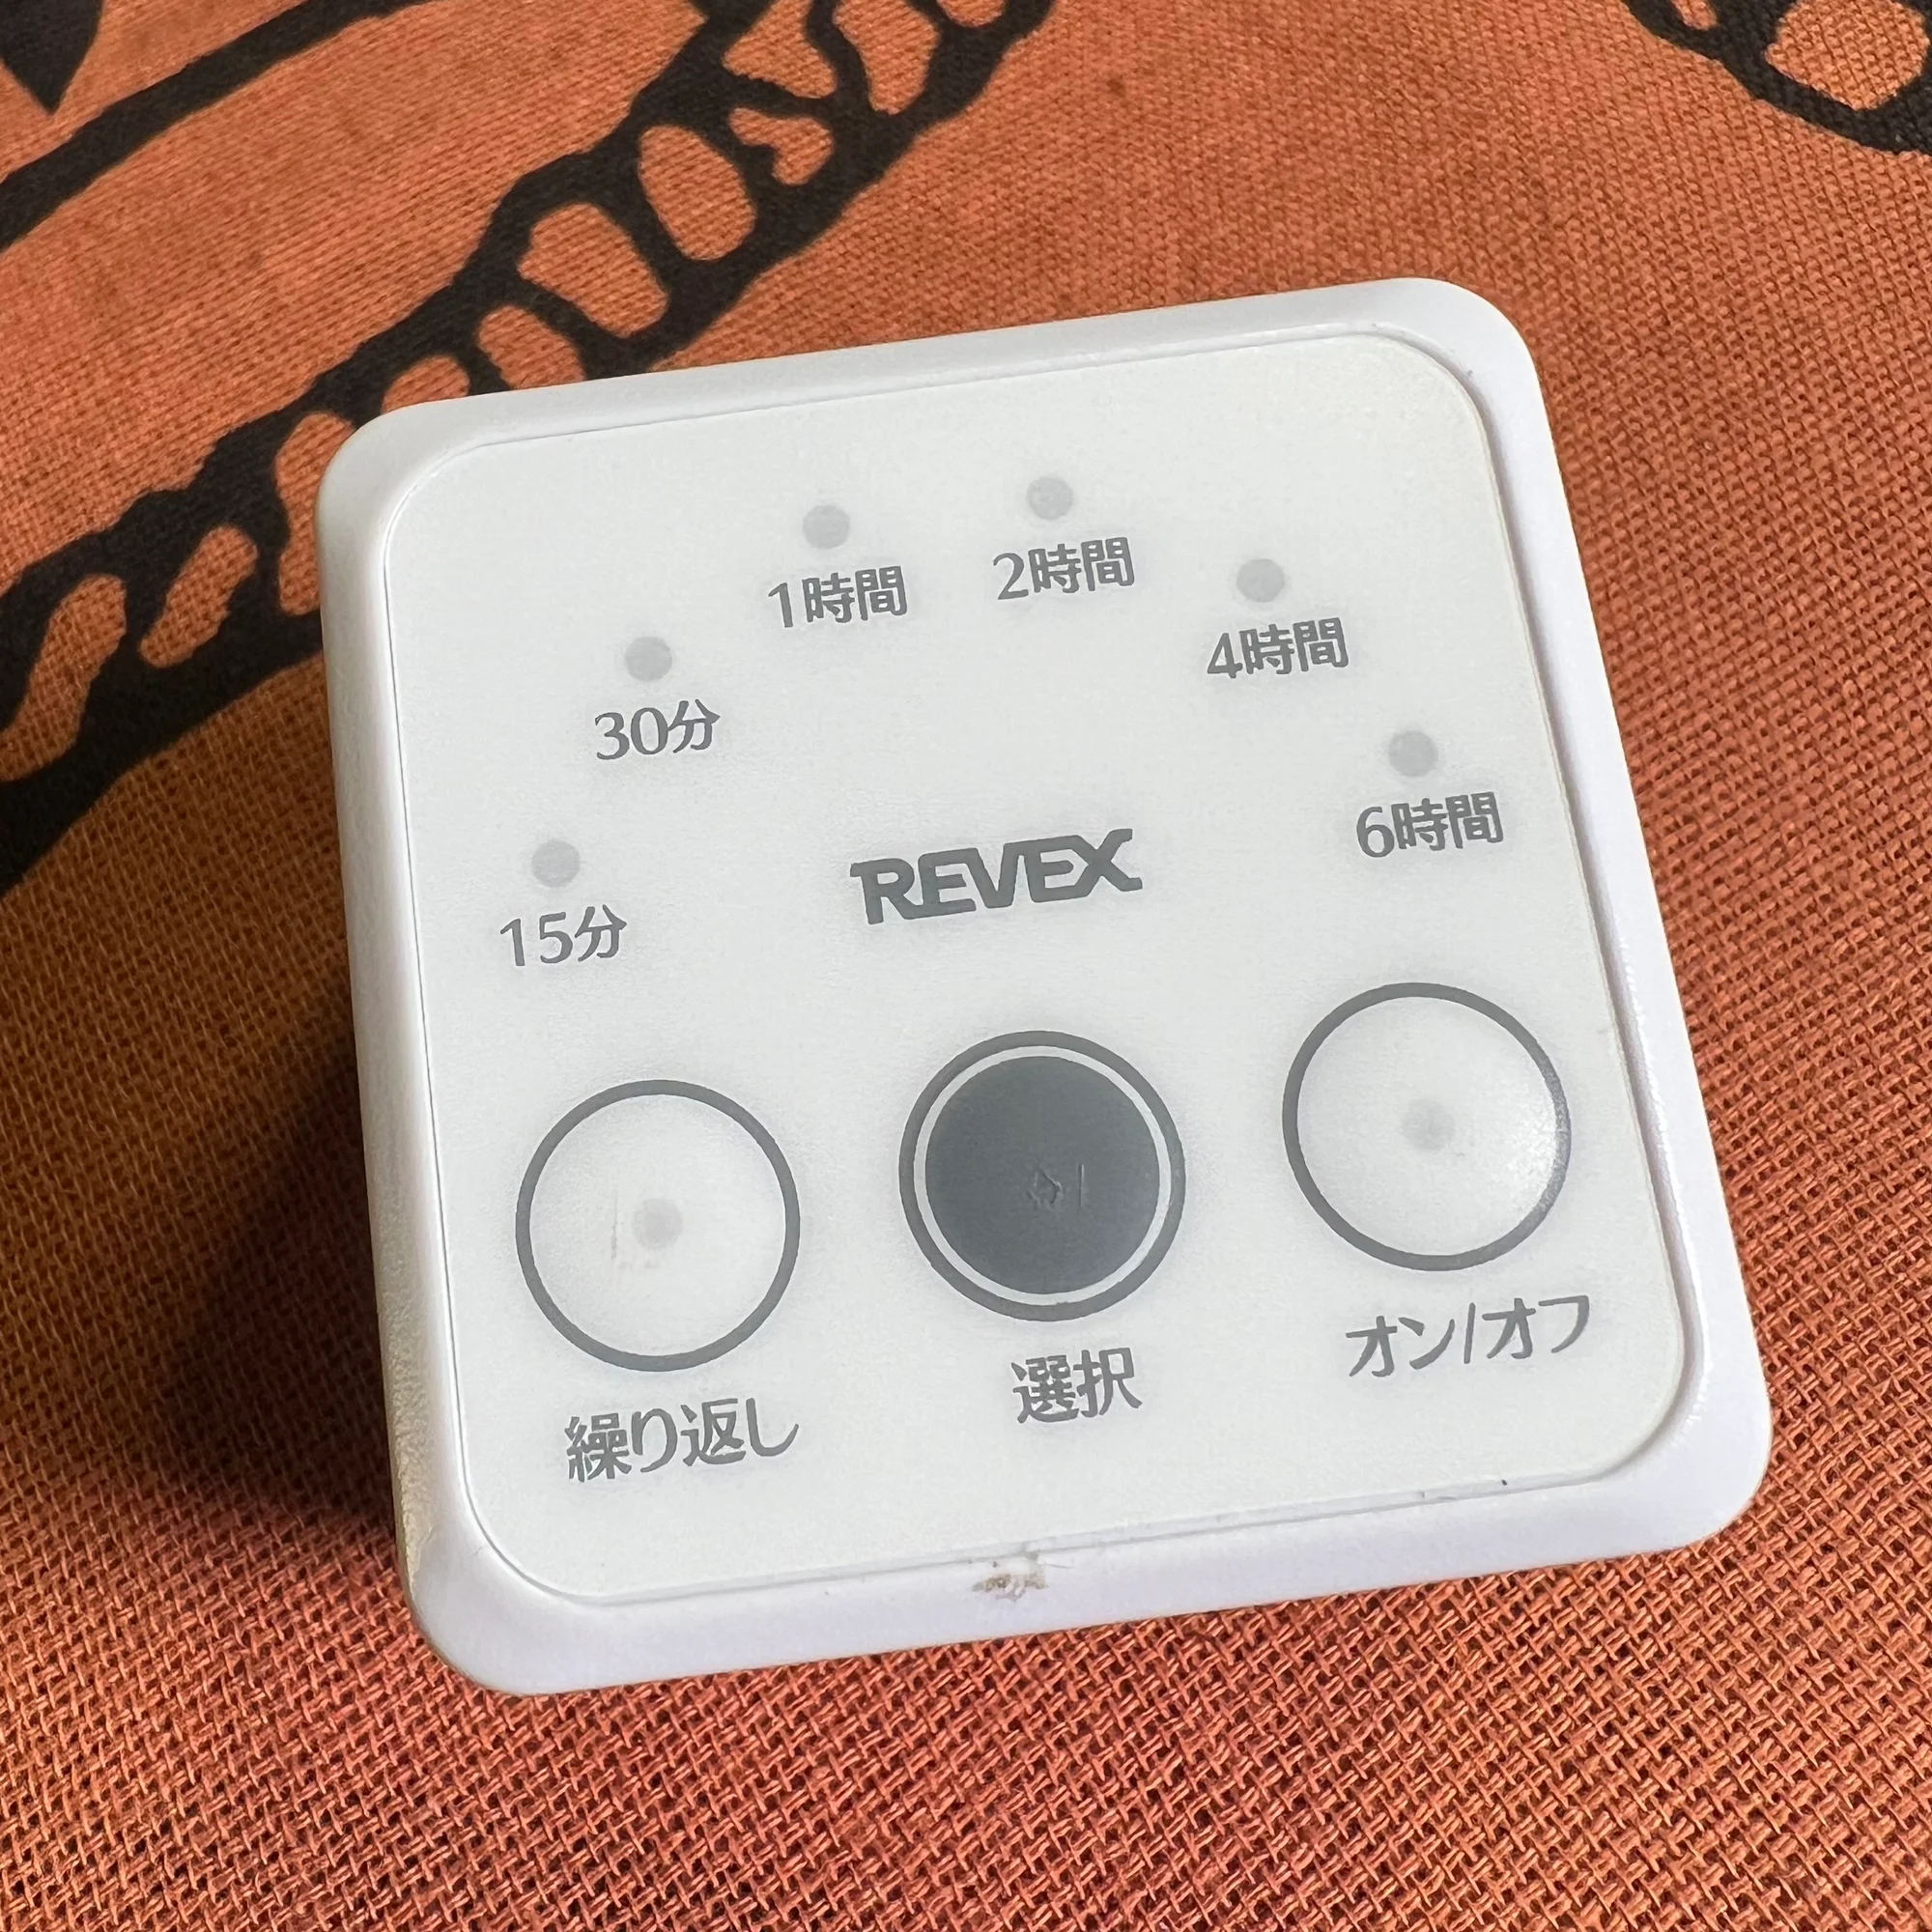
When using a soldering iron, you keep it powered on throughout your work session, which means you might forget to turn it off. An auto-off timer is handy for preventing this.
This device goes between your appliance’s plug and the wall outlet. You set a time using the buttons on the front, and after that time elapses, it cuts power.
Leaving a soldering iron on continuously damages the tip and, more importantly, is a safety hazard. I once left mine on and went out, only to realize immediately and rush back home. Even when you’re planning a long work session, setting this timer for 4 hours or so before you start gives you peace of mind.
That covers the Level 2 nice-to-have tools.
5. Nice to Have - Level 3
Finally, the Level 3 nice-to-have tools. These aren’t urgently needed, but they’re the kind of things you’ll start wanting as you continue doing DIY.
Replacement Tips
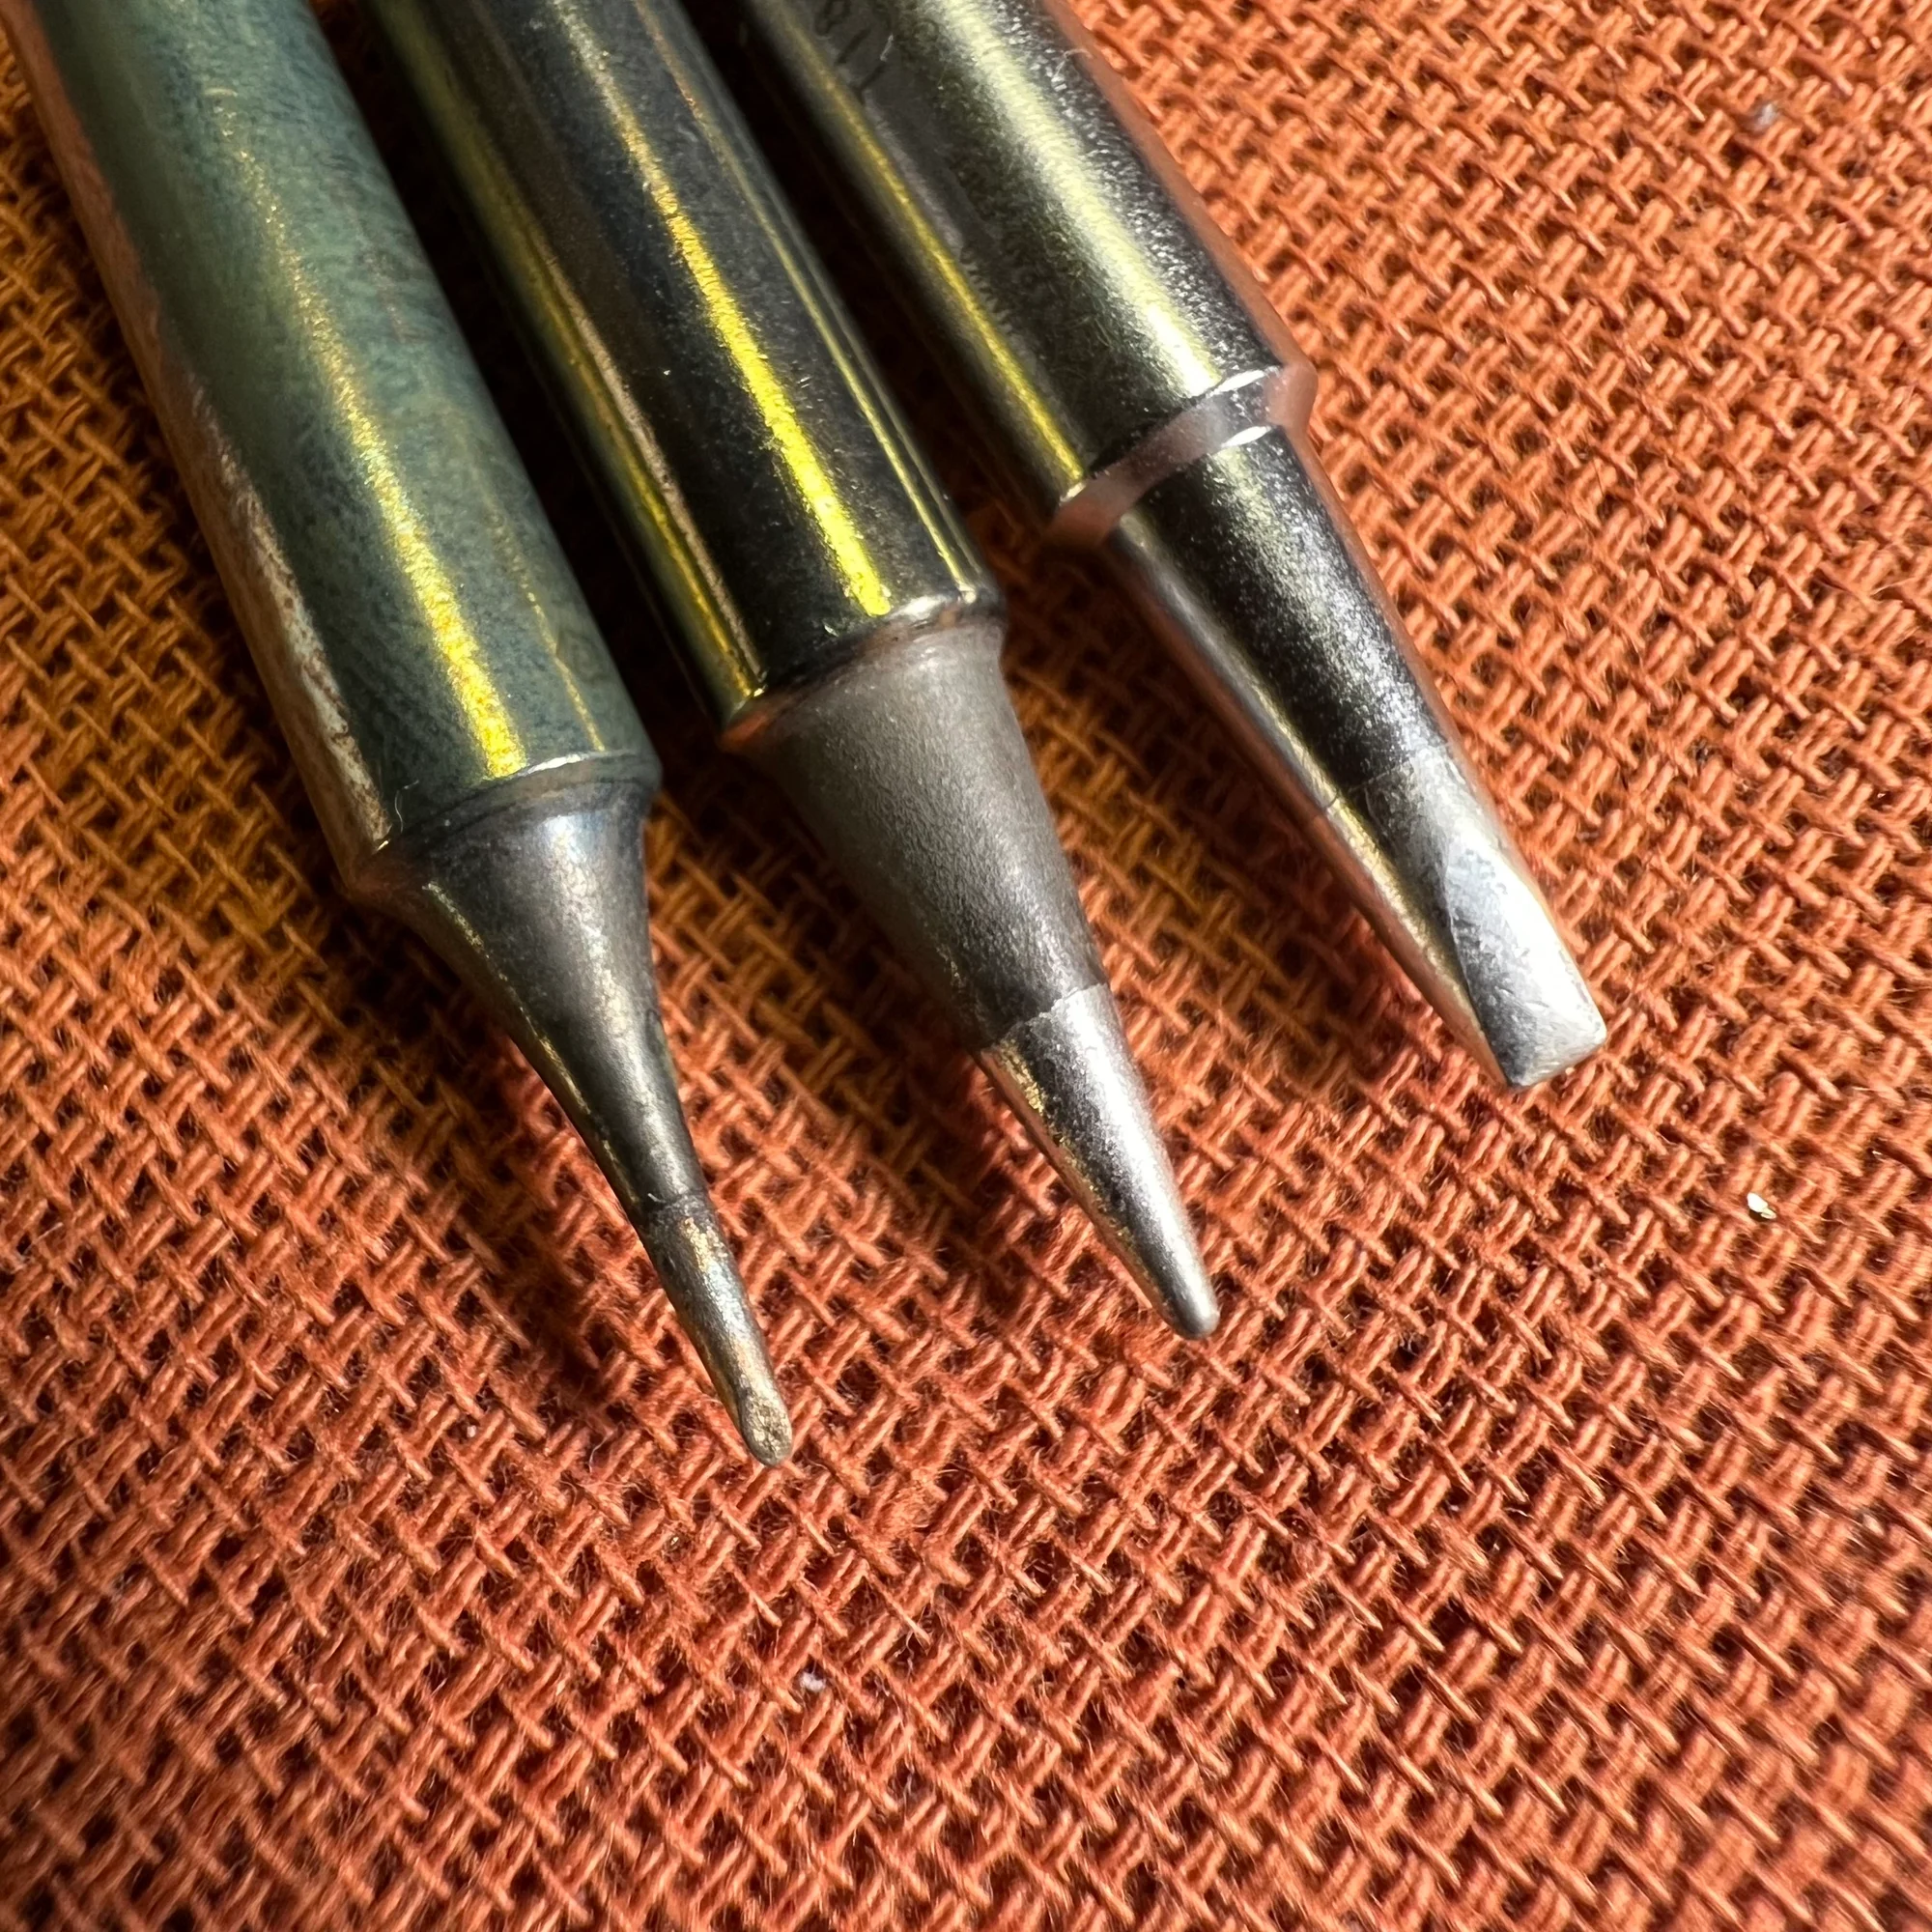
First, replacement soldering tips. There are two types: a flat (chisel) tip and a fine (conical) tip.
Soldering iron tips are designed to be replaceable. Once you’ve gained some experience, I recommend a flat (chisel) tip.
Before you start soldering, you tend to think of it as “melting solder,” but what actually happens is that you heat the pad, and then place solder wire on top of it — the solder melts and flows in. So heating the pad quickly is key, and for that, choosing a flat tip and using it at a low angle is more efficient. You don’t need to rush out and buy replacement tips right away, but after a few projects, swapping the tip and experiencing the difference can be quite enjoyable.
The fine tip is used for soldering SMD components and IC chips directly to the board. SMD components are very small, so the tip that comes with the iron is quite large for this work. In those cases, switching to a fine tip can make the job easier. You can also use the flat tip held sideways for some of this work, so it depends on component density and personal preference. When returning to through-hole soldering, make sure to switch back to the larger tip, otherwise heating the pads will take unnecessarily long.
I’m honestly not an expert in fine-pitch soldering, so take this section as a rough reference.
Flux and Flux Cleaner
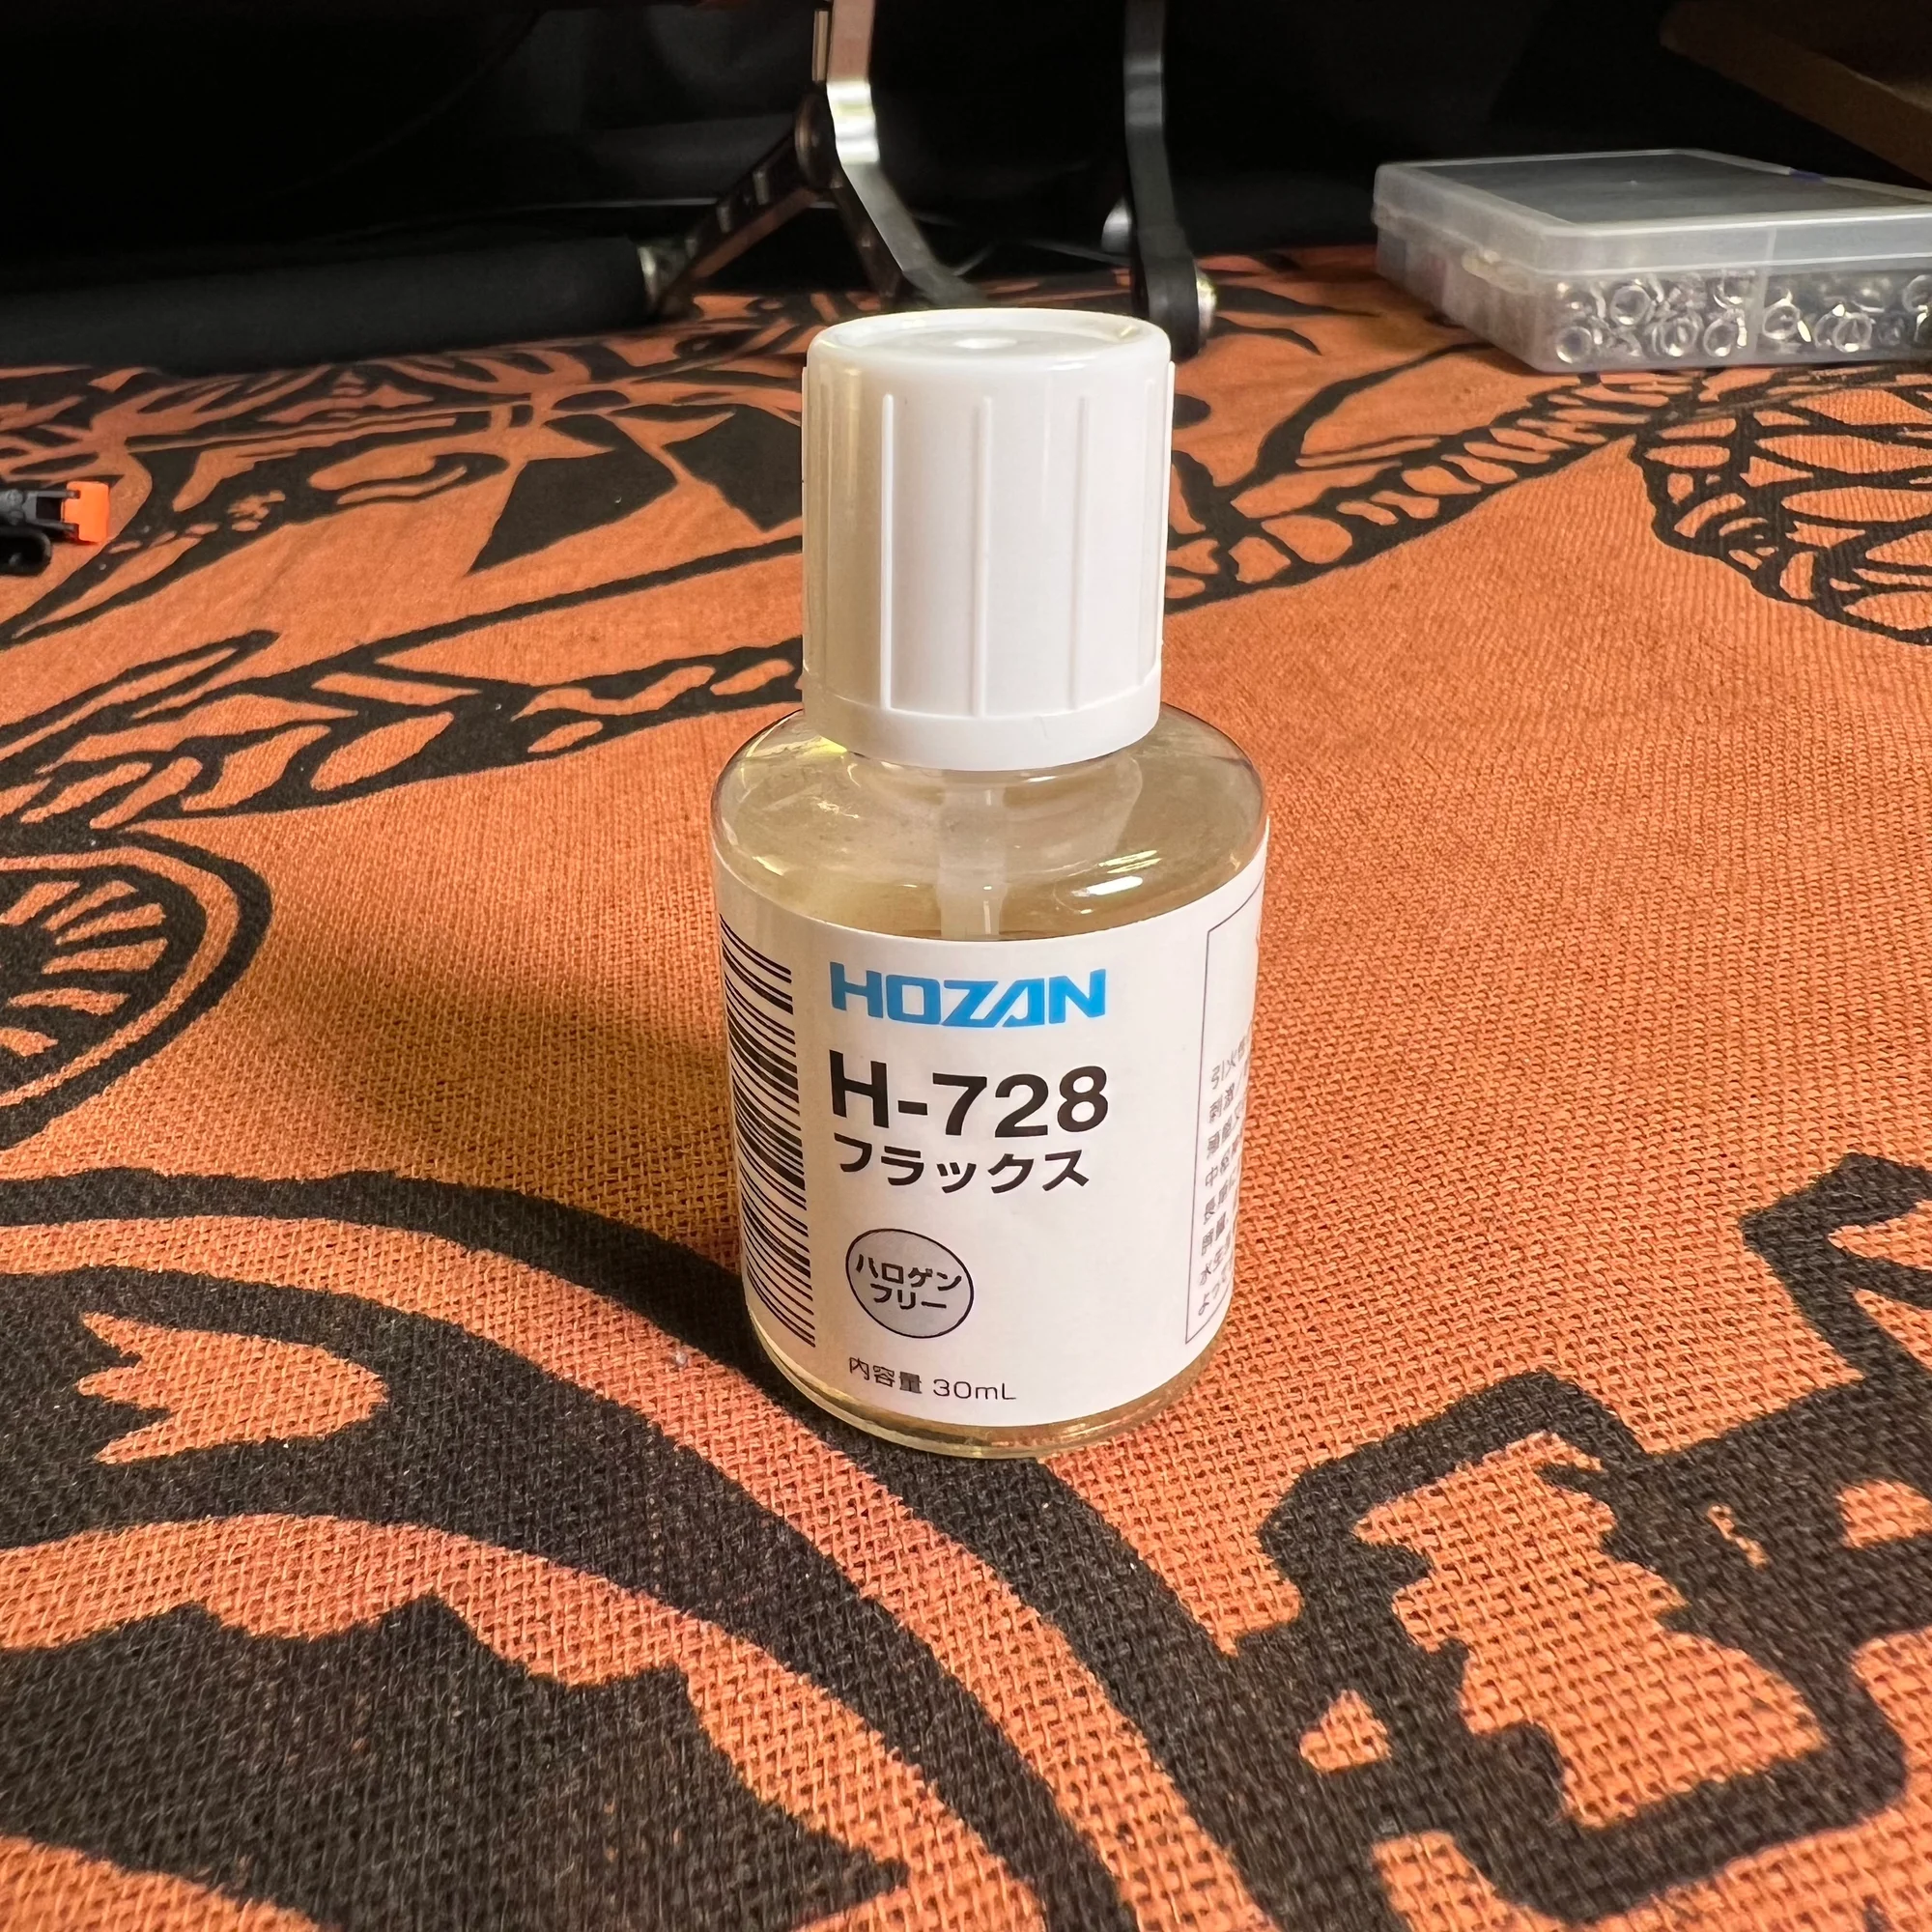
Next is flux. This is primarily used for SMD soldering. And the product for cleaning up that flux is a flux cleaner.
When I explained solder wire earlier, I mentioned that it contains flux inside. This product is just that flux, available in a bottle with a brush applicator. The typical use is to apply flux to IC pads with the brush, then flow melted solder into the joints from the side. The flux cleaner is then used to remove the flux residue.
When you’ve applied flux or done rework multiple times, the PCB surface gets dirty with flux residue. The flux cleaner lets you clean it up nicely.
I was thinking it would be hard to explain without a video, and then I found an incredibly excellent tutorial video. Actually, everything I’ve written in this article is covered thoroughly and carefully in this video, so please do check it out:
Precision Tweezers
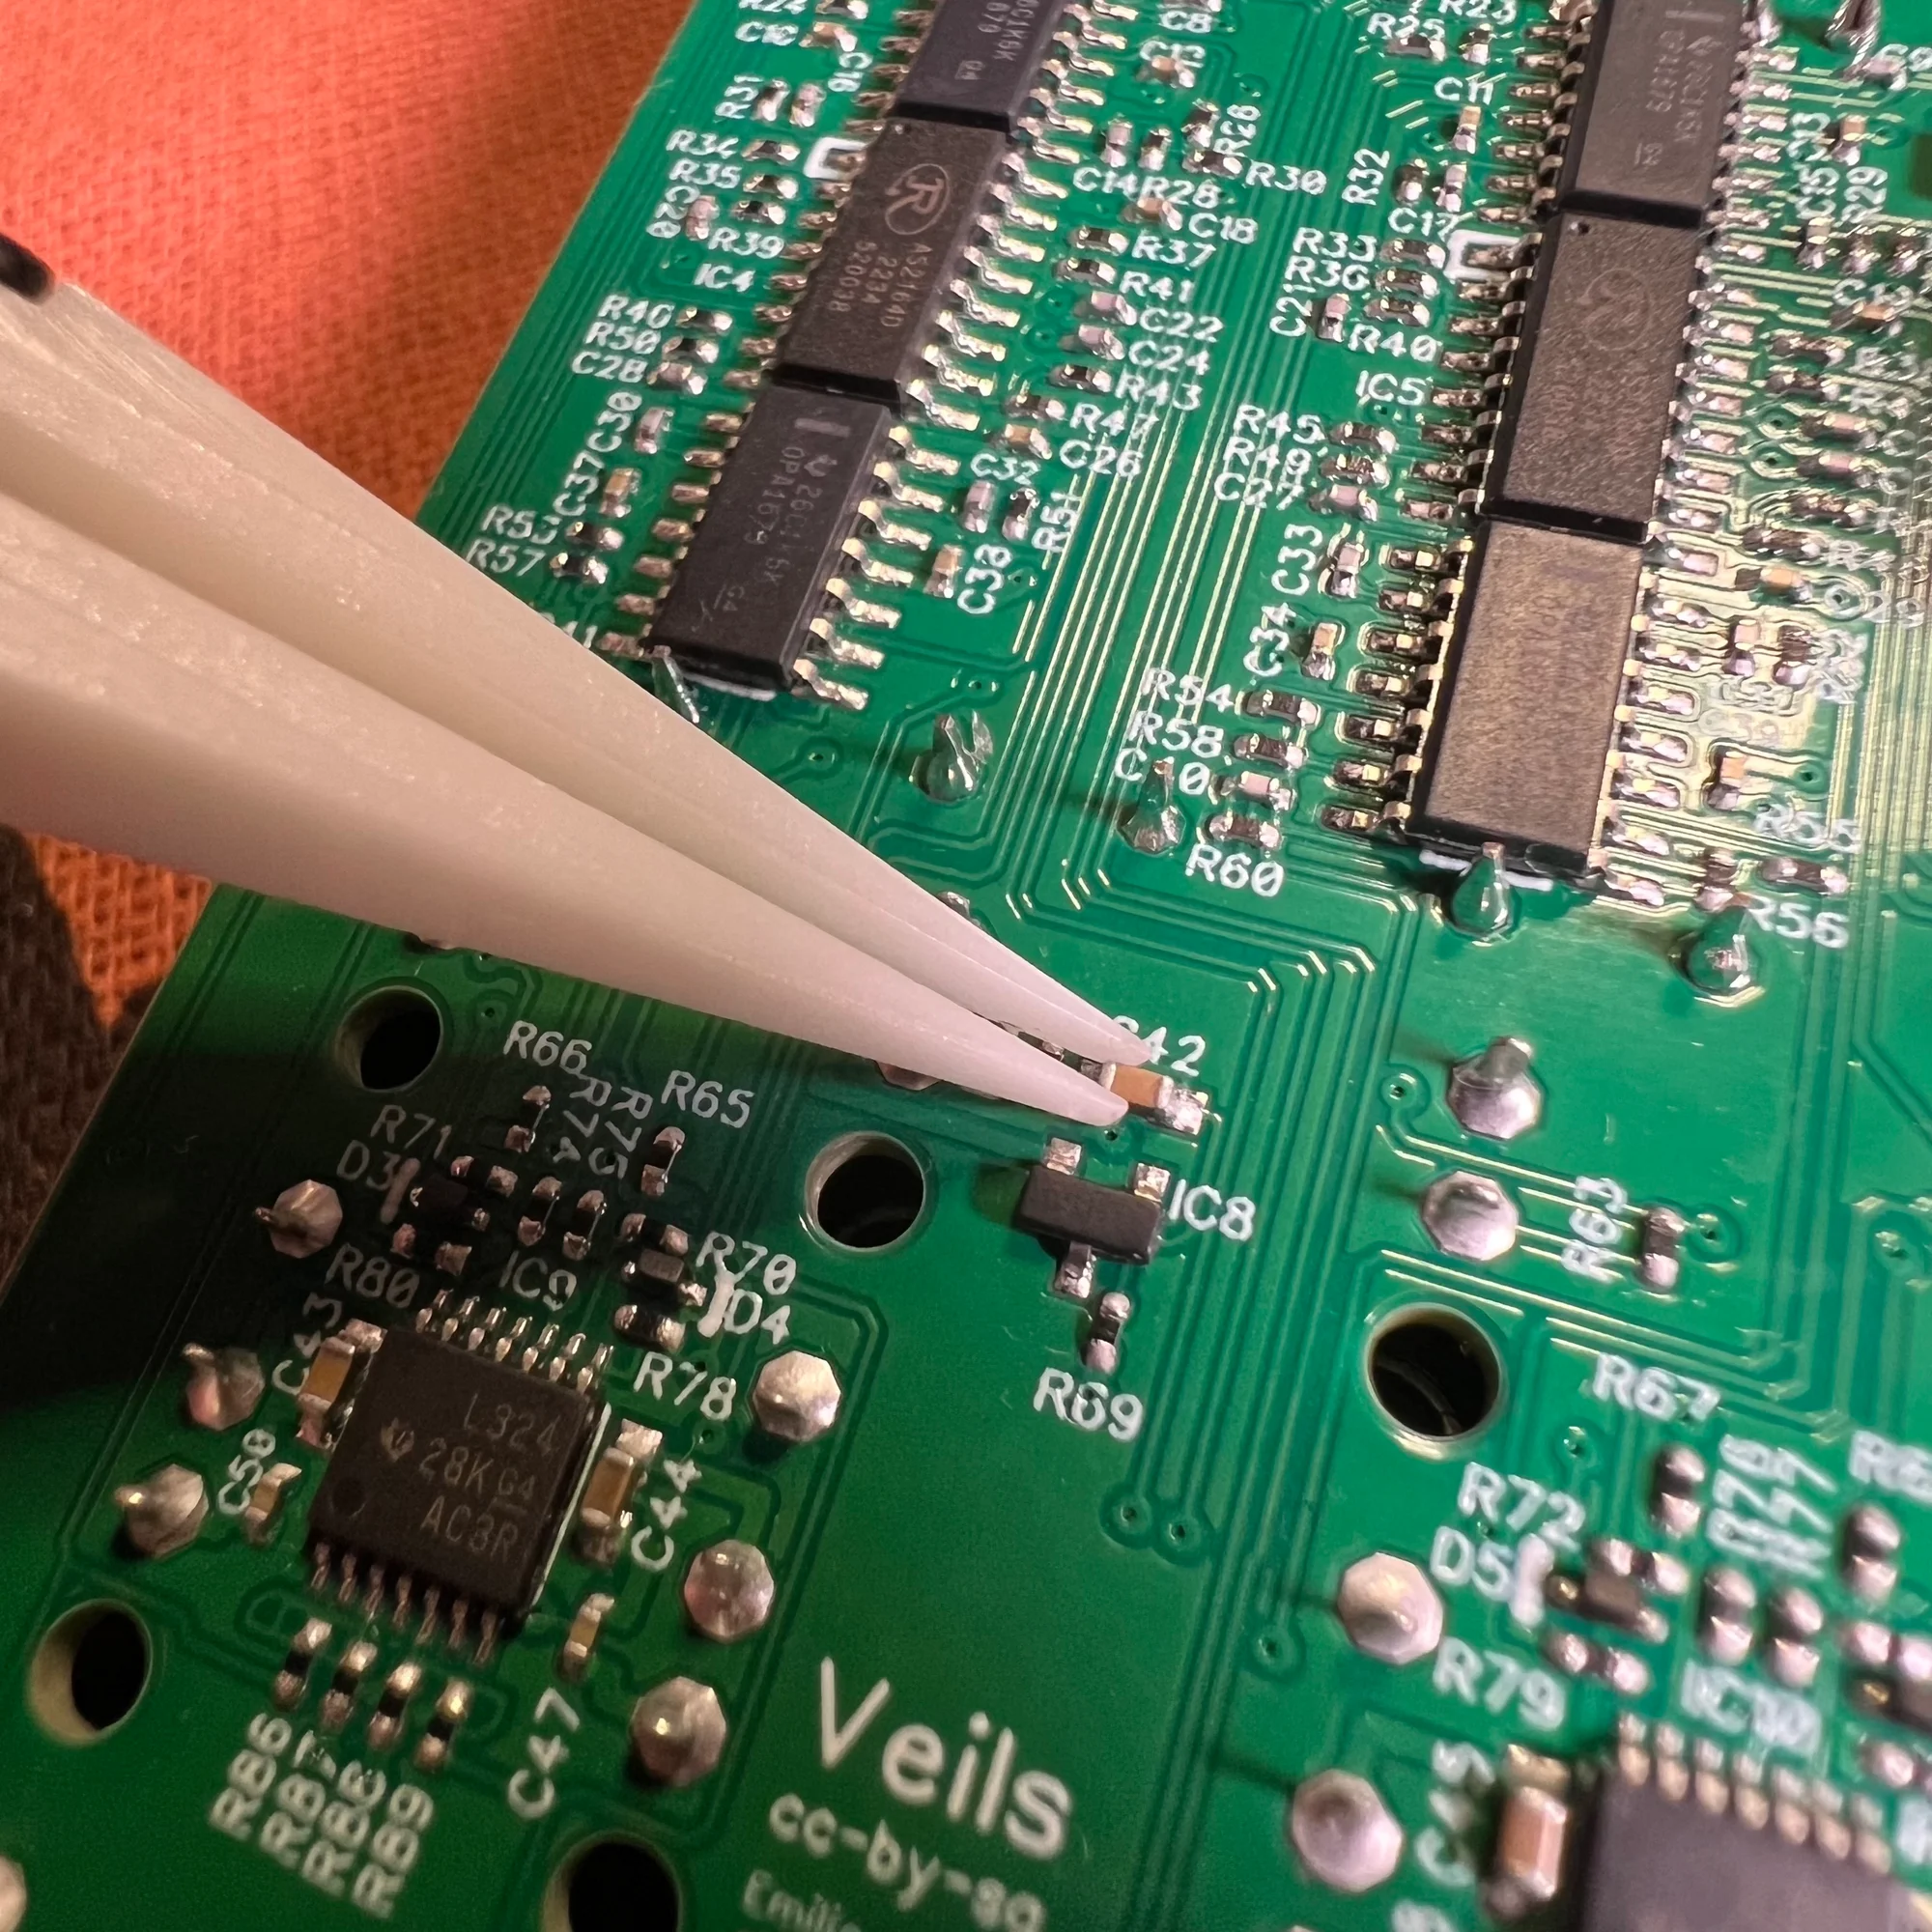
Last are precision tweezers. These are used for picking up SMD components.
SMD resistors, for instance, are incredibly tiny. As you can see in the photo. So for kits with many SMD components, soldering without precision tweezers would be very difficult.
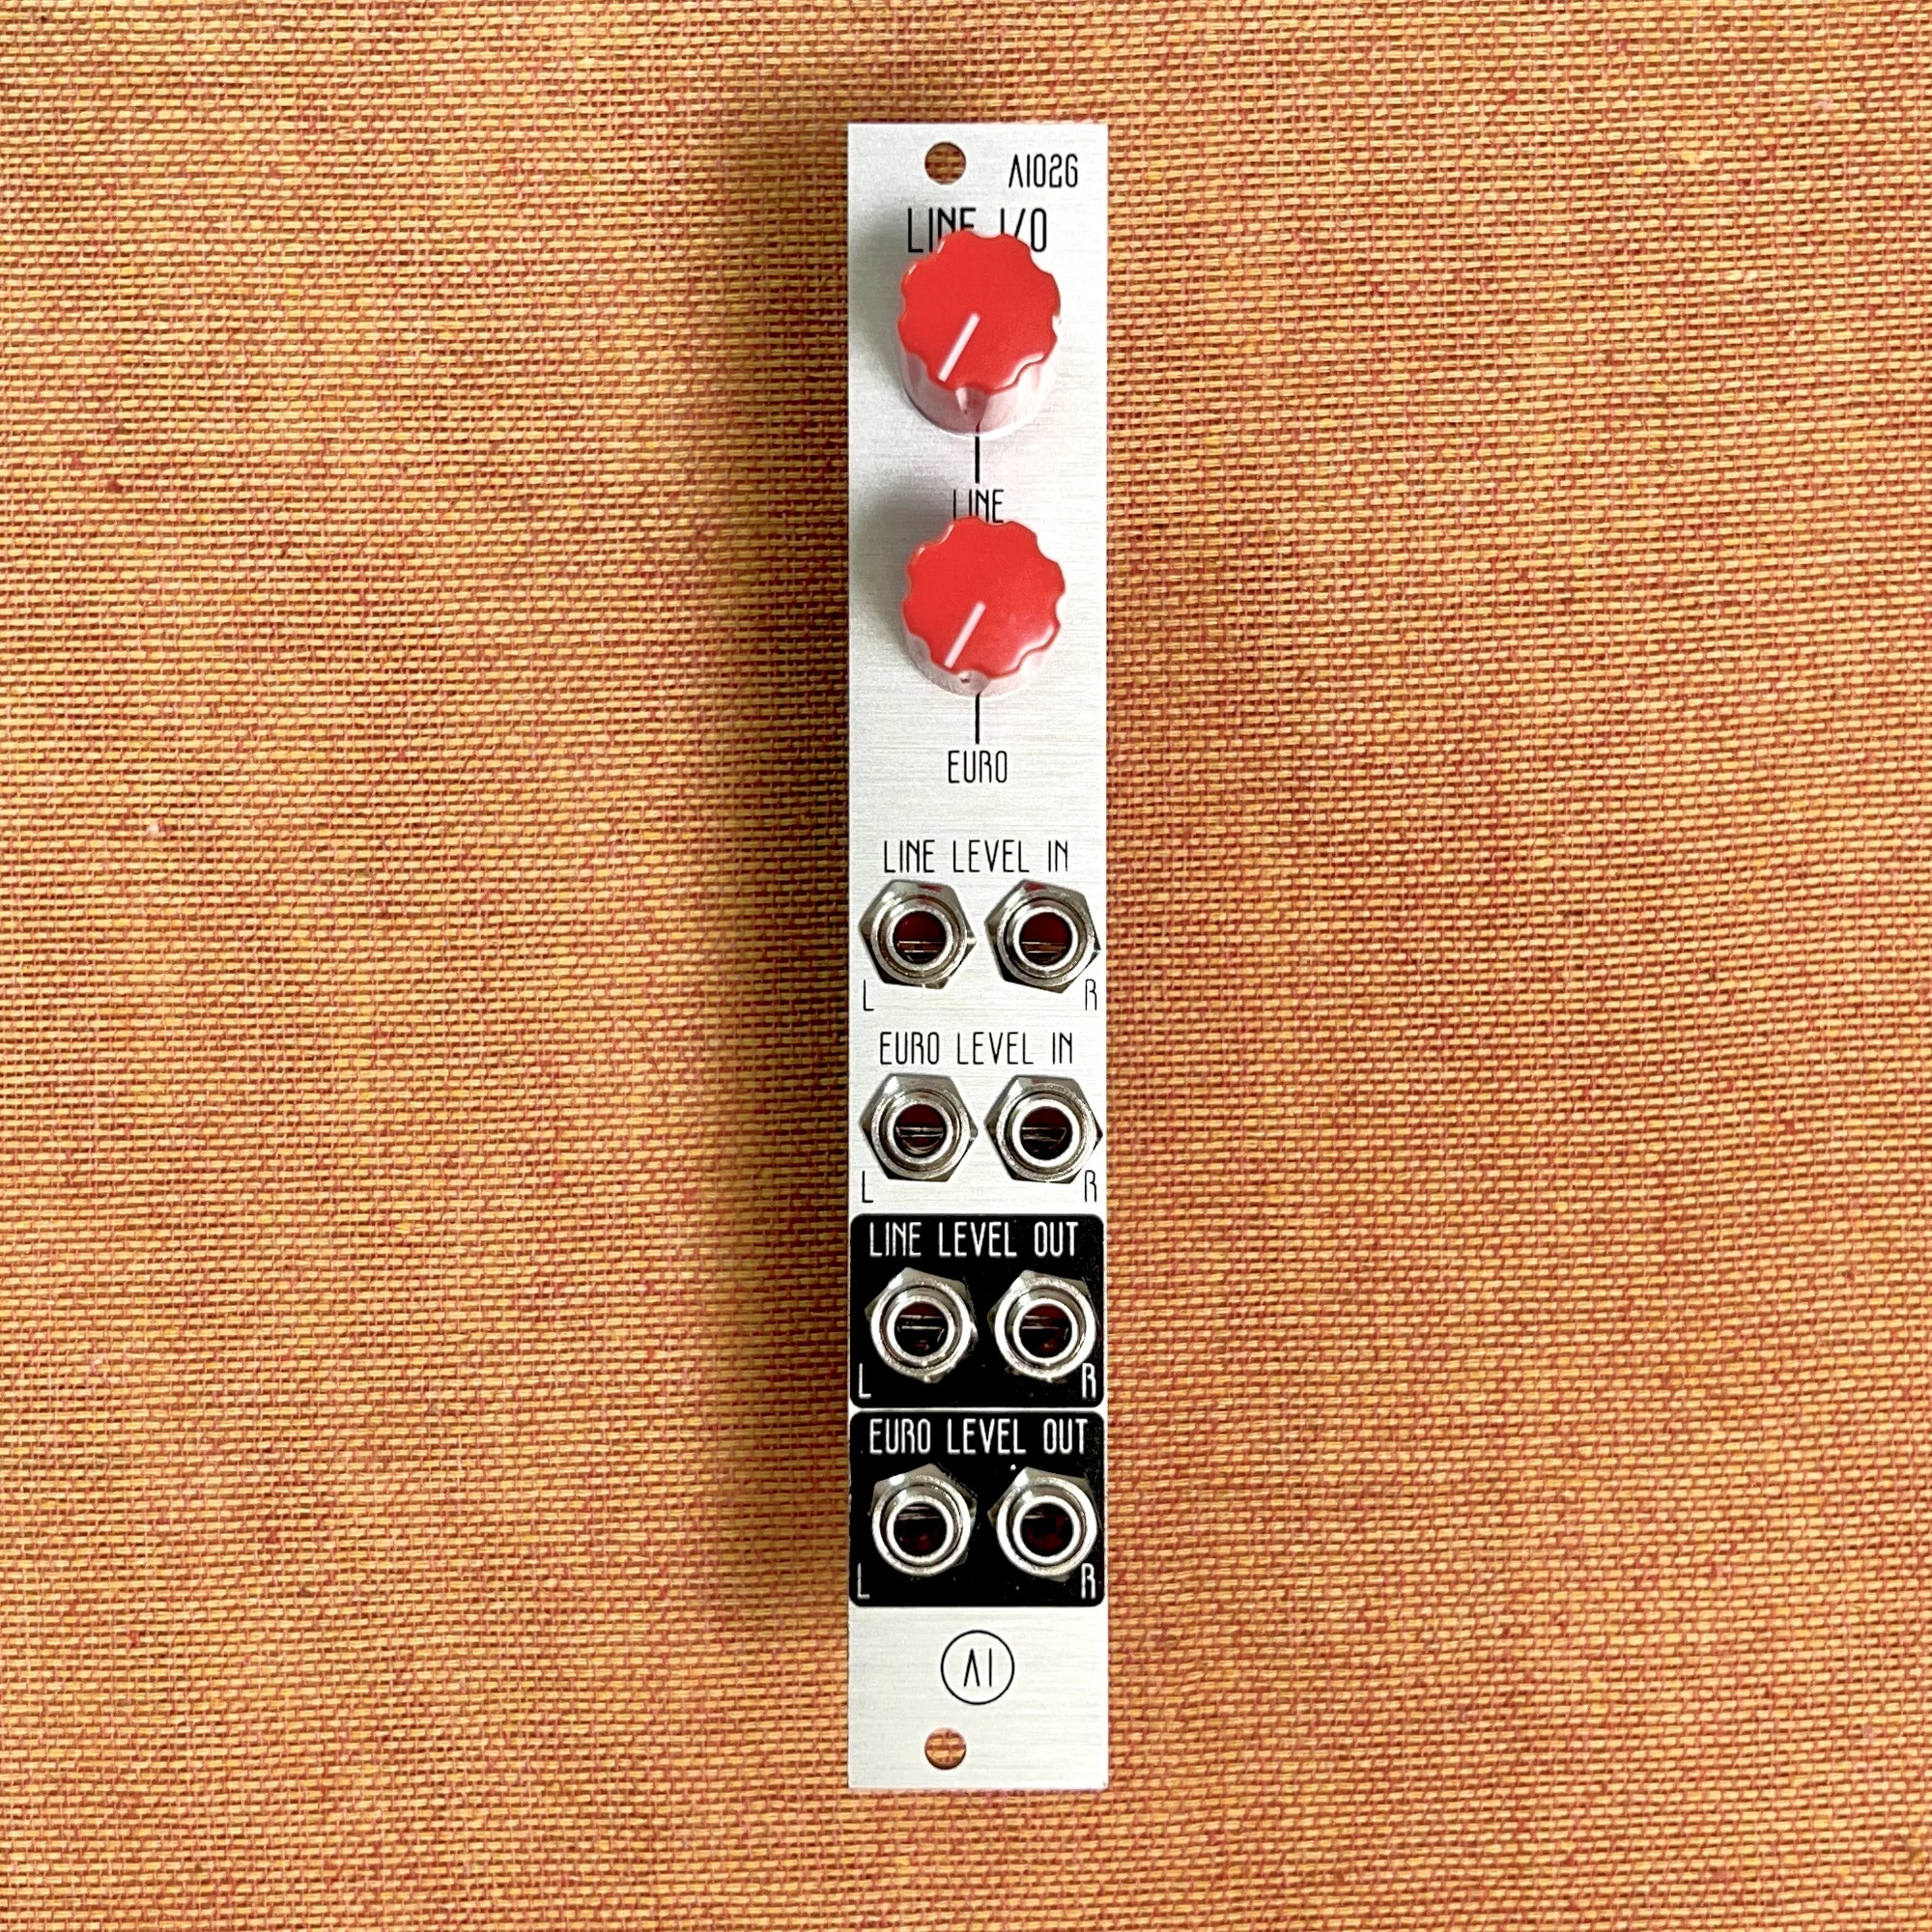
As of August 2024, the only DIY kit in our shop that requires you to solder SMD components yourself is the AI026 Line I/O Interface below. If you plan to do that kind of soldering, I’d recommend getting a pair.
That covers the Level 3 nice-to-have tools.
That’s all! This turned out to be quite a lengthy article.
As someone selling DIY kits, I felt that nobody would buy these without proper explanations. I hope this article helps those interested in DIY with choosing their tools and getting started.