This guide explains how to assemble the zudo-block-60 Open with accompanying video instructions. This frame kit is a minimalist 60HP Eurorack frame that allows you to mount modules with a bare-minimum configuration.
For product details, please refer to the zudo-block-60 Open Product Details page.
- Required Tools
- Assembly Video (Full Overview)
- Step 1: Rail Frame Assembly
- Step 2: Attaching the Rail Mounting Aluminum Panels
- Step 3: Side Panel Attachment
Required Tools
The following tools are needed for assembly. Please have them ready beforehand.
- Hex wrench (e.g., Amazon: Hex Wrench 9-Piece Set)
- Wrench (e.g., Amazon: Mini Wrench Set)
- Pliers (e.g., Amazon: Pliers Set)
- Phillips screwdriver (e.g., Amazon: Screwdriver Set)
Assembly Video (Full Overview)
If you’d like to see the overall assembly flow on video, please watch this first.
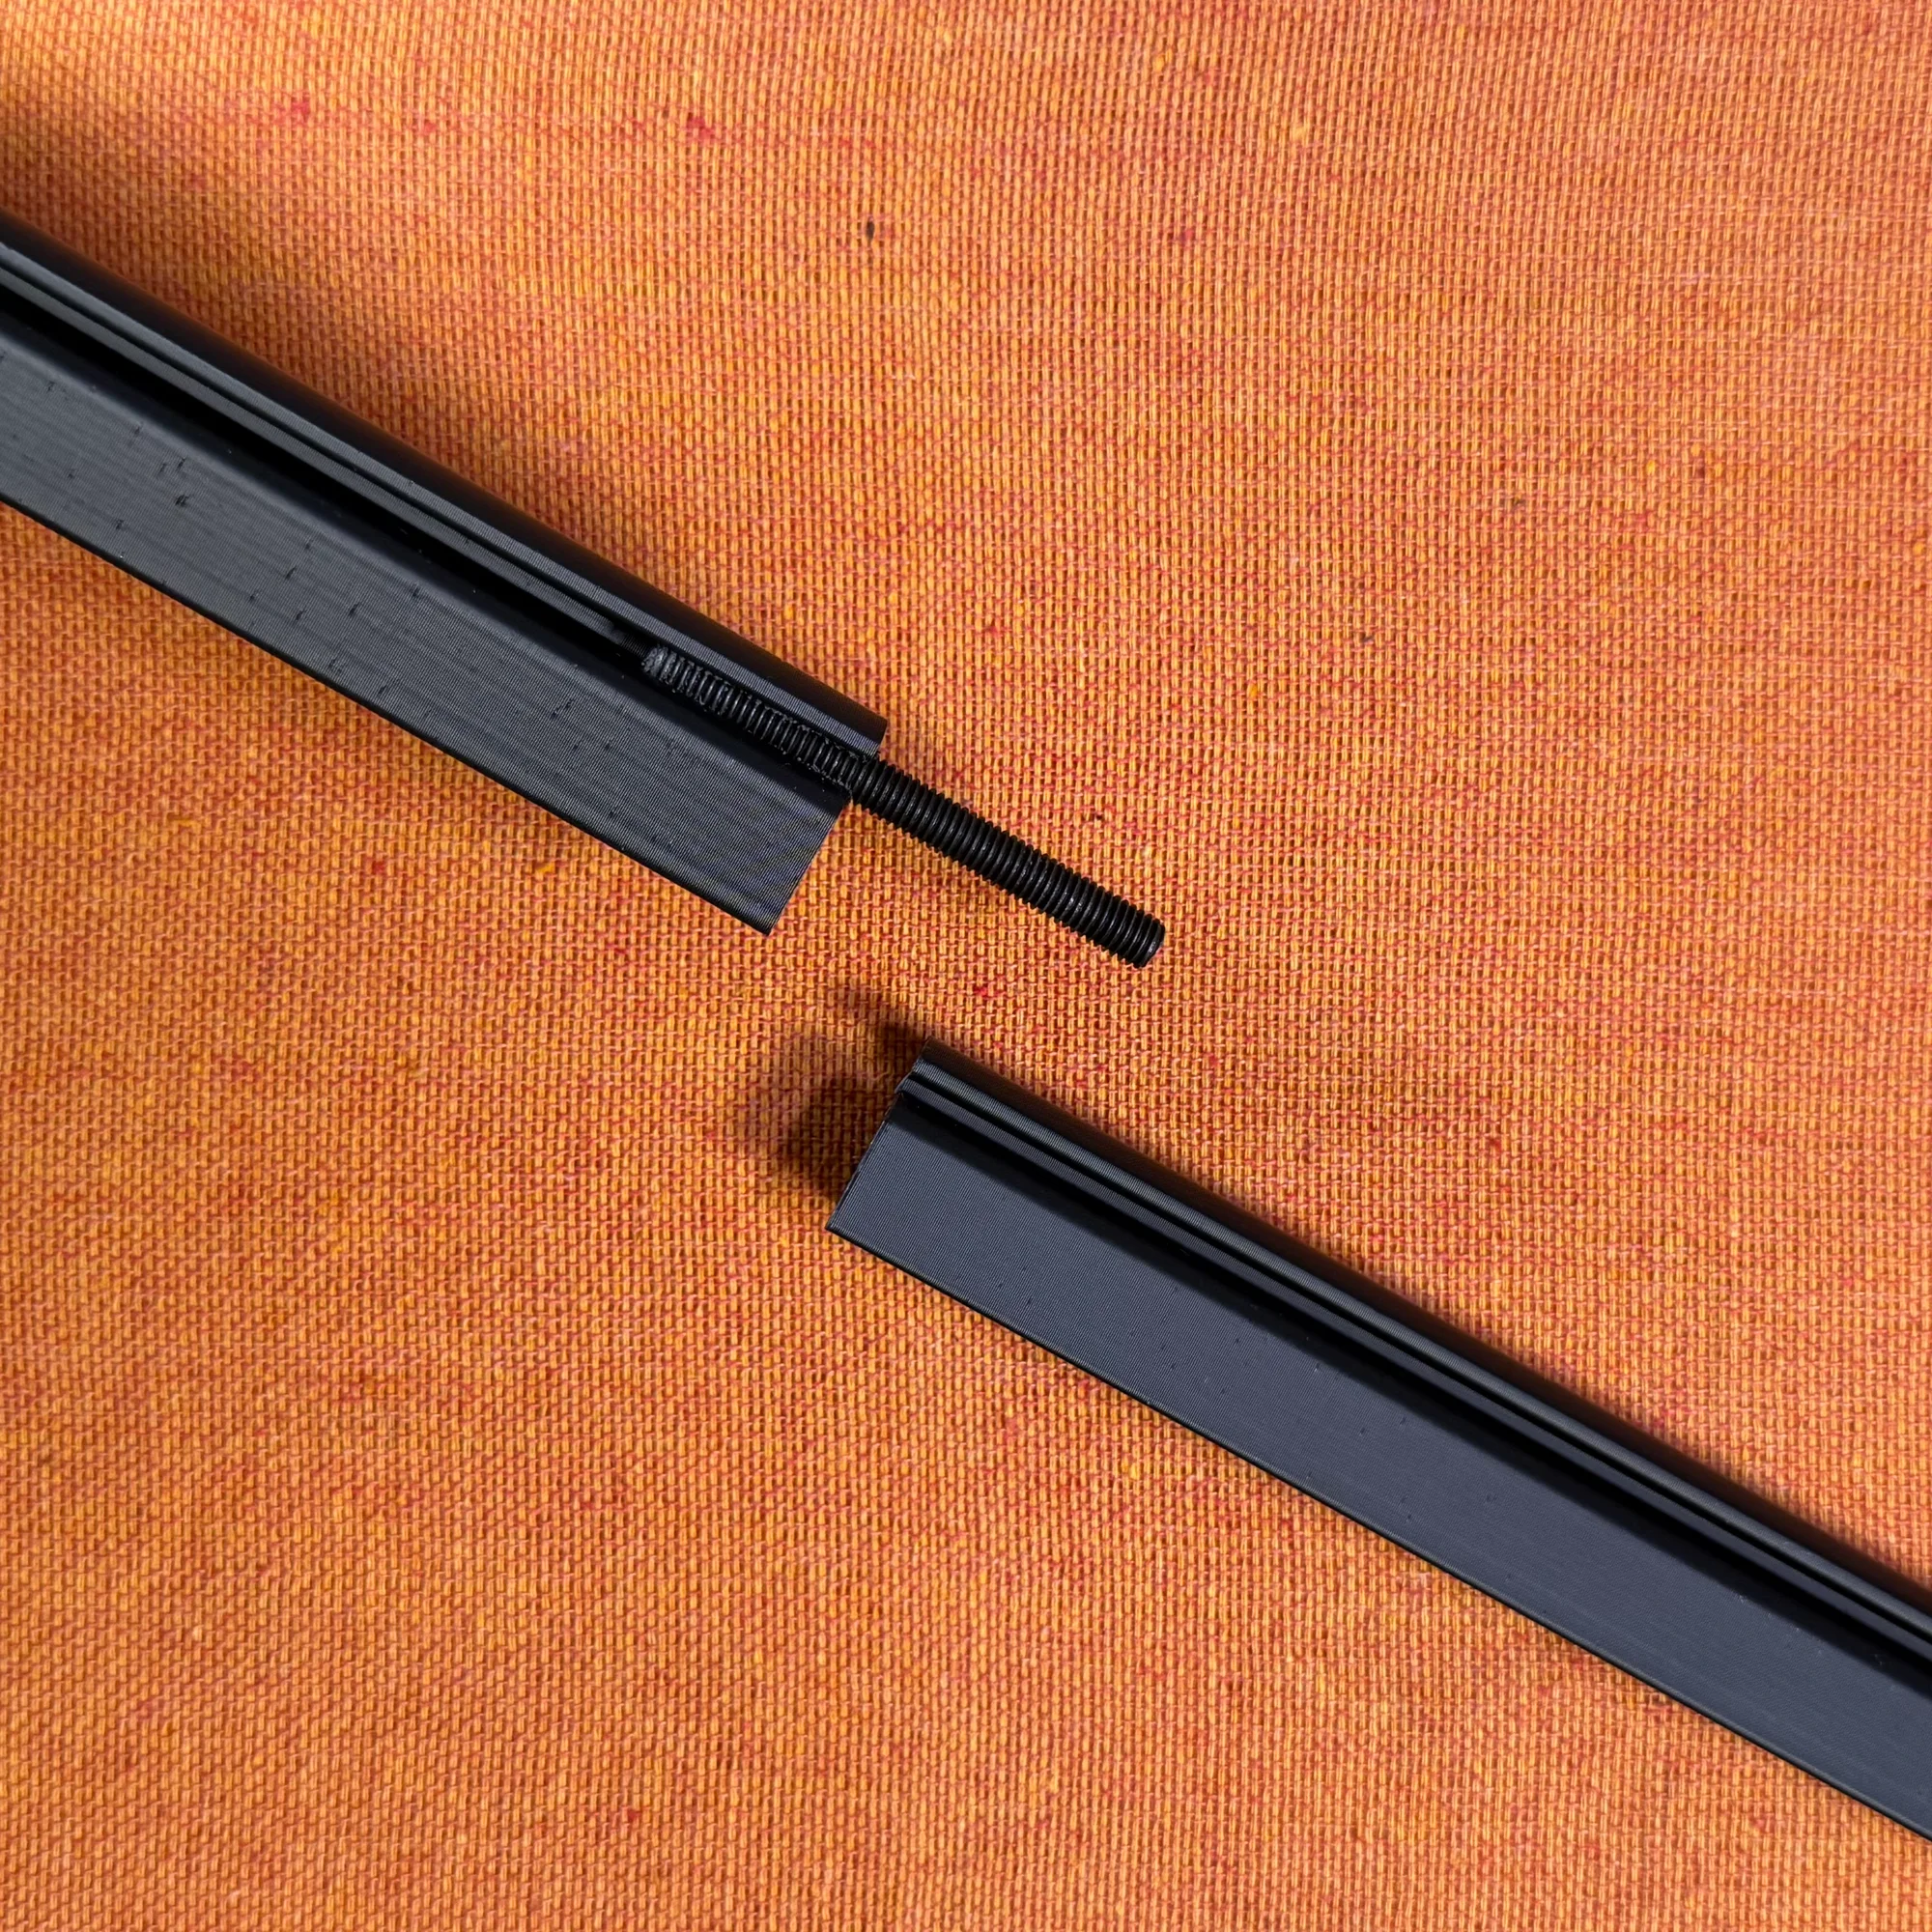
Step 1: Rail Frame Assembly
First, connect two 30HP rails together to create two 60HP rails. These are secured using 50mm M5 set screws (headless screws).
1-1. Inserting the Set Screws
The underside of each rail has a hole that accepts M5 screws. Start by inserting the set screw about 2cm deep using a hex wrench.
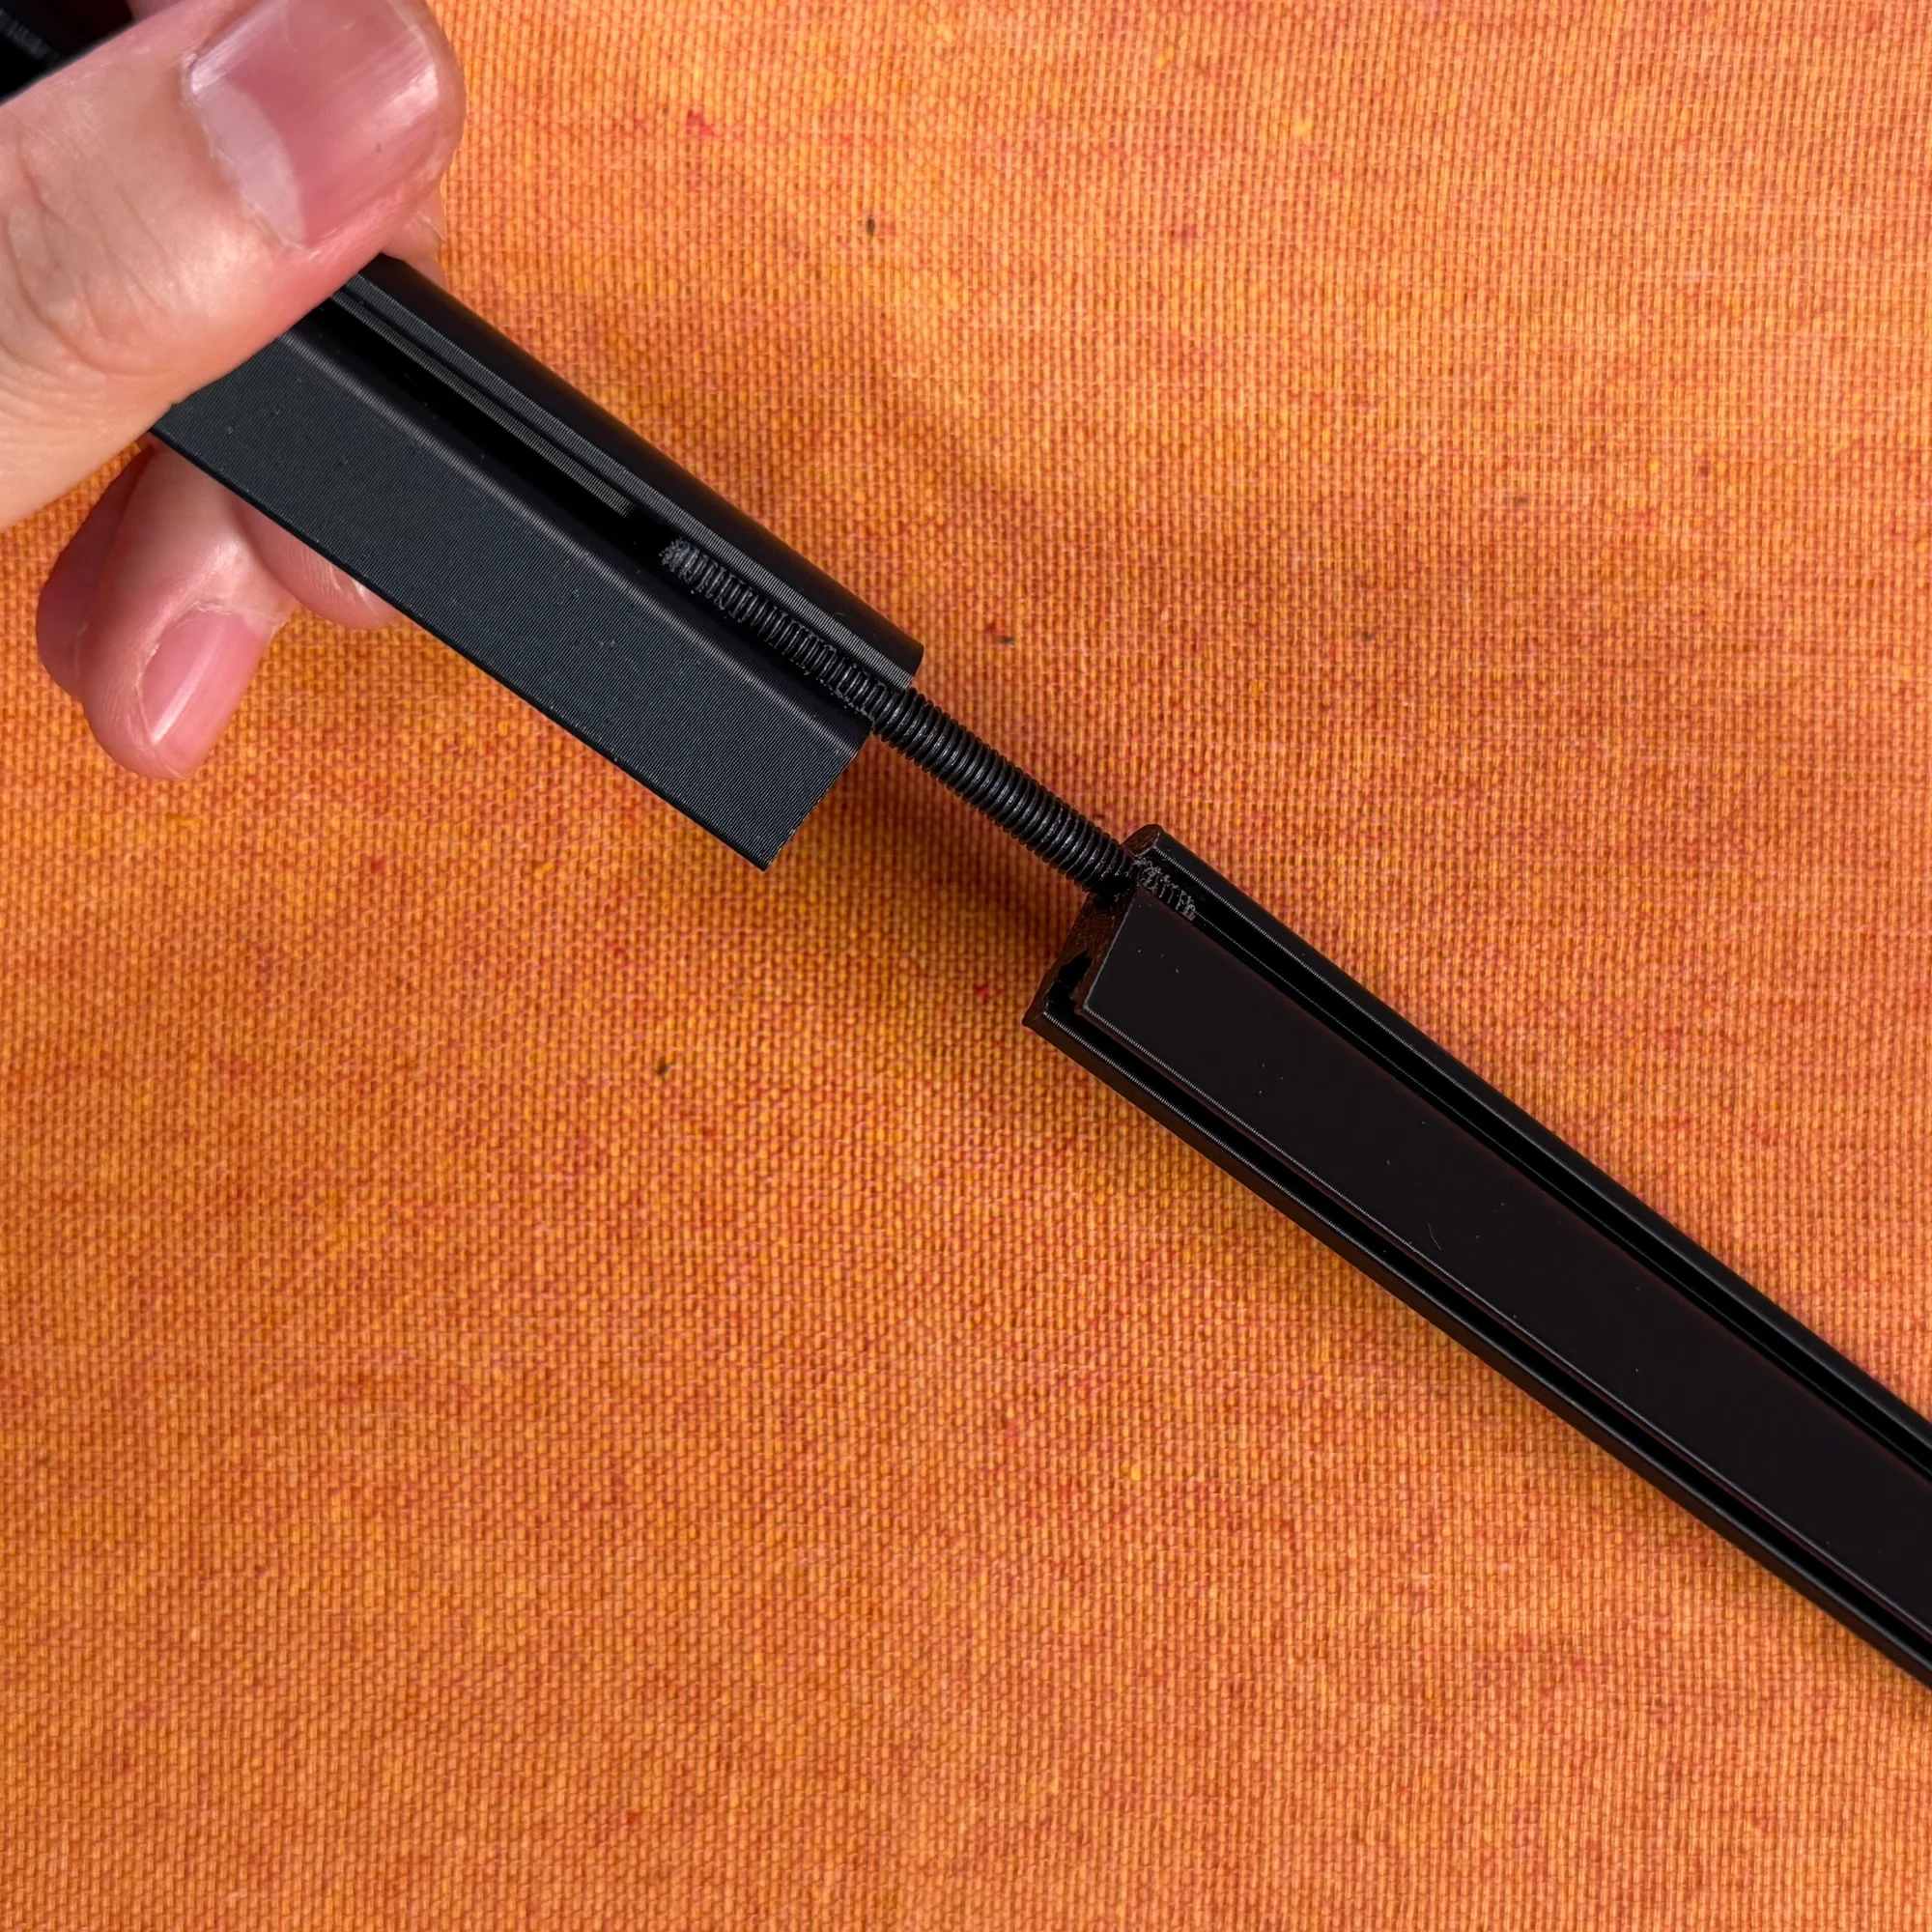
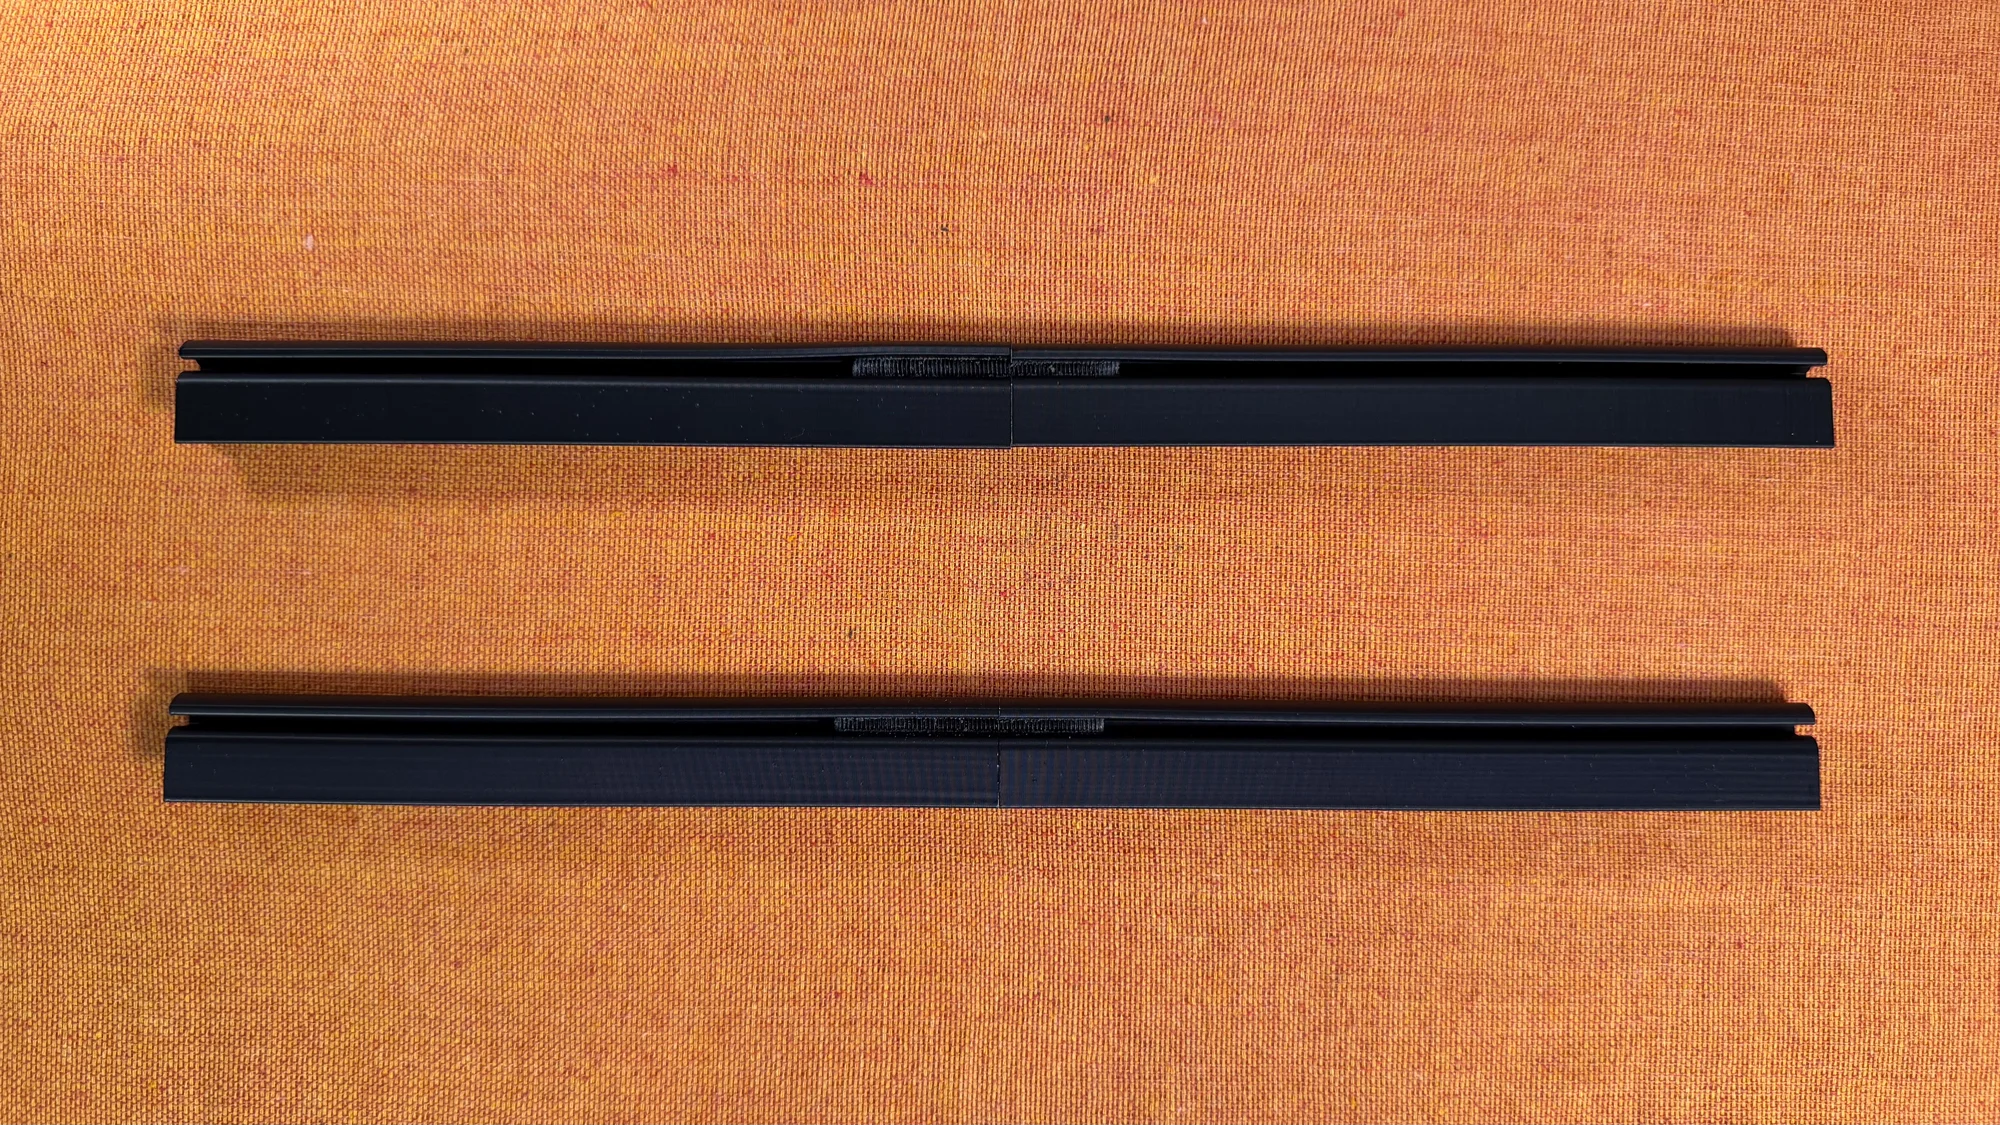
1-2. Connecting the Rails
Once done, thread the other 30HP rail onto the set screw by hand, then hold it with pliers at the end and tighten until the gap is closed.
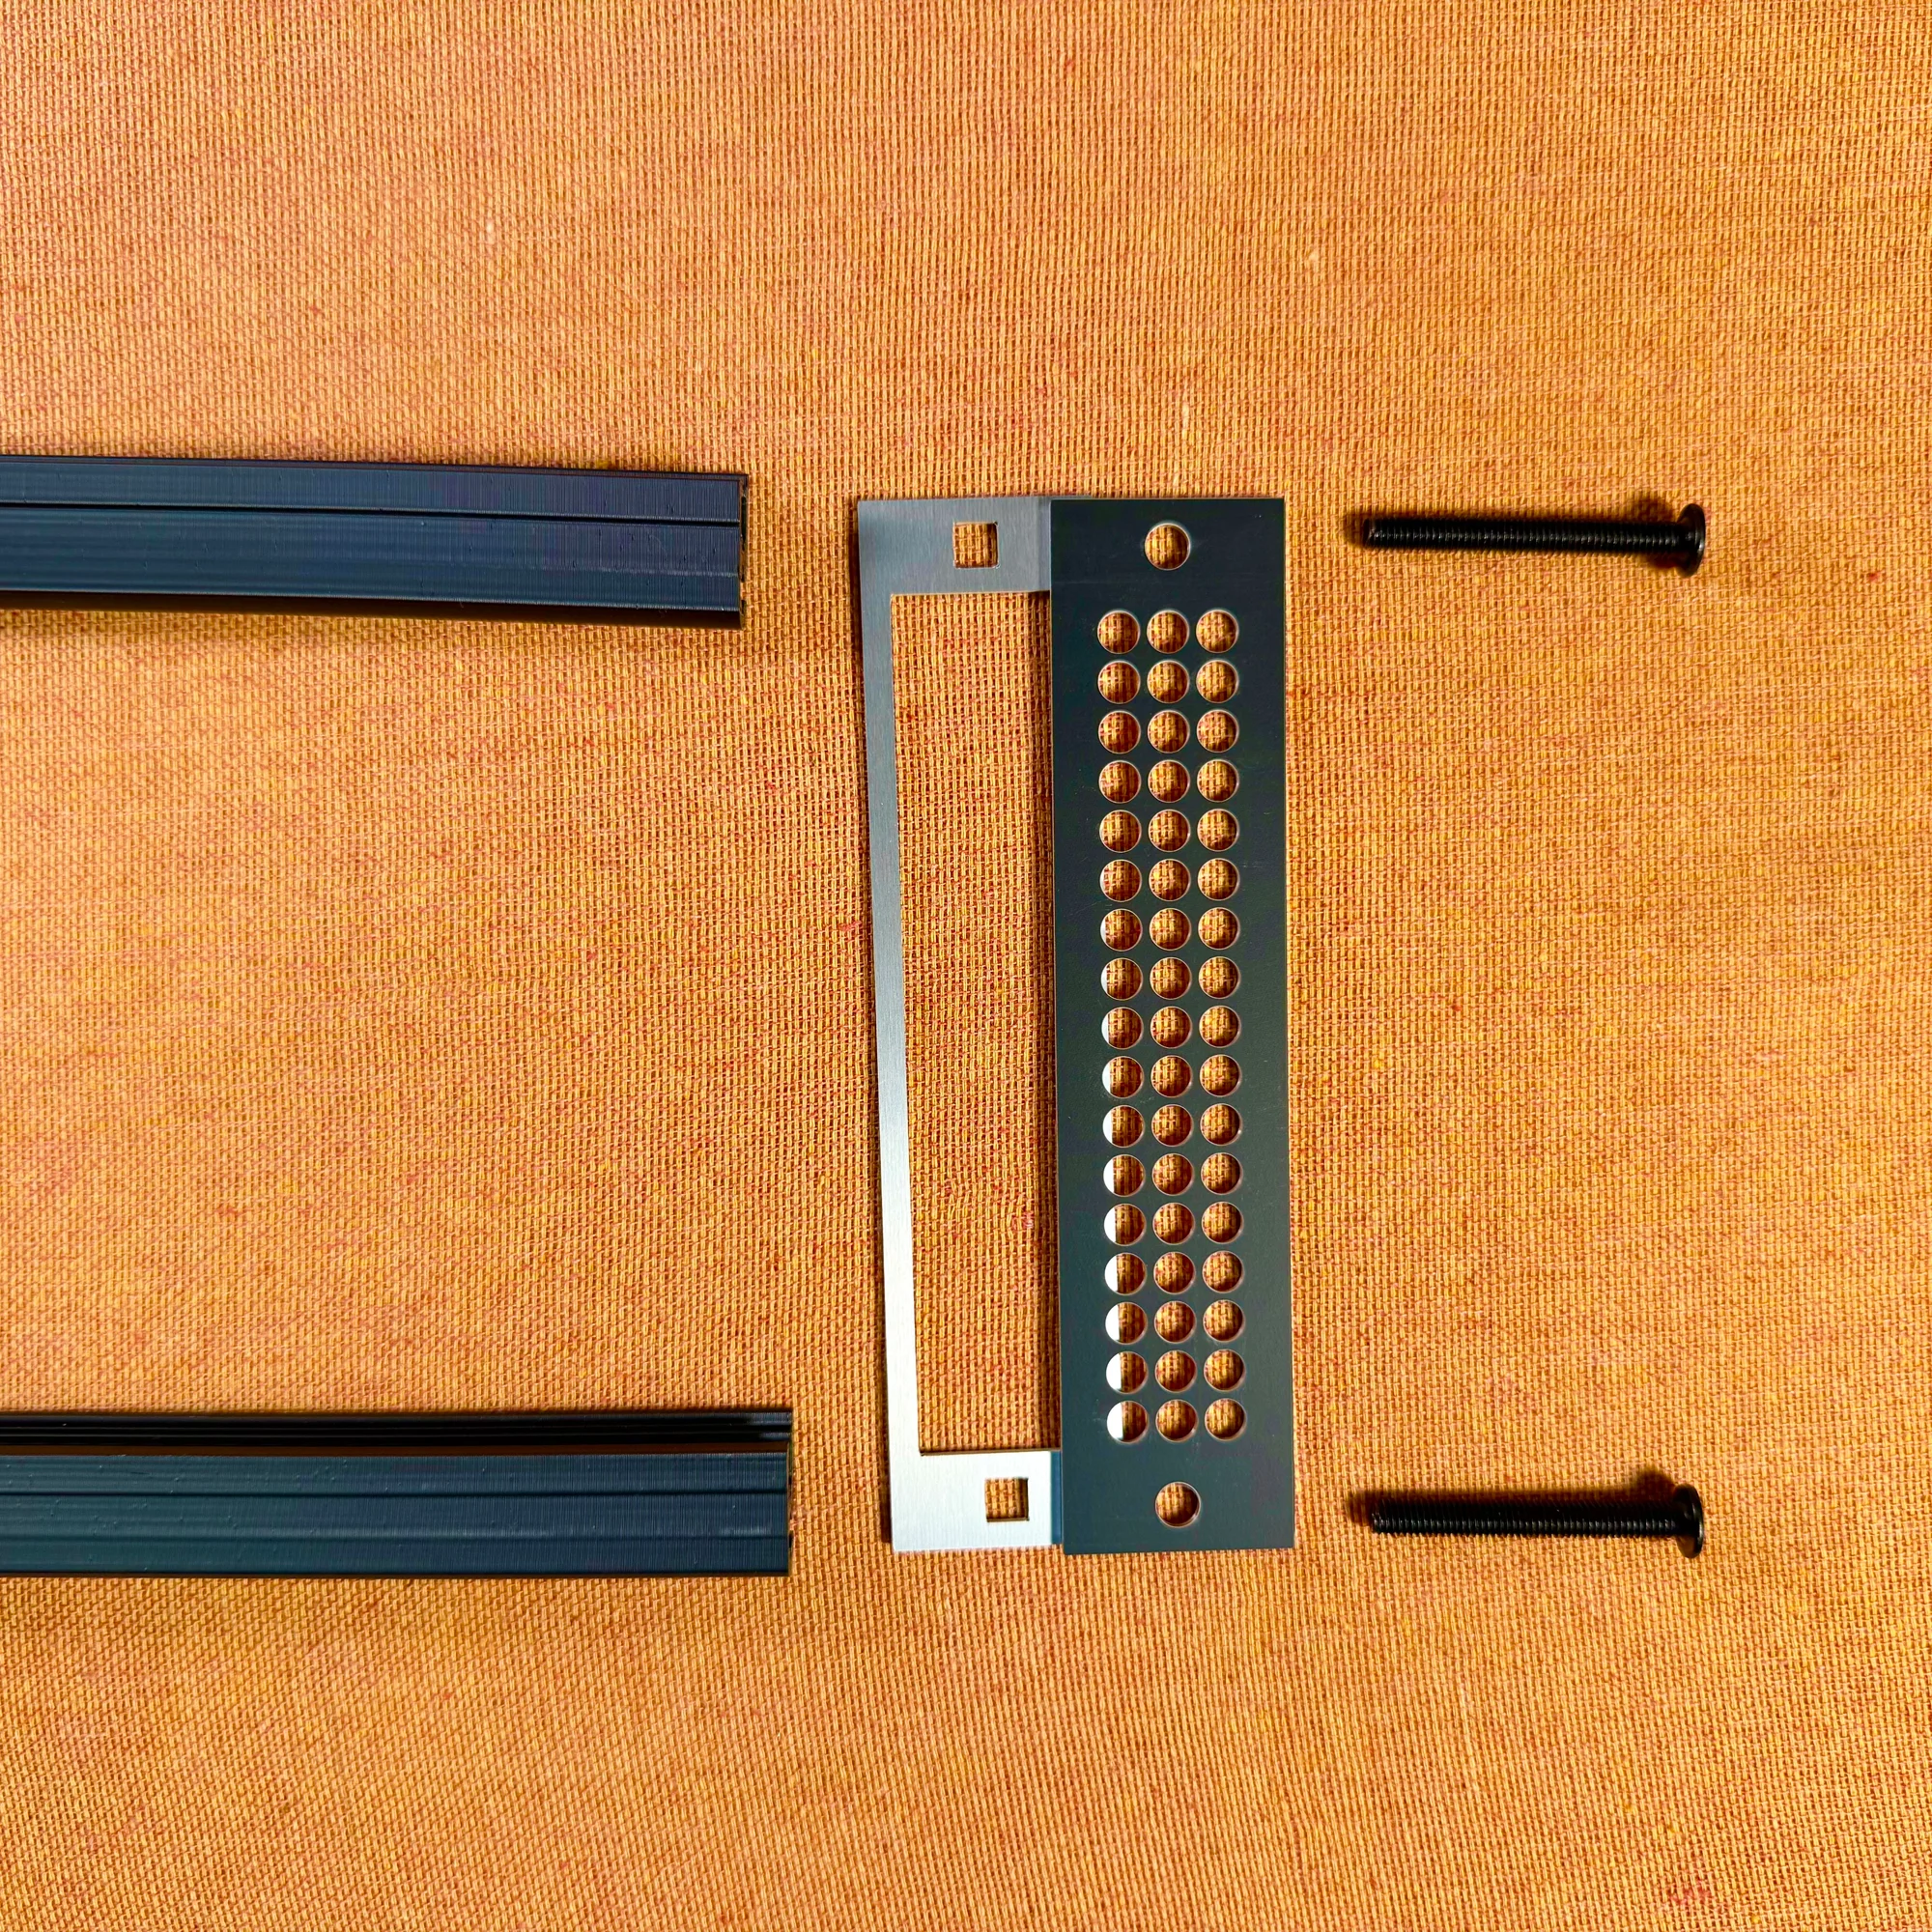
Step 2: Attaching the Rail Mounting Aluminum Panels
Once the 60HP rails are complete, attach the rail mounting aluminum panels to the left and right sides of the rails.
2-1. Panel Placement
Position the panels so that the one with large rectangular holes faces inward and the one with many holes faces outward, then secure with 40mm M5 screws.
Note: The rails have a lip/edge. Make sure the lip faces outward.
2-2. Securing the Panels
Here is a video showing how to attach the mounting aluminum panels to the rails.
2-3. Rail Adjustment
After attachment, insert a module or blank panel to check and adjust the rail tilt and the height between rails. The screw holes in the rail mounting aluminum panels have a small amount of play, allowing fine adjustment of the rail spacing.
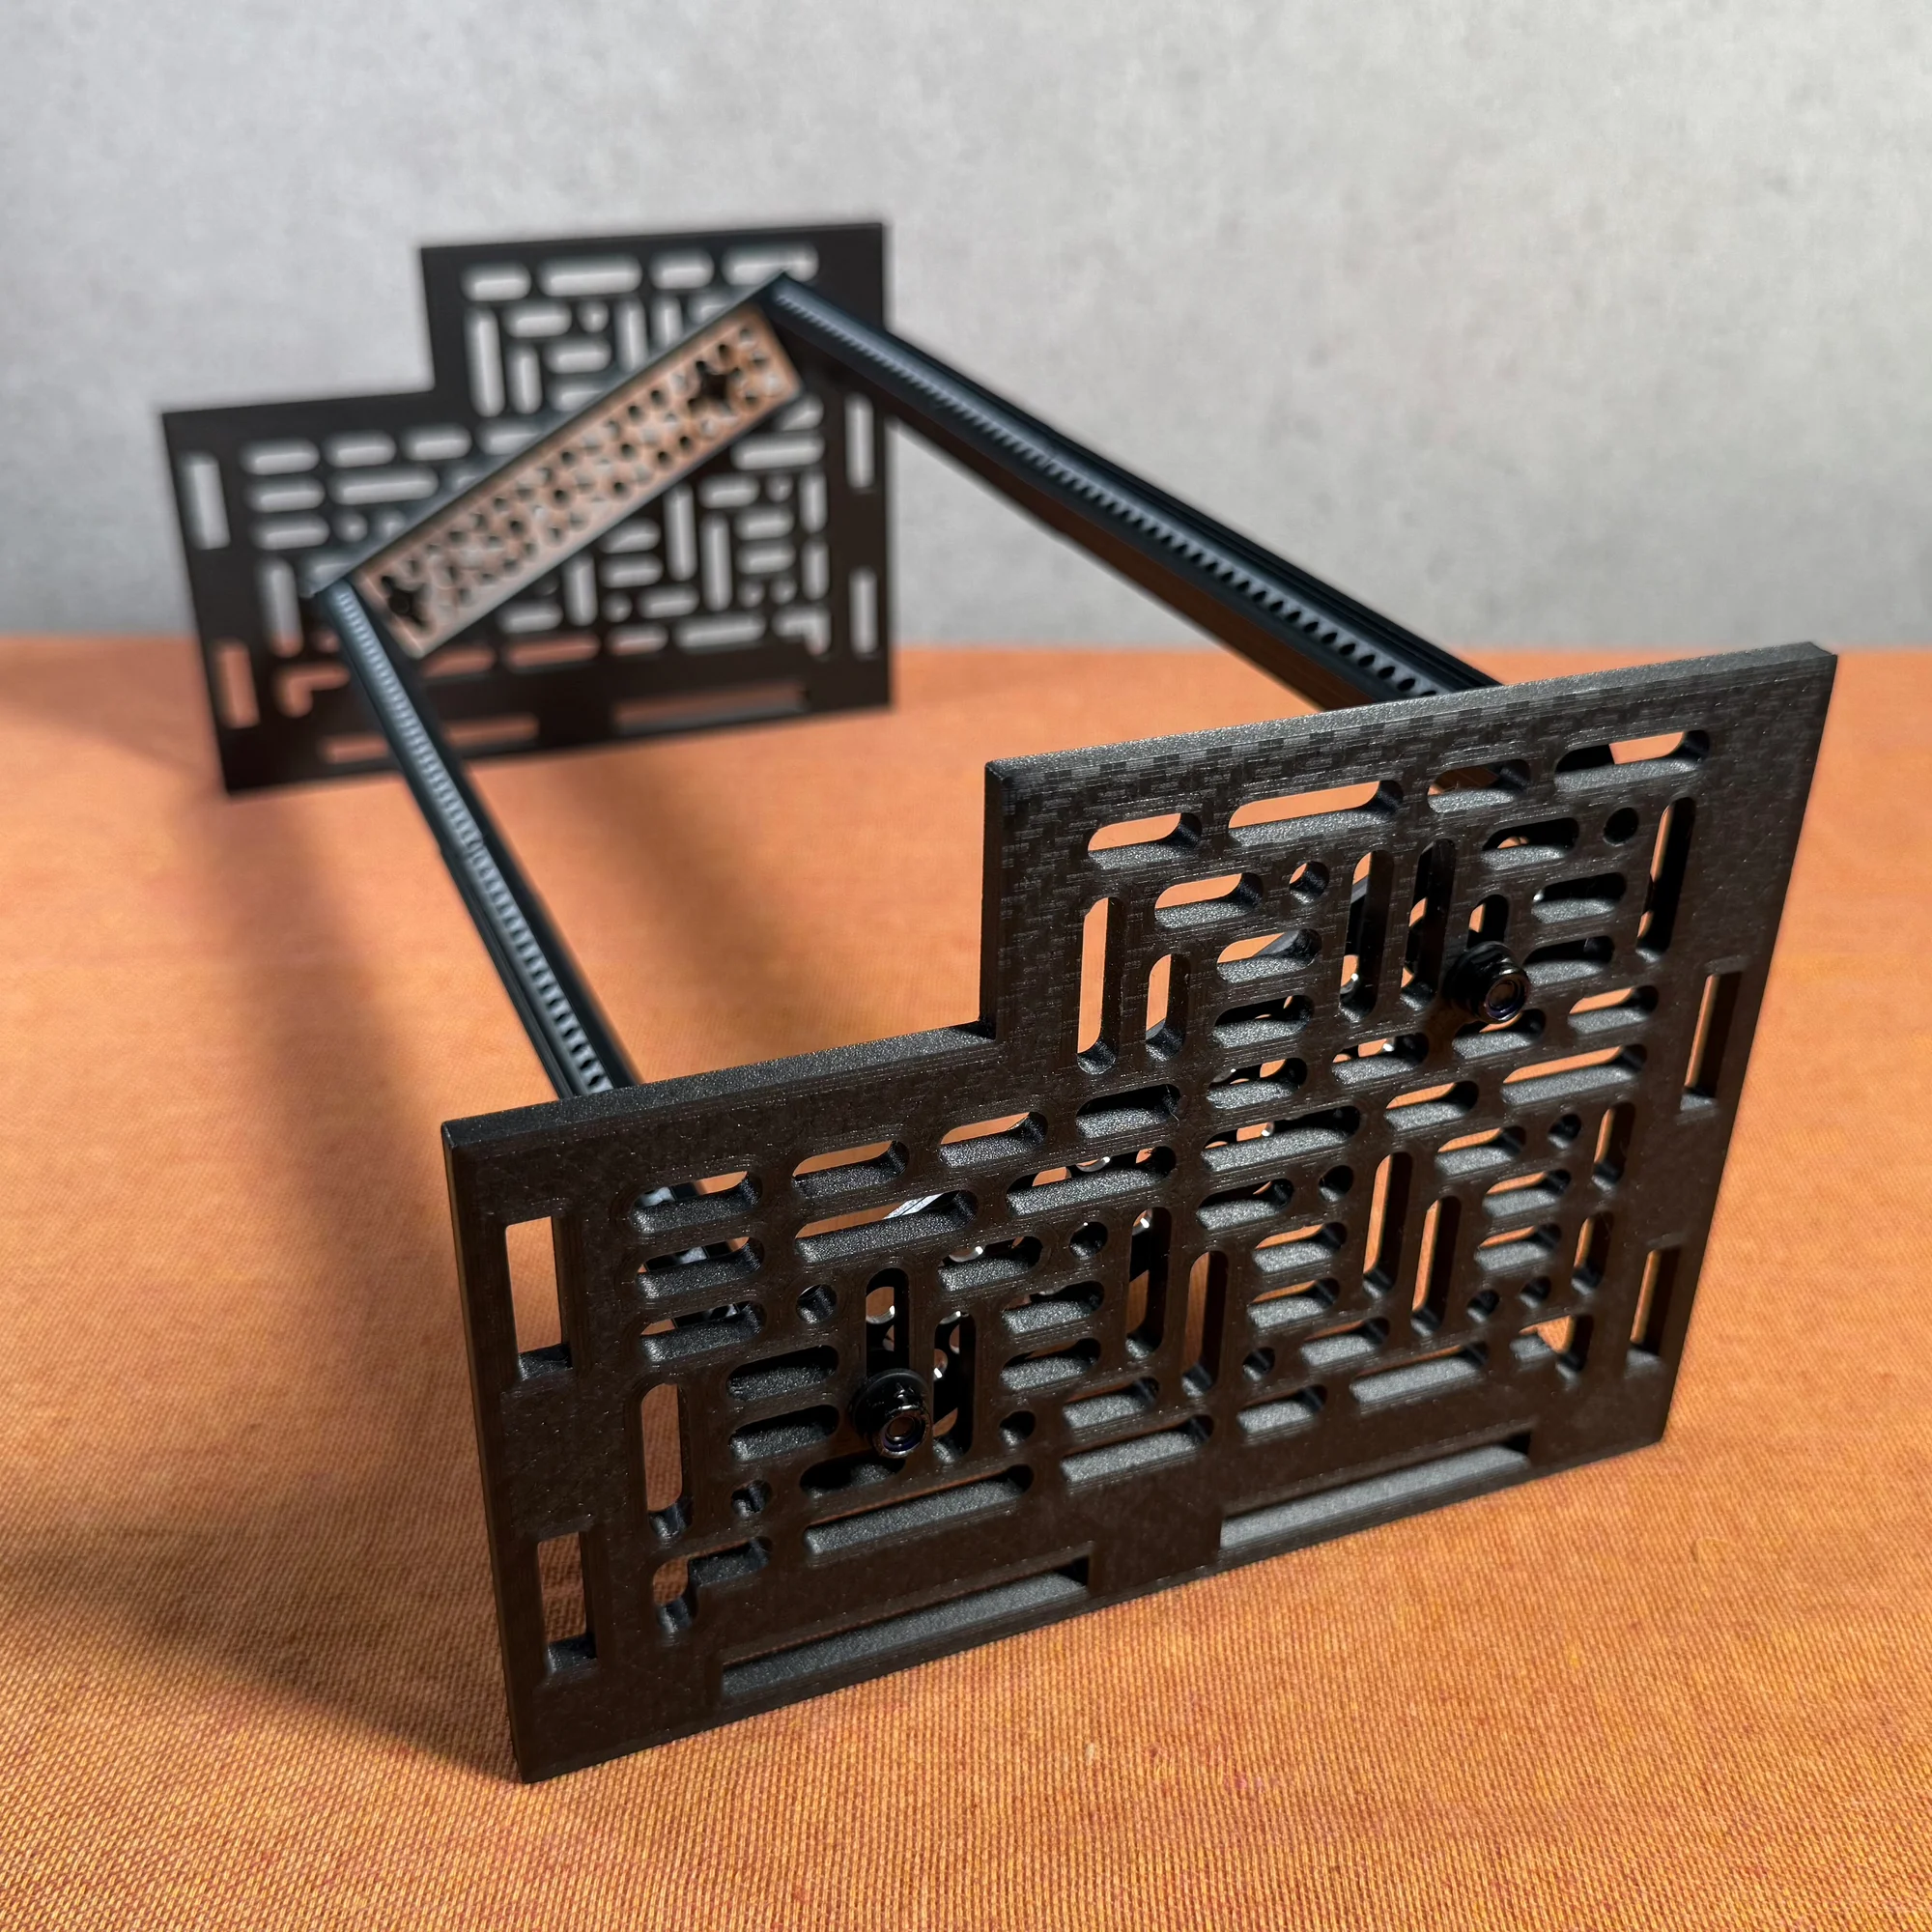
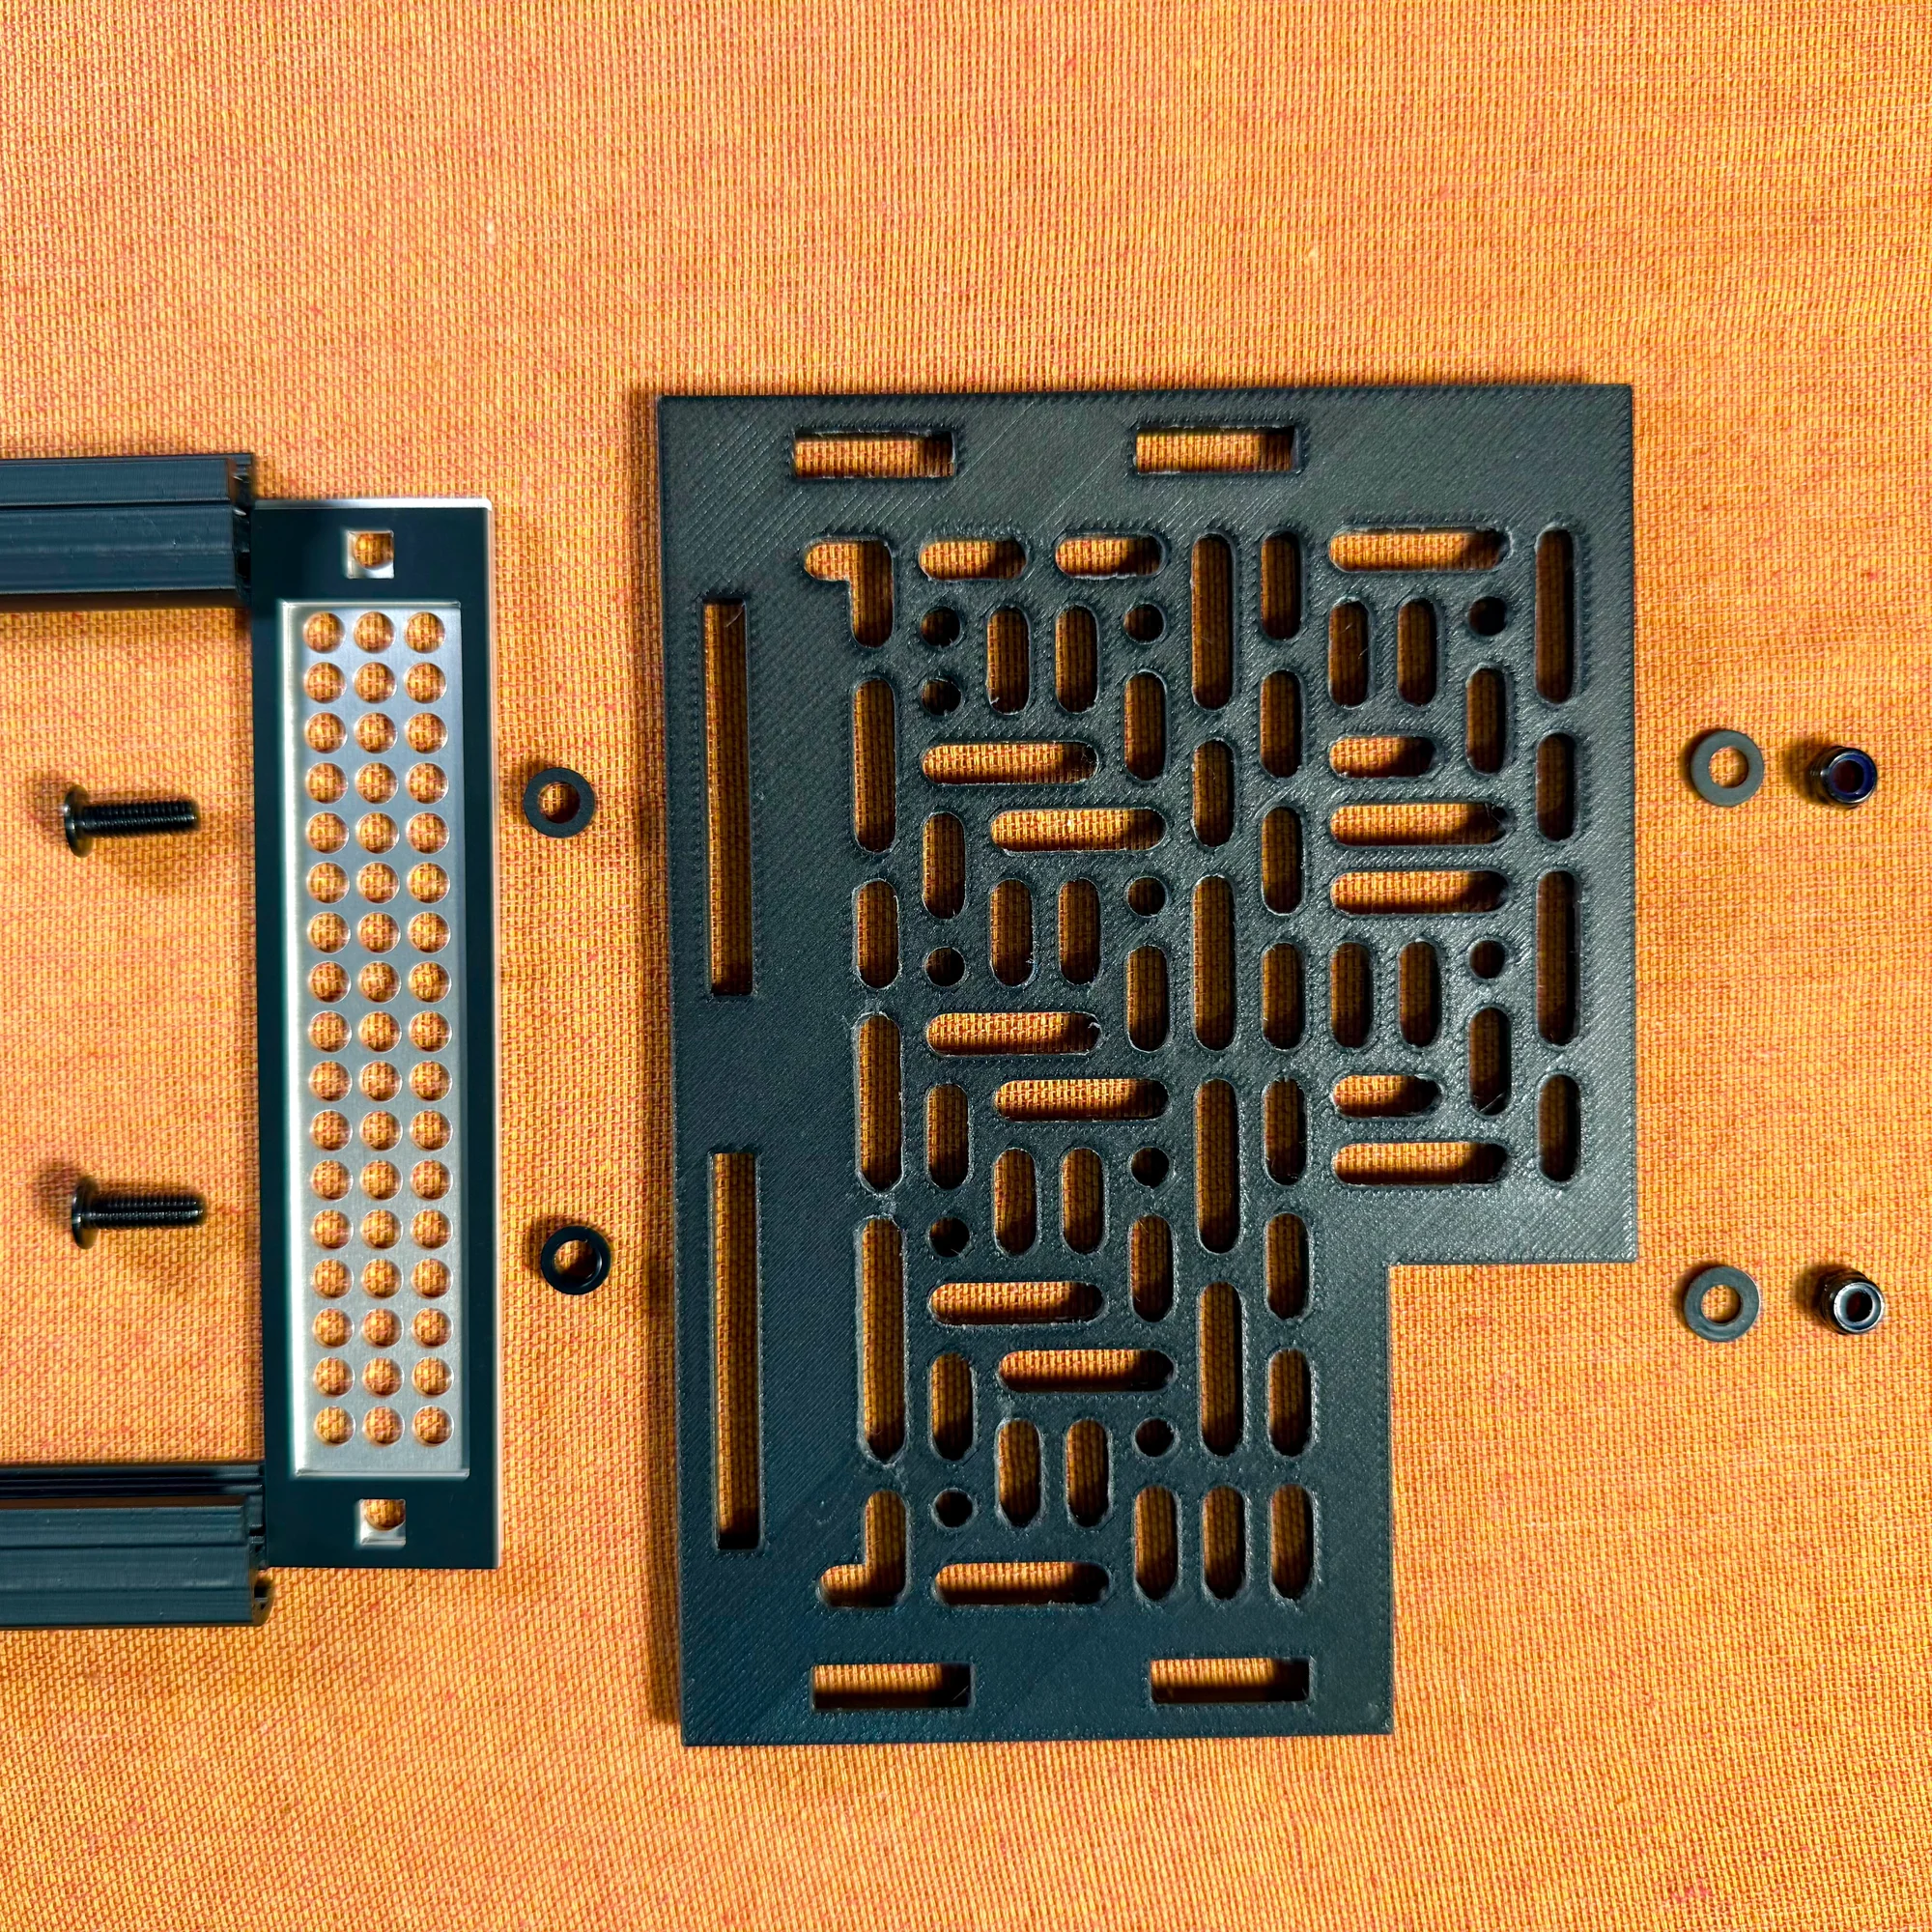
Step 3: Side Panel Attachment
At this point, you should have aluminum panels attached to both sides of the rails. Attach the left and right side panels to this frame to complete the build.
3-1. Preparing Screws and Washers
Use M5 14mm screws to secure the side panels to the rail frame. From the inside, pass the components in this order:
- Screw head
- Rail mounting panel
- 3mm-tall washer
- Side panel
- 1mm-tall washer
- Nut
Do this at two positions of your choice. Think of it as placing the 3mm-tall washer in the space between the frame and the side panel.
3-2. Final Adjustment and Securing
Do this on both left and right sides to create a state where the frame and side panels are secured together.
Place the assembly on a flat surface such as the floor, fine-tune the positions so the screws on both sides are at matching heights, then hold the nuts with a wrench and tighten the screws firmly. At this point, make sure the bottom edges of the side panels sit flat on the surface so the frame doesn’t wobble.
That concludes the assembly guide for the zudo-block-60 Open.
For details on the zudo-block-60 Open, please refer to the following page: