This article explains how to assemble the zudo-block-40x2 and zudo-block-60x2.
The zudo-block-40x2 and zudo-block-60x2 are cases in the zudo-block series, available for pre-order on Takazudo Modular: Panels. In this article, we will refer to these two case types as the x2 series.
- Required Tools
- Configuration Overview
- Assembly Steps
- Step 1: Rail Assembly
- Step 2: Outer Box Assembly
- Step 3: Attaching Rails to the Outer Box
- Related Products
Required Tools
The following tools are needed for assembly. Please have them ready beforehand.
- Hex wrench (e.g., Amazon: Hex Wrench 9-Piece Set)
- Wrench (e.g., Amazon: Mini Wrench Set)
- Phillips screwdriver (e.g., Amazon: Screwdriver Set)
- Pliers (if available) (e.g., Amazon: Pliers Set)
Configuration Overview
Before getting into the assembly procedure, it may be helpful to first understand the configuration of the zudo-block-40x2 and zudo-block-60x2.
Two Connected Sets
These two case types have the following configurations:
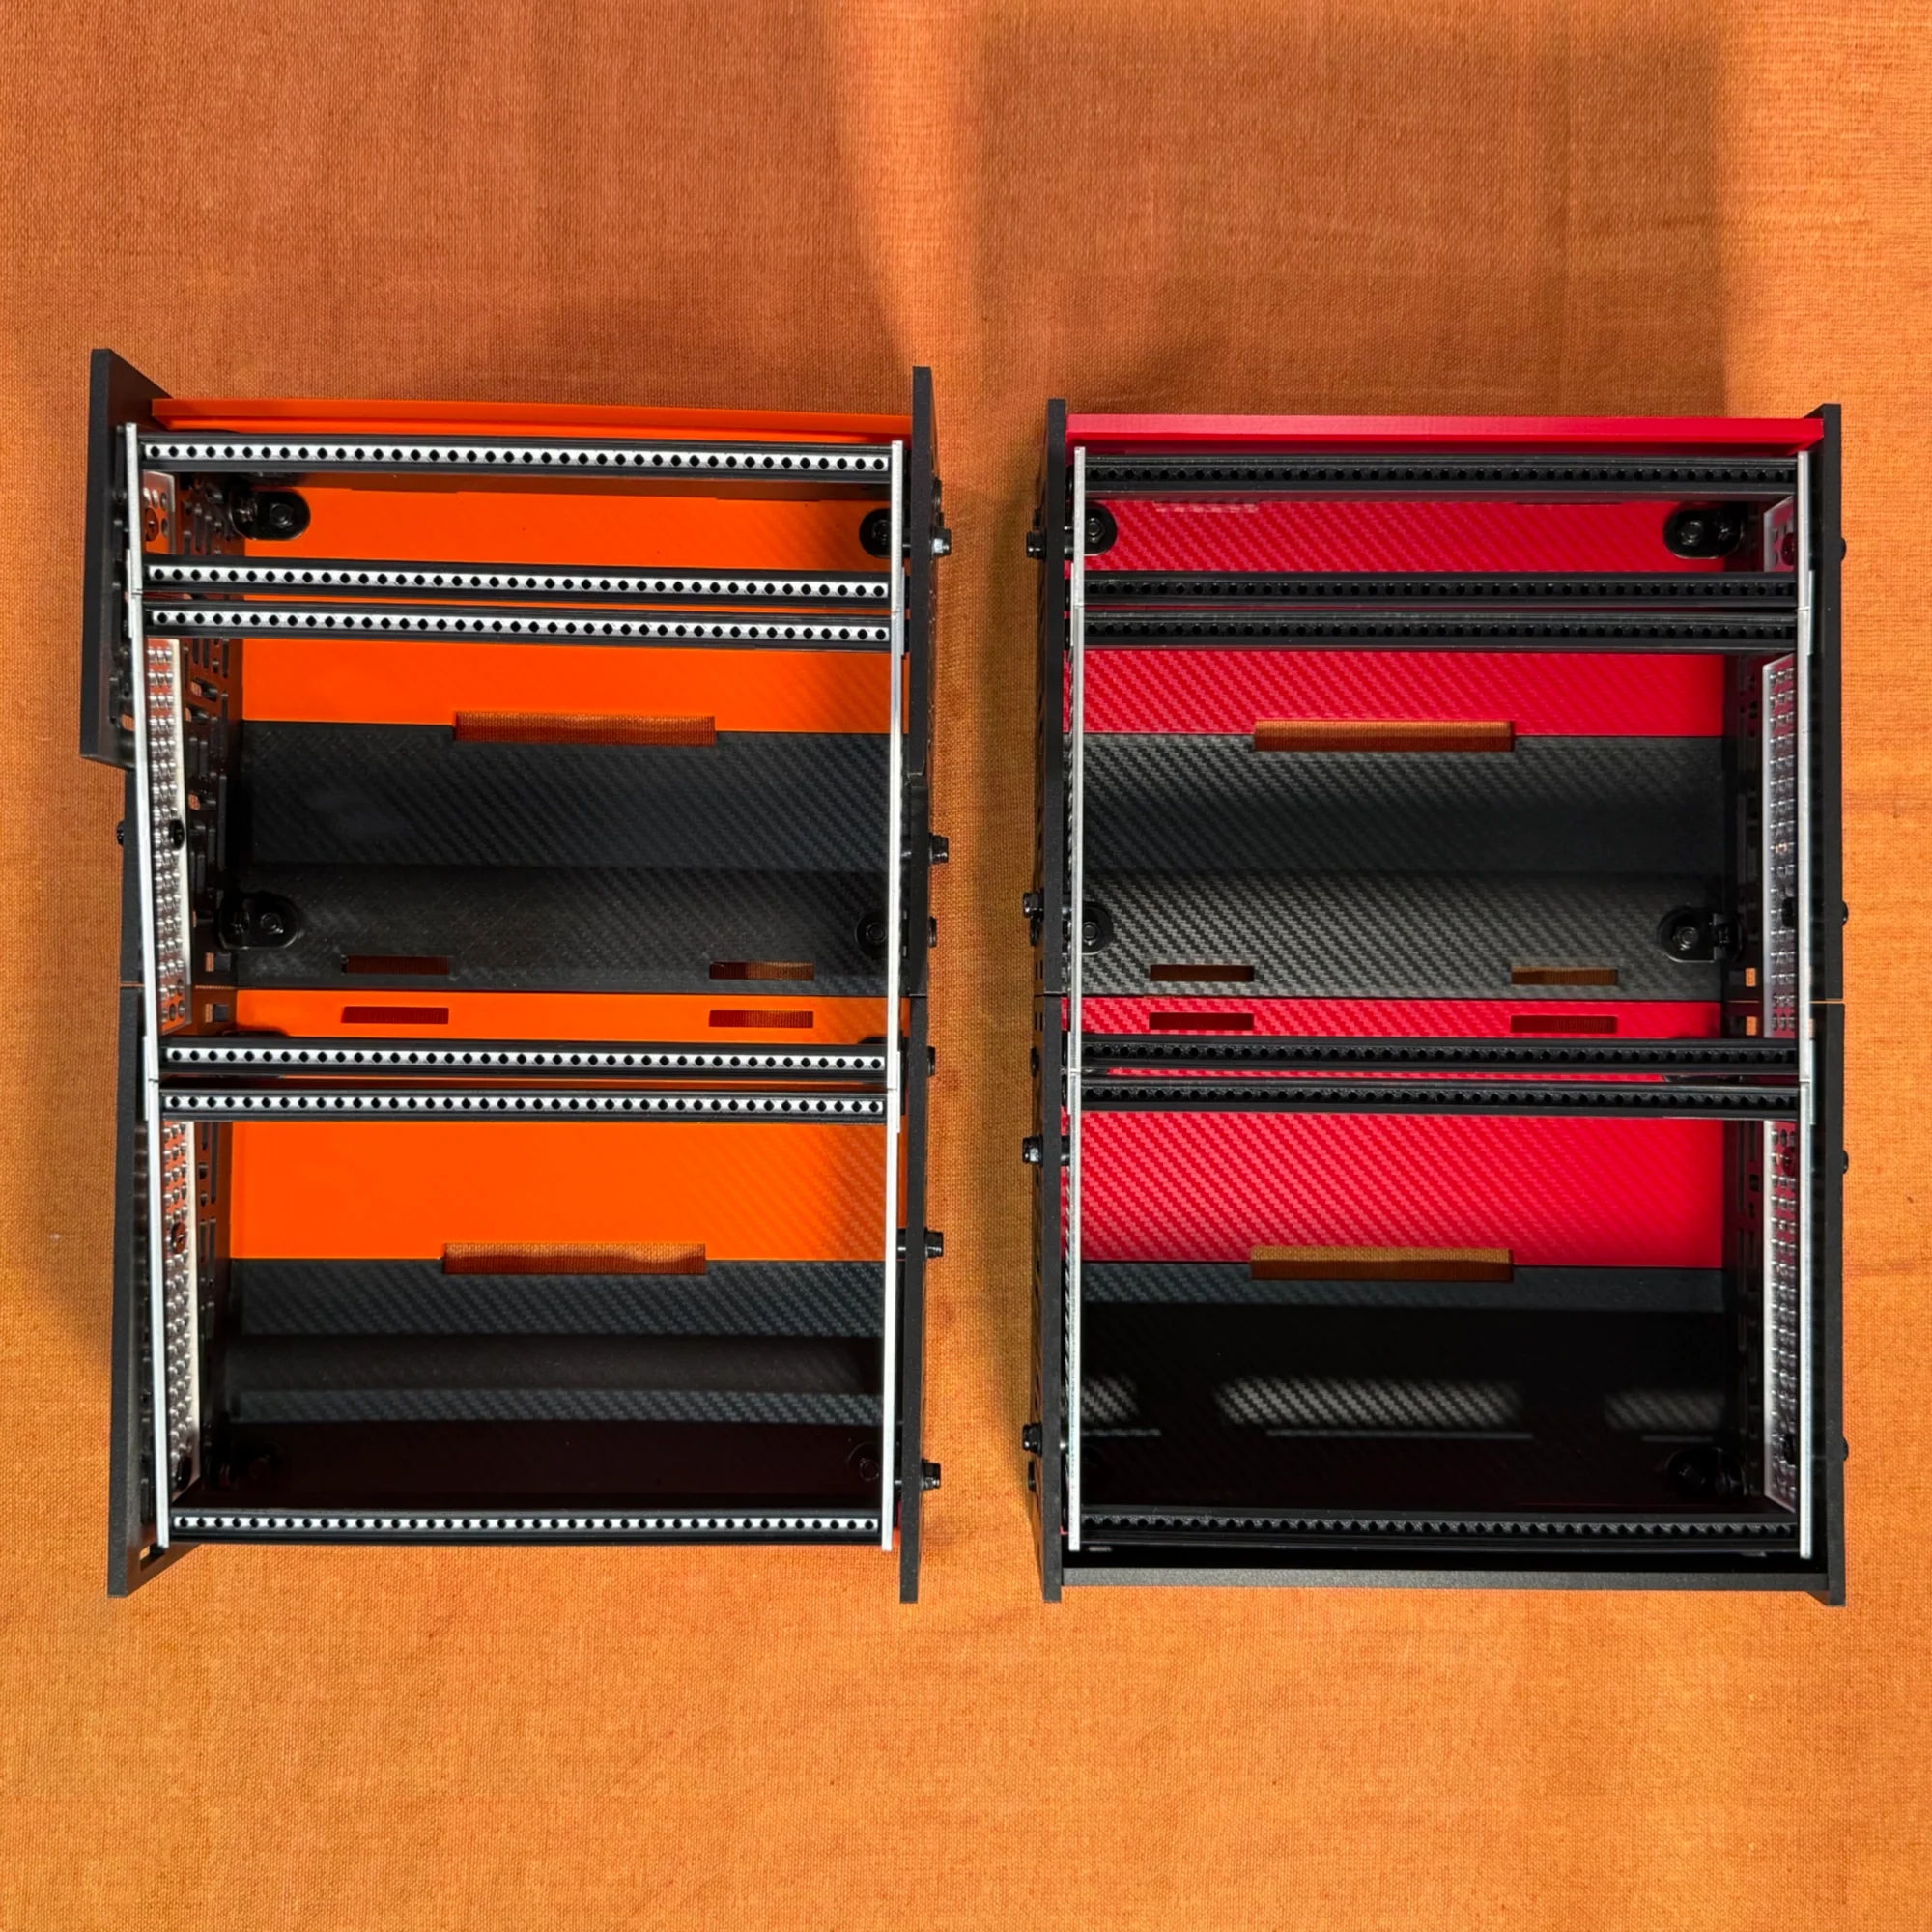
- zudo-block-40x2
- Two zudo-block-40 units connected together, plus a 1U zudo-rail
- zudo-block-60x2
- Two zudo-block-60 units connected together, plus a 1U zudo-rail
The 3U 40HP zudo-block-40 (or 3U 60HP zudo-block-60) is designed to be expandable by combining two units.
The method is simple: just stack two cases vertically, remove the dividing panels between them, and secure the two cases together with rails. That’s the completed form.
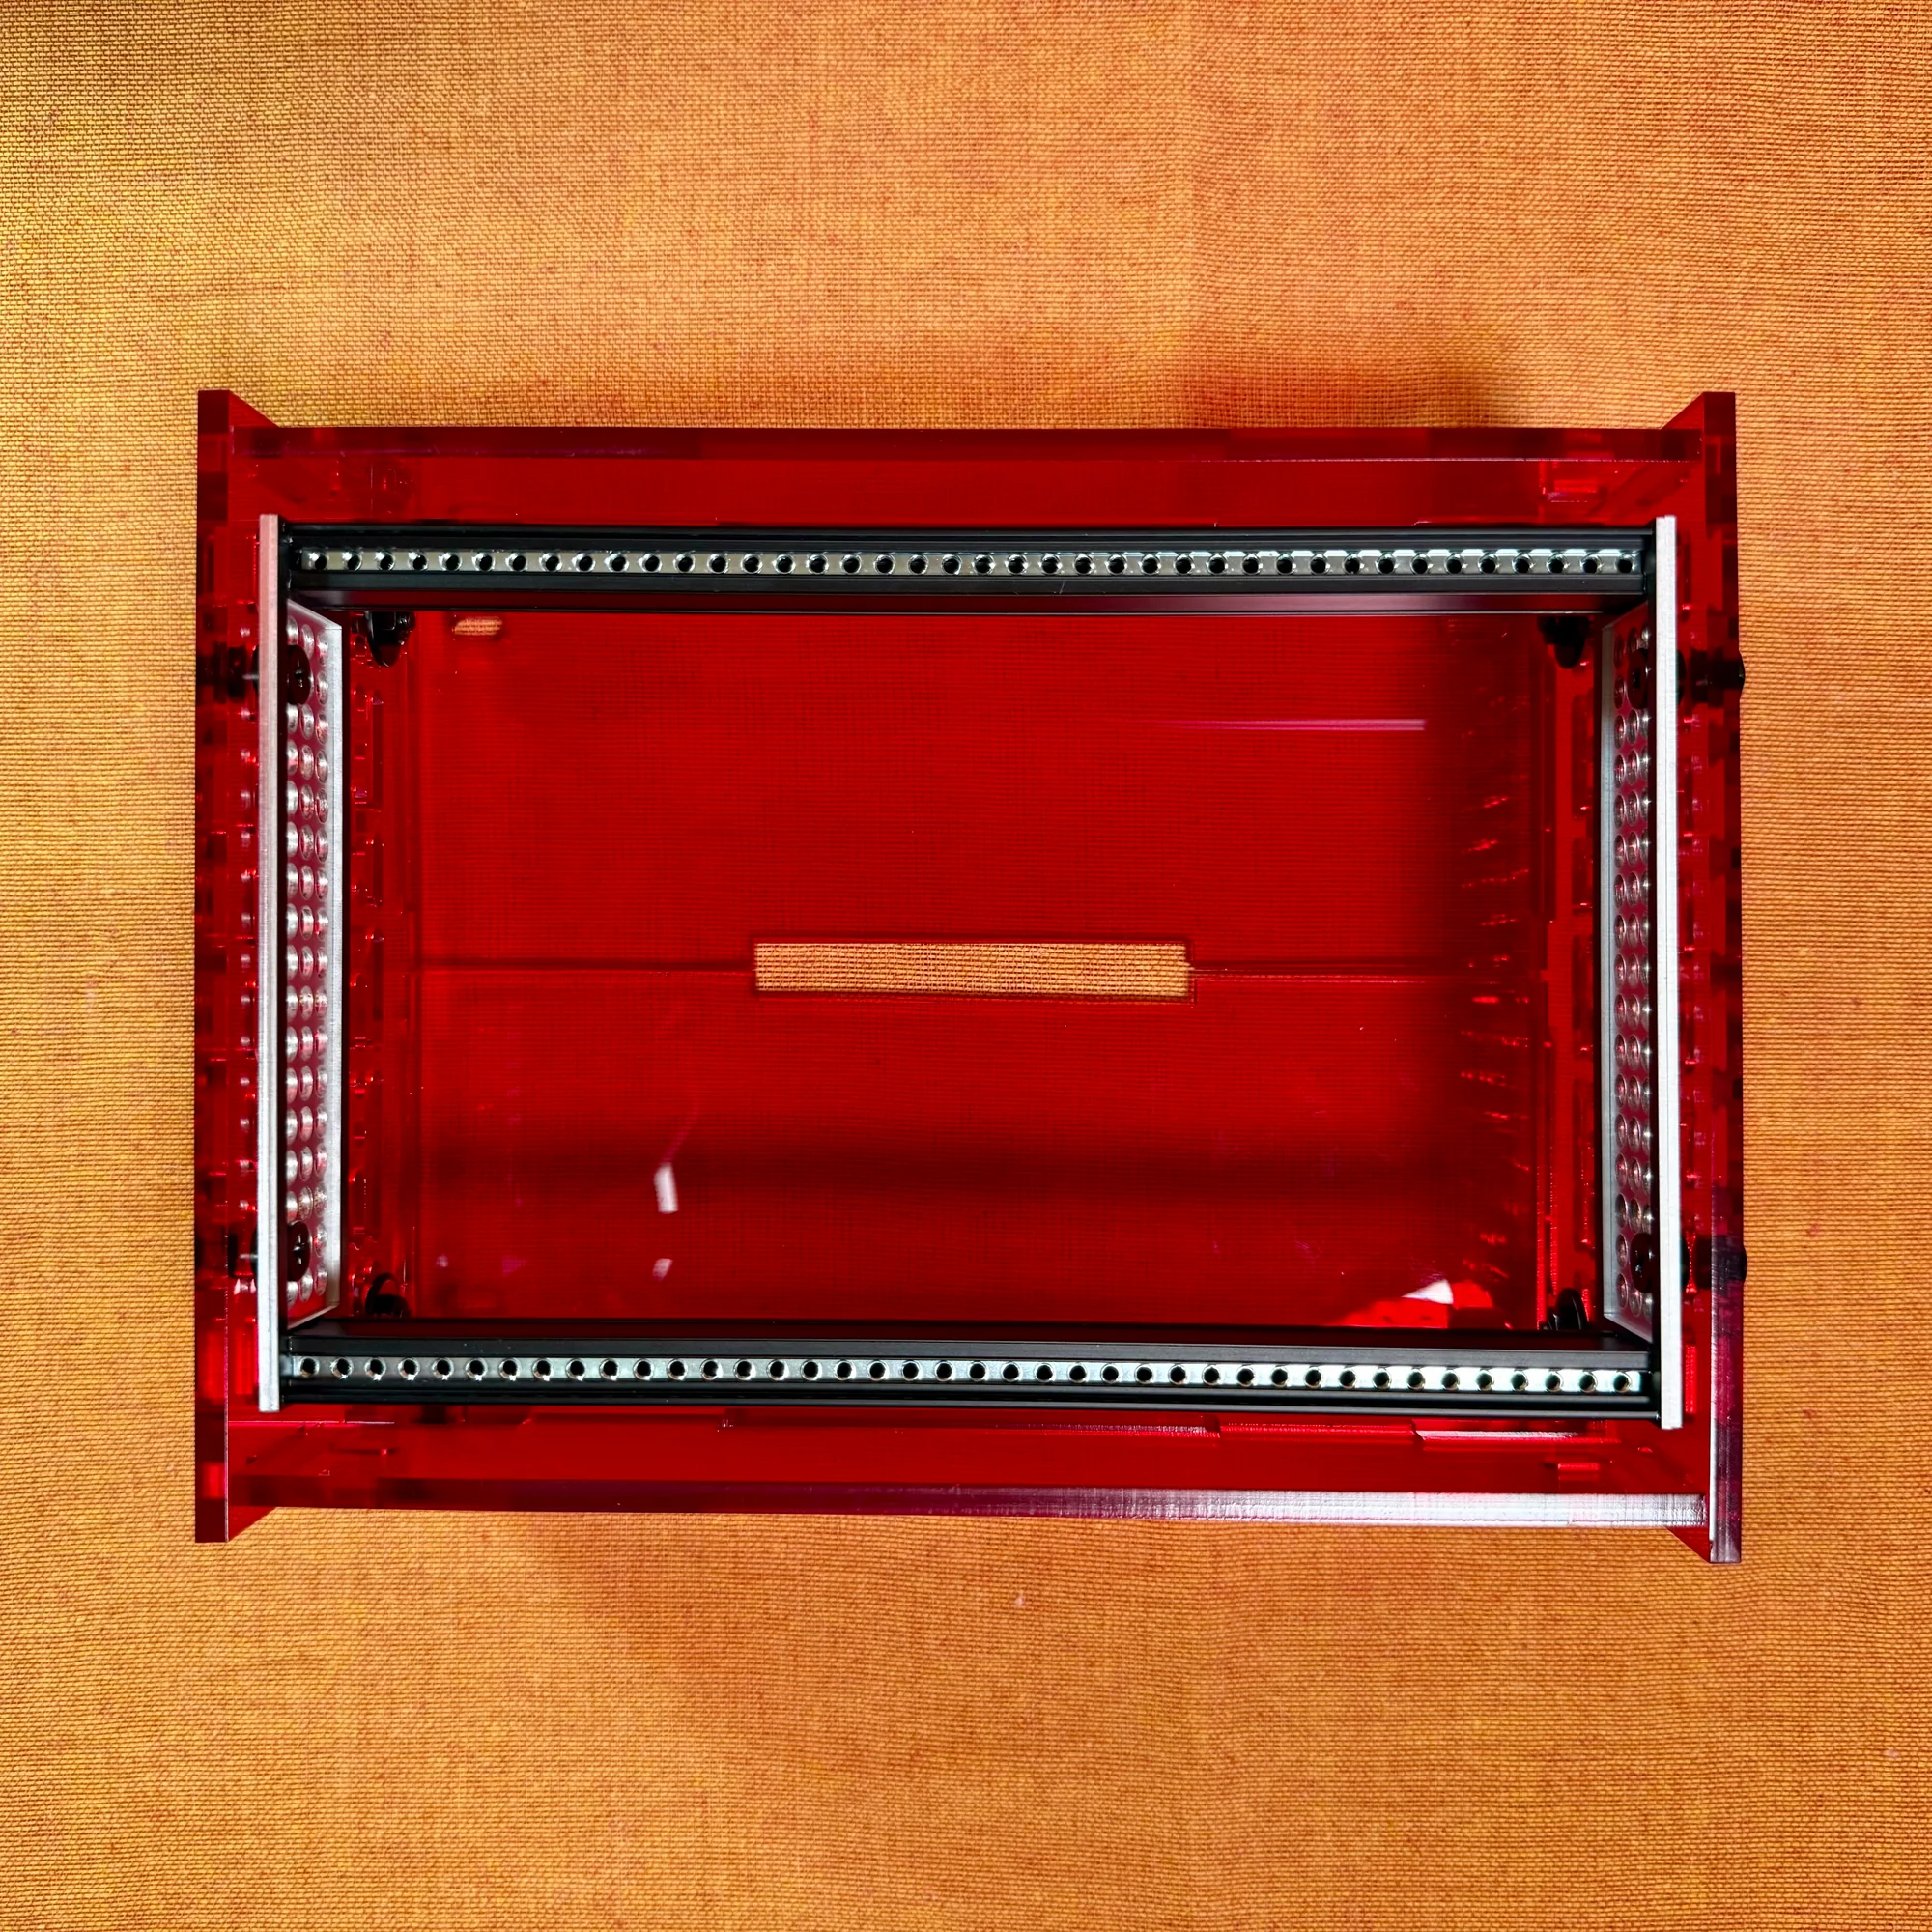
About the Rails
The zudo-block-40 comes with 3U 40HP rails. With two of them, that gives you 3U 40HP + 3U 40HP for a total of 6U. You can use it as-is at 6U, but there is enough room to add a 1U 40HP rail. Similarly, the zudo-block-60 gives you two sets of 3U 60HP rails totaling 6U, with room to add a 1U 60HP rail.

For details on rail types, please refer to the zudo-rail page. The basic shape is the same across types — only the material differs.
These zudo-rails can also be connected vertically. For connecting rail sets to each other, small connector panels are included, which are sandwiched between the side aluminum frames when fastening with screws.
x2 Series Variations
Everything discussed so far has focused on the zudo-block-40, but the zudo-block-60 simply has wider center panels and rails extended to 60HP — the configuration is identical. Therefore, this assembly guide will use the 40HP zudo-block-40x2 as the example.
Additionally, each case comes in Type A and Type B.

Type A has all rectangular side panels, while Type B replaces some panels with stepped ones. Type B allows you to tilt the rails more, but the assembly procedure is the same, so this guide will use the Type A as the example.
Assembly Steps
Let’s move on to the actual assembly procedure. Think of the assembly as three steps:
- Step 1: Rail assembly
- Step 2: Outer box assembly
- Step 3: Attaching rails to the outer box
As described above, the x2 series cases are essentially two zudo-block-40 (or zudo-block-60) units connected together. So please first refer to the single-unit case assembly guide:
The sections below cover only the differences specific to the x2 series.
Step 1: Rail Assembly
First, assemble the rails. For the rail assembly procedure, please refer to the following page:
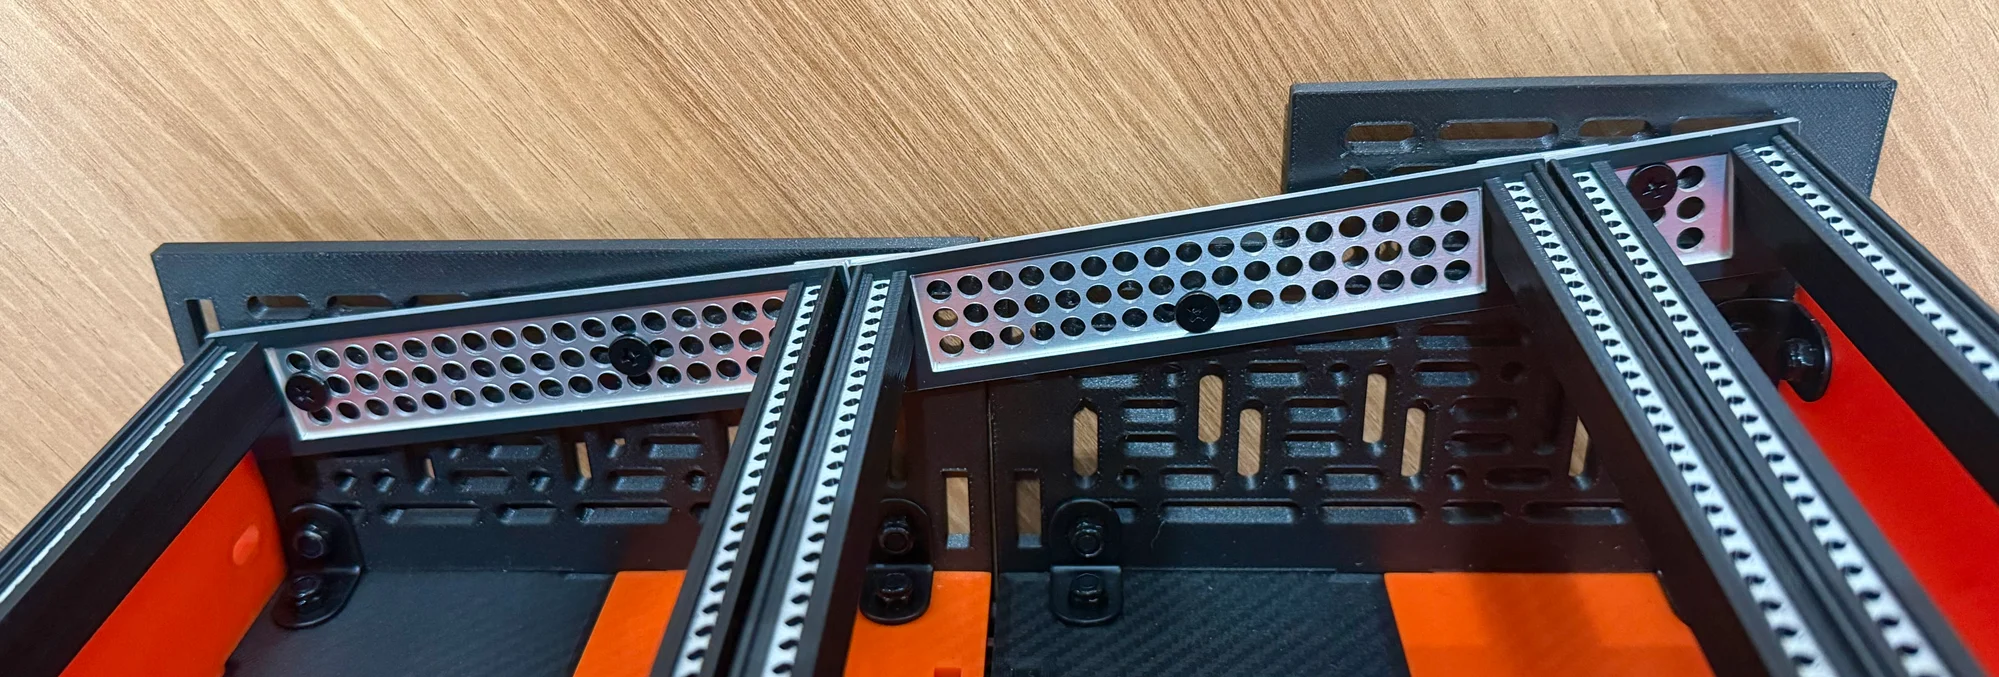
The x2 series cases can be configured as 3U + 3U + 1U. These 3U, 3U, and 1U rails can be arranged in any order.
The zudo-block series cases have many holes in the side panels, and the side aluminum frames of the rails also have many holes. Simply align the holes at your preferred positions to mount the rails at any angle you like. So as shown in the diagram above, the 1U rail can go in the middle or at the bottom — it doesn’t matter. And you don’t have to use the 1U rail at all if you prefer.
When assembling the rails, don’t forget to use the small connector panels. Rails other than Metal are made of resin, so repeatedly tightening and removing screws will not only loosen the screw holes but can also cause breakage. We recommend that once you tighten screws into non-Metal rails, you avoid removing them.
Also, as you connect multiple rails together, you may find yourself applying excessive force during assembly or over-tightening screws when securing the aluminum frames. Please be mindful of this during the build.
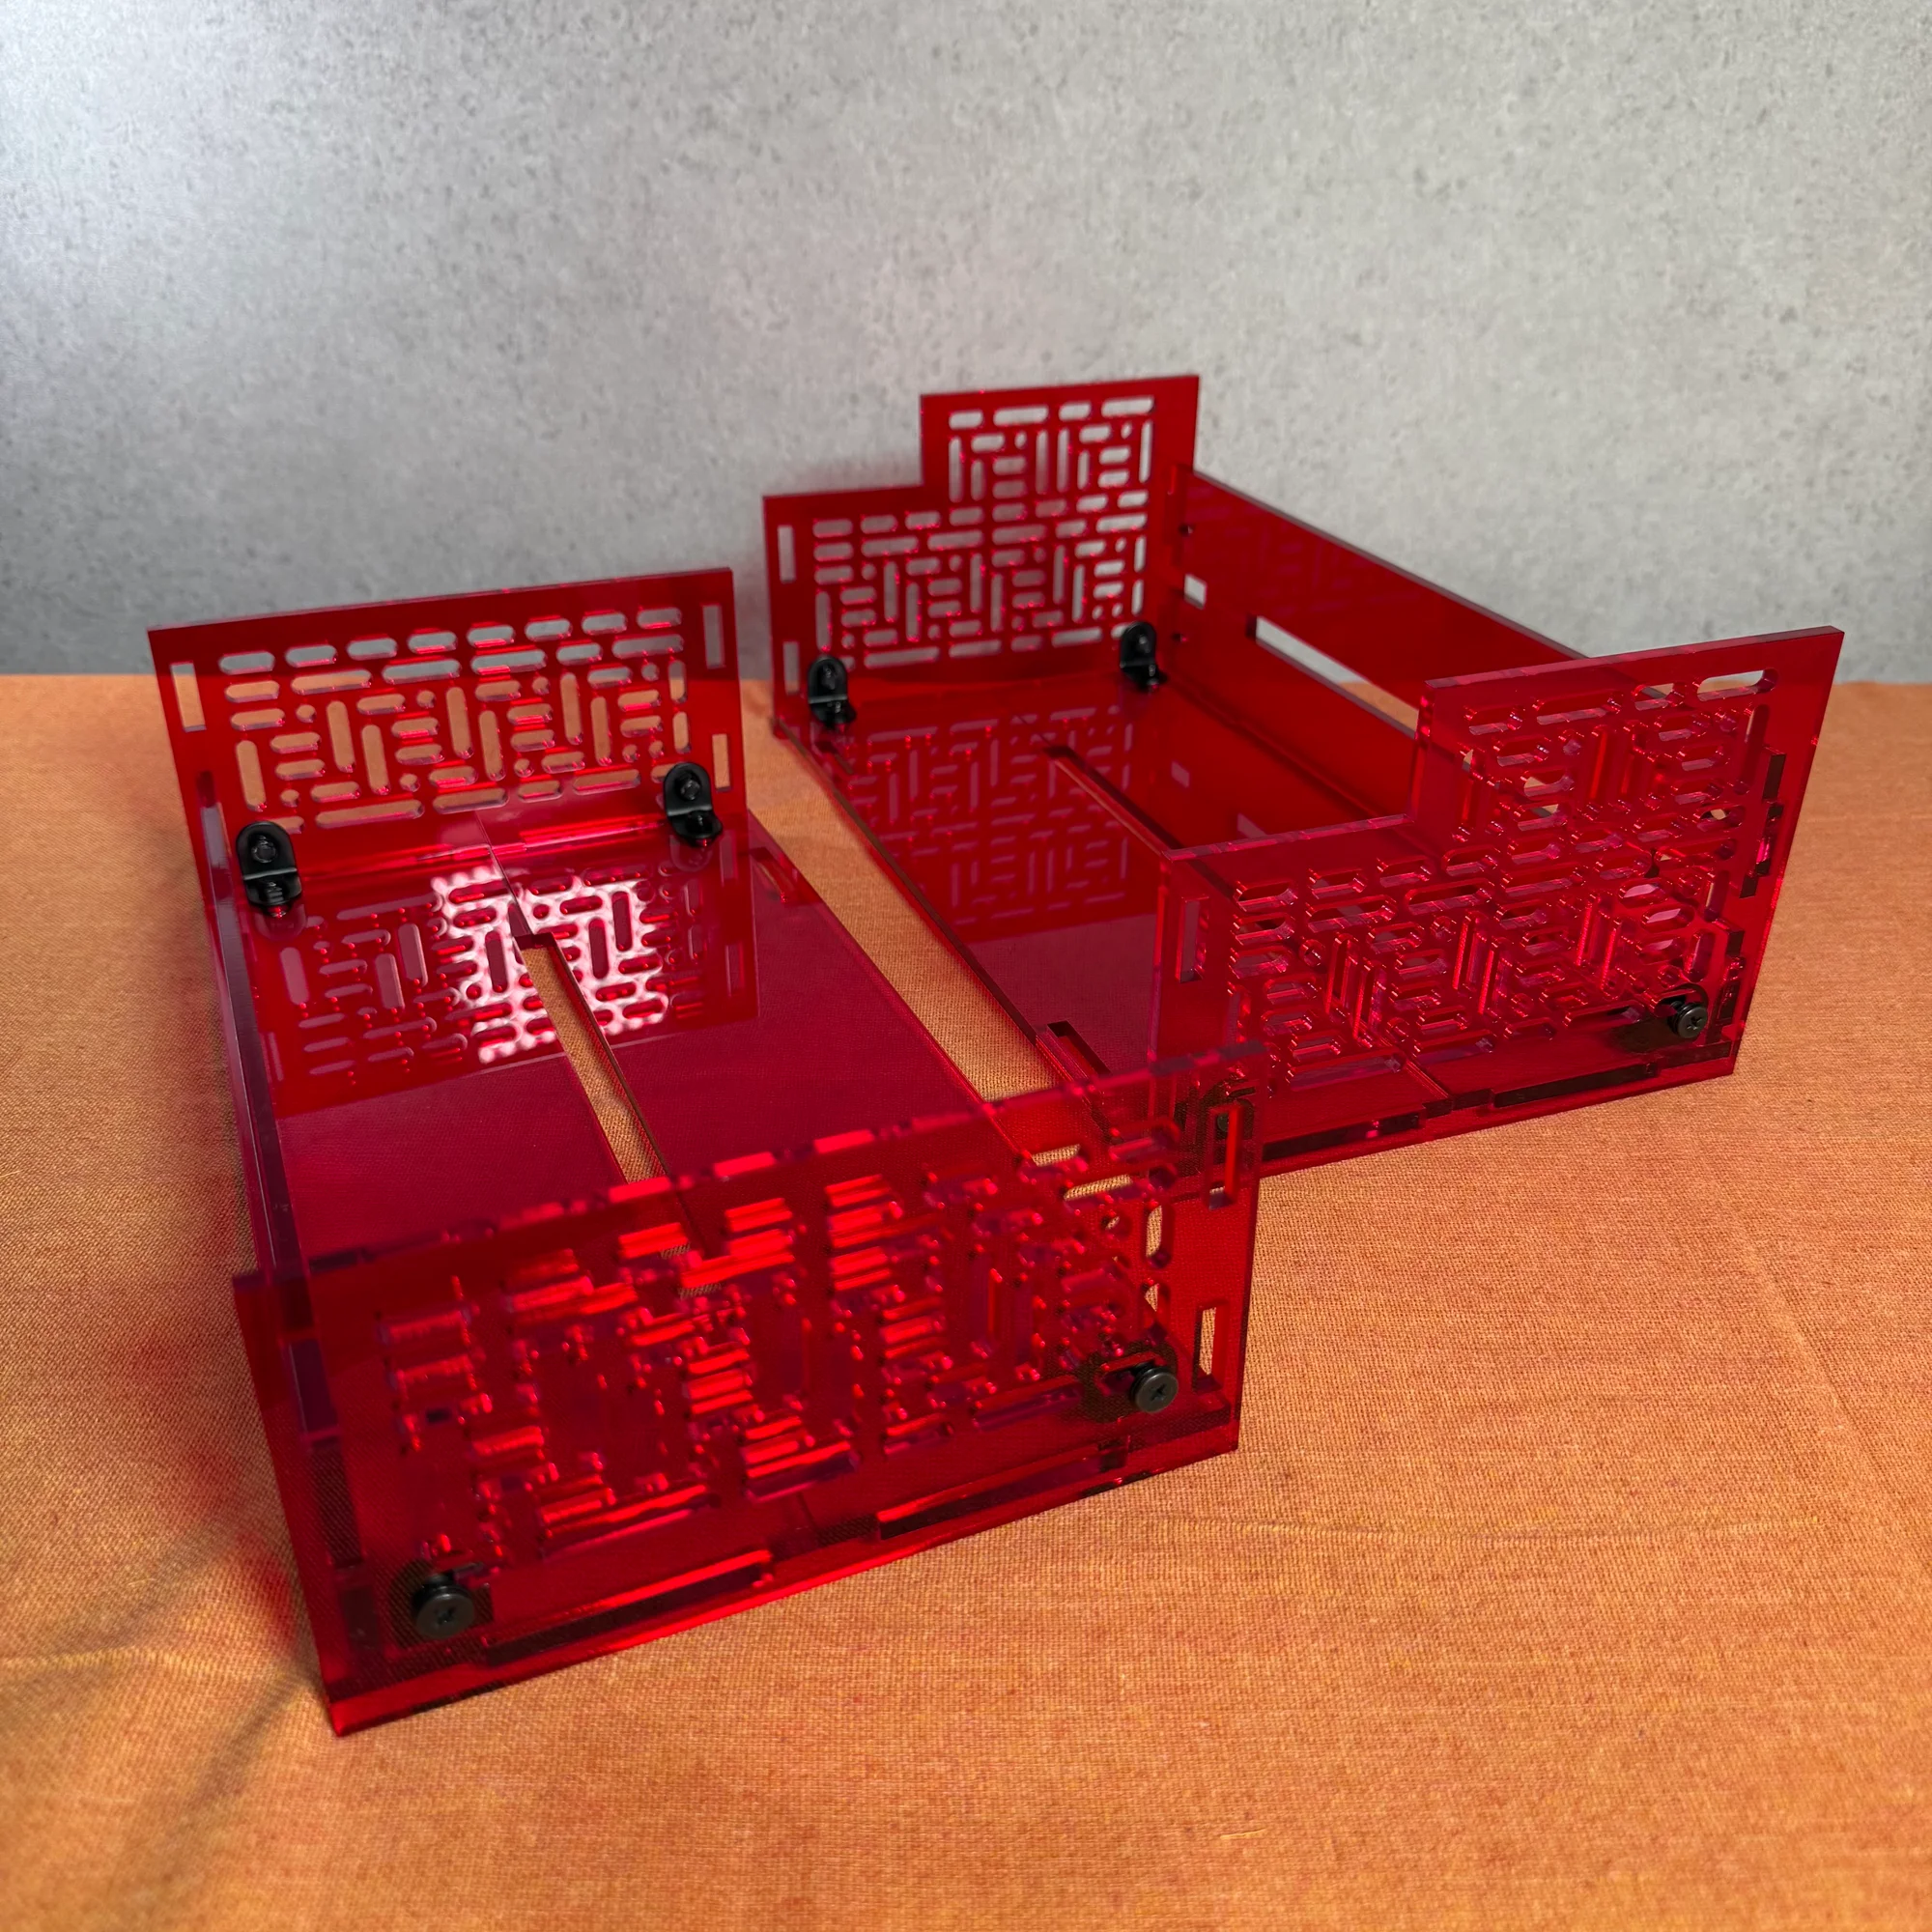
Step 2: Outer Box Assembly
Once the rails are assembled, build the outer box next. As described above, the outer box is made by connecting two zudo-block-40 units and removing the dividers between them. When doing this, unless you have a particular preference, we recommend attaching the L-brackets at the following positions.

Each bracket has two holes. From the outside inward, pass the components in this order: screw head, 1mm-tall washer, panel, bracket, nut — using M5 12mm screws, and secure with the nut.
The bottom is secured with these brackets, and the two outer boxes are then connected by the rails. However, since the rails are attached in the next step, the two outer boxes are still separate at this point.
Step 3: Attaching Rails to the Outer Box
Finally, secure the rails to the outer box. This process is the same as in the zudo-block-40 / zudo-block-60 assembly guide, except that you now have 3U + 3U + 1U, with the addition of the 1U rail.
For the 1U rail placement, same as in Step 1, secure it wherever you like — wherever the holes in the side panels and the rail’s side aluminum frames align.
Here are some examples of rail mounting configurations for the x2 series cases.
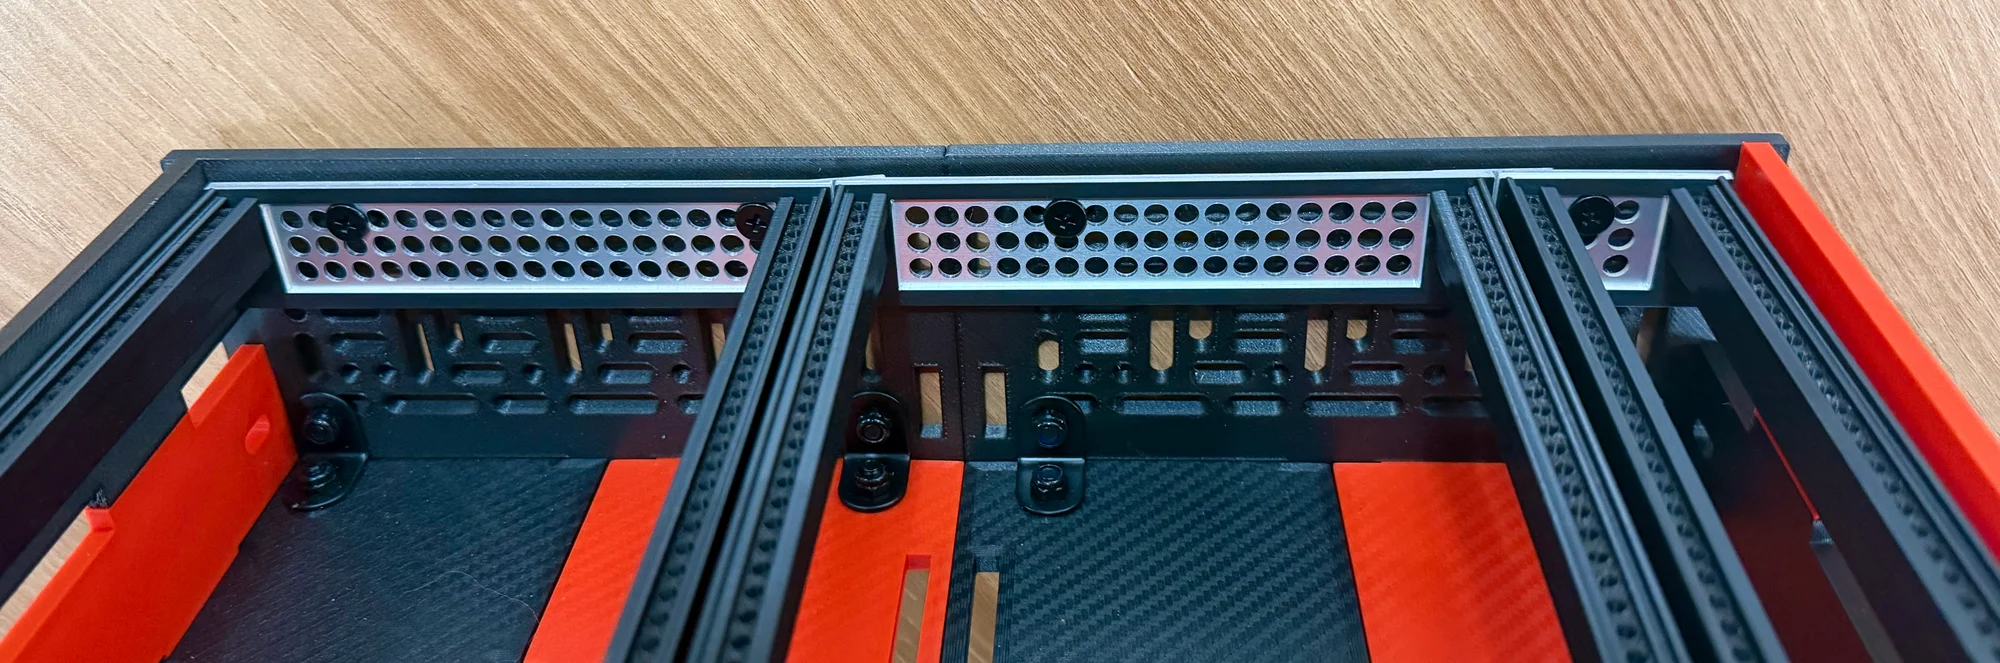
The screws used here are M5 14mm — the slightly longer ones.
Assembly is now complete.
Related Products
The x2 series cases allow you to tilt the rails. If you want an even greater tilt, you can use the following zudo-stand products.
The zudo-stand models compatible with the x2 series are:
- zudo-stand-40x2
- For zudo-block-40x2
- zudo-stand-60x2
- For zudo-block-60x2
That concludes the assembly guide for the zudo-block-40x2 / zudo-block-60x2.
For details on the base zudo-block-40 and zudo-block-60, please refer to the following pages: