Welcome to EP.5 of the OXI ONE MKII guide series. This time, we're finally diving into Poly Mode.
Poly Mode can handle up to 7 notes of polyphony per step, making it arguably the most flexible of all the sequencer modes on the OXI ONE MKII. While Mono Mode handles single-note melodic lines per step and Chord Mode places pre-defined chord structures, Poly Mode lets you freely place as many notes as you like (up to 7) on each step without any such constraints.
When you want to build your own chord progressions, control melody and harmony simultaneously, or switch between chords during a live performance — that's where Poly Mode comes in.
In this article, I'll walk through the basics of Poly Mode, covering the arpeggiator, custom chords, performance chord mode, and harmonization.
OXI ONE MKII Product Page
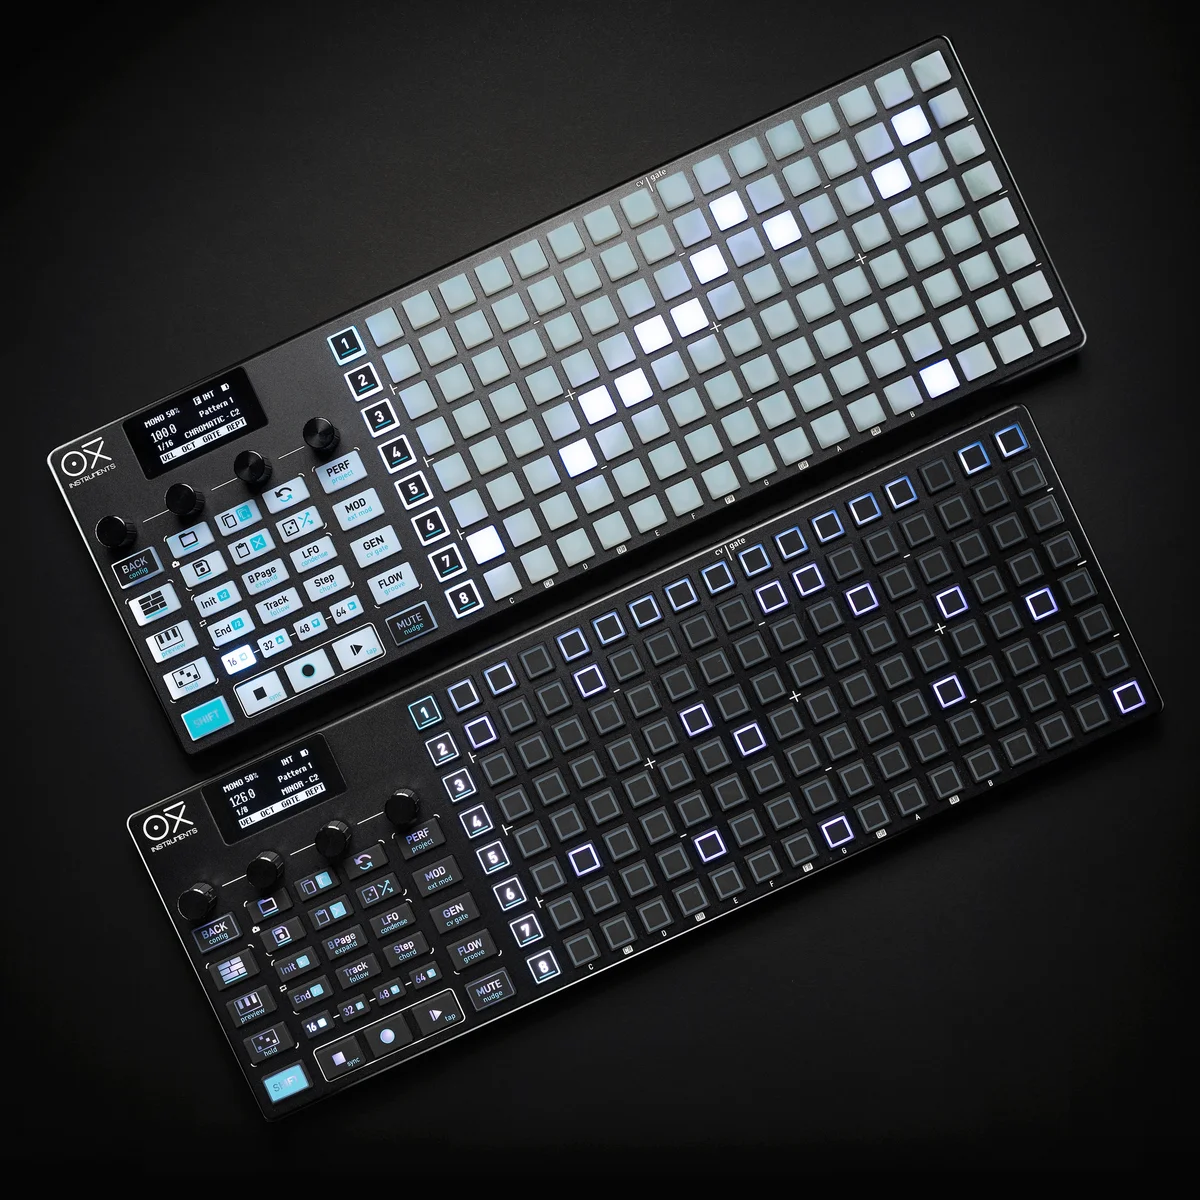
The OXI ONE MKII is available in two color variations.
OXI ONE MKII Black Edition, next-generation model with 8-part sequencer. Enhanced generative features, large OLED display, and up to 64-track control.
OXI ONE MKII, next-generation model with 8-part sequencer. Enhanced generative features, large OLED display, and up to 64-track control.
- What Is Poly Mode?
- Mode Conversion
- Placing and Editing Notes
- Per-Step Settings
- Column Bulk Editing
- Accumulator (Poly Version)
- Arpeggiator
- Copy and Transpose
- Custom Chords
- Performance Chord Mode
- Harmonization
What Is Poly Mode?
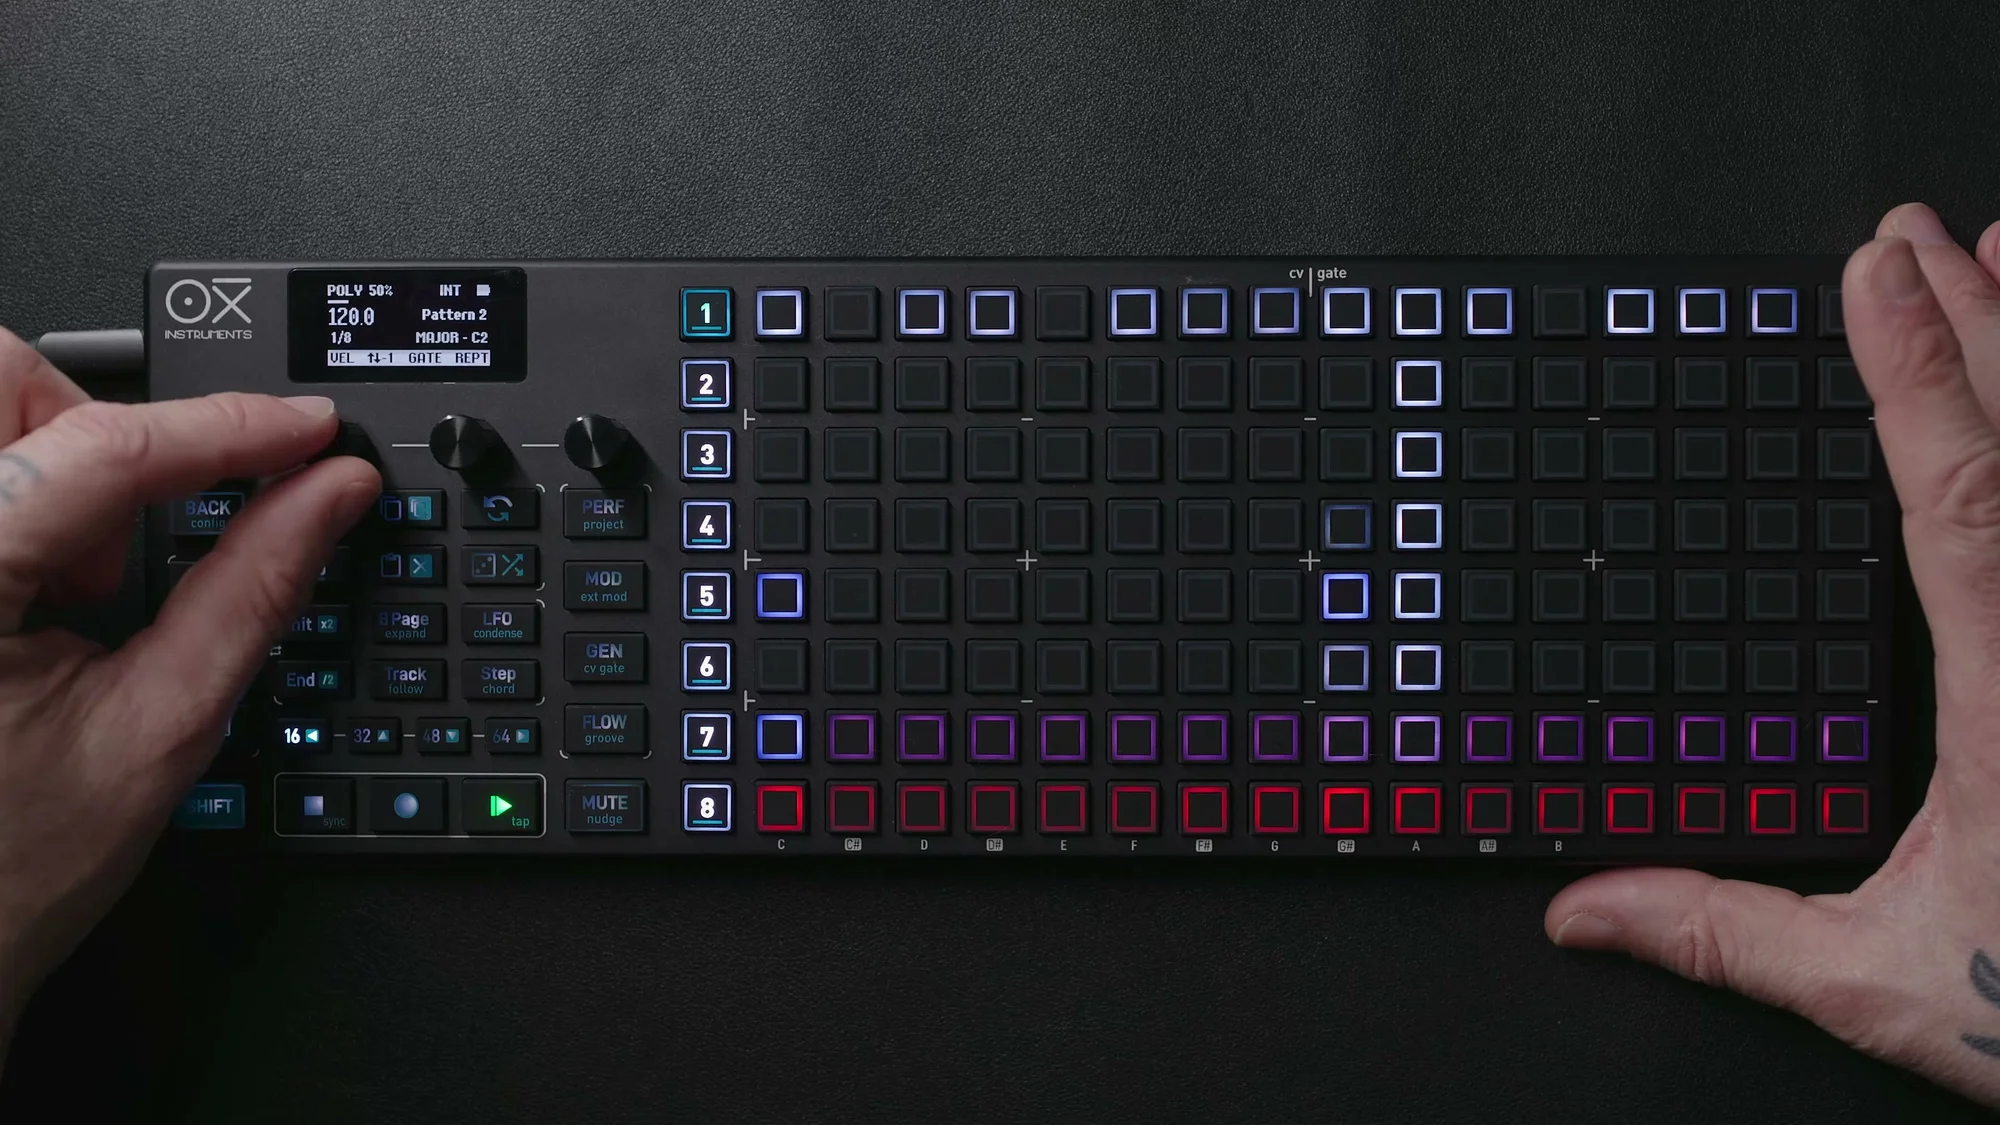
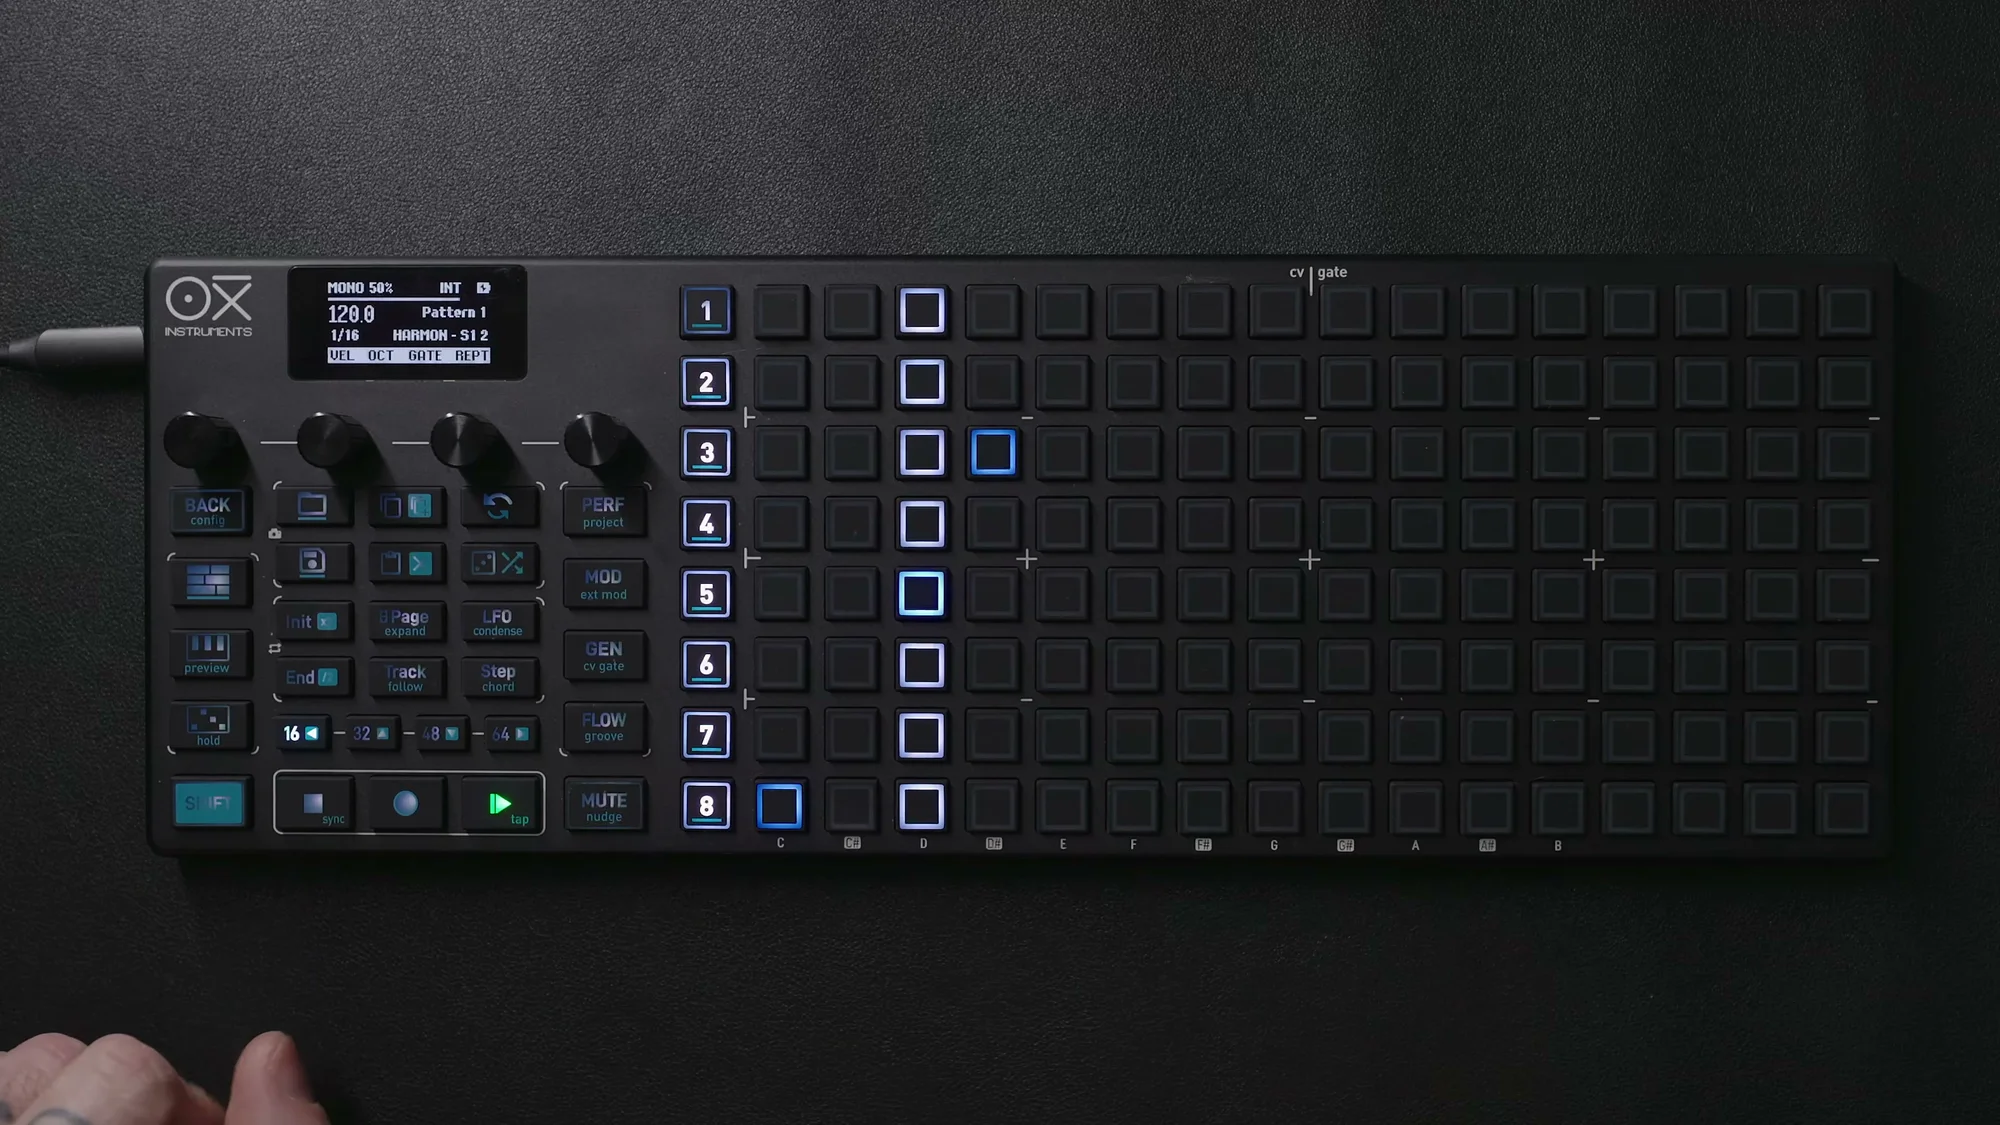
Poly Mode (polyphonic mode) lets you place up to 7 notes per step. It keeps the same piano-roll-style grid display as Mono Mode, but allows you to stack multiple notes within a single column (step).
Let's take a moment to compare the three modes:
- Mono Mode: 1 note per step. Best suited for building focused melodic lines
- Chord Mode: Uses pre-defined chord formations and voicings. Handy when you want to quickly put together chord progressions
- Poly Mode: Up to 7 notes freely placed per step. Full control over every note in your chords
Where Chord Mode has you "selecting from pre-built chord structures," Poly Mode lets you "build up notes yourself." This means you can create cluster-like chords that don't fit standard chord structures, or place melody and bass notes on the same step.
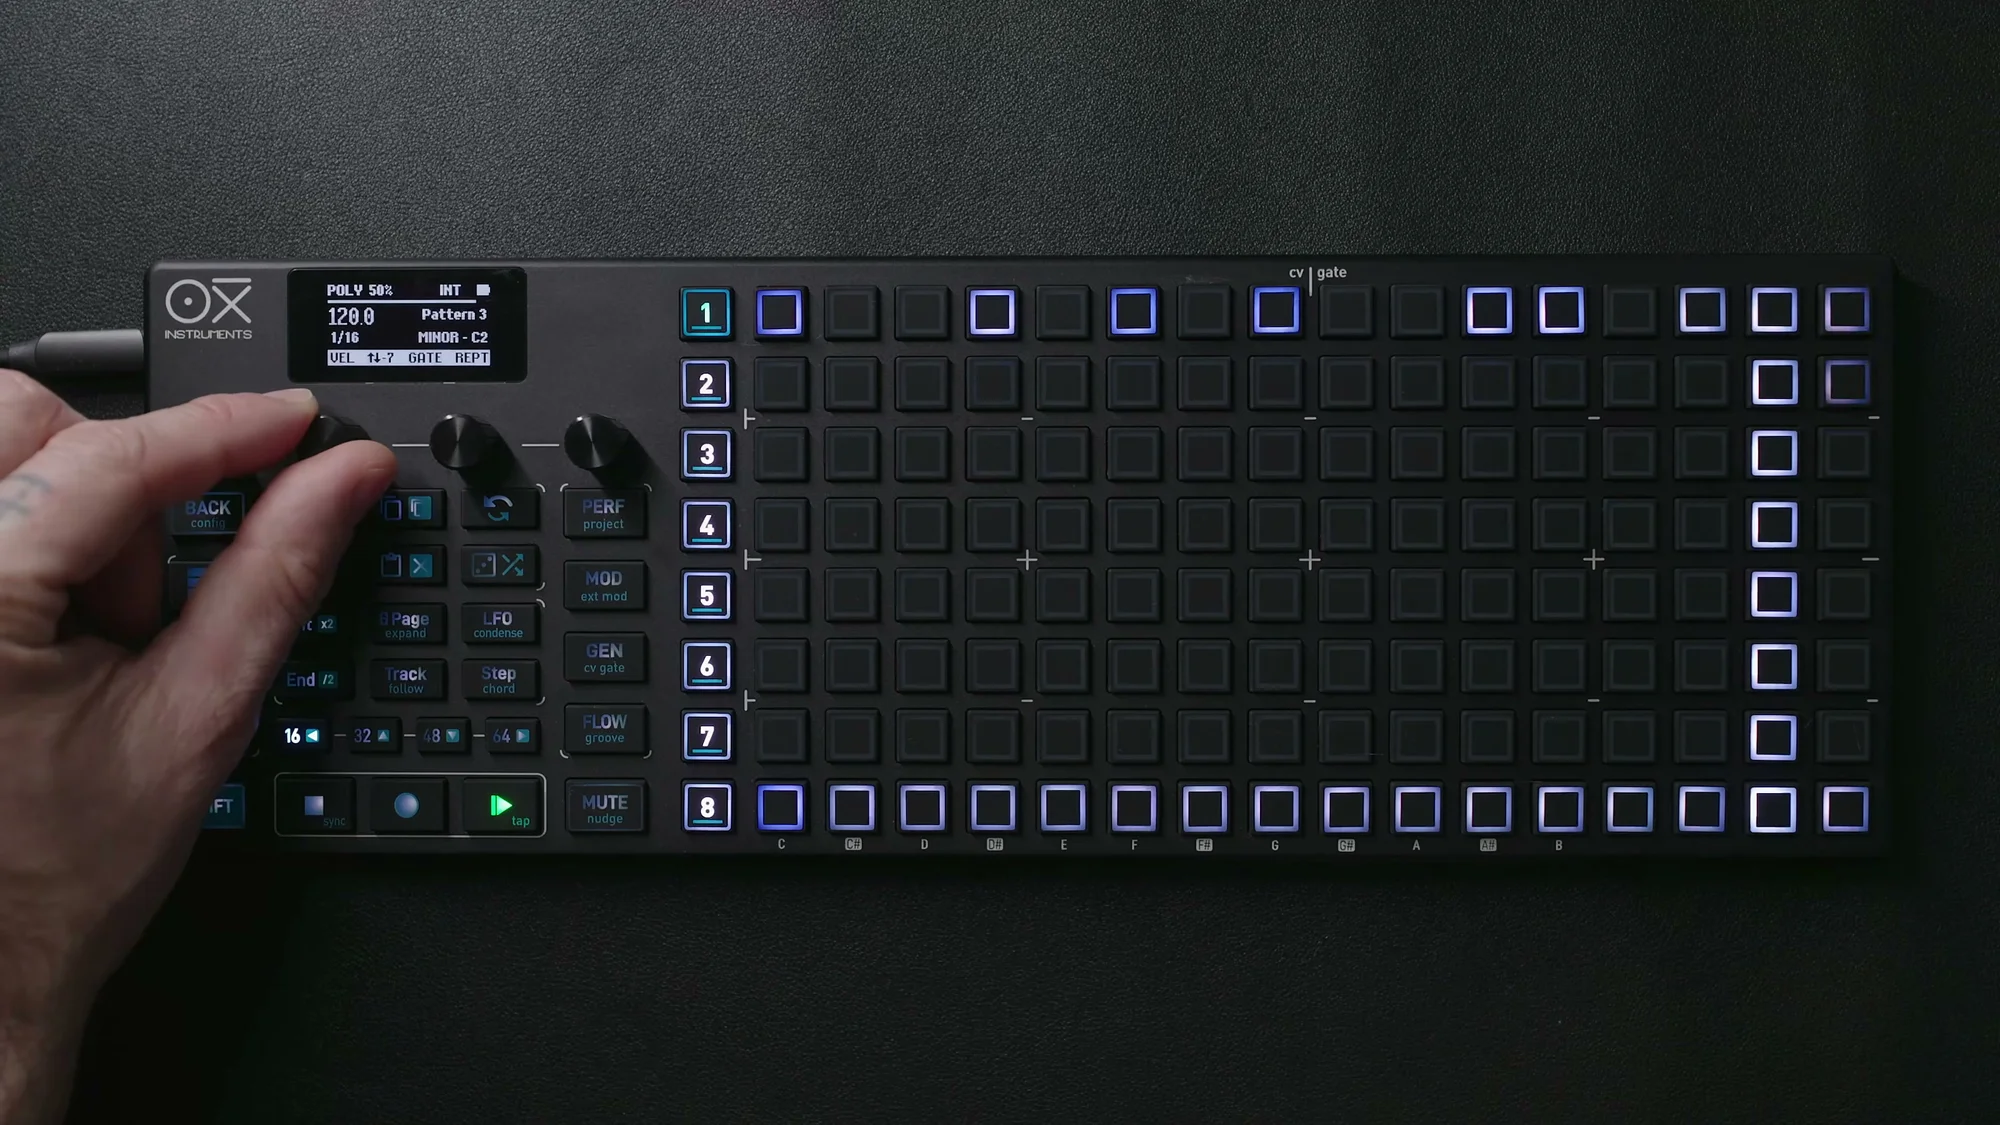
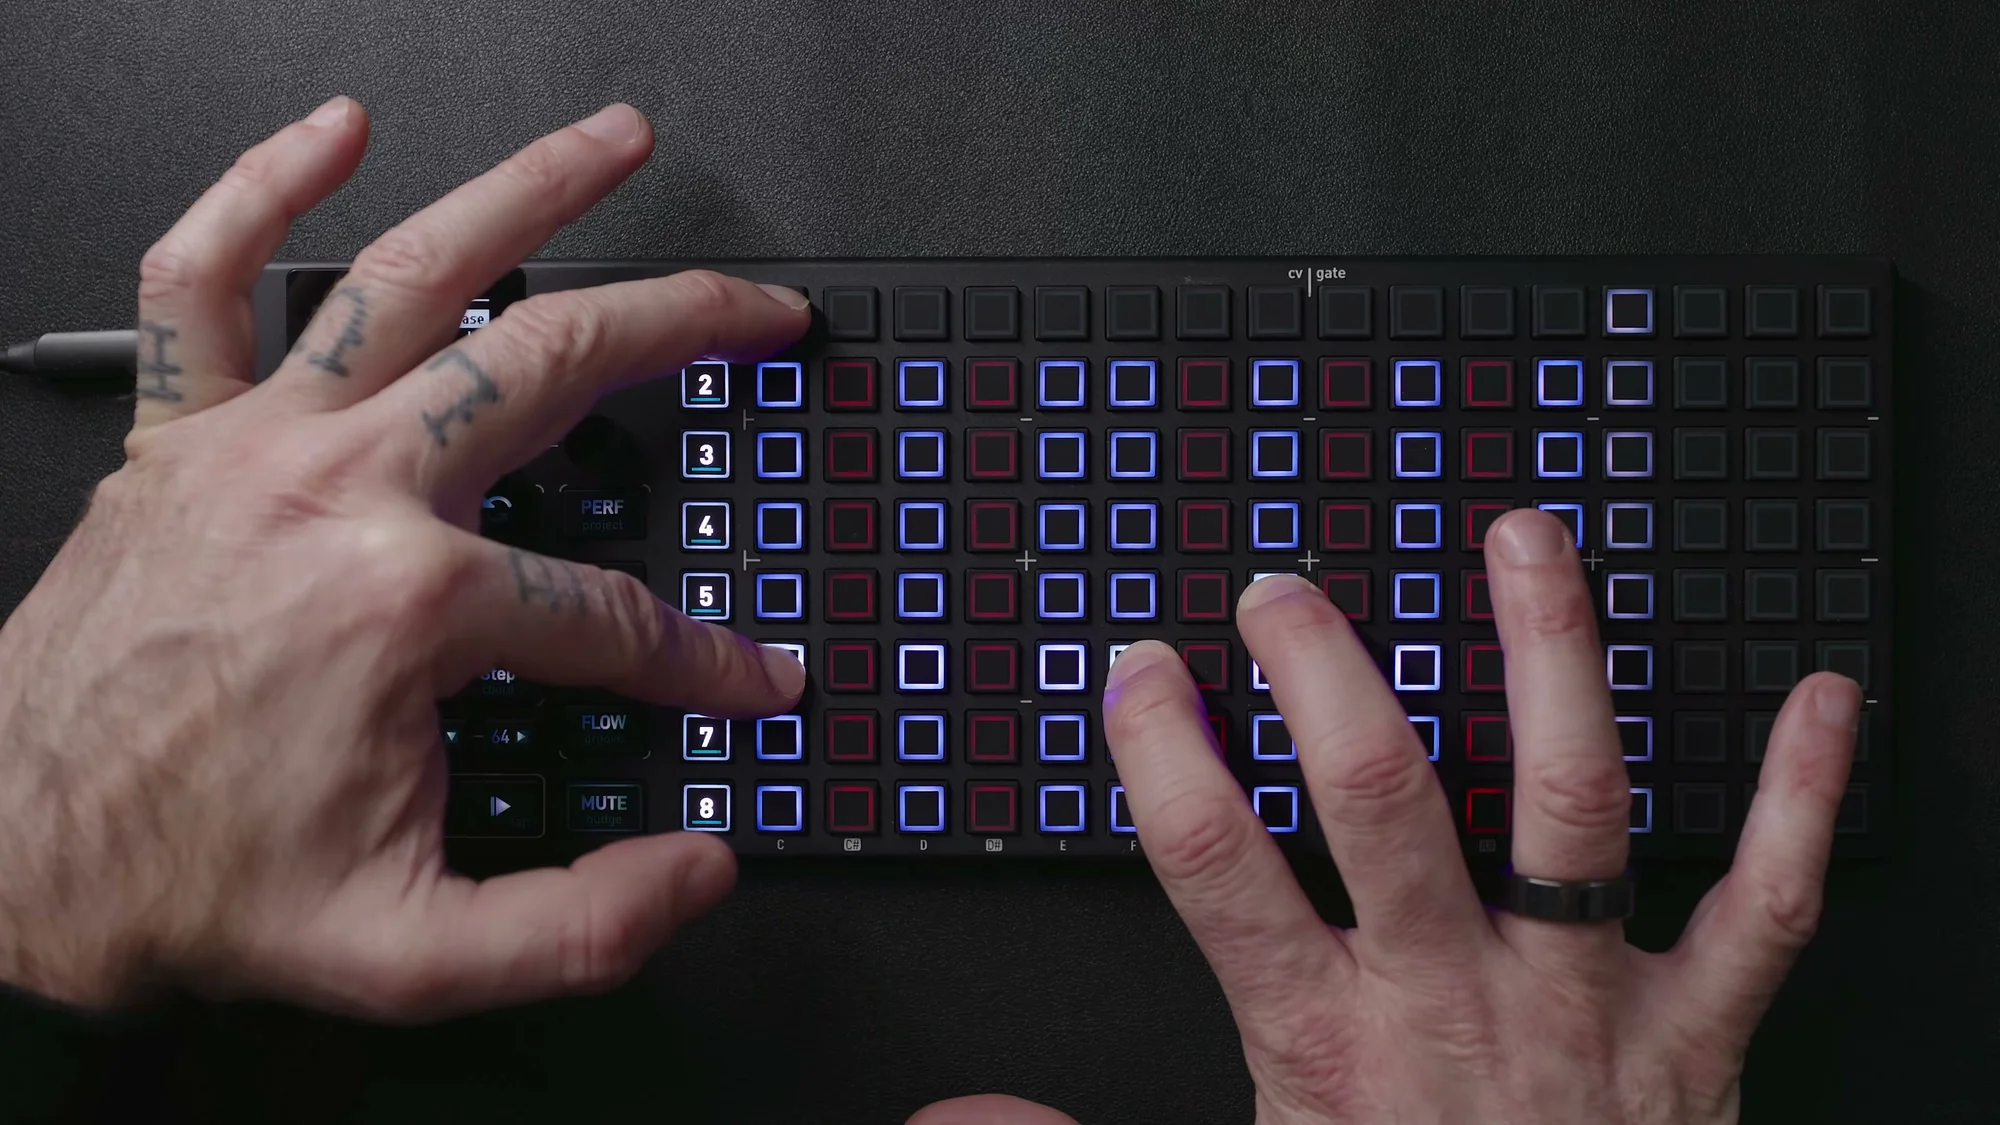
Here's an example of multiple chords placed in Poly Mode. Each step has multiple notes stacked together, forming a chord progression.
The grid spans up to 128 steps across 8 pages, and just like in Mono Mode, you can scroll the rows up and down with Encoder 2 to access octaves outside the current display range. When notes exist beyond the visible range, red (below) or white (above) indicators appear at the top or bottom row of the grid to let you know.
Mode Conversion
You can convert existing Mono Mode or Chord Mode sequencers to Poly Mode. Open the Setup screen with Shift + Sequencer button, then use the 4th encoder to change the Mode to POLY.
Converting from Mono Mode is fairly straightforward — each step's single note is carried over as-is.
Converting from Chord Mode expands the chord's constituent notes into individual Poly notes. However, the scale setting will be changed to Chromatic in the process. In Chord Mode, chords were constructed based on the active scale, but since Poly Mode treats each note independently, the scale constraint is removed and set to chromatic.
Converting from Poly Mode to other modes is also possible, but be aware that multi-note information may be lost.
Placing and Editing Notes
Placing notes in Poly Mode works just like Mono Mode. Tap a pad on the grid to add a note at that step. Tapping an already active pad removes that note.
You can place up to 7 notes per column. If you try to add an 8th, it replaces the first note that was added.
Creating Ties
To create sustained notes across multiple steps, hold the first pad and tap the last pad. All pads between the two will be tied together and play as a single continuous note. This is useful when you want to extend a chord over several steps.
Tapping a pad in the middle of a tie breaks the tie at that point.
Inverted Tie
A normal tie is created in the forward (right) direction, but an inverted tie works in reverse — hold the last pad and tap the first (leftward) pad.
Inverted ties have two behavior modes, which you can switch in Config → Workflow → Inverted Ties:
- Fill: Fills the range with notes of the same pitch. Handy for quickly filling in rhythm patterns
- Randomize: Fills with random notes. Great for adding improvisational variation
Either mode lets you quickly fill steps, making it a useful tool for efficient pattern construction.
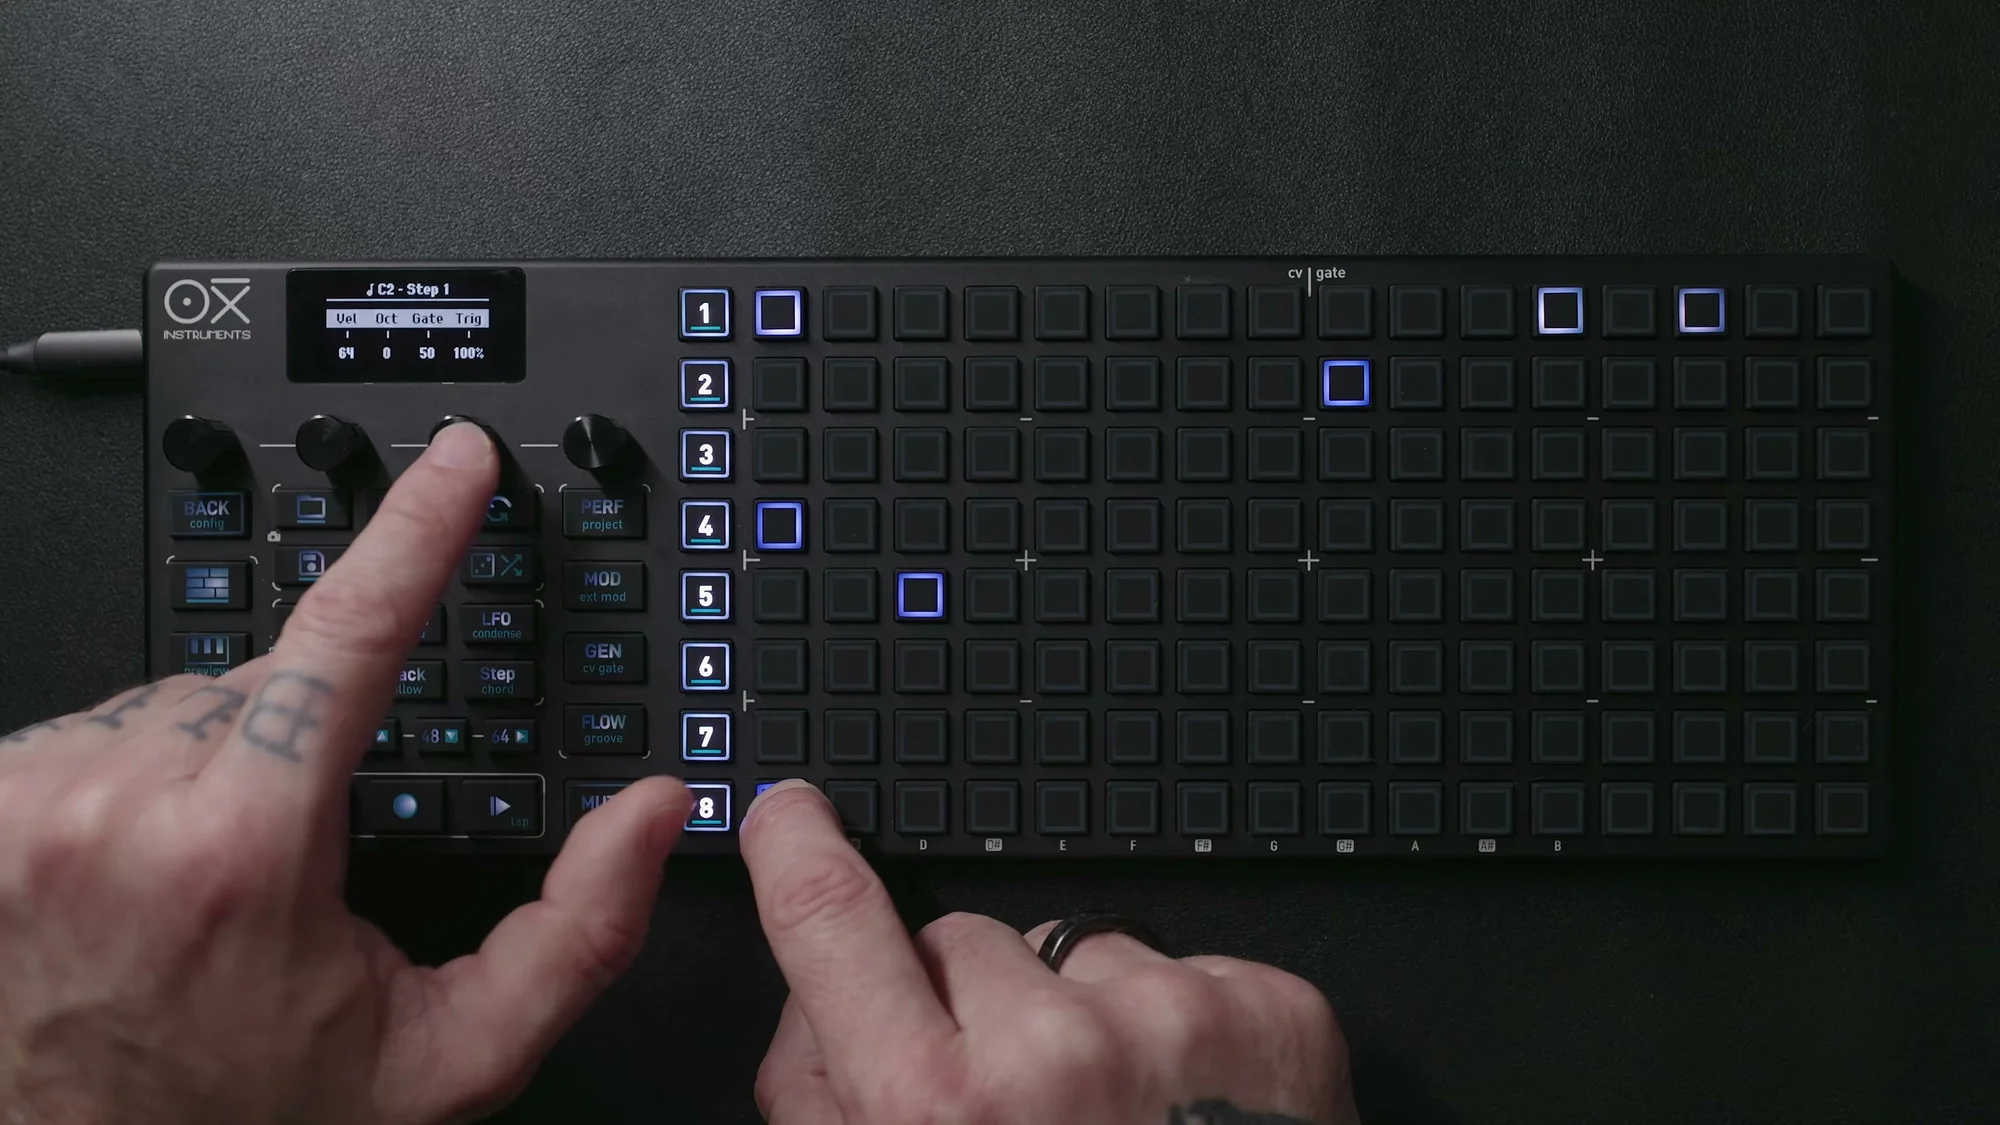
Per-Step Settings
In Poly Mode, you can set individual parameters for each note on each step. Hold a pad and turn the encoders to access the sub-menu. The sub-menu has 3 pages, navigated with the Page button.
Page 1: Basic Parameters
- Velocity: Note velocity (loudness)
- Octave: Octave adjustment
- Gate: Gate length (percentage of note duration)
- Trig (Logic Condition): Trigger probability. 100% triggers every time, 50% triggers half the time
Page 2: Rhythm Parameters
- Repetition: Number of note repetitions within the step
- Offset: Timing offset
- Glide: Pitch transition time between consecutive notes (CV only, not applied for MIDI)
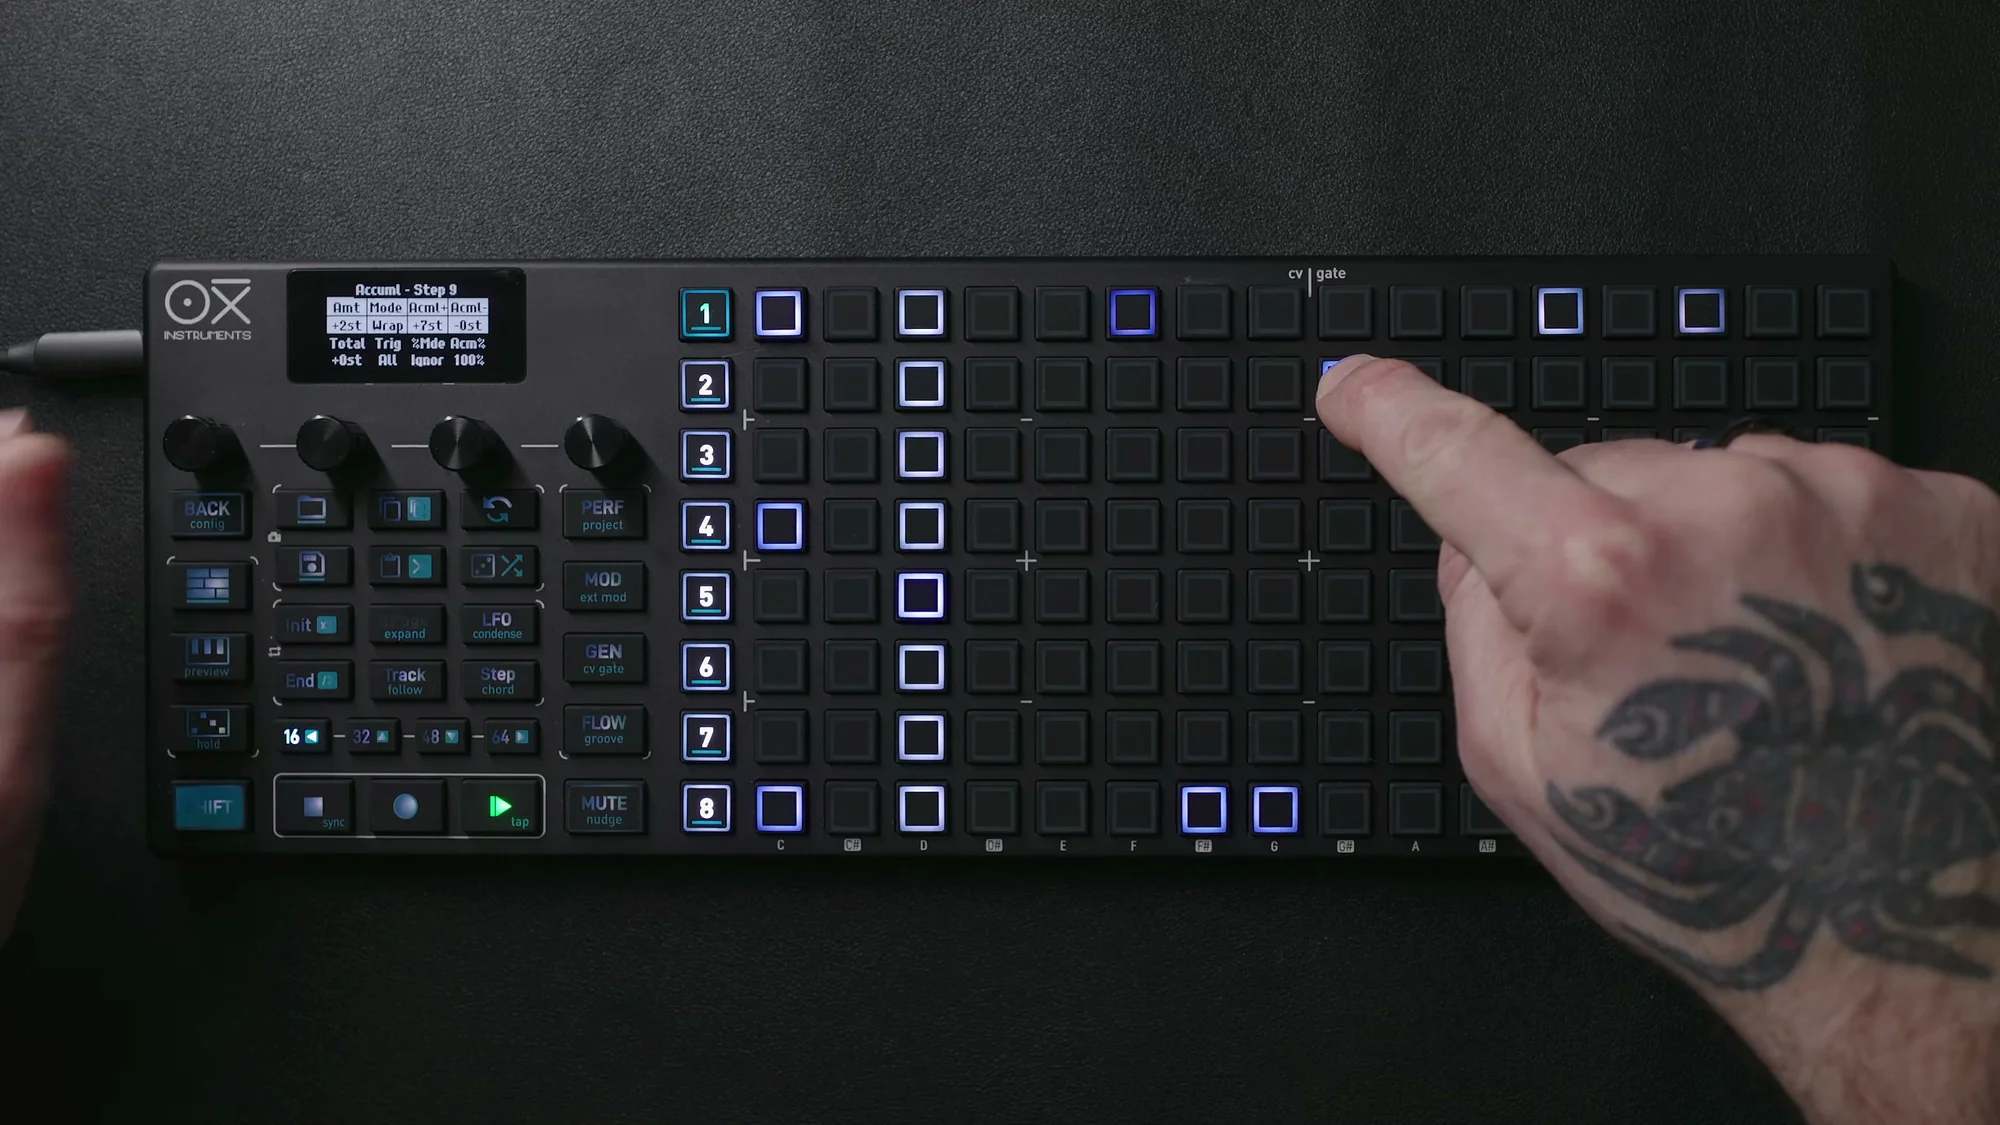
Page 3: Accumulator
- Accumulator: A cumulative parameter that operates per column (more on this below)
The key point here is that in Poly Mode, these settings can be configured independently for each note. For example, you could set the bass note in a column to velocity 100 and the treble note to velocity 60, controlling the dynamics within a chord.
Column Bulk Editing
In addition to editing individual notes, you can also bulk-edit parameters for an entire column (step). Turn the encoders without holding any step to access the column view:
- Velocity encoder: View and edit velocity for the entire column
- Gate encoder: View and edit gate length for the entire column
- Repetition encoder: View and edit repetition settings for the entire column
The column view is very useful for getting a broad overview of your sequence's dynamics and rhythmic tendencies while making adjustments. For example, in the velocity view, you can visually check the relative velocity levels of each column on the grid.
Accumulator (Poly Version)
The accumulator is available in Poly Mode as well, operating on a per-column basis. It cumulatively changes parameter values with each loop repetition — for example, gradually shifting velocity or pitch with each pass through the loop.
In Poly Mode, the accumulator is applied to all notes in a column at once. This lets you create effects like a chord progression that gradually increases (or decreases) in velocity over successive repetitions — expressing gradual change within a harmonic progression.
You can access the accumulator settings on the 3rd page of the step sub-menu.
Arpeggiator
Poly Mode has a dedicated arpeggiator that generates arpeggios from the notes placed on the grid. Access it with the Arp button.
There are two main ways to use the arpeggiator in Poly Mode.
Arpeggiator in Keyboard View
When you open the keyboard view and hold notes, those notes become the arpeggiator source. Using the Hold function (Shift + Arp), notes are sustained even after you release the keys, allowing you to build up multiple notes incrementally.
This works much like the arpeggiator on a typical hardware synth.
Arpeggiator in Sequencer View
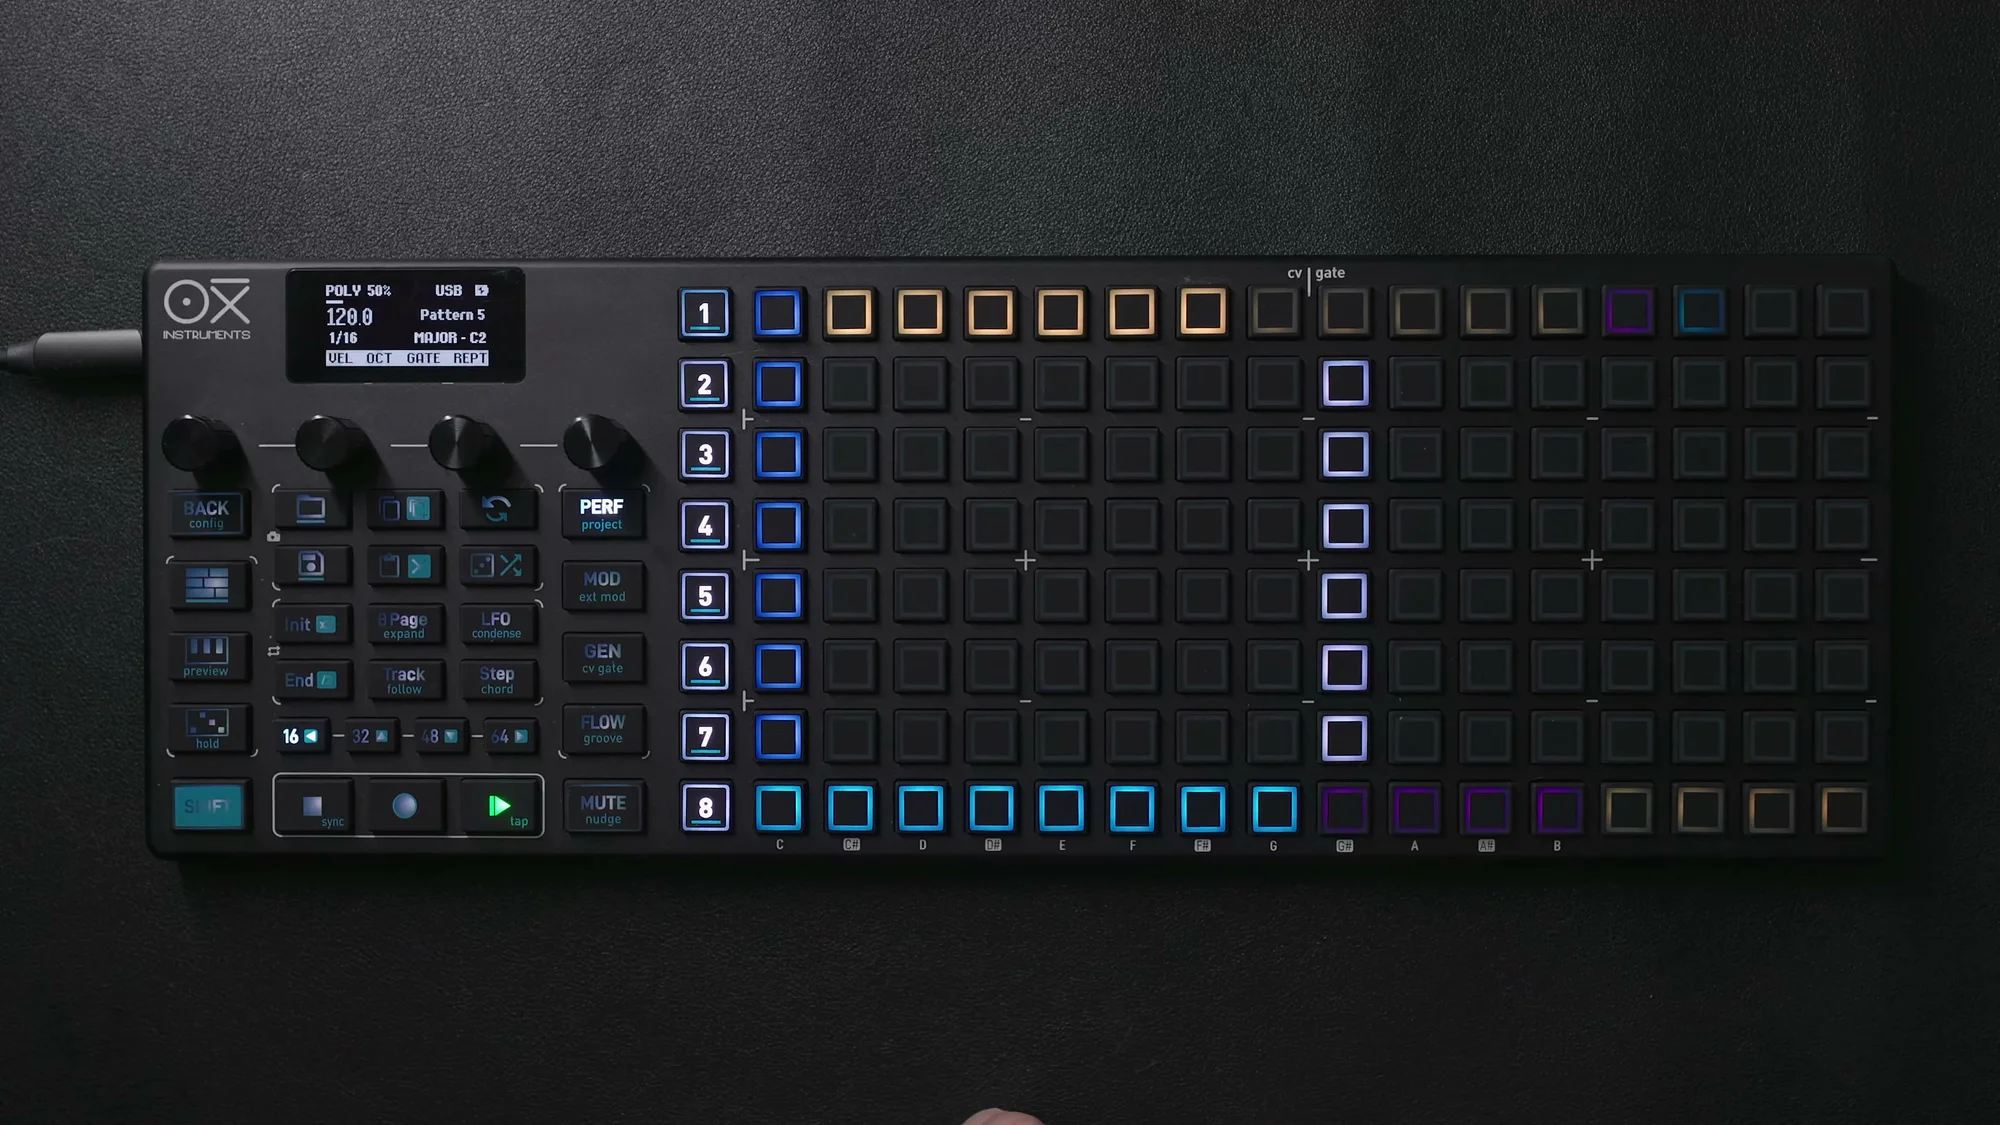
This is the usage unique to Poly Mode. Place chords or multiple notes on the grid with longer gate values (or ties). While the sequencer is playing, the arpeggiator generates arpeggio patterns during the note's sustain duration.
In other words, sequenced chords are automatically broken down into arpeggios. Just program a chord progression and switch between arpeggiator types to get a variety of arpeggio patterns.
The arpeggiator parameters span 2 pages:
- Page 1: Type (direction/algorithm), OctV (octave range), Accent (velocity accent), Div (time division), Rotate/Len/Puls/Rept (Euclidean parameters)
- Page 2: GTime (groove timing), Grov (groove template), Reset
Type offers 12 algorithms including Up, Down, Up/Down, Altern In/Out, Thumb, Pinky, Random, Order, and more — letting you choose the arpeggio direction and pattern. You can also combine these with the Euclidean generator parameters to create more complex rhythmic patterns.
If the note duration is too short, the arpeggio won't have enough time to develop, so you need to give the source notes sufficient length.
Here's an example of chords extended with ties to serve as the arpeggiator source. The lighter green represents the tied continuation, and the arpeggio unfolds during this sustained duration.
Copy and Transpose
Copying Notes
Copy and paste in Poly Mode is very powerful.
- Copy notes: Hold
Copyand tap pads. You can select multiple notes - Copy columns: Hold
Copyand tap an empty pad in the column you want to copy. Multiple columns can also be selected - Paste: Hold
Pasteand tap the destination pad
When you copy and paste notes, the first selected note becomes the anchor (reference point), and the other notes are pasted while maintaining their relative positions to that anchor. This means the chord shape (intervals) is preserved.
To copy an entire column, tap an empty pad within the column you want to copy. This copies all notes in that column at once, letting you quickly paste chord progressions.
You can also copy notes from a Chord Mode sequencer and paste them into Poly Mode. This supports workflows where you bring a progression from Chord Mode into Poly Mode for more detailed editing.
Transpose
Transposing in Poly Mode is done by holding the Sequencer button and tapping a pad on the grid.
For example, holding Sequencer 1's button and tapping a pad above the current notes transposes all notes in that column upward. The transposition amount is determined by the distance between the tapped position and the current lowest note.
You can also transpose using the arrow buttons on the performance page.
Custom Chords
In Poly Mode, you can save your own chords for reuse.
Open the keyboard page and play whatever combination of notes you like. You can save this combination to a custom chord slot. Saved chords can later be recalled and placed into your sequence using Pick and Place.
This feature lets you prepare commonly used chord voicings in advance and then drop them into your sequence one after another. It saves you from placing notes one by one, making chord progression construction significantly more efficient.
Performance Chord Mode
A new MKII feature, Performance Chord Mode is accessed by holding the Perform button and pressing a Sequencer button to open the chord page.
Here, you can trigger saved custom chords in real time. While the regular sequence is playing, pressing a pad switches to the saved chord — that's the basic idea.
Scan Mode
Performance Chord Mode has a behavior called Scan Mode. In Scan Mode, the normal sequence is muted, and chords are only triggered while you hold a pad. Releasing the pad returns to mute.
In other words, you can "play" chords manually in sync with the sequence's timing, creating a performance-like feel.
Latch (Pink Button)
Pressing the pink-lit button latches a chord. In the latched state, the chord continues to be held even after you release the pad. It sustains until you press a different chord.
Using Performance Chord Mode, you can switch between pre-saved chords in a live performance style while your sequence plays. The combination of Scan Mode and latch in particular enables highly expressive real-time performances.
Harmonization
Finally, let's touch on the harmonization feature. This is an extremely powerful function that harmonically links multiple sequencers together.
The concept is: set a Poly Mode (or Chord Mode) sequencer as the primary leader, and set other sequencers (Mono, Multi, Stochastic, etc.) as followers. Set the follower's scale to "HARMON" and specify the leader's sequencer number (Sq1, Sq2, etc.) as the root.
The follower sequencer then maintains its own rhythm patterns and note tendencies while automatically adjusting its pitches to match the leader's harmony.
For example, you could build a chord progression on Sequencer 1 in Poly Mode, create a melody line on Sequencer 2 in Mono Mode, and set Sequencer 2's scale to "HARMON → Sq1." This makes Sequencer 2's melody harmonize with Sequencer 1's chords.
This creates a very powerful workflow where changing a single chord progression automatically updates the pitches of all follower sequencers that track it.
Harmonization Setup Steps
- Set the leader sequencer to Poly Mode (or Chord Mode)
- On the follower sequencer, hold
Shiftand turn Encoder 3 (Scale) to select "HARMON" - Hold
Shiftand turn Encoder 4 (Root) to select the leader's sequencer number (Sq1, Sq2, etc.)
In the follower's keyboard view, notes affected by harmonization are displayed in green in real time, so you can visually confirm which notes are being selected.
That wraps up the Poly Mode walkthrough. Poly Mode takes Mono Mode's freeform note placement and adds the expressive power of chords. The custom chords and Performance Chord Mode in particular are powerful MKII-exclusive features that greatly expand the possibilities for live performance.
And with the harmonization feature, you can build a harmonic system where multiple sequencers follow the chord progression you've created in Poly Mode.
Next time, I'll be covering yet another mode. See you then!
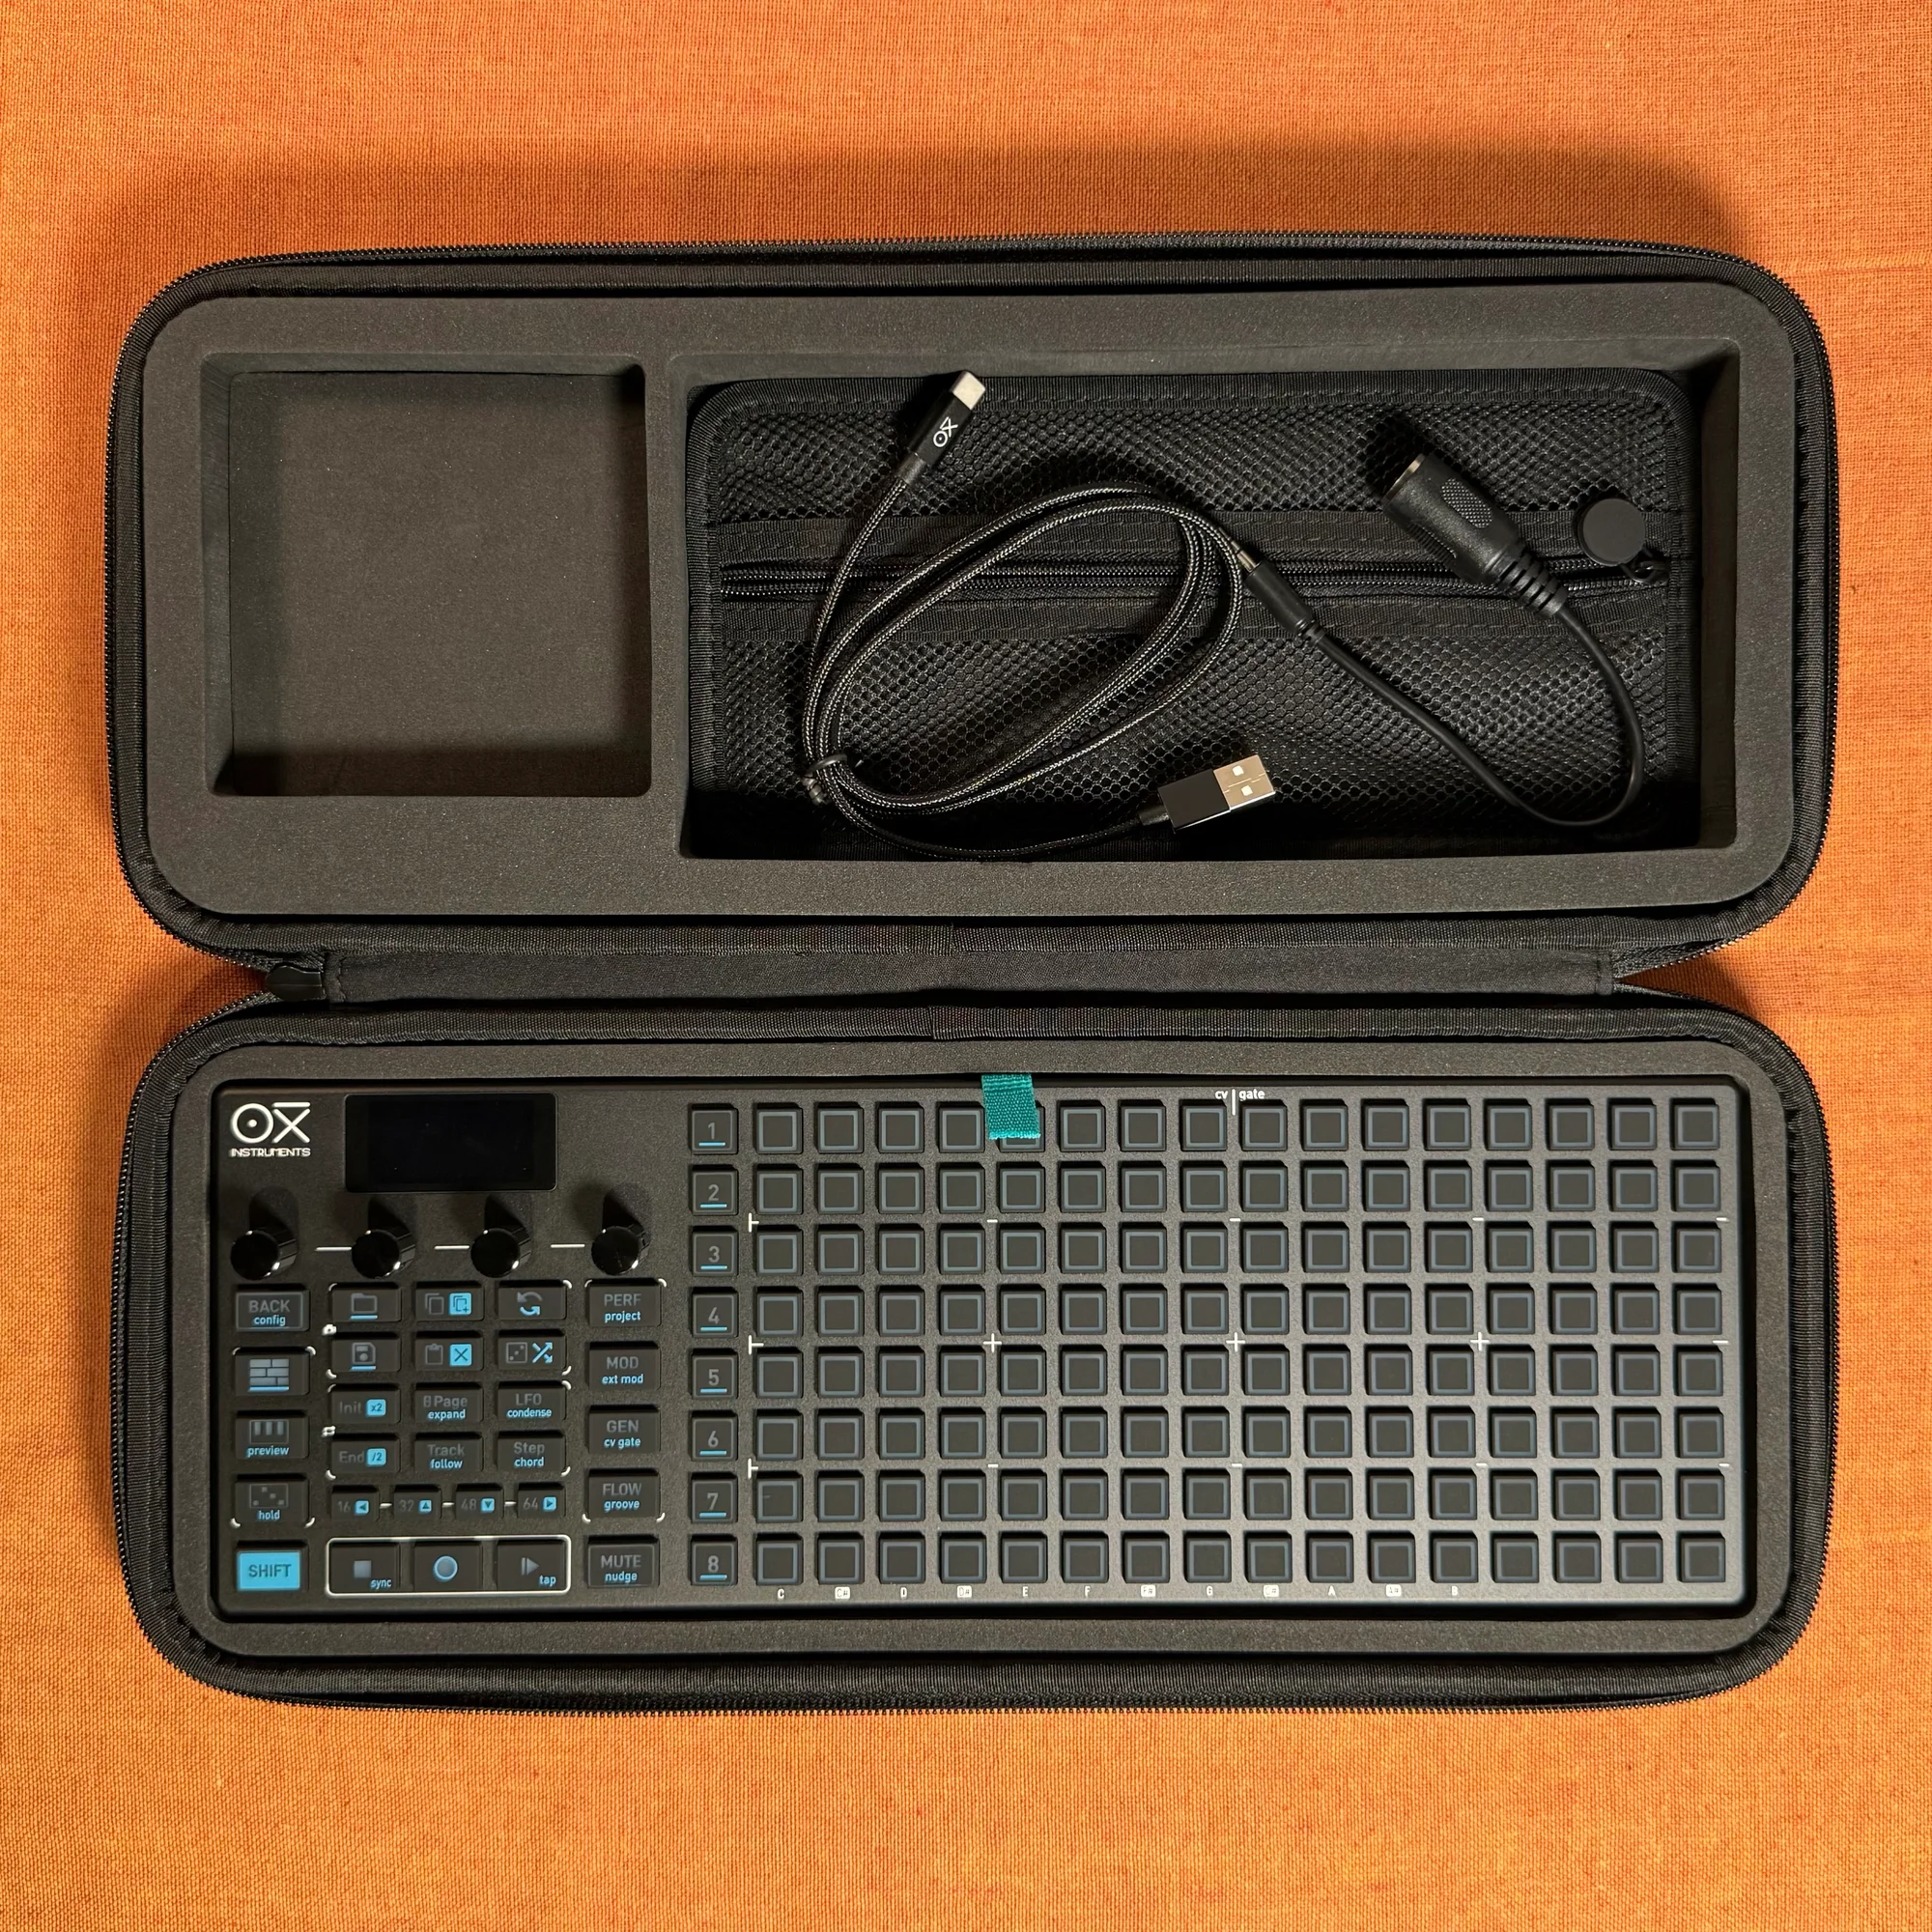
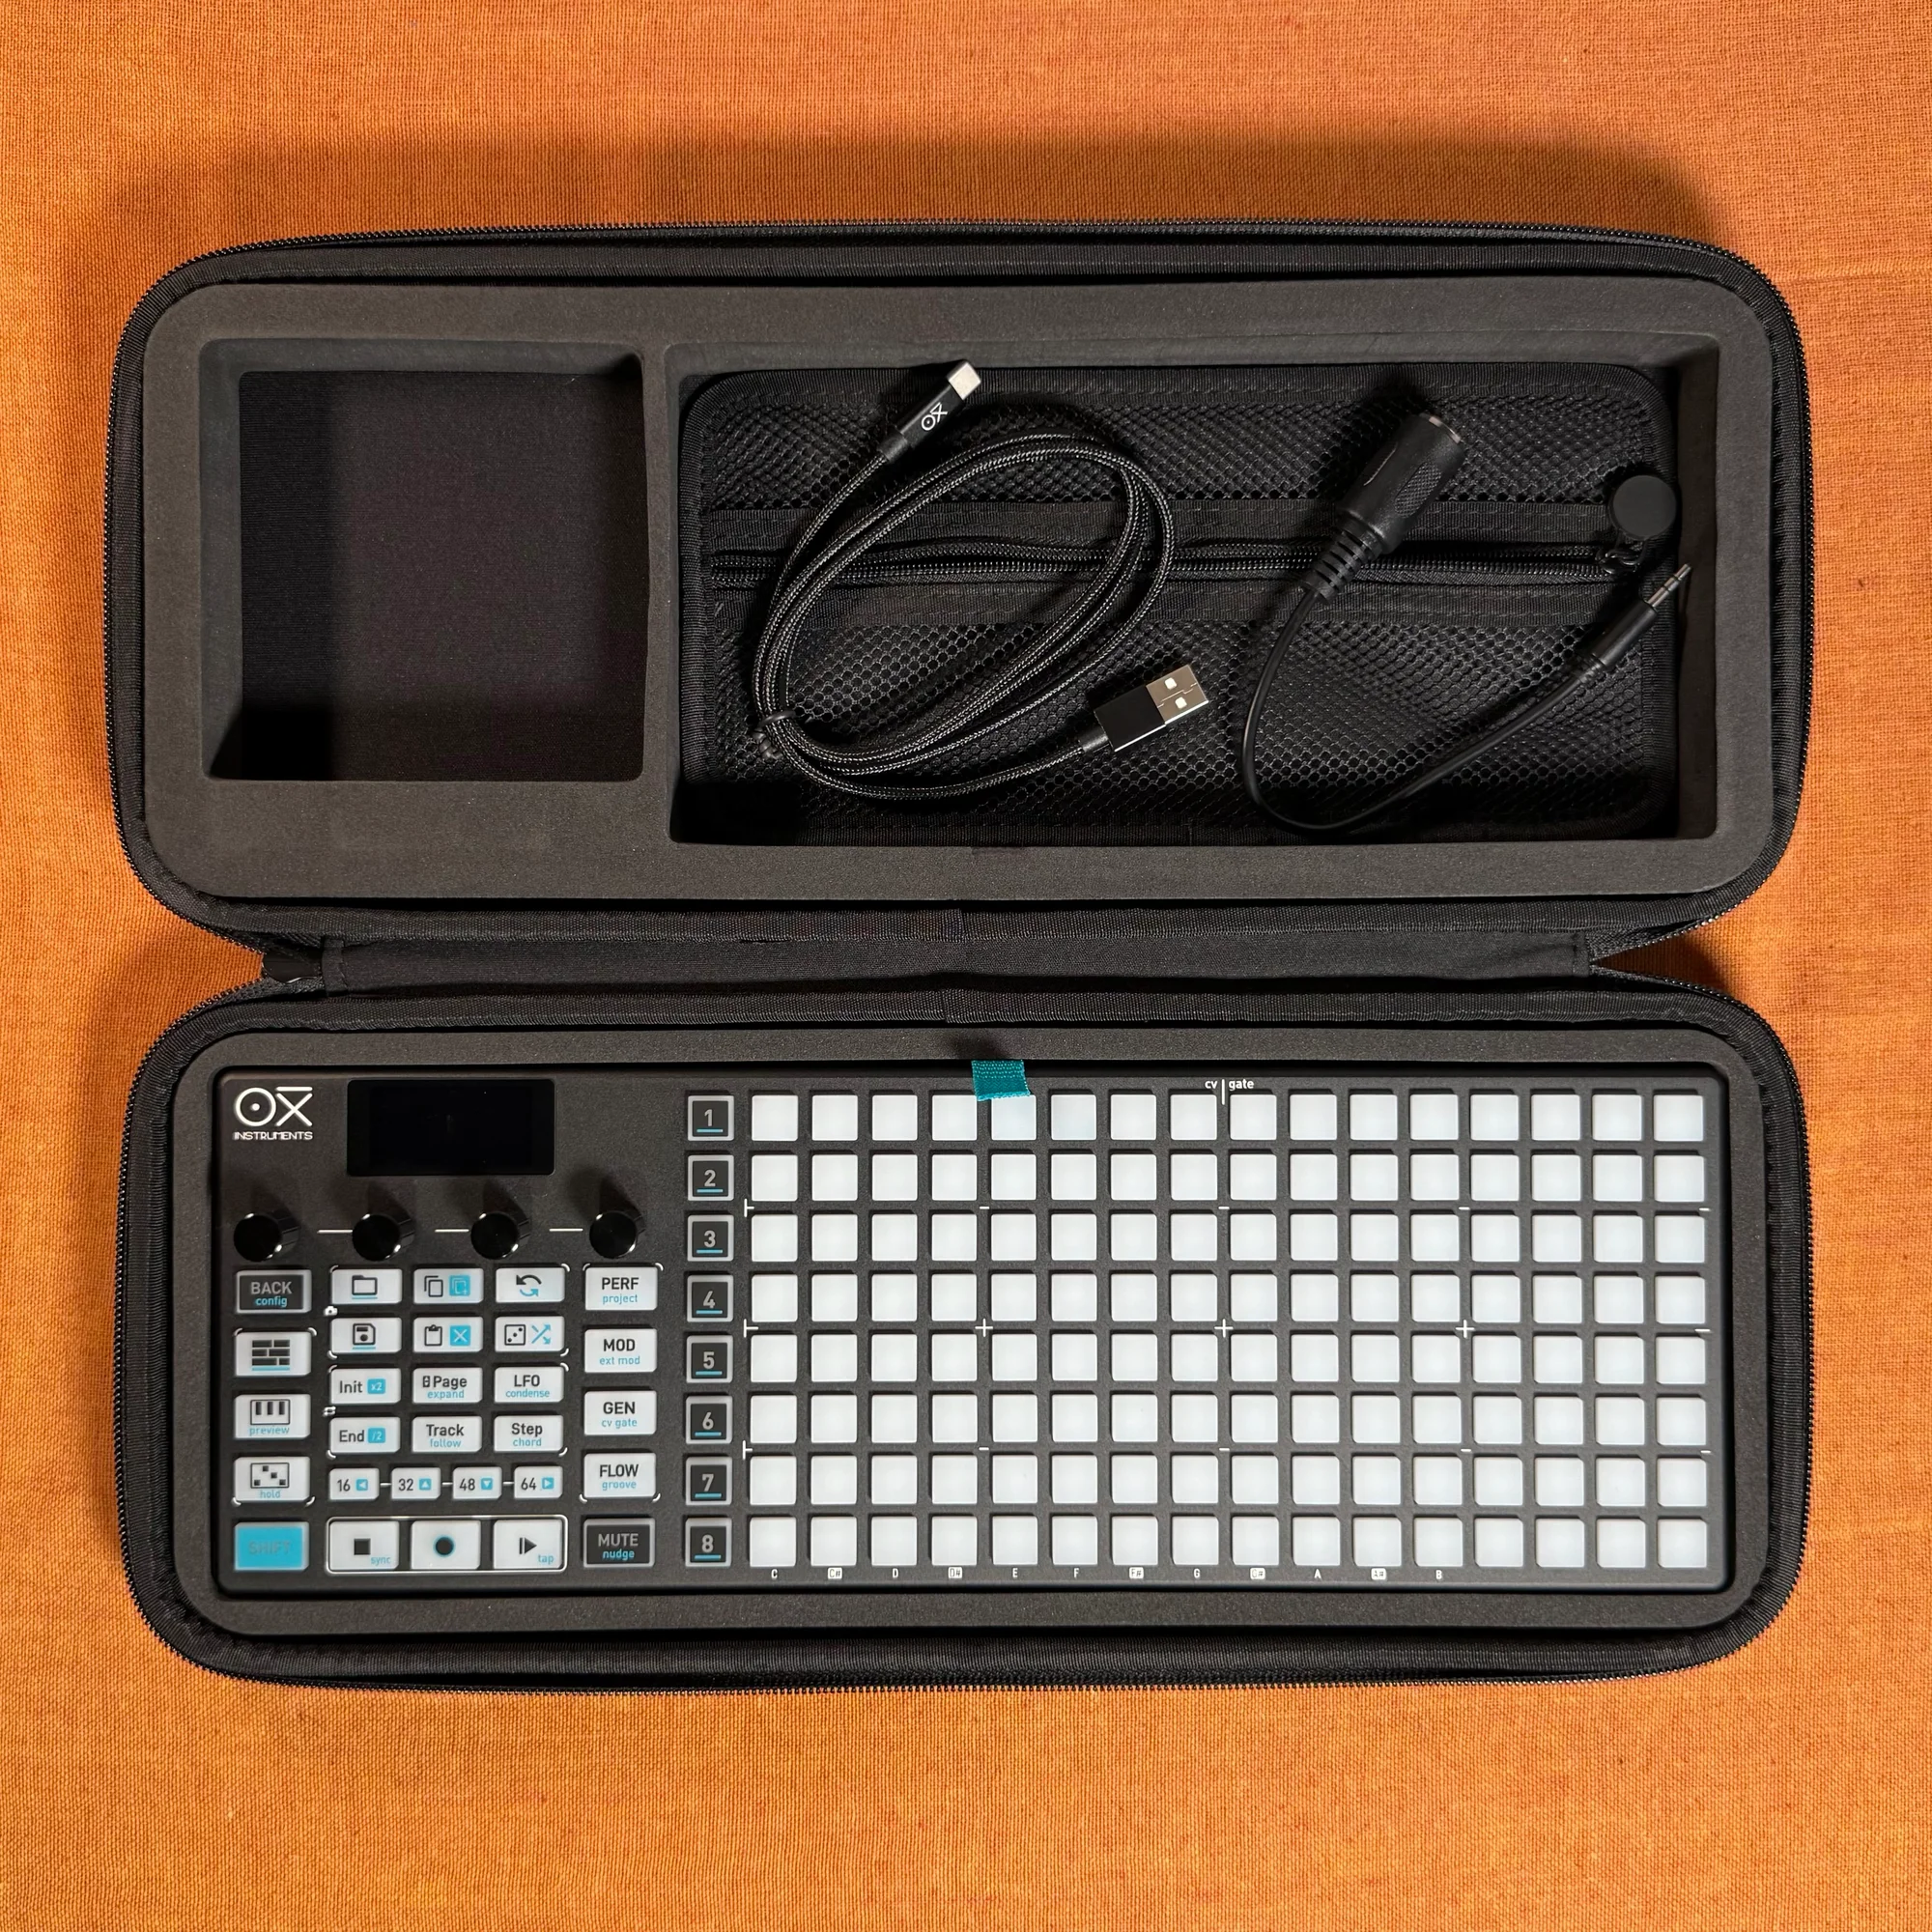
OXI ONE MKII Product Page
See the product details for the OXI ONE MKII below.
OXI ONE MKII Black Edition, next-generation model with 8-part sequencer. Enhanced generative features, large OLED display, and up to 64-track control.
OXI ONE MKII, next-generation model with 8-part sequencer. Enhanced generative features, large OLED display, and up to 64-track control.