This is the final installment of the SHIK Web Editor Guide series. In EP.1 through EP.4, we covered everything from basic editor operations to detailed knob mode settings. This episode focuses on real-world usage: preset management workflows, faceplate PDF customization, live performance setup examples, and the firmware update process.
- Presets Page Workflow
- File-Based Preset Management
- Organizing Your Presets
- Faceplate PDF Export
- Live Performance Setups
- Using It as a MIDI Hub
- Firmware Updates
- Hard Reset
- Practical Tips
- Takazudo’s Thoughts
Presets Page Workflow
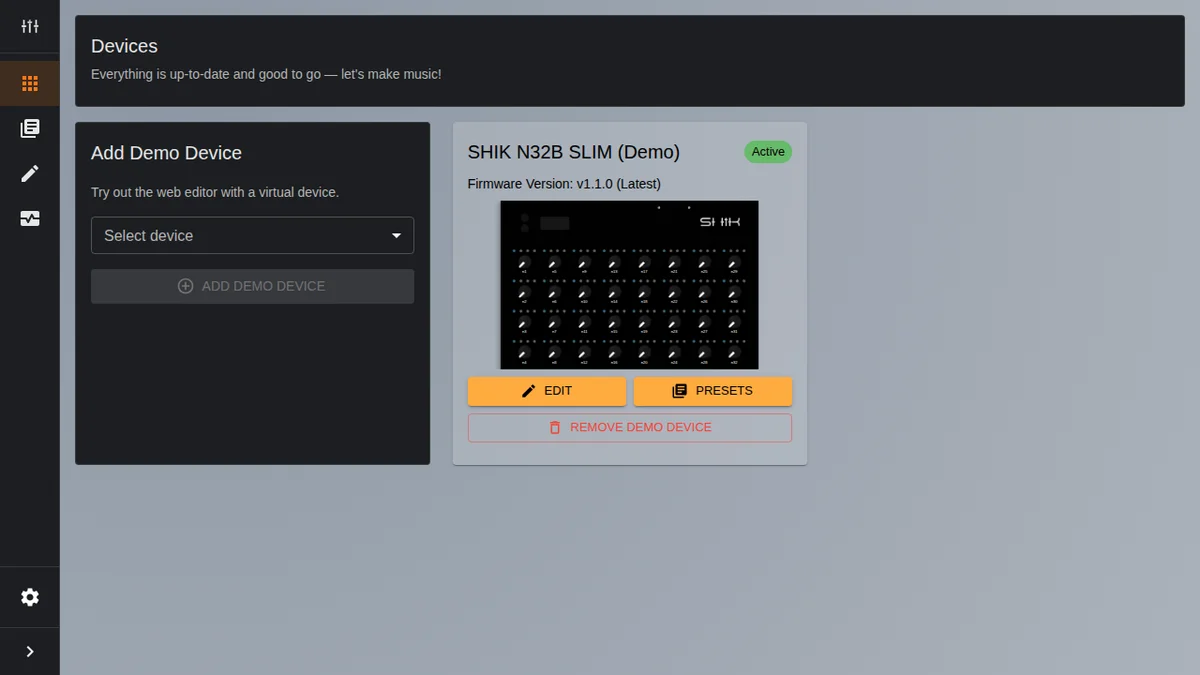
As introduced in EP.2, the new editor consolidates preset management into a dedicated Presets page. Let’s take a moment to review the overall preset workflow.
The Device Preset Library provides 10 slots (Preset 1 through Preset 10). The N32B Slim can store a maximum of 10 presets on the device itself.
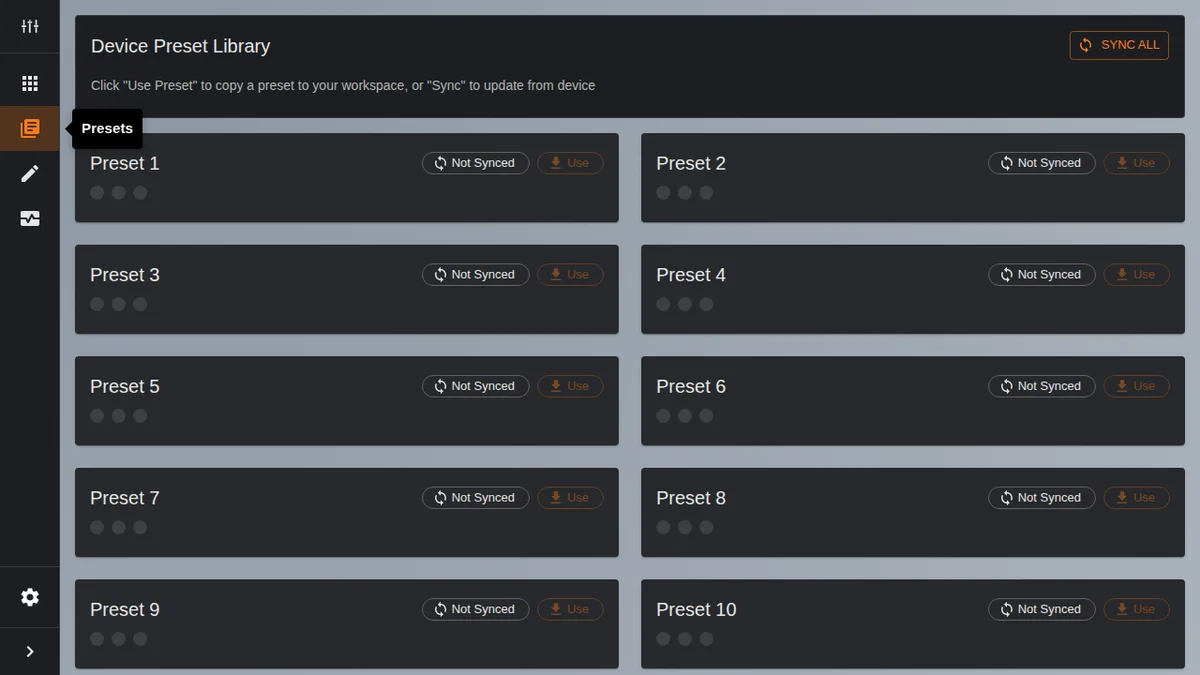
Here are the operations available for each slot:
- Sync: Reads a single preset from the specified slot on the device. This makes the preset’s contents visible in the editor
- Sync All: The button at the top of the page. Reads all 10 presets from the device at once
- Use: Copies a synced preset into the Editor page workspace, where you can then edit the knob settings
So the flow for pulling a preset off the device and editing it looks like this:
- Sync (or Sync All) to read the preset from the device
- Use to copy that preset into the Editor workspace
- Edit the knob settings on the Editor page
- Send to device to write it back to the device
Sync reads from the device, Use copies within the editor, and Send to device writes to the device. Keeping these three steps in mind will help you avoid confusion.
File-Based Preset Management
While the device itself can only store 10 presets, you can save an unlimited number of presets on your PC as JSON files.
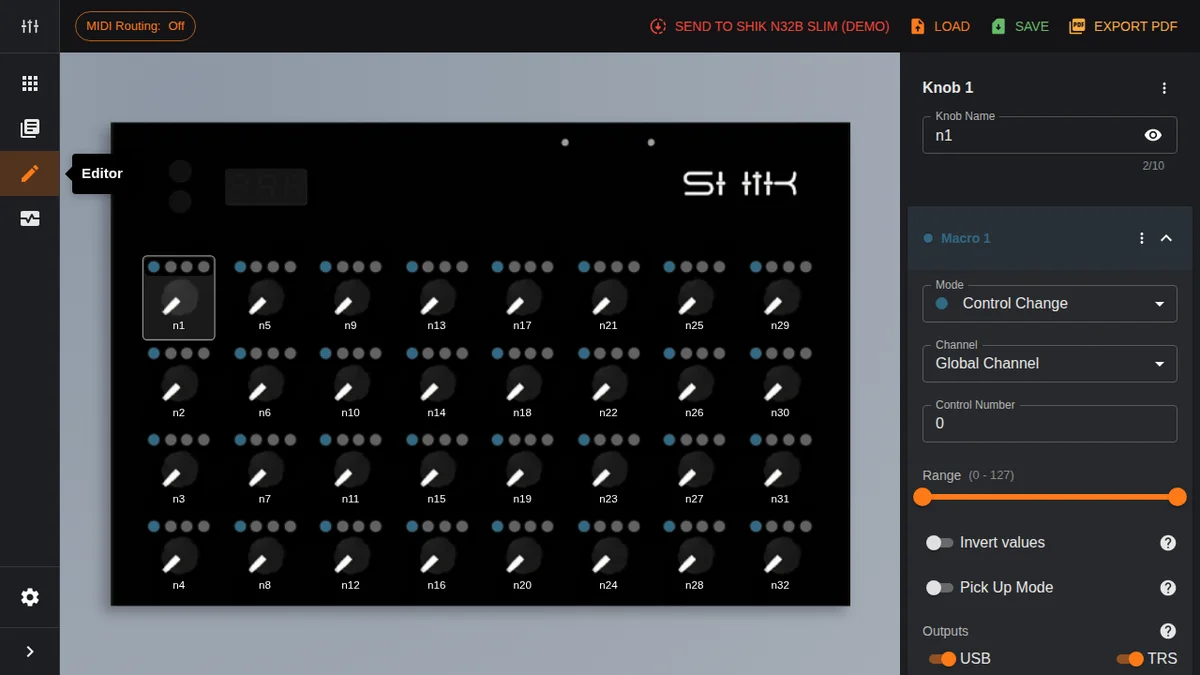
The Load and Save buttons in the Editor page toolbar handle file import and export.
- Load: Reads a JSON file saved on your PC into the editor
- Save: Saves the editor’s current settings as a JSON file to your PC

An important detail here is the difference in information between JSON files and on-device presets.
Presets stored on the device do not include knob name information. Settings like MIDI channel, CC number, and range are saved, but the names you assigned in the editor — things like “Filter” or “Reso” — are not written to the device. JSON files, on the other hand, save everything, including knob names.
With this in mind, the backup strategy is straightforward: always save important presets as JSON files on your PC. Presets read from the device via Sync won’t have knob names, so JSON files are the only way to restore them.
Organizing Your Presets
As your preset collection grows, having a few organizational rules goes a long way.
Knob Naming Conventions
Knob names are reflected in the faceplate PDF, so keeping them short and clear is key. Abbreviations like “Filter,” “Reso,” “Vol,” “Pan,” “Atk,” and “Rel” work well — they’re easy to understand at a glance and look clean on the faceplate.
Long names can become hard to read when printed on the faceplate. Aim for roughly 3 to 6 characters as a guideline.
Device Slot Allocation
Here’s one approach to organizing your 10 preset slots:
- Preset 1—5: Frequently used presets. DAW workflows, main hardware synth setups, and other go-to configurations
- Preset 6—10: Situational presets. Specific live setups, experimental configurations, special MIDI routings, and so on
To switch presets on the device itself, navigate to the screen showing P n and turn a knob to select a slot from 0 to 9. Keeping your most-used presets in the lower-numbered slots makes switching slightly faster.

JSON File Version Management
When saving JSON files to your PC, including dates or descriptions in the filename makes them much easier to find later.
n32b-daw-main-20260408.jsonn32b-prophet-live-setup-v2.jsonn32b-hybrid-studio-20260401.json
When you create an improved version of the same preset, save it under a different name rather than overwriting the original. That way you can always go back to a previous version.
Faceplate PDF Export
Clicking the Export PDF button in the Editor page toolbar generates a faceplate PDF based on the current preset settings.
The PDF places the name assigned to each knob in a layout matching the N32B Slim’s physical arrangement. Print this out and stick it on the unit, and you’ll be able to see at a glance which knob corresponds to which parameter.

Here are some tips for getting the most out of faceplates:
- Keep knob names short and clear: As mentioned, 3 to 6 character abbreviations work best for readability
- Export a PDF for each preset: If you have presets for different purposes, having dedicated faceplates for each is handy
- Print and swap as needed: Once you’ve settled on a preset for a live set, print its faceplate and attach it to the unit
You can export the faceplate PDF as many times as you like, so it’s a good idea to regenerate it whenever you change the preset settings.
Live Performance Setups
By combining the N32B Slim’s output routing and MIDI routing, you can build a variety of live setups. Here are three common patterns.
Setup Example 1: DAW Controller
The simplest configuration. Set all 32 knobs to USB output and use them to control DAW parameters.
- Output: All knobs via USB
- Channel: All knobs on the same channel (e.g., Ch 1)
- Use case: Mixer volume/pan, effect parameters, etc.
With 32 knobs available, you could assign volume and pan for 16 mixer channels, for example.
Setup Example 2: Hybrid Setup
A setup for controlling both a DAW and hardware synths simultaneously.
- Knobs 1—16: USB output — DAW parameters
- Knobs 17—32: TRS output — hardware synth parameters
- Channels: Ch 1 for DAW, Ch 2 for the synth (match the synth’s receive channel)
This takes advantage of the N32B Slim’s ability to set output destinations per knob. You communicate with the DAW over USB while simultaneously sending signals to a hardware synth via TRS MIDI output.
Setup Example 3: Multi-Synth Control
A setup for controlling multiple hardware synths from a single N32B Slim.
- Knobs 1—8: TRS output, Ch 1 — Synth A
- Knobs 9—16: TRS output, Ch 2 — Synth B
- Knobs 17—24: TRS output, Ch 3 — Synth C
- Knobs 25—32: USB output, Ch 1 — DAW
By assigning different MIDI channels and output destinations to each knob group, you can operate multiple devices from a single controller. Connect the TRS-output synths in a daisy chain and use channels to route to each one.
Switching Presets on the Device
To switch presets during a live performance, use the controls on the N32B Slim itself. Navigate to the screen showing P n and press a button to select the preset number (0—9). If you’ve created presets for each setup scenario, you can switch between them to match the flow of your performance.

Using It as a MIDI Hub
The N32B Slim isn’t just a controller — it also functions as a MIDI hub. By leveraging the MIDI routing settings introduced in EP.2, you can bridge MIDI signals between devices with different interfaces.
MIDI Routing Options
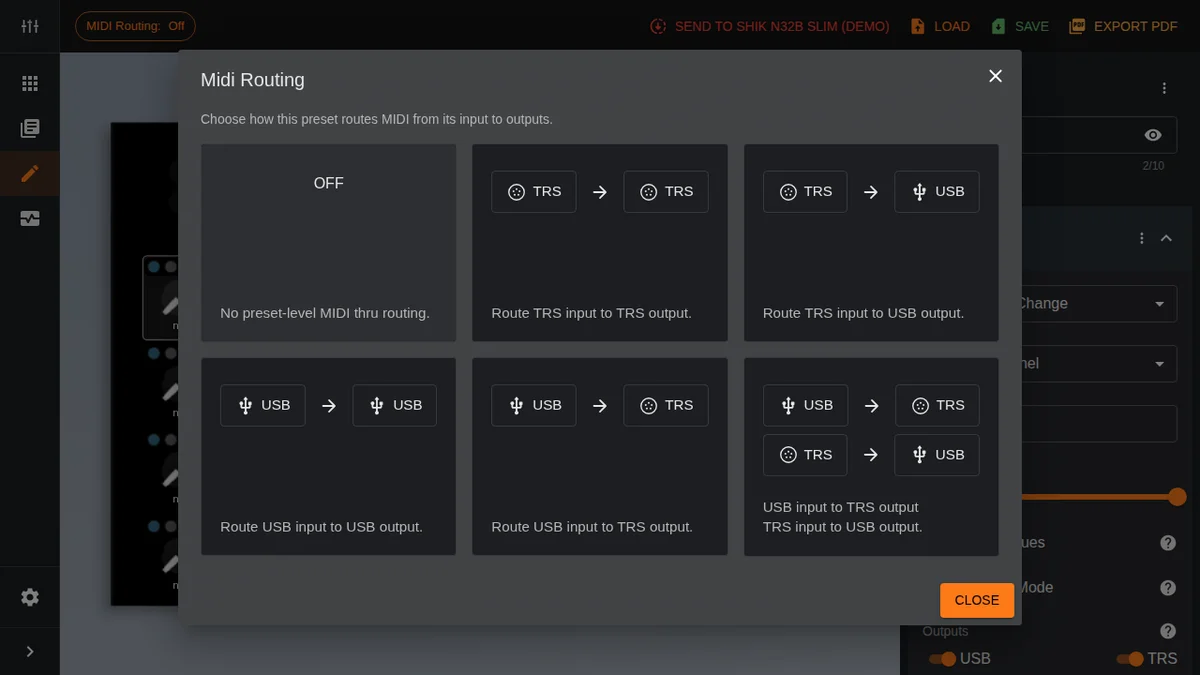
The MIDI Routing button in the Editor page toolbar provides six routing options:
- OFF: No preset-level MIDI thru
- TRS -> TRS: Routes TRS input to TRS output
- TRS -> USB: Routes TRS input to USB output
- USB -> USB: Routes USB input to USB output
- USB -> TRS: Routes USB input to TRS output
- USB ↔ TRS: Bidirectional routing. Sets up USB input to TRS output and TRS input to USB output simultaneously
Use Case: Connecting a USB-Only Controller to Hardware Synths
If you have a MIDI controller with only USB output, you can route it to a hardware synth through the N32B Slim.
Set the MIDI routing to USB -> TRS, and MIDI signals received via USB will be forwarded to the TRS MIDI output. Connect the other MIDI controller to your PC via USB, and its MIDI signals pass through the N32B Slim to reach the hardware synth via TRS output.
Use Case: Bidirectional Bridge
Using the USB ↔ TRS bidirectional routing, you can build a full MIDI bridge between your PC and hardware gear. MIDI signals from the PC go to hardware via TRS output, and MIDI signals from hardware reach the PC via USB. This is useful when you need two-way MIDI communication between a DAW and hardware synths.
Hardware MIDI THRU Port
The N32B Slim V3 features a dedicated hardware MIDI THRU port. This port operates independently of the editor’s routing settings and is always active.
The manual states:
TRS MIDI input, output, and including the MIDI THRU connectors for daisy-chaining devices
The MIDI THRU port passes incoming MIDI signals directly to the next device in the chain, making it ideal for daisy-chaining. Since it’s unaffected by the editor’s routing settings (OFF, TRS -> USB, etc.), daisy-chaining works reliably regardless of how you configure the routing.
Firmware Updates
The N32B Slim’s firmware can be downloaded and updated from SHIK’s official site. Updates may include new features and bug fixes, so it’s worth checking periodically.
Here’s the update procedure:
- Download the latest firmware file (.uf2 format) from shik.tech/firmware-update
- Disconnect the N32B Slim’s USB cable
- Hold the bottom button while plugging the USB cable back in
- Keep holding the button until the display shows UPd and a SHIK drive appears on your PC
- Drag and drop the .uf2 file onto the SHIK drive
- Once the transfer completes, the device automatically reboots and runs the new firmware
Do not disconnect the USB cable during a firmware update. Interrupting the transfer before it completes may leave the device unable to boot properly.
Hard Reset
If something goes wrong, a hard reset restores the device to factory defaults. However, this erases all presets and settings, so treat it as a last resort.
Here’s the hard reset procedure:
- Disconnect the N32B Slim’s USB cable
- Hold the top button while plugging the USB cable back in
- Keep holding for about 5 seconds until a reset animation appears
- Release the button, and the device reboots in its initial state

A hard reset erases all presets and settings stored on the device. It’s strongly recommended to save important presets as JSON files on your PC before performing a reset.
Practical Tips
Here’s a summary of key takeaways from across the series for getting the most out of your N32B Slim:
- JSON backups are essential: The device doesn’t store knob names, so JSON files serve as your complete preset backup. Make it a habit to save after every change
- Keep faceplates up to date: Whenever you update a preset, re-export the faceplate PDF. Outdated knob labels can cause confusion during a live set
- Take advantage of macros: The 4-macro-per-knob feature isn’t just for sending CCs — it lets you link multiple parameters together expressively. For example, you could have a single knob control both filter cutoff and resonance simultaneously
- Match output routing to your use case: In hybrid DAW-and-hardware environments, per-knob output destinations are the key. Design your presets with USB/TRS routing in mind
- Verify with MIDI Monitor: To confirm settings are working as intended, the editor’s built-in MIDI Monitor is invaluable. No need to launch a separate tool
- Use 14-bit CC selectively: You don’t need 14-bit CC on every knob. Reserve it for parameters that demand smoothness, like filter cutoff
- Check firmware regularly: New versions may include feature improvements and bug fixes. Check shik.tech/firmware-update periodically
- Hard reset is a last resort: Always confirm your JSON backups before resetting. The data loss is irreversible
Takazudo’s Thoughts
I think the features covered in this episode are genuinely impressive. As a web engineer myself, I have a lot of respect for tackling this level of complexity and presenting it through a web-based UI.
Honestly, complicated hardware stuff like this — whether it’s software or hardware — tends to be confusing, right? What’s routed where, what THRU does versus OUT… when I first started working with this kind of gear, I was completely lost. And really, that’s just the nature of hardware — there’s no convenient screen to move things around on, so the constraints of the physical device make it inherently tricky.
That’s what makes it so great that nowadays you can configure all of this easily through a web browser over USB. I feel like the N32B Slim’s editor takes full advantage of that capability. If you’re dealing with complex setups, definitely give it a try!
This EP.5 wraps up the SHIK Web Editor Guide series. Starting from the basic editor operations in EP.1, through the new editor overview in EP.2, macro usage in EP.3, practical setups in EP.4, and now preset management and live use in this EP.5, we’ve covered the full range of N32B Slim features.
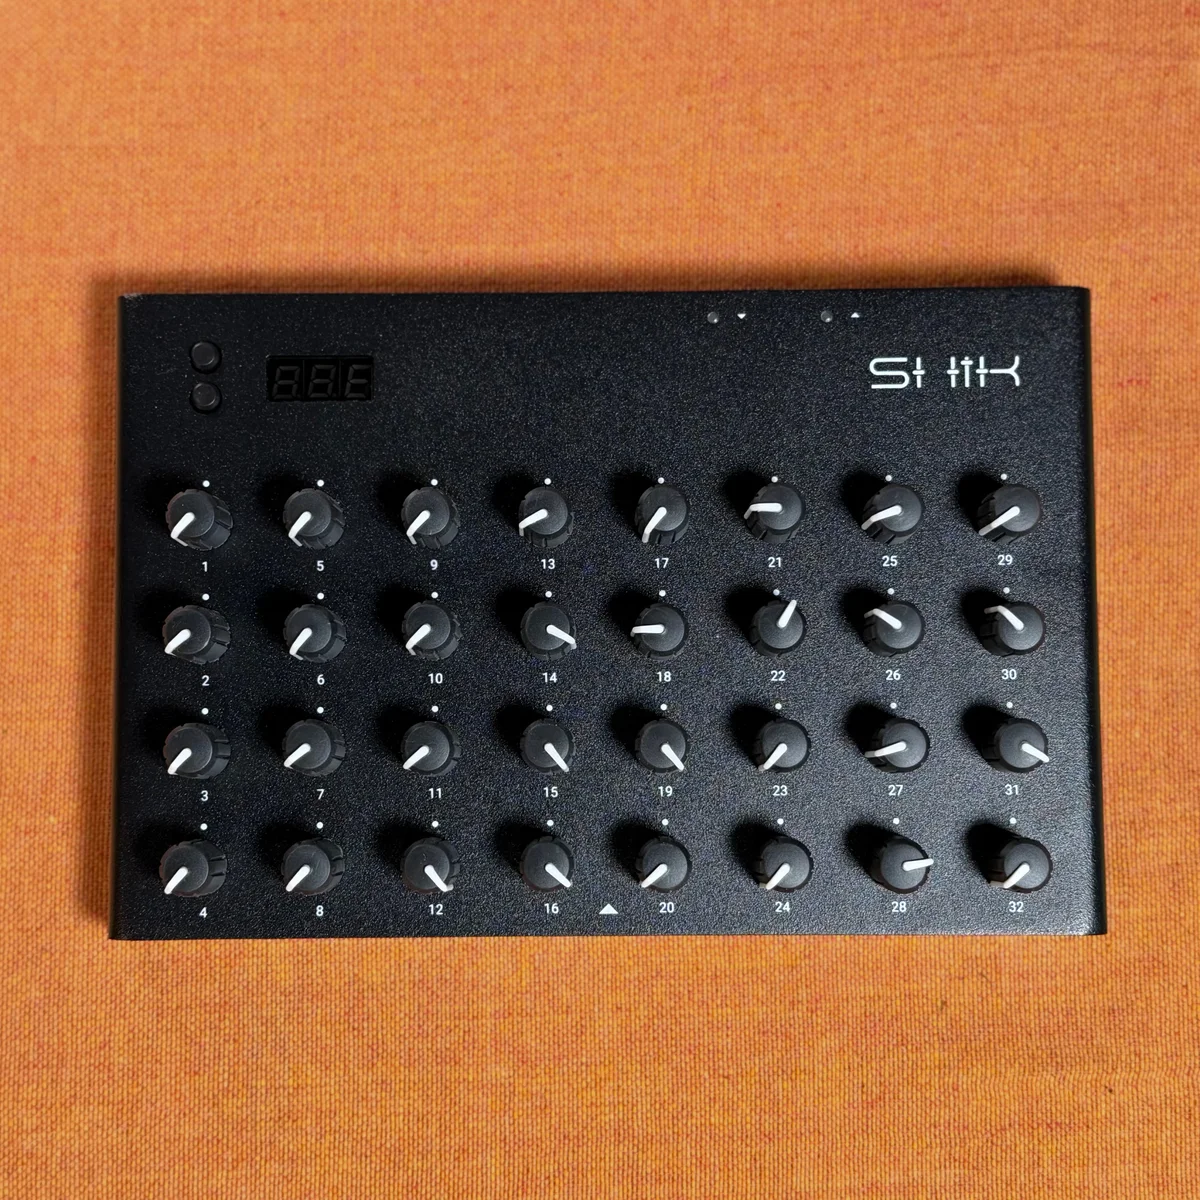
The N32B Slim is a compact 32-knob MIDI controller, yet it packs in macros, 14-bit CC, MIDI routing, and much more. I hope this article series helps you get the most out of your N32B Slim.
For more detailed specifications, I’ve published a Japanese translation of the manual.