I built a modular synth case myself. From acrylic. I was hoping to make it cheaply enough to sell in the shop, but it turned out to be fairly expensive, so I scrapped that idea. In case anyone else wants to try, I’ve documented the data and process here.
- What Kind of Case
- Background
- How to Get Acrylic Cut
- Creating the Data
- The Finished Product
- Cost
- How to Order
- The Joy of DIY
- References
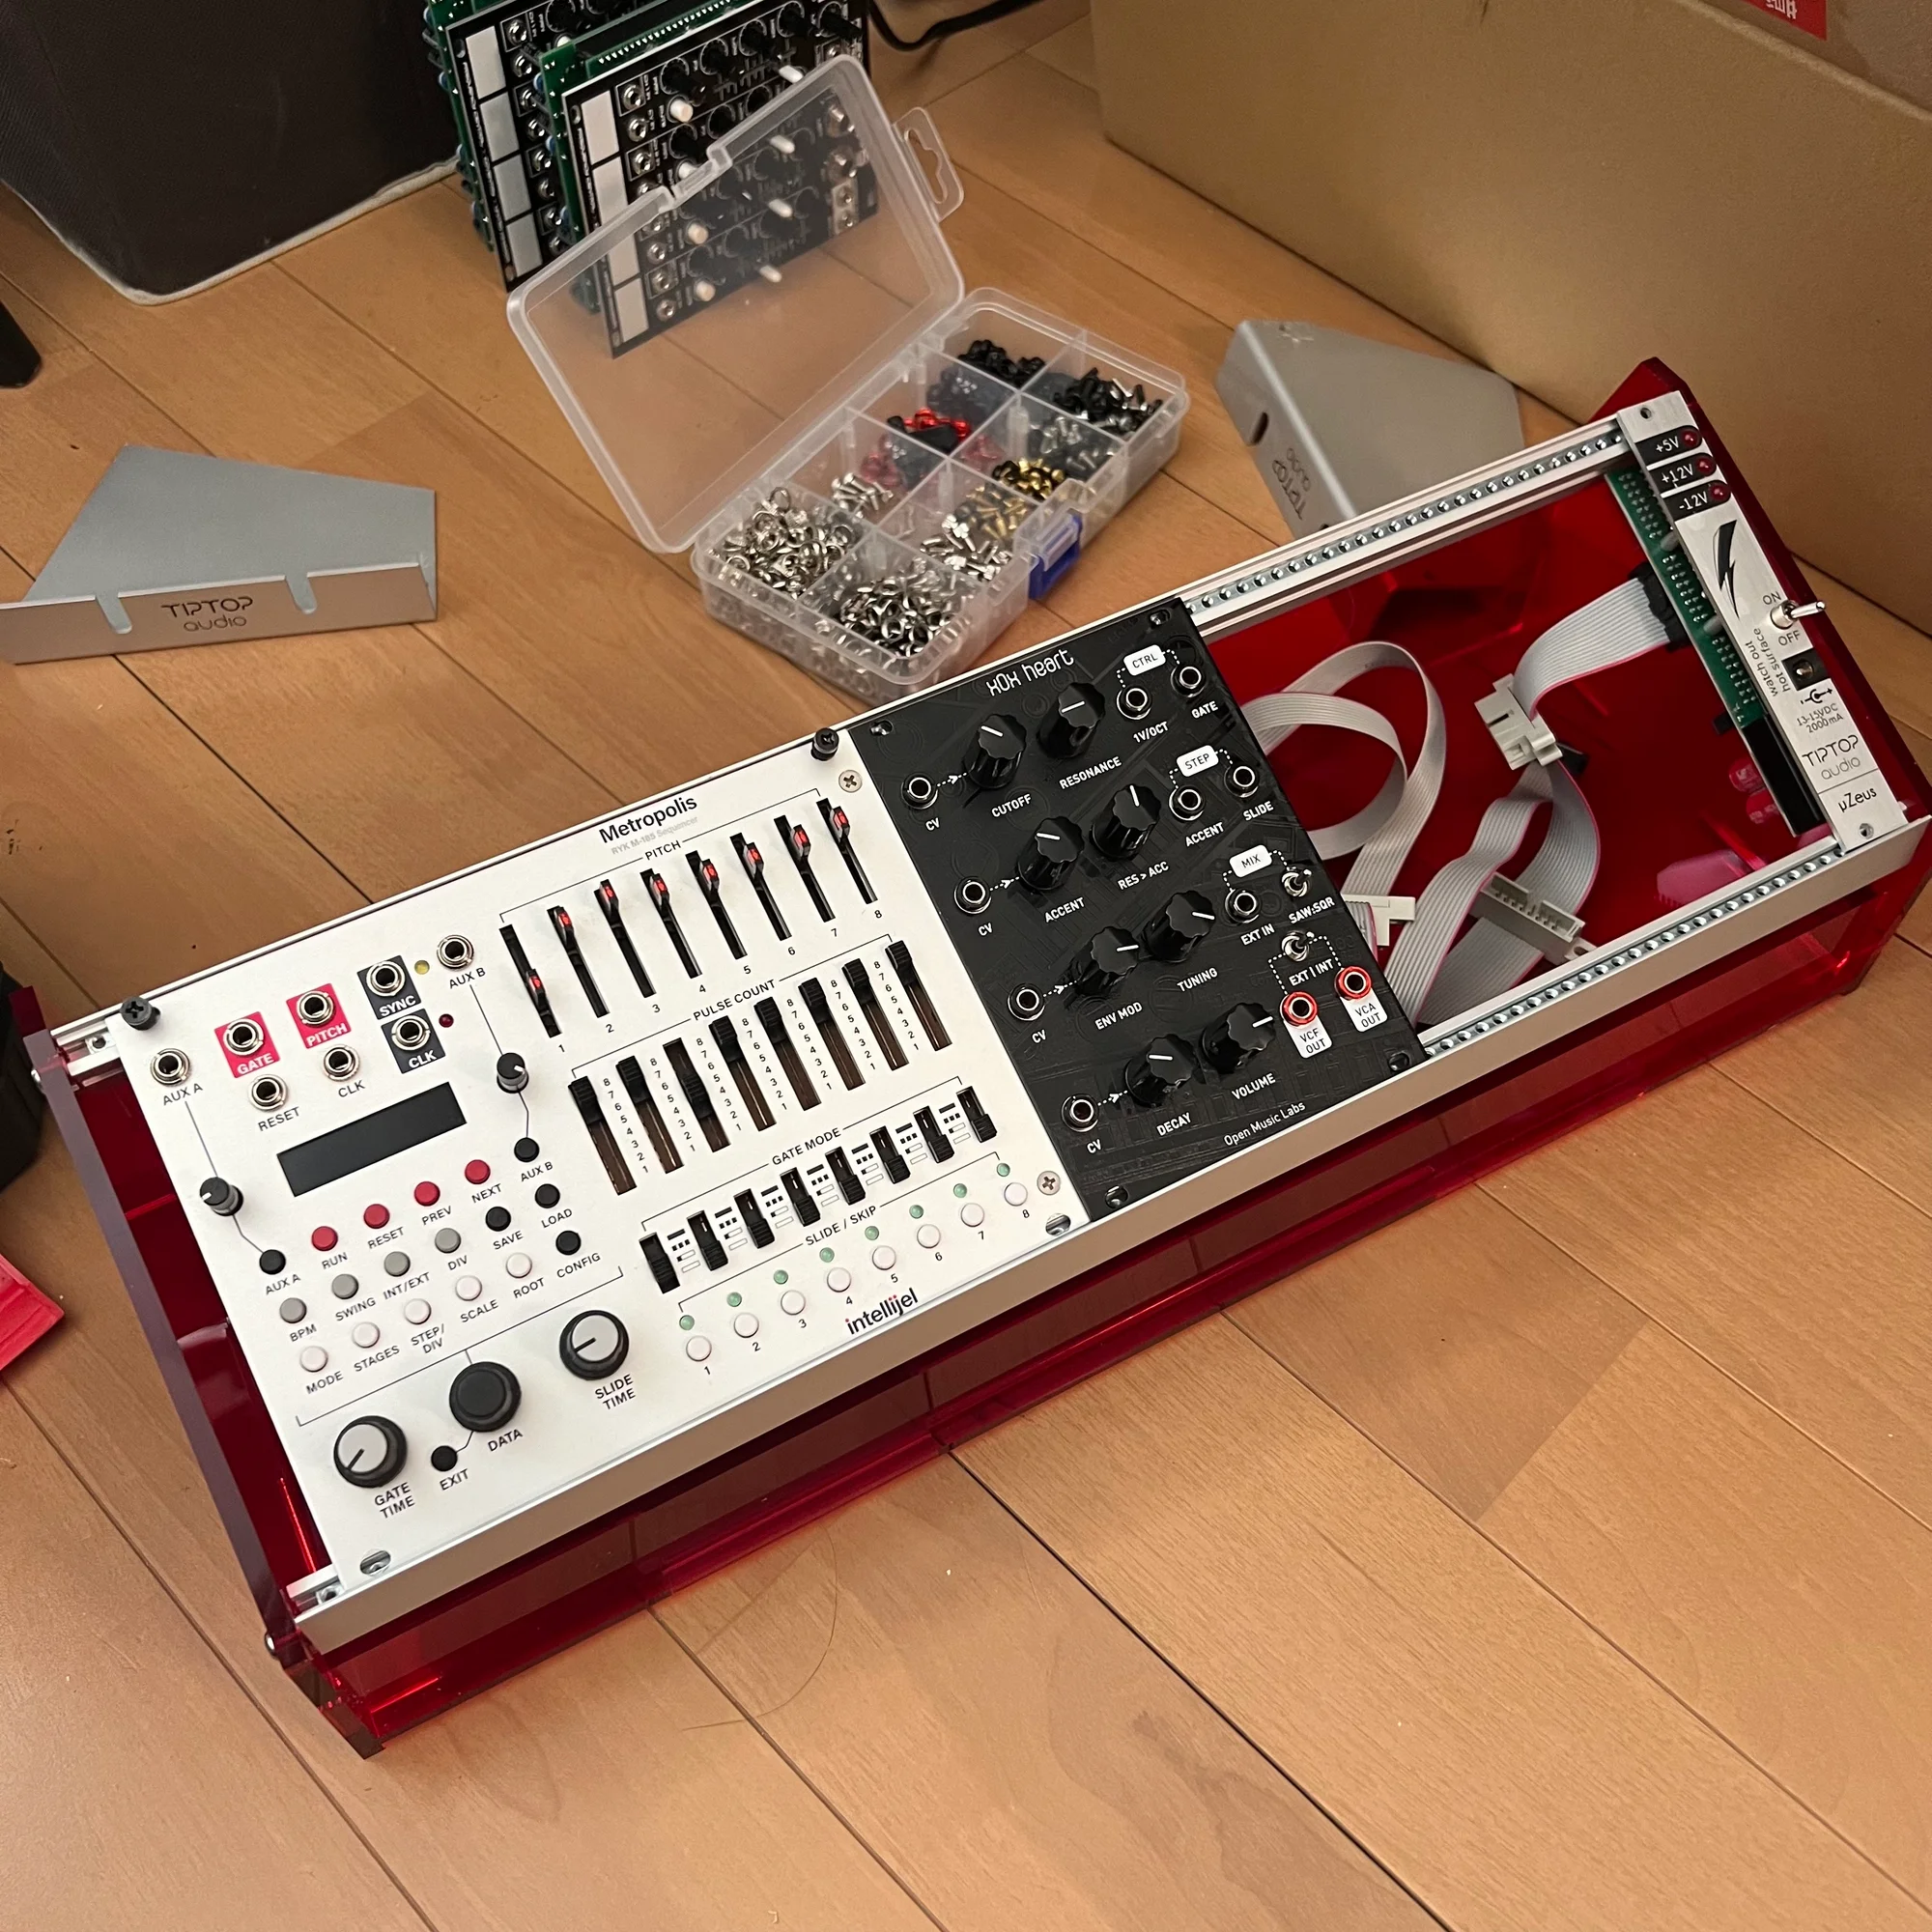
What Kind of Case
Here it is!
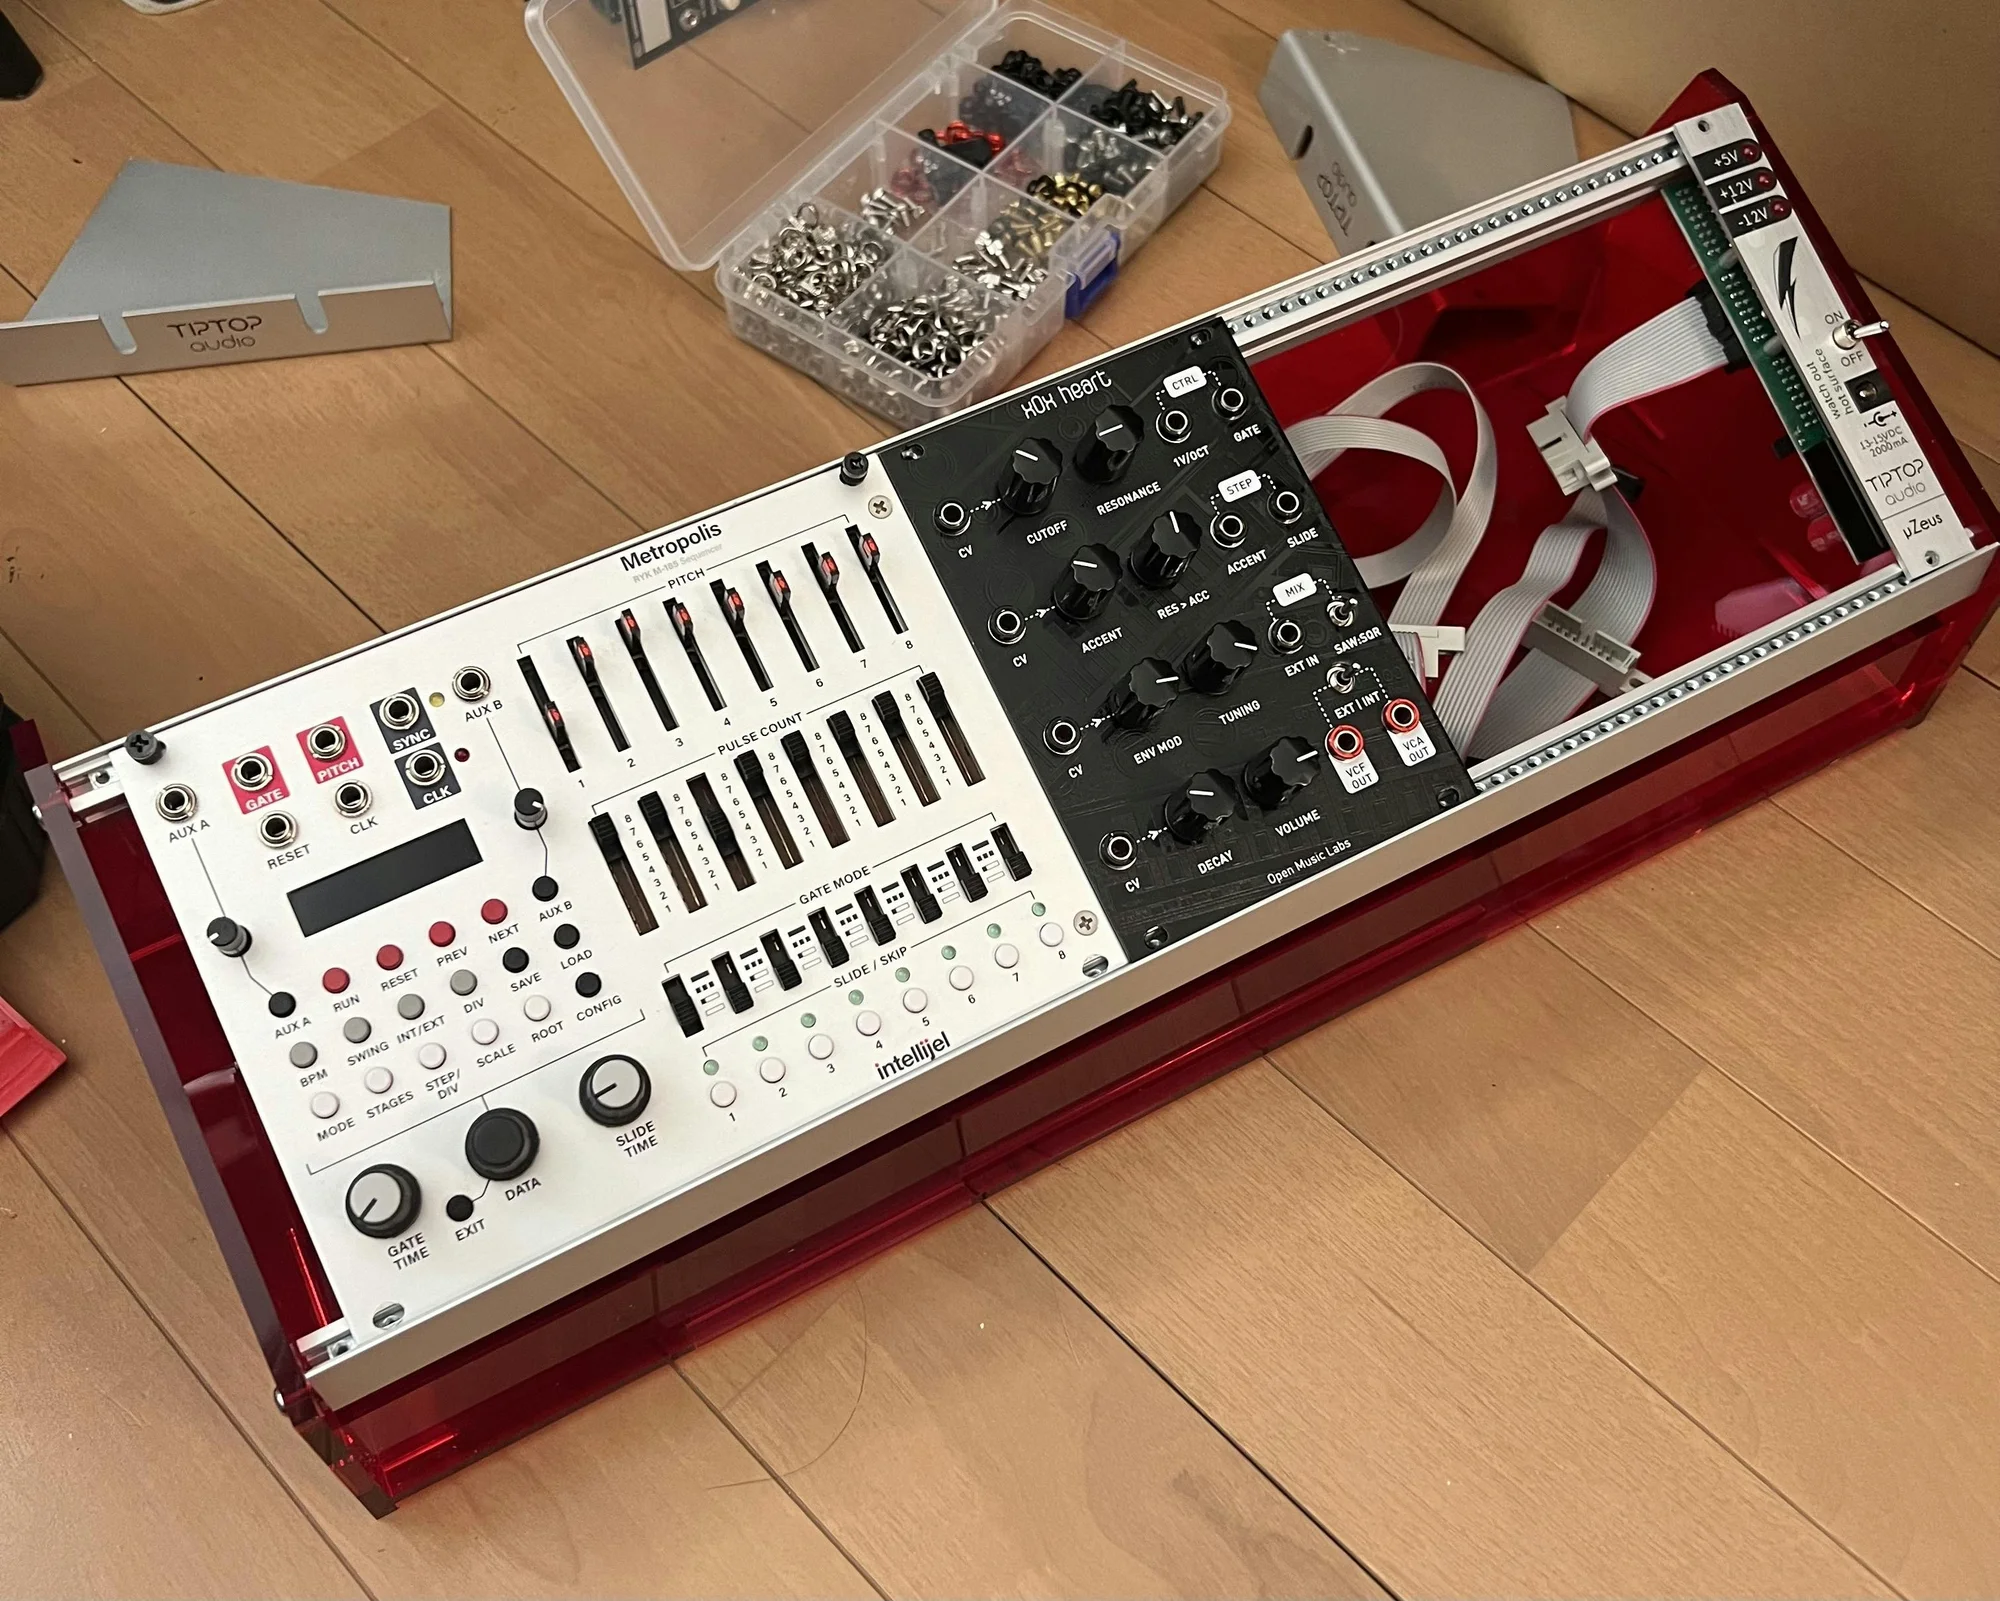
Without modules installed, it looks like this:
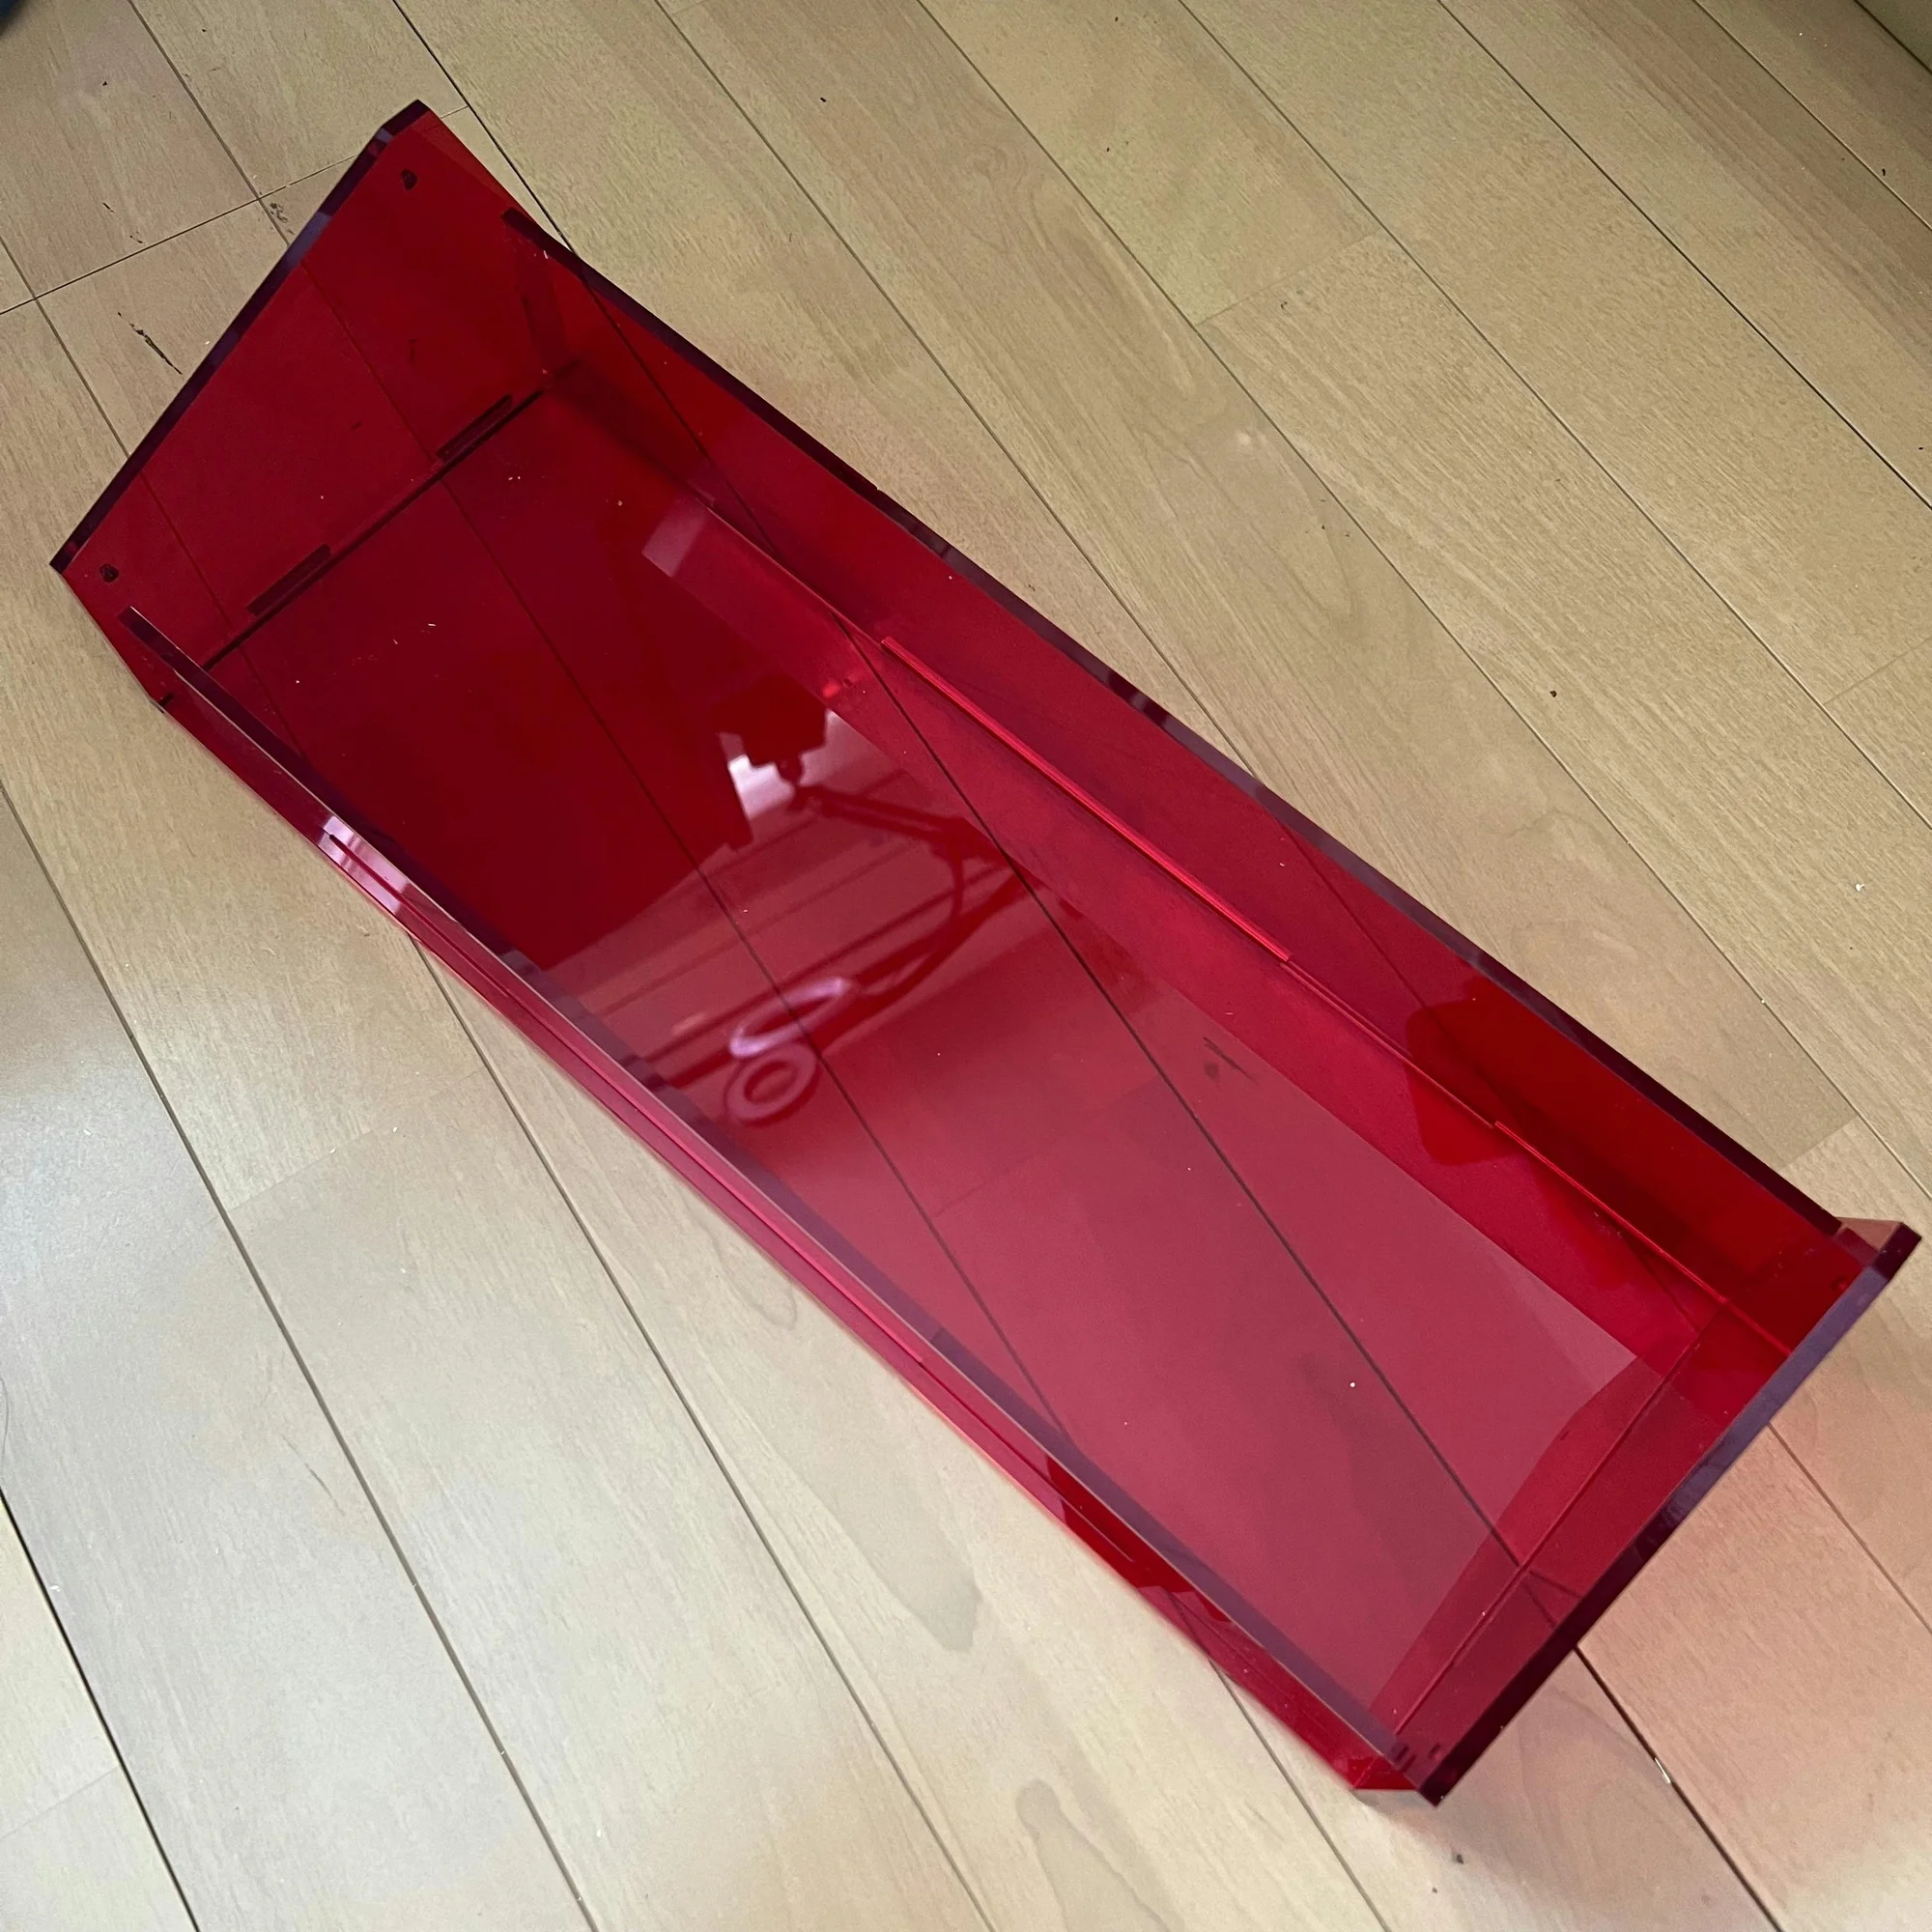
The front and back of the lower section are open, like this:
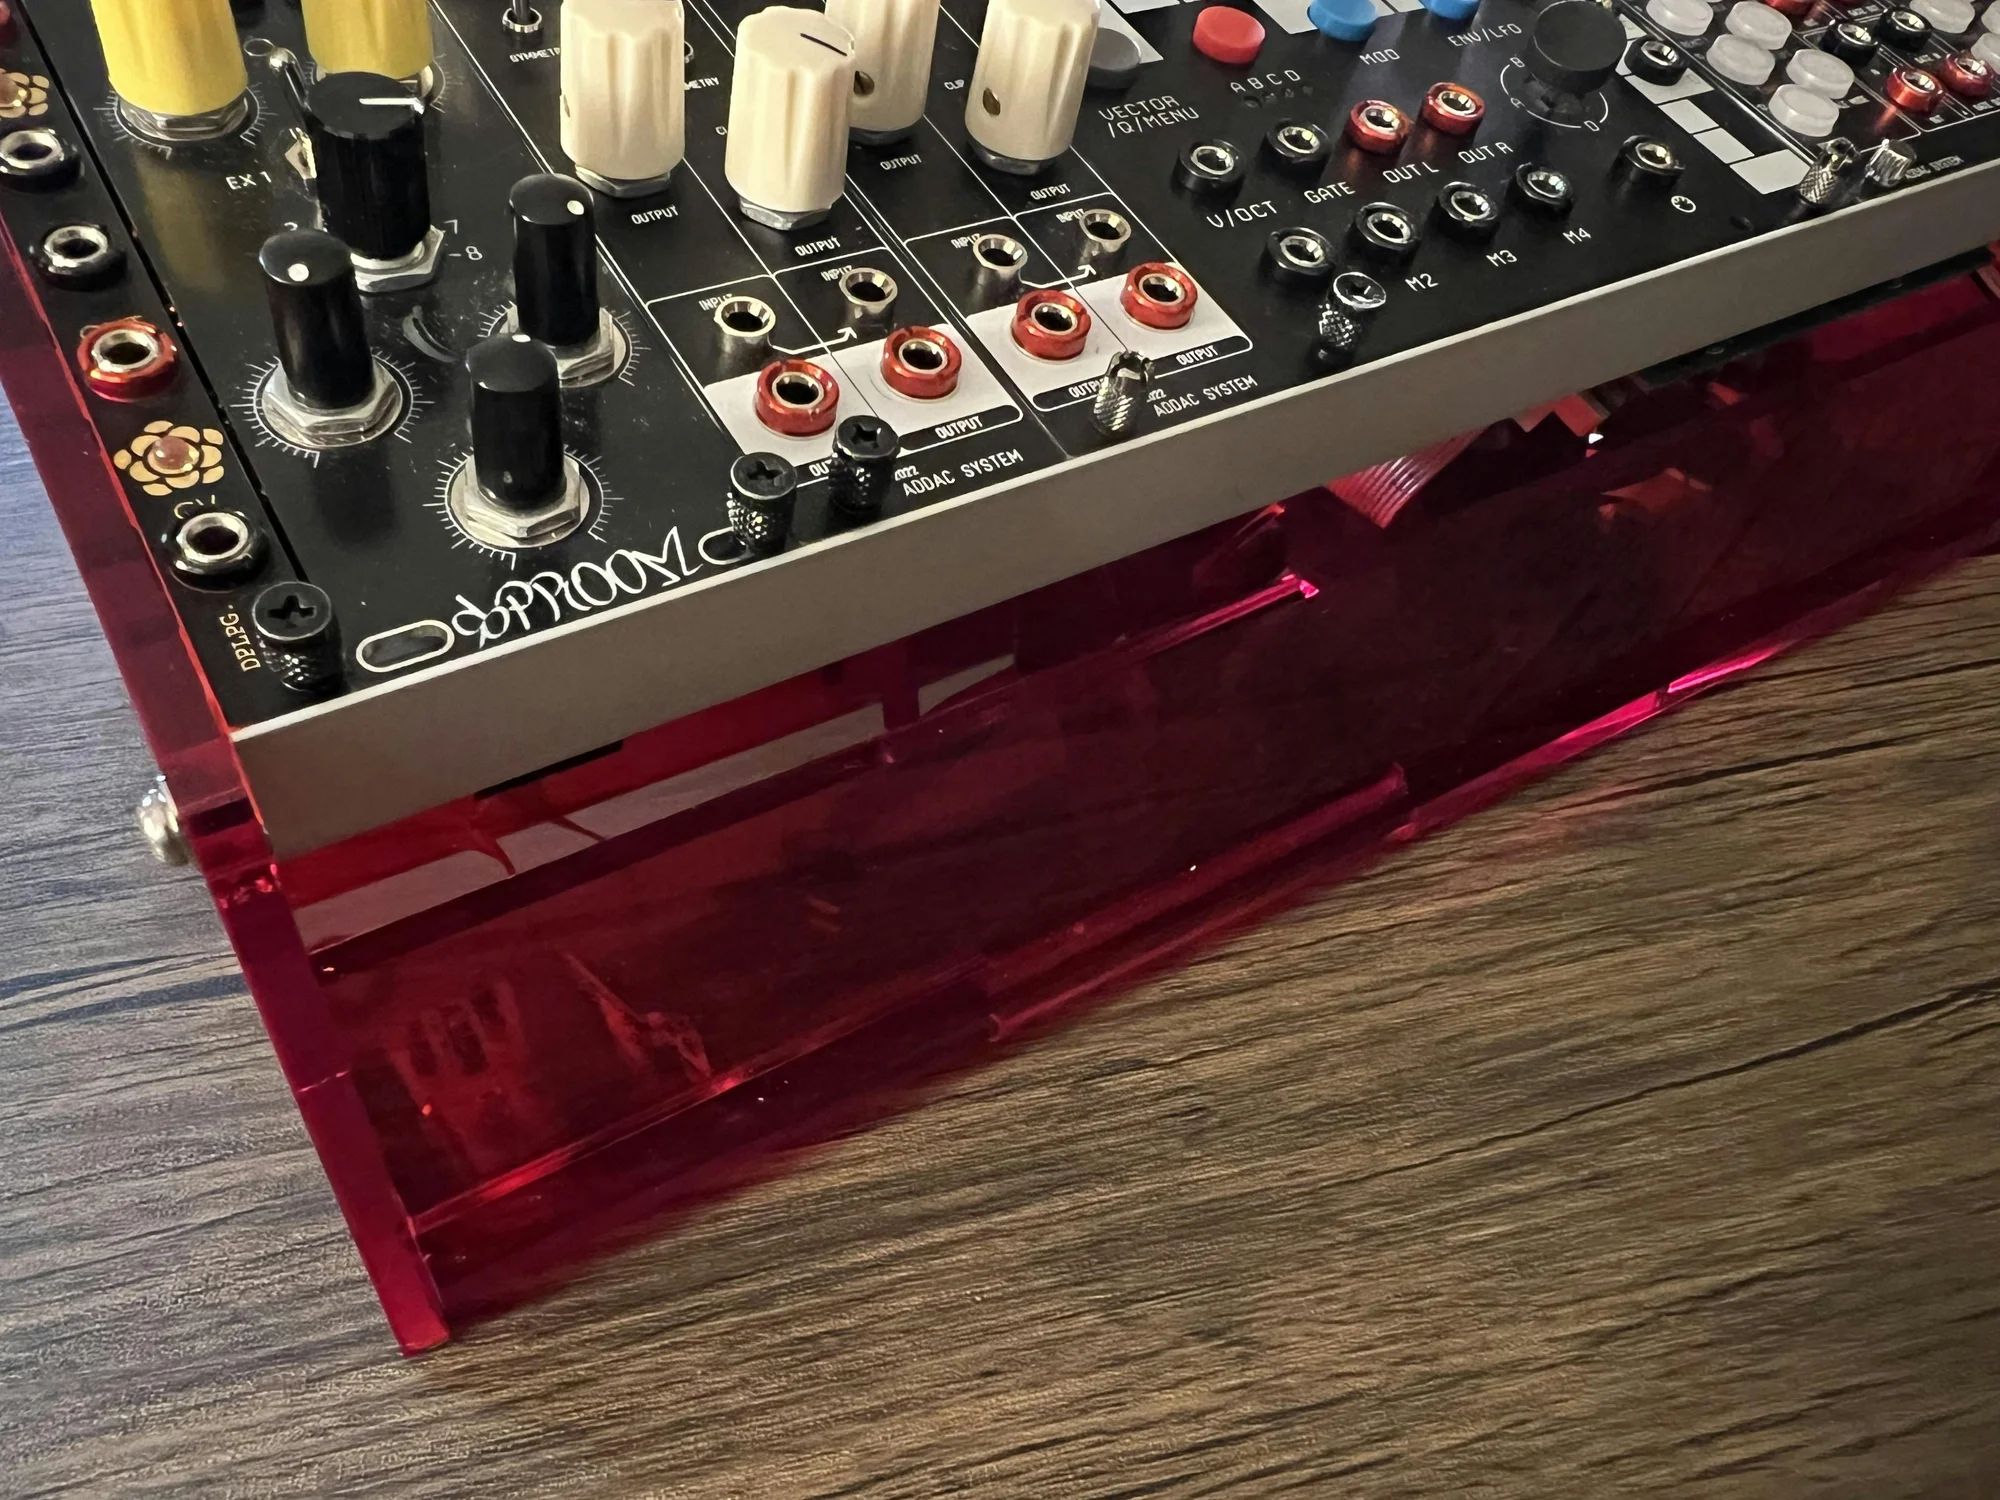
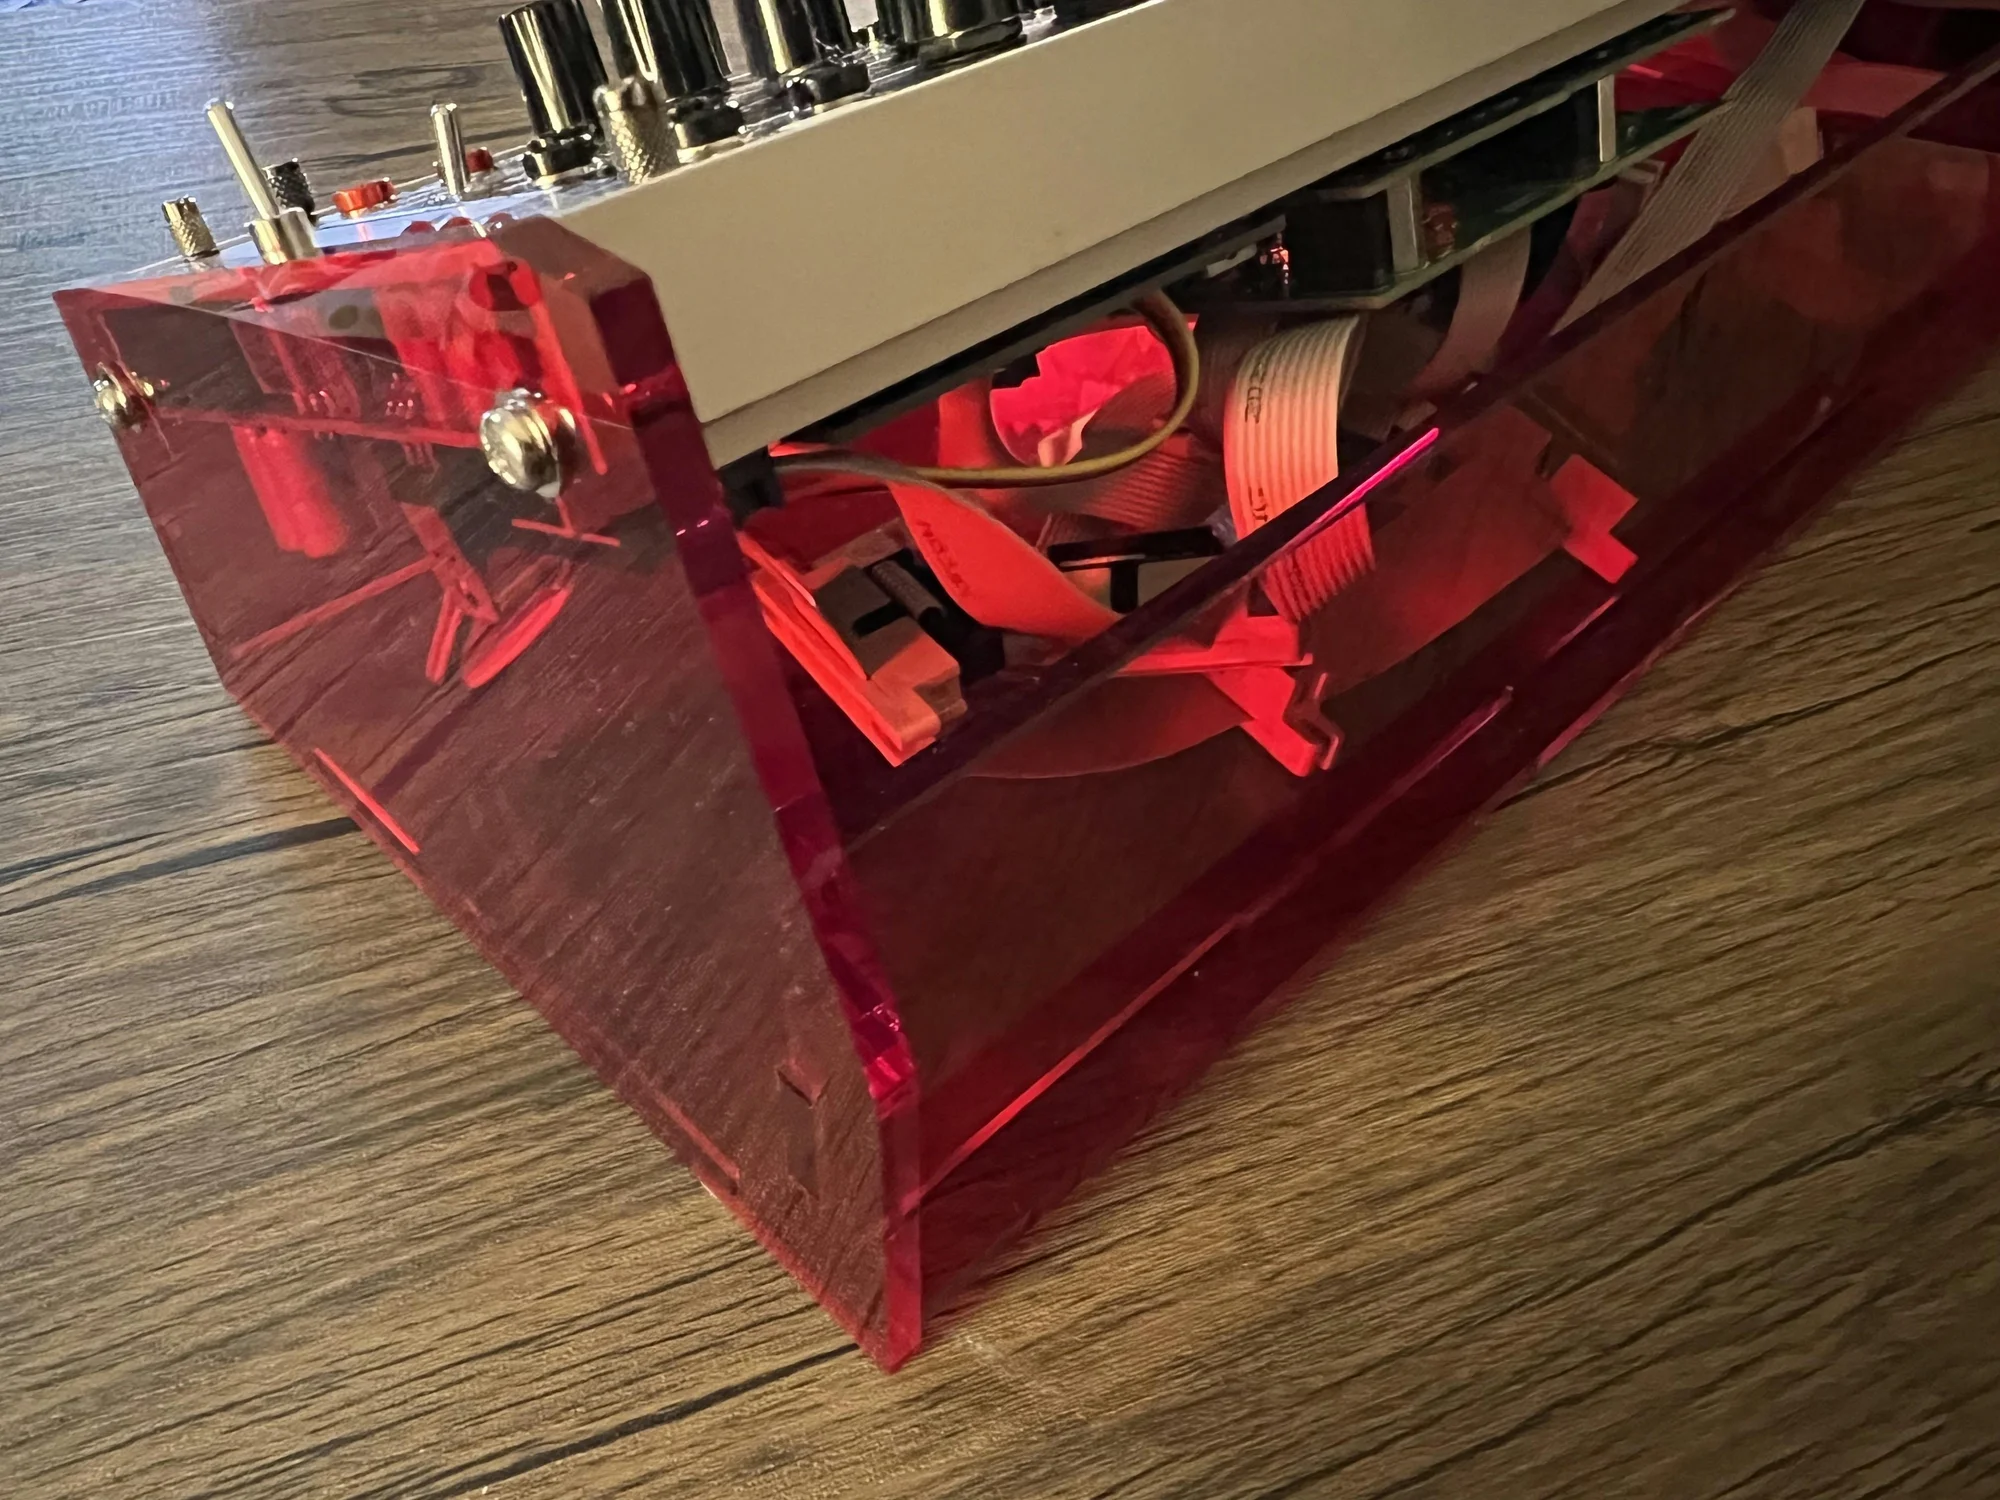
Let me walk you through the details.
Background
It started because I had a TipTop Audio Happy Ending Kit — a module mounting kit without an enclosure.
It came with a set I bought as used on eBay, and I’d been casually using it since I had it on hand. I found the convenience of easily attaching and detaching modules surprisingly useful, and thought it would be even better with a case.
While searching around, I found this thread on Mod Wiggler:
I thought it looked great and downloaded the data posted in the thread, but it couldn’t be used as-is. In a late-night burst of energy, I created the data in Adobe Illustrator, and this case was the result.
So this case is designed to fit the dimensions of TipTop Audio’s Happy Ending Kit.
How to Get Acrylic Cut
So how did I make this? I used a service that cuts acrylic to order. I didn’t even know such services existed, but the Mod Wiggler thread mentioned using one, so I searched for a similar service in Japan and placed my order.
After searching online, I went with this shop:
I first inquired using the Mod Wiggler data, but it wasn’t compatible as-is, so I created my own data in Adobe Illustrator, requested a quote, went through several revisions, and finalized the data before placing the official cutting order.
As you can see, my case is red (I like red), and I used the following acrylic:
I chose 5mm thickness for the acrylic.
Creating the Data
As mentioned, the data was created in Adobe Illustrator. It looks like this:

Being a web industry person, Takazudo had used Adobe Illustrator before. I set the units to mm and spaced each panel at least 5mm apart as instructed.
Initially, since there was extra space, I added a bunch of blank panels to make alongside the case. However, acrylic cutting is priced per cut, so the cost skyrocketed and I abandoned that idea. Diagonal and curved cuts are also more expensive.
The Finished Product
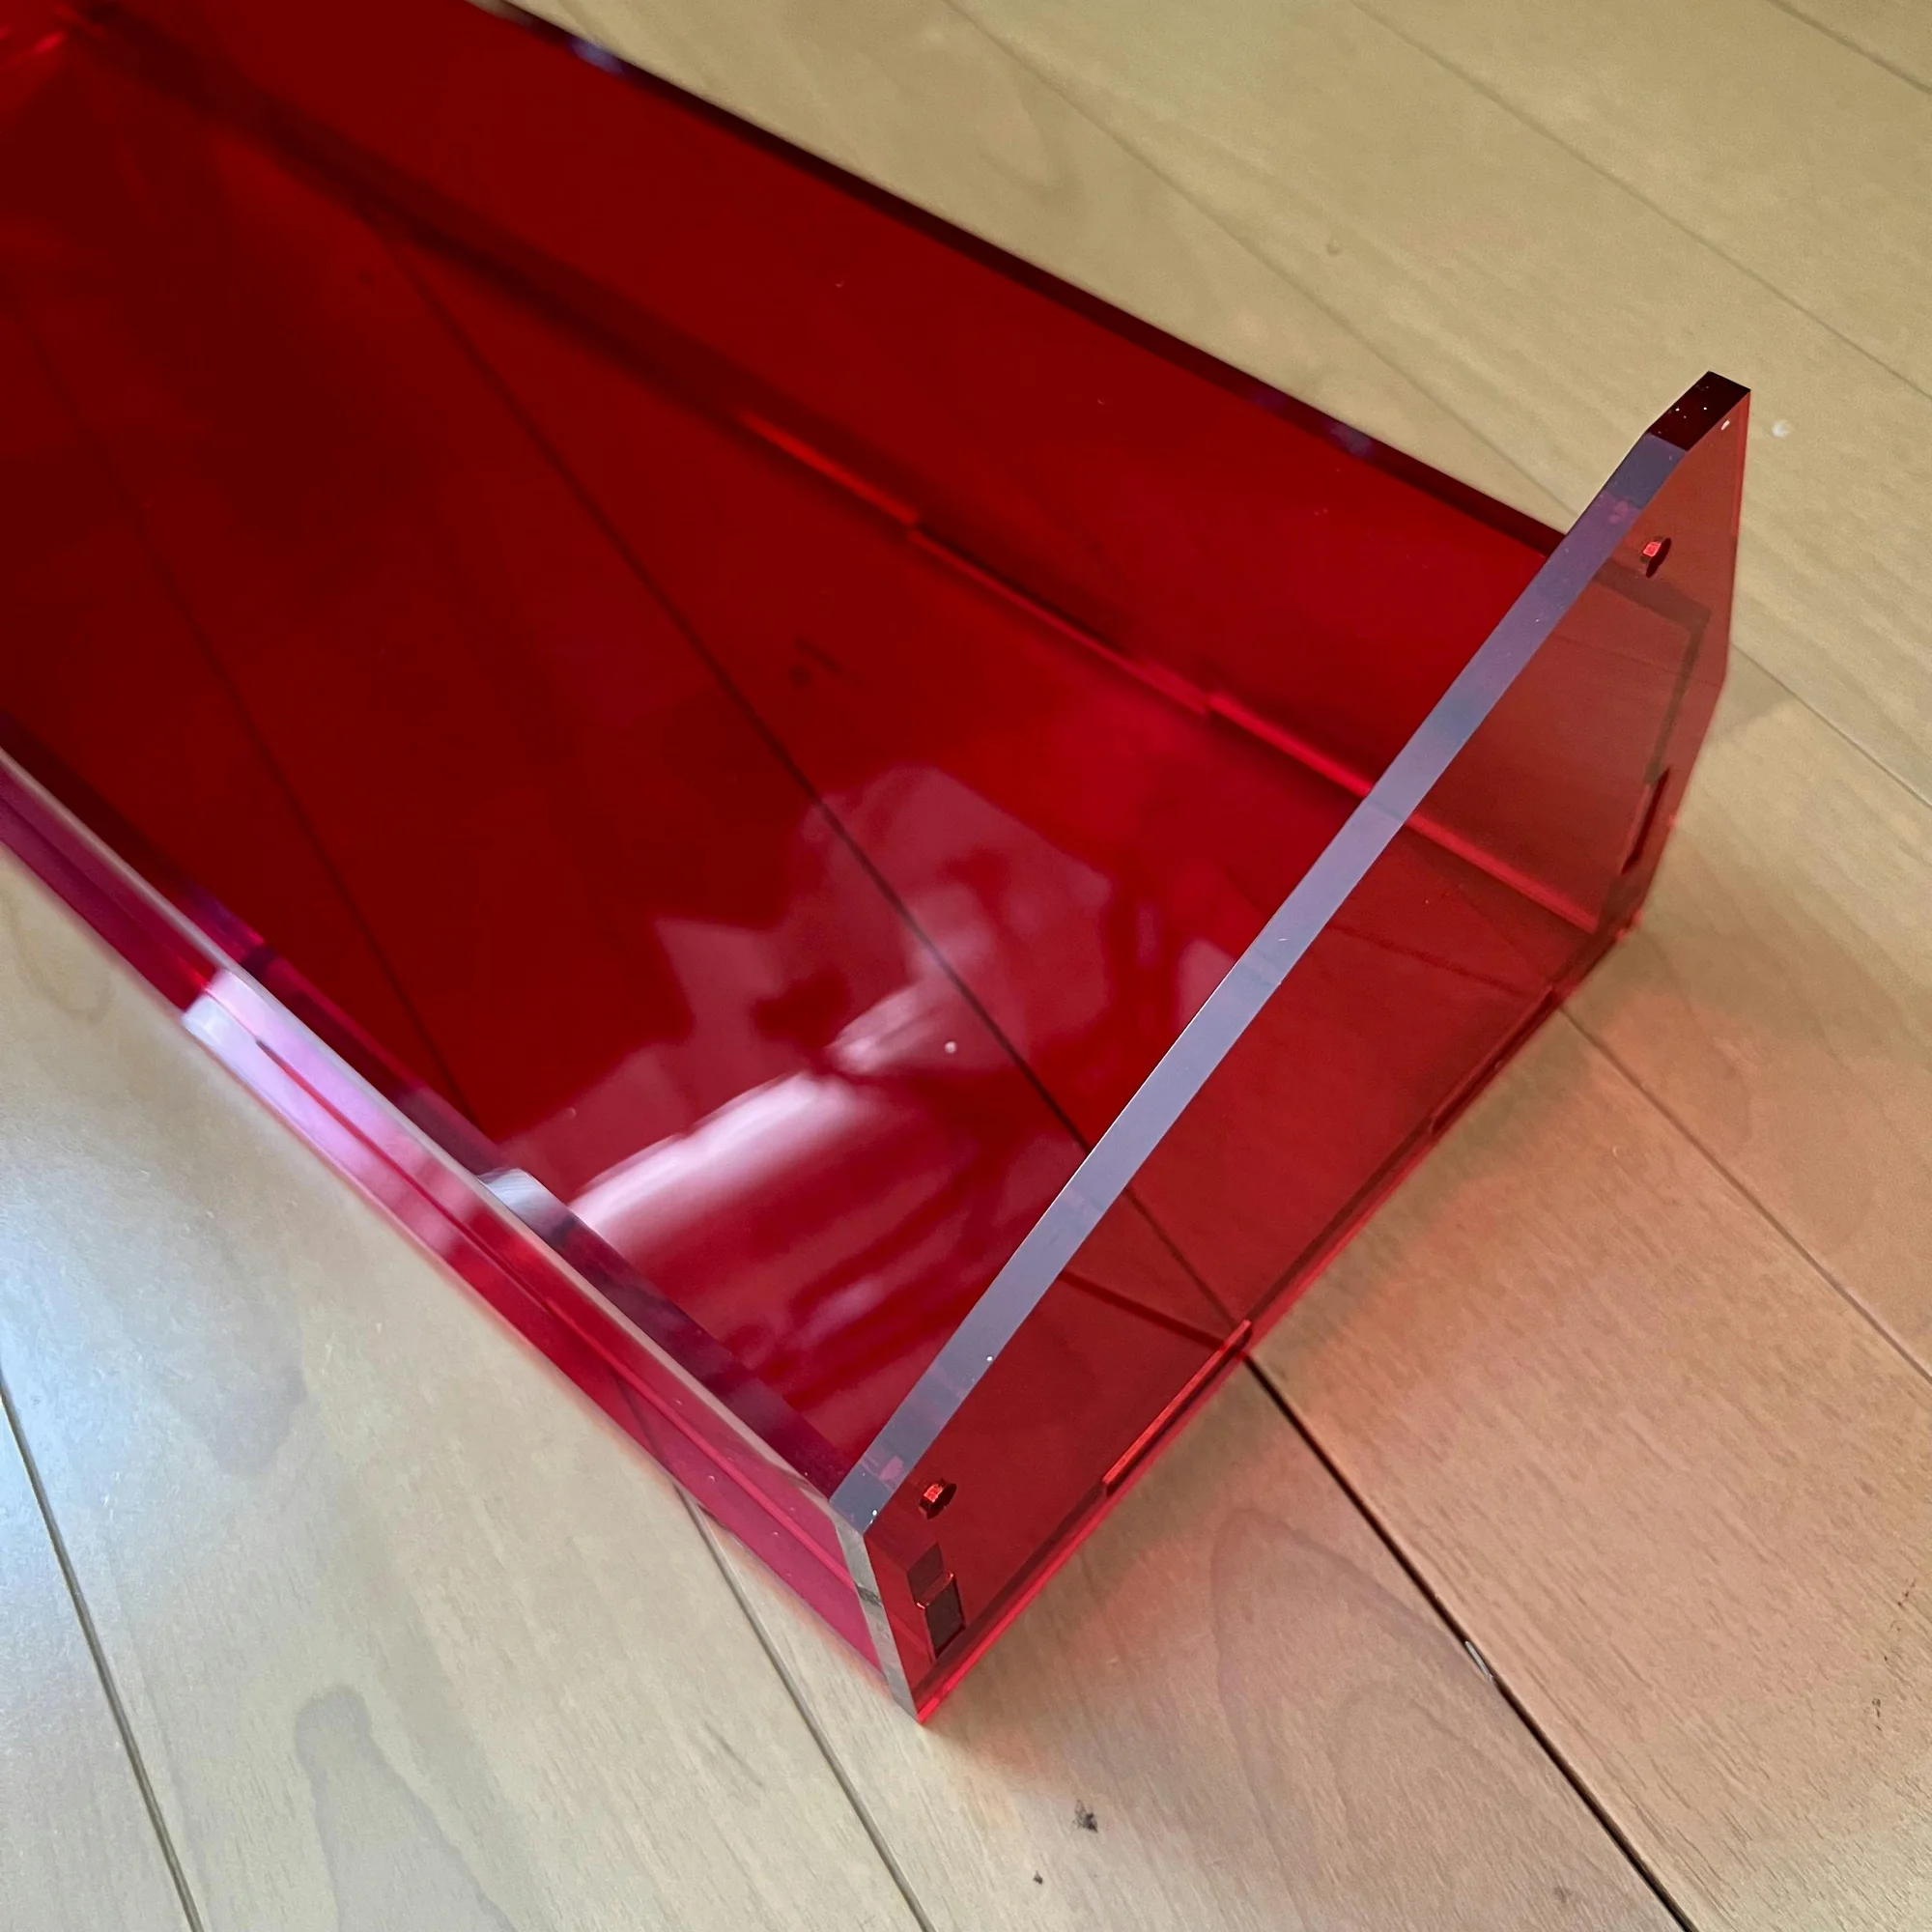
Depending on the shop’s schedule, it took about a week for delivery. What arrived was pre-cut acrylic panels with protective covering:

The cut edges are incredibly clear. Amazing. Insert the TipTop Audio rails and secure with screws, and it’s done.
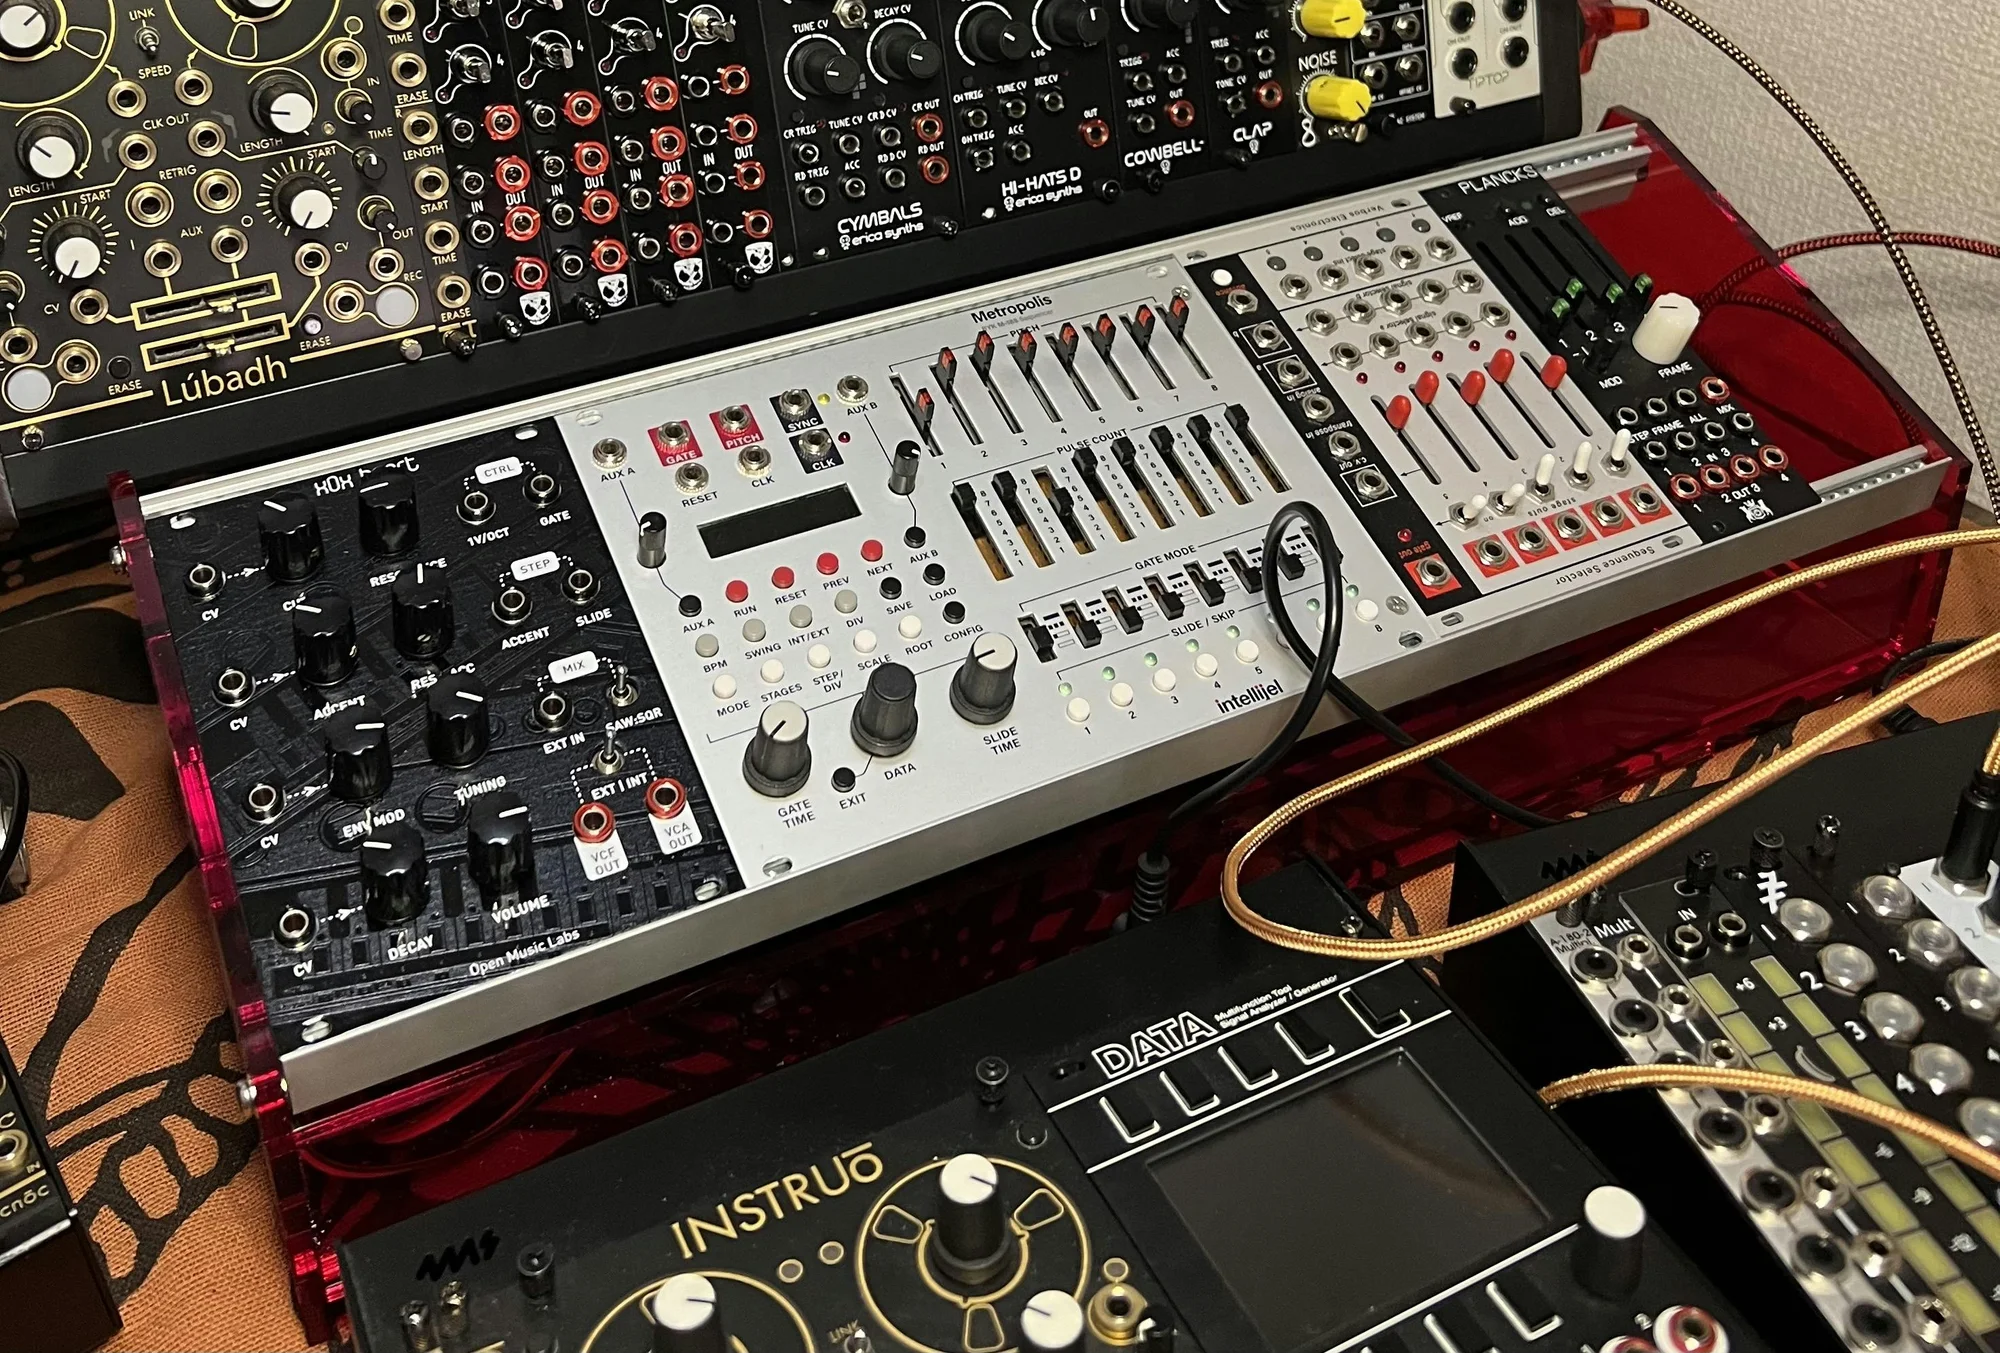
Making something yourself is quite satisfying. It might look great in videos too.

I use it in the following videos as well. Thanks, Hazaiya!
Cost
As for the cost you’re probably curious about — it was about 27,000 yen. That’s not cheap. Combined with the Happy Ending Kit, you’re looking at around 50,000 yen, which is enough to buy a regular metal case with power supply included.
Wondering if a non-acrylic material might be cheaper, I also requested a quote from this shop:
They quoted about 15,000 yen for 4mm birch plywood.
Cheaper than acrylic, but still more than mass-produced cases from larger manufacturers. Well, it is a custom order, so it can’t be helped. You really feel how manufacturers keep costs down through mass production.
How to Order
The ordering process is simple. Request a quote from the shop and provide your Adobe Illustrator data. The data for this case can be downloaded from the link below. If anyone wants to make the same case, feel free to use it as reference.
Please note that use of this data is at your own risk.
In my case, when I assembled the arriving acrylic panels, the screw hole positions were slightly off — the rail spacing was too wide and it couldn’t be used as-is, which was my data creation error. I fixed this by re-drilling holes with a drill I bought on Amazon for about 3,000 yen. The data linked above has this screw hole position error corrected. So while the actual cutting wasn’t done with the exact data above, the dimensions should be correct.
The Joy of DIY
In the end, it did cost a fair amount, but it’s transparent and quite beautiful. Thanks to the considerable thickness, it’s very sturdy, and I’m personally quite satisfied. I even ended up buying an acrylic color sample set.

This kind of order-based DIY — choosing your own color and having something made exactly to your blueprint — is quite enjoyable.
If you’re handy, you could also buy wood and cut it yourself. I don’t normally have those kinds of DIY tools at home, and maybe it’s the web developer in me, but if I can create data and have a finished product arrive, that seemed viable… so I gave it a try.
I’m also thinking about getting illustrations engraved on thinner acrylic for blank panels. Most of all, making something yourself creates a special attachment to it.
References
Among modular synth users, quite a few people DIY their own cases, and there are ways to do it for less than what I spent. Some people have published their records online, so here are some potentially helpful articles:
- Modular Synth Travel Case DIY | HAGIWO (Japanese)
- DIY Eurorack Power and Case | Memory Laundering (Japanese)
- DIY Synth: Making a Eurorack Case | captainmirai (Japanese)
That’s the DIY case introduction.
The dimension calculations are necessary, but it’s not like you need specialized knowledge. If you’re thinking “let’s try it!”, I think you’ll have fun.
If anyone out there makes this Takazudo case, I’d be incredibly happy to hear about it, so please let me know!
See you next time.