This guide walks you through upgrading the firmware on your OAM Time Machine to v1.1.1. This is required if you want to use the VCA Expander.
- Target Products
- Check Your Current Version
- Why the Firmware Upgrade Is Needed
- Download the Firmware
- Flashing Steps
- After Completion
- Compatibility Note
Target Products
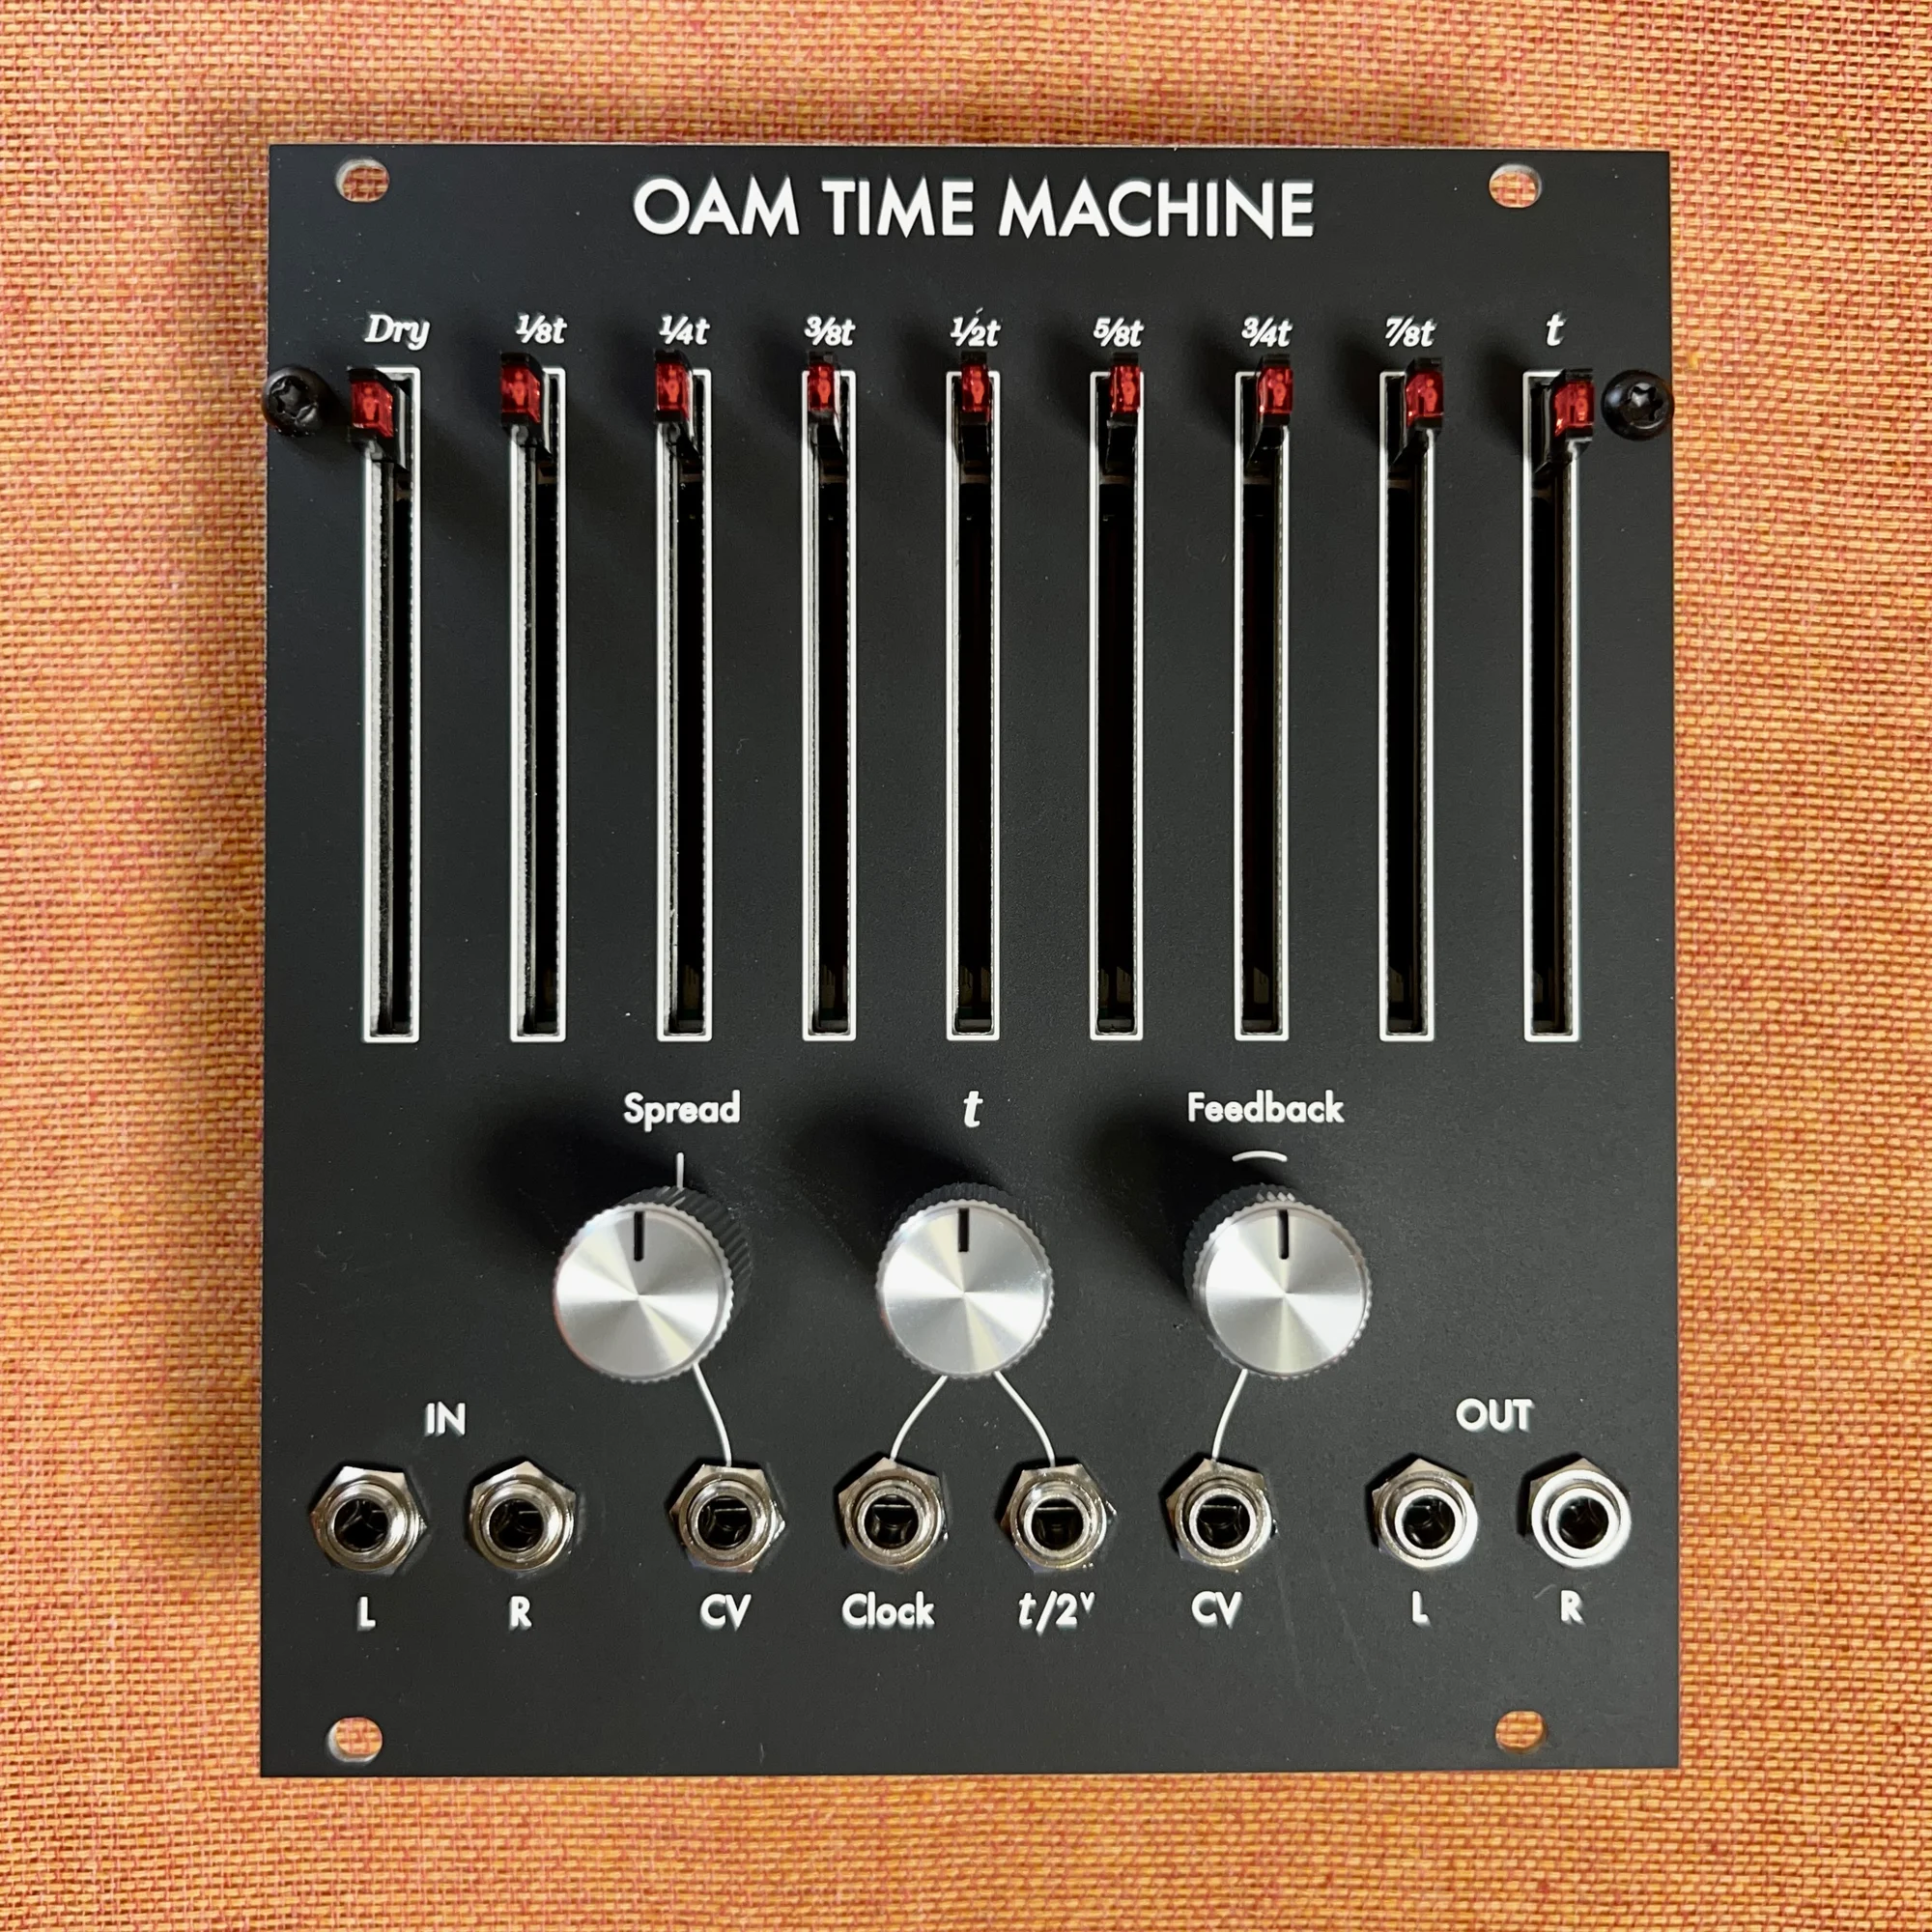
This guide explains how to update the firmware on the Olivia Artz Modular: Time Machine. You may need this when you start using the VCA Expander, so refer to it as needed.
A DSP multi-effect module built around a clock-syncable stereo delay. An 8-tap stereo granular delay at its core delivers reverb and granular-style textures, with rich audio I/O and CV control in 22HP.
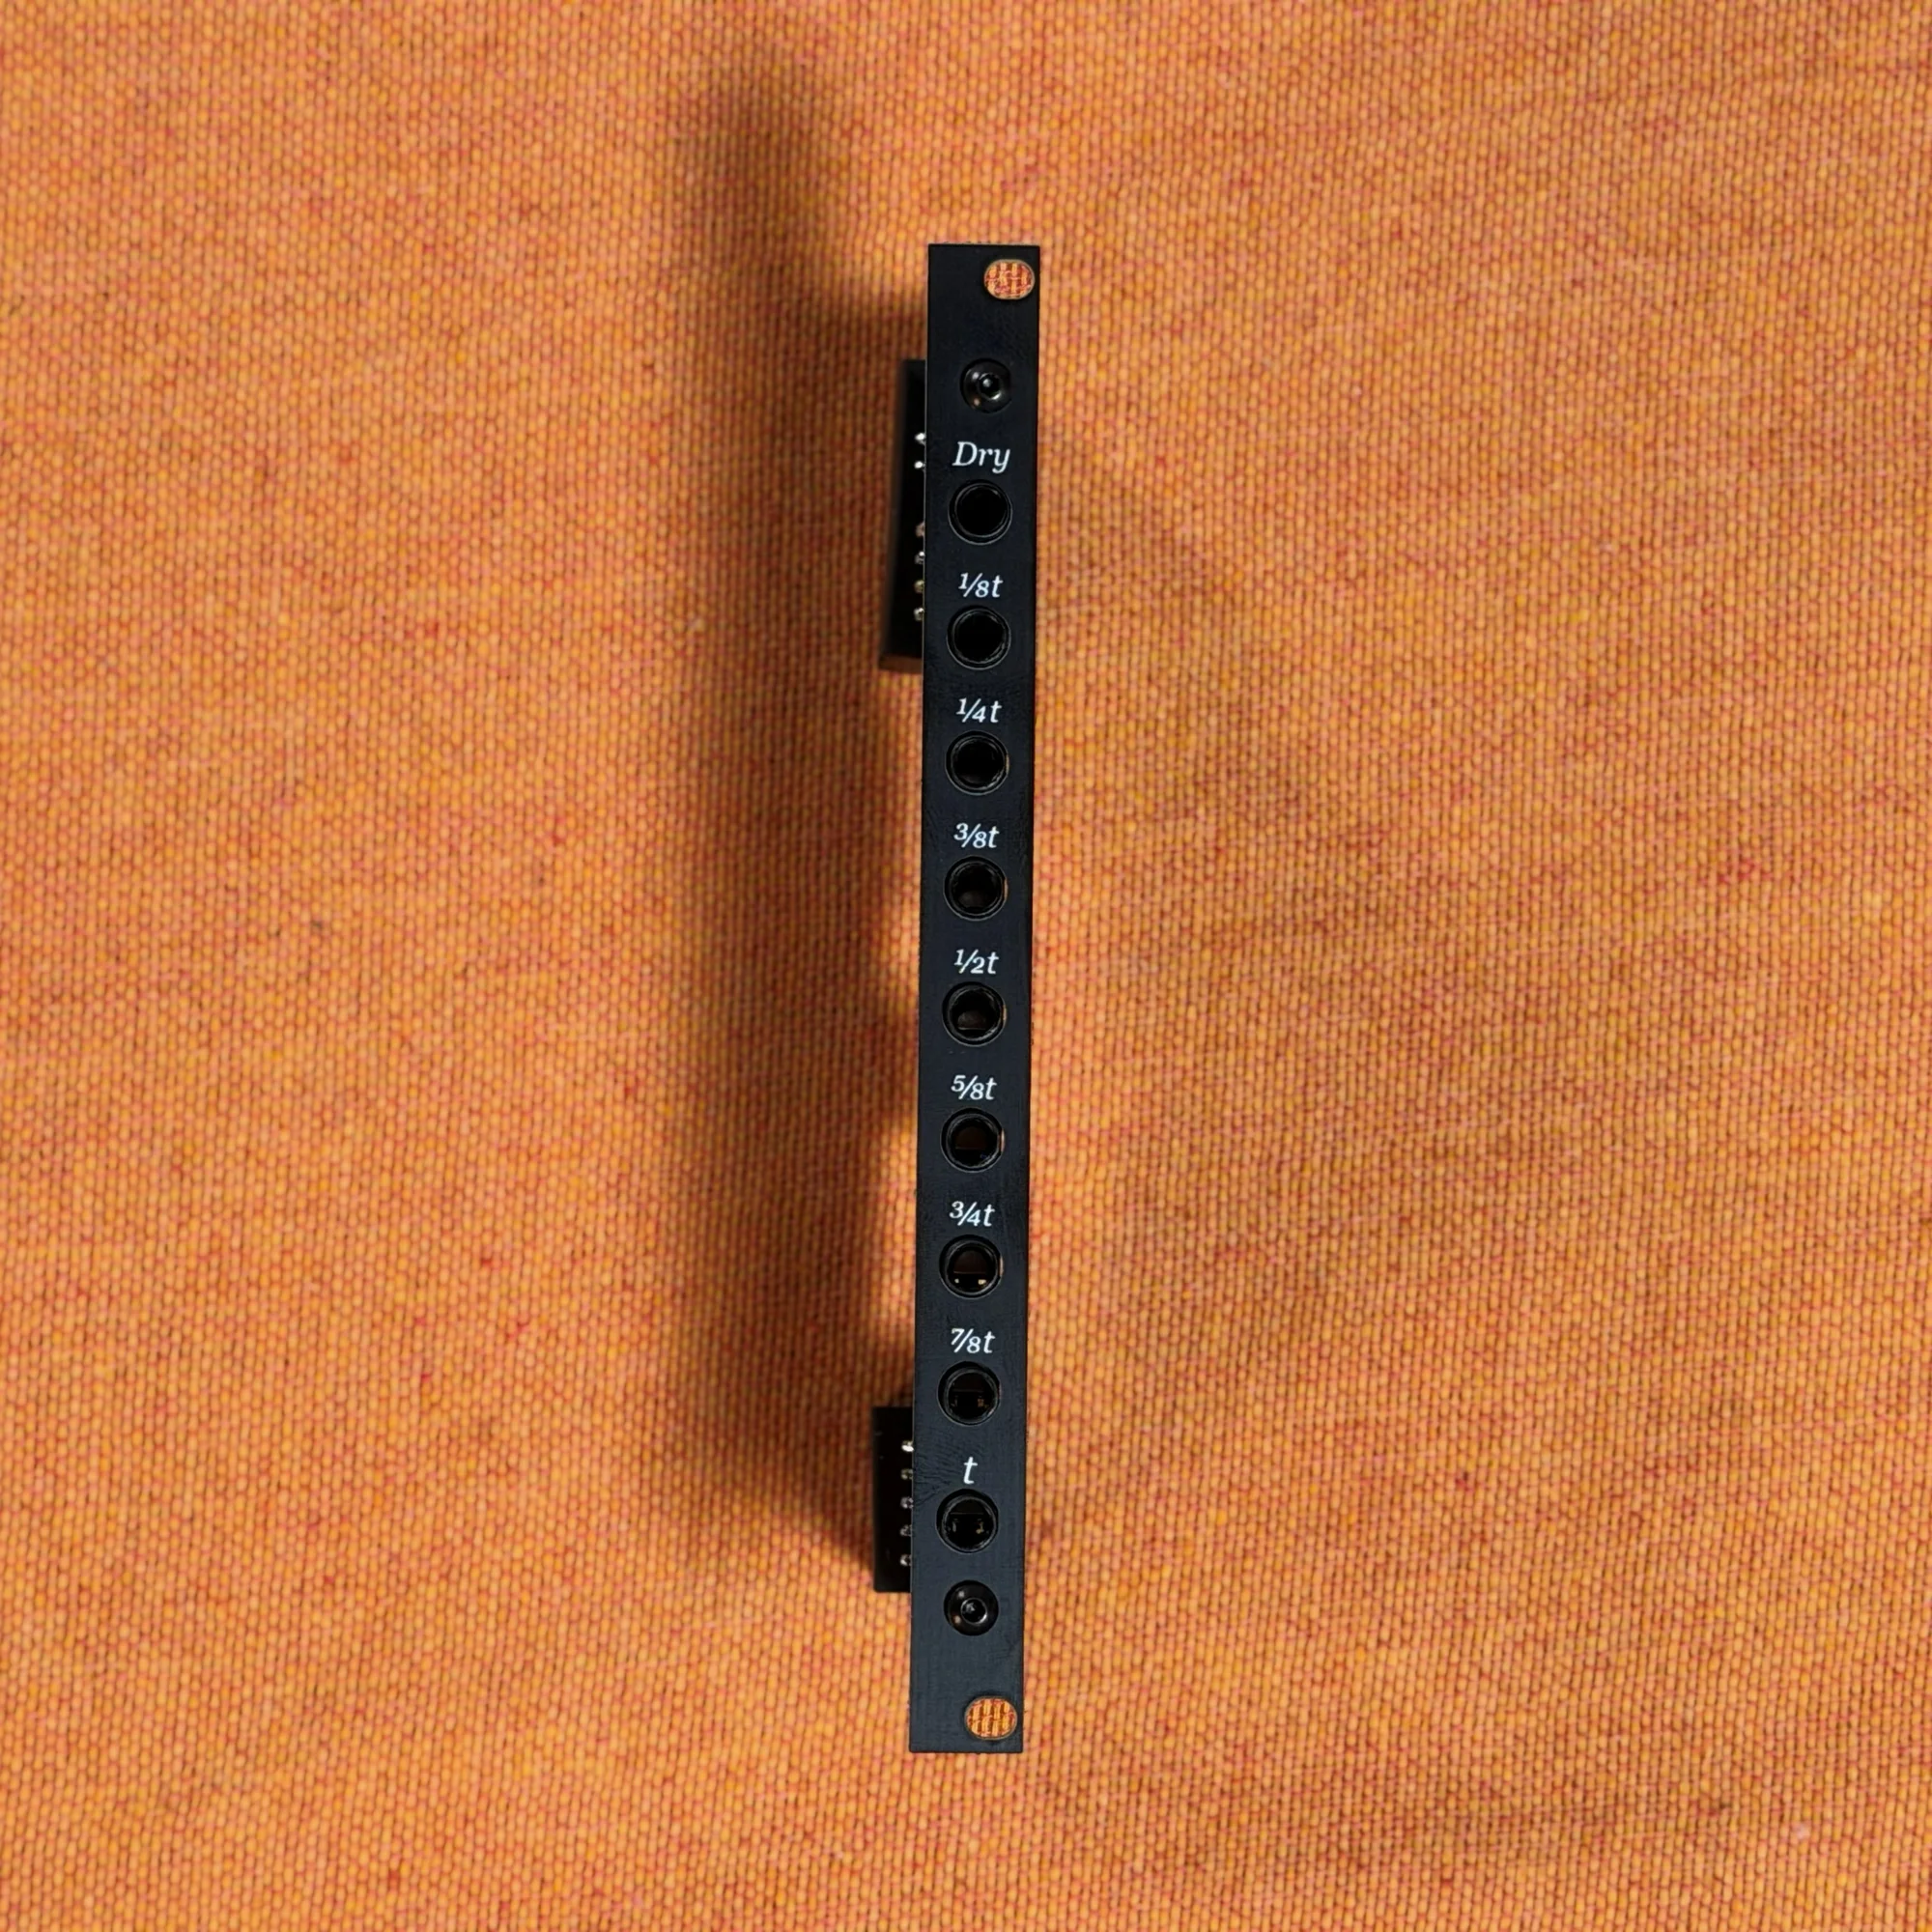
A 2HP expander for the Time Machine with 9 linear VCAs. Each slider passes unity gain at +5V with no cable, or works as an attenuator when patched. Requires Time Machine firmware v1.1.1.
Check Your Current Version
Before starting, check the back of your module for a "v1.1.1" marking. Time Machines manufactured from February 2026 onward have this marking on the back. If yours has this marking (or a higher version number), the firmware is already up to date and you can skip this guide.
Why the Firmware Upgrade Is Needed
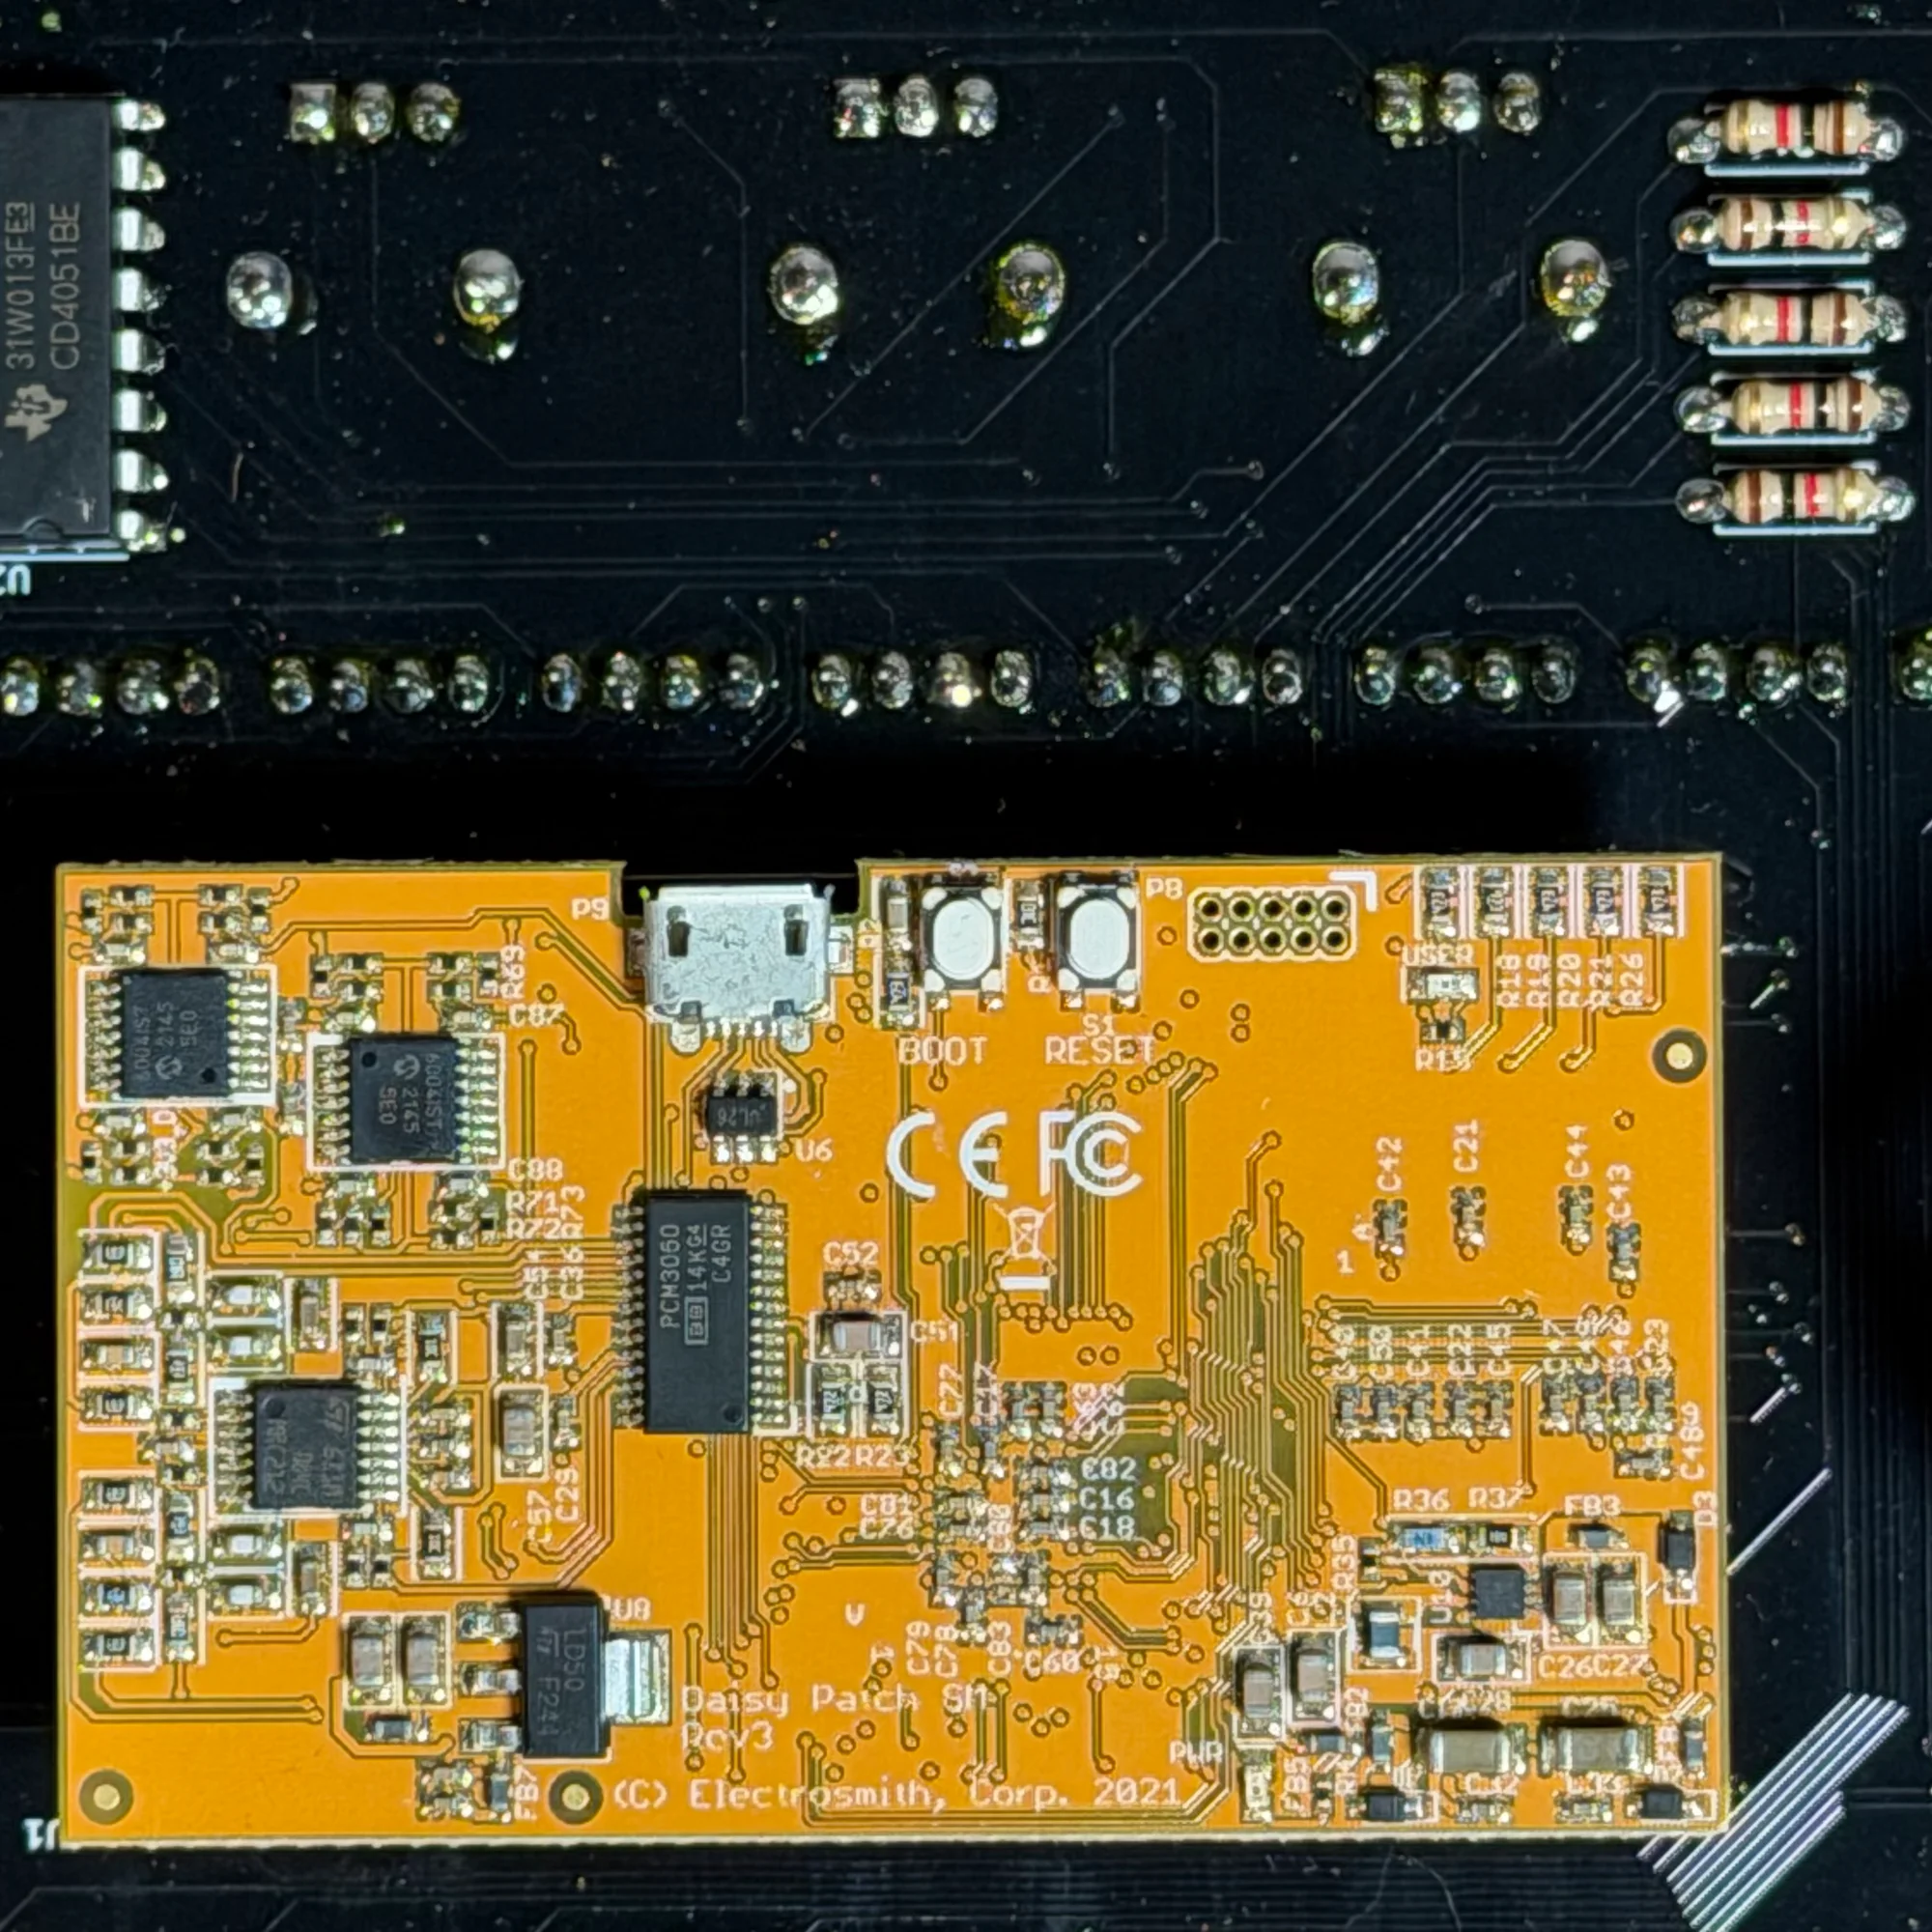
Time Machine is built on the Daisy Patch Submodule, a microcontroller board designed for fast audio processing. This board can be updated via USB, and writing the new firmware is what enables VCA Expander support on Time Machine.
Download the Firmware
Download the firmware file from the link below.
Flashing Steps
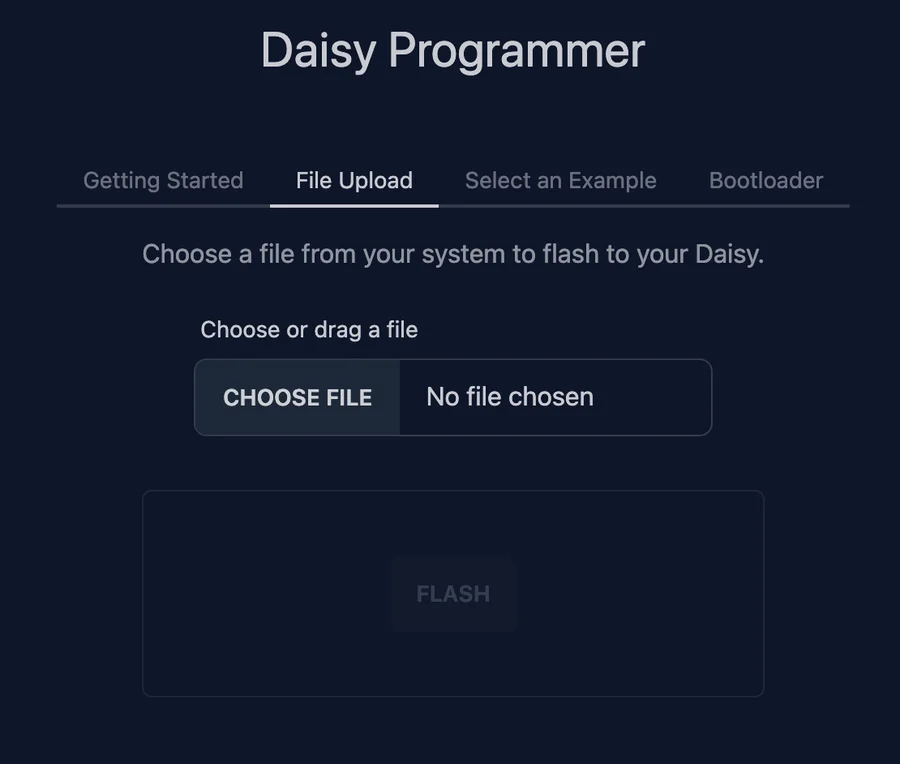
Open https://flash.daisy.audio/ in your browser and follow the steps below.
Step 1
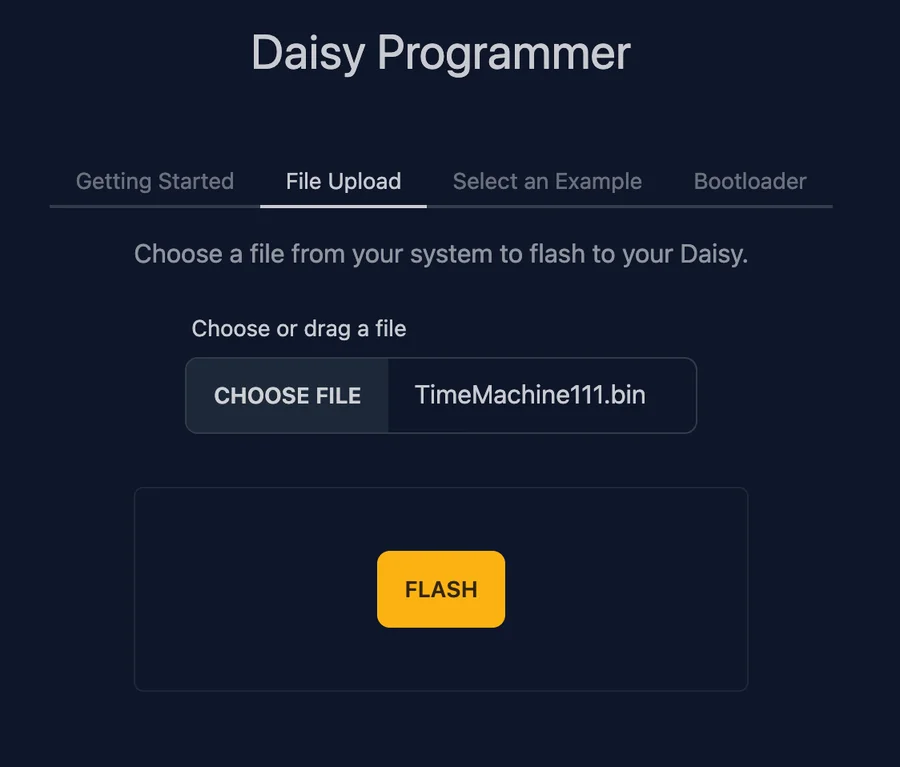
Connect the MicroUSB port on the back of the module to your PC. In the flashing tool, select "File Upload" and then select the downloaded firmware file (.bin), or drag and drop it onto the upload area.
Step 2
Click "Flash" to start the firmware write process.
Step 3
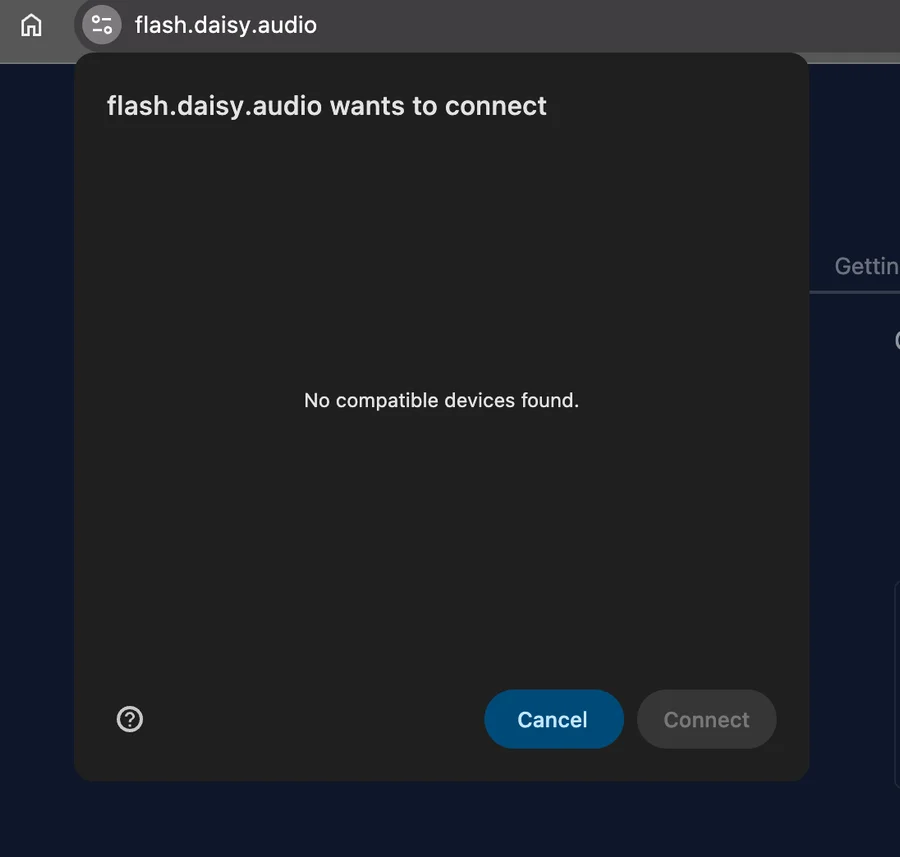
Your browser opens a device-selection dialog, but nothing appears in it yet.
Step 4
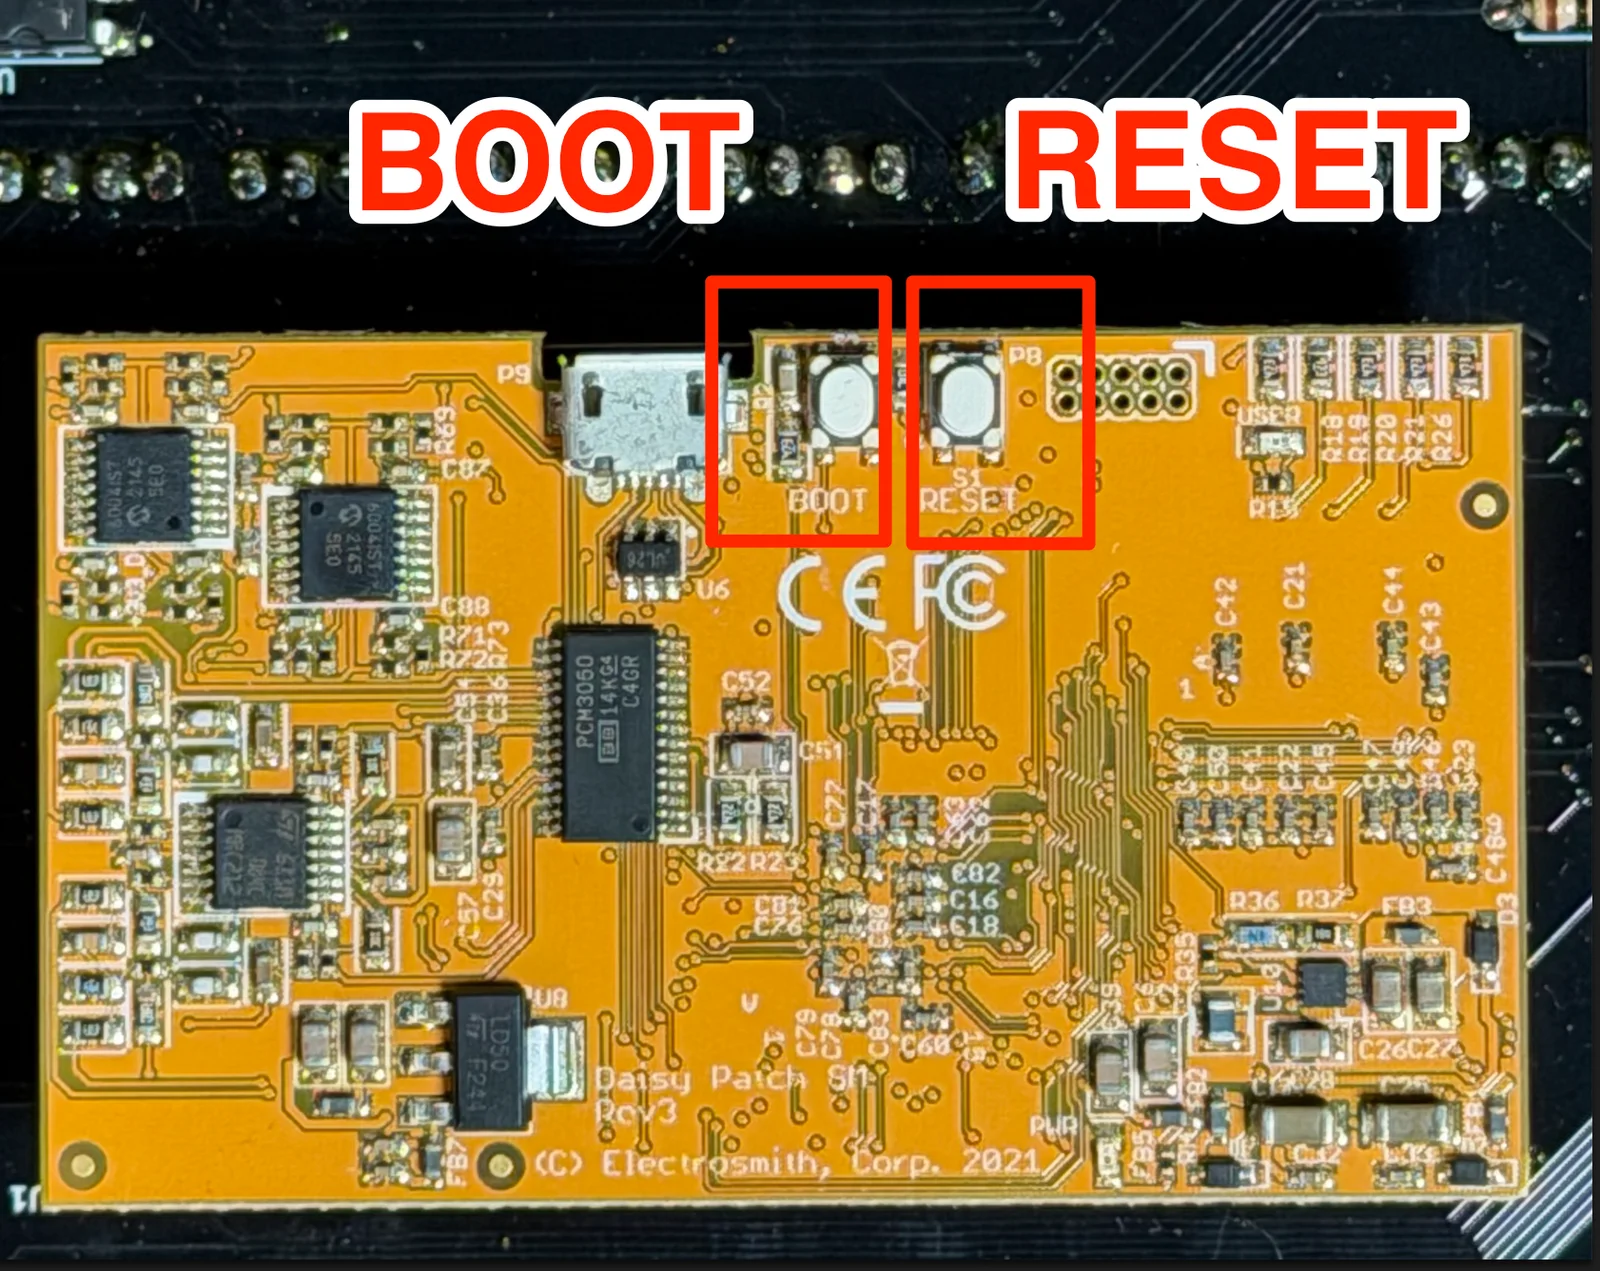
With the dialog still open, operate the Boot and Reset buttons on the module in the following order:
Press and hold the Boot button Press and hold the Reset button Let go of the Reset button Let go of the Boot button
Step 5
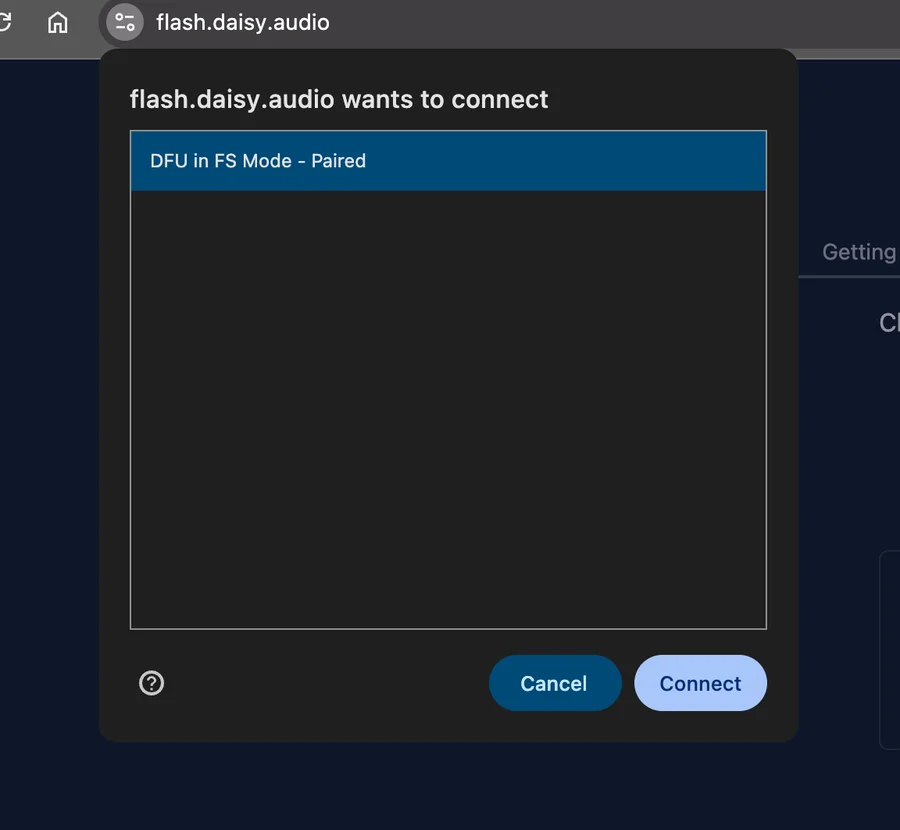
After completing step 4, the Daisy board appears in the dialog — your browser has now recognized the board.
Step 6
Click "Connect" to begin writing the firmware.
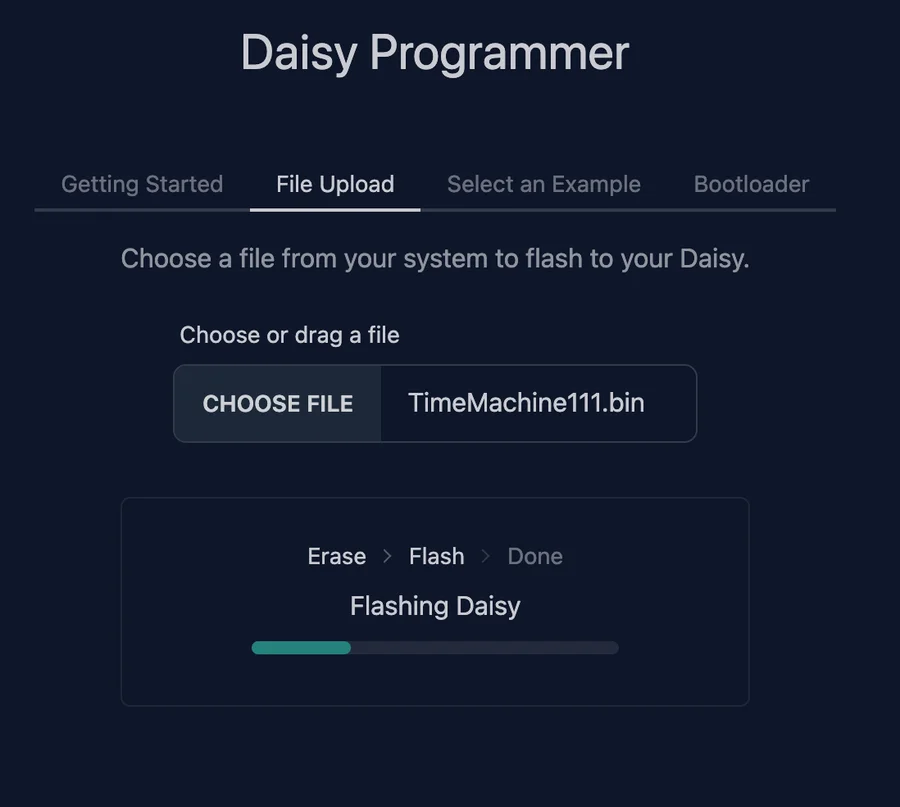
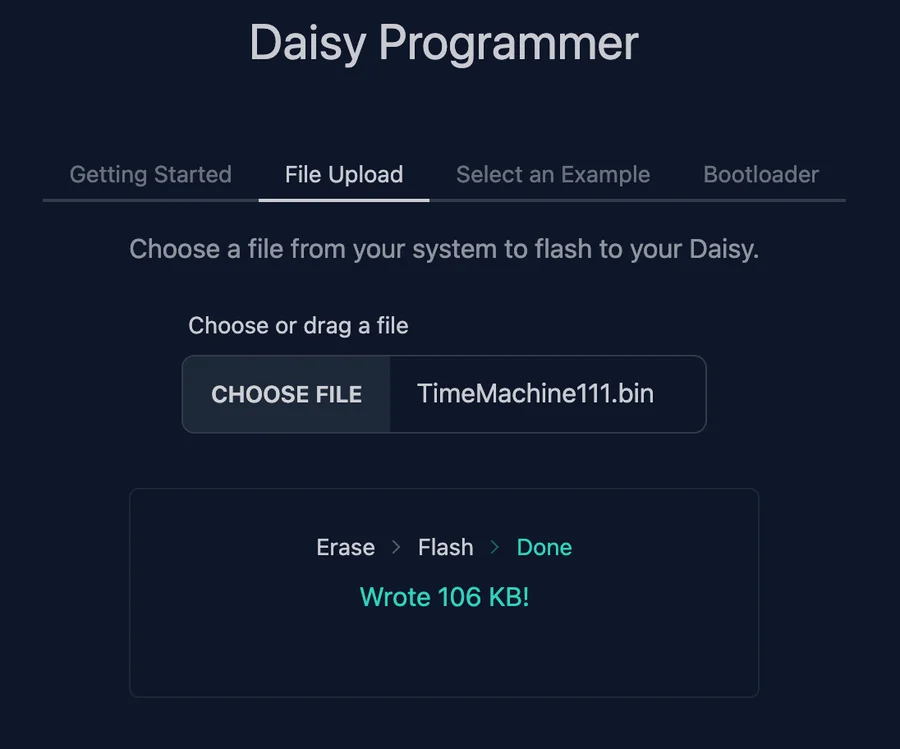
Step 7
When flashing is complete, you will see a screen like this.
After Completion
Once flashing succeeds, your Time Machine is ready to use with the VCA Expander.
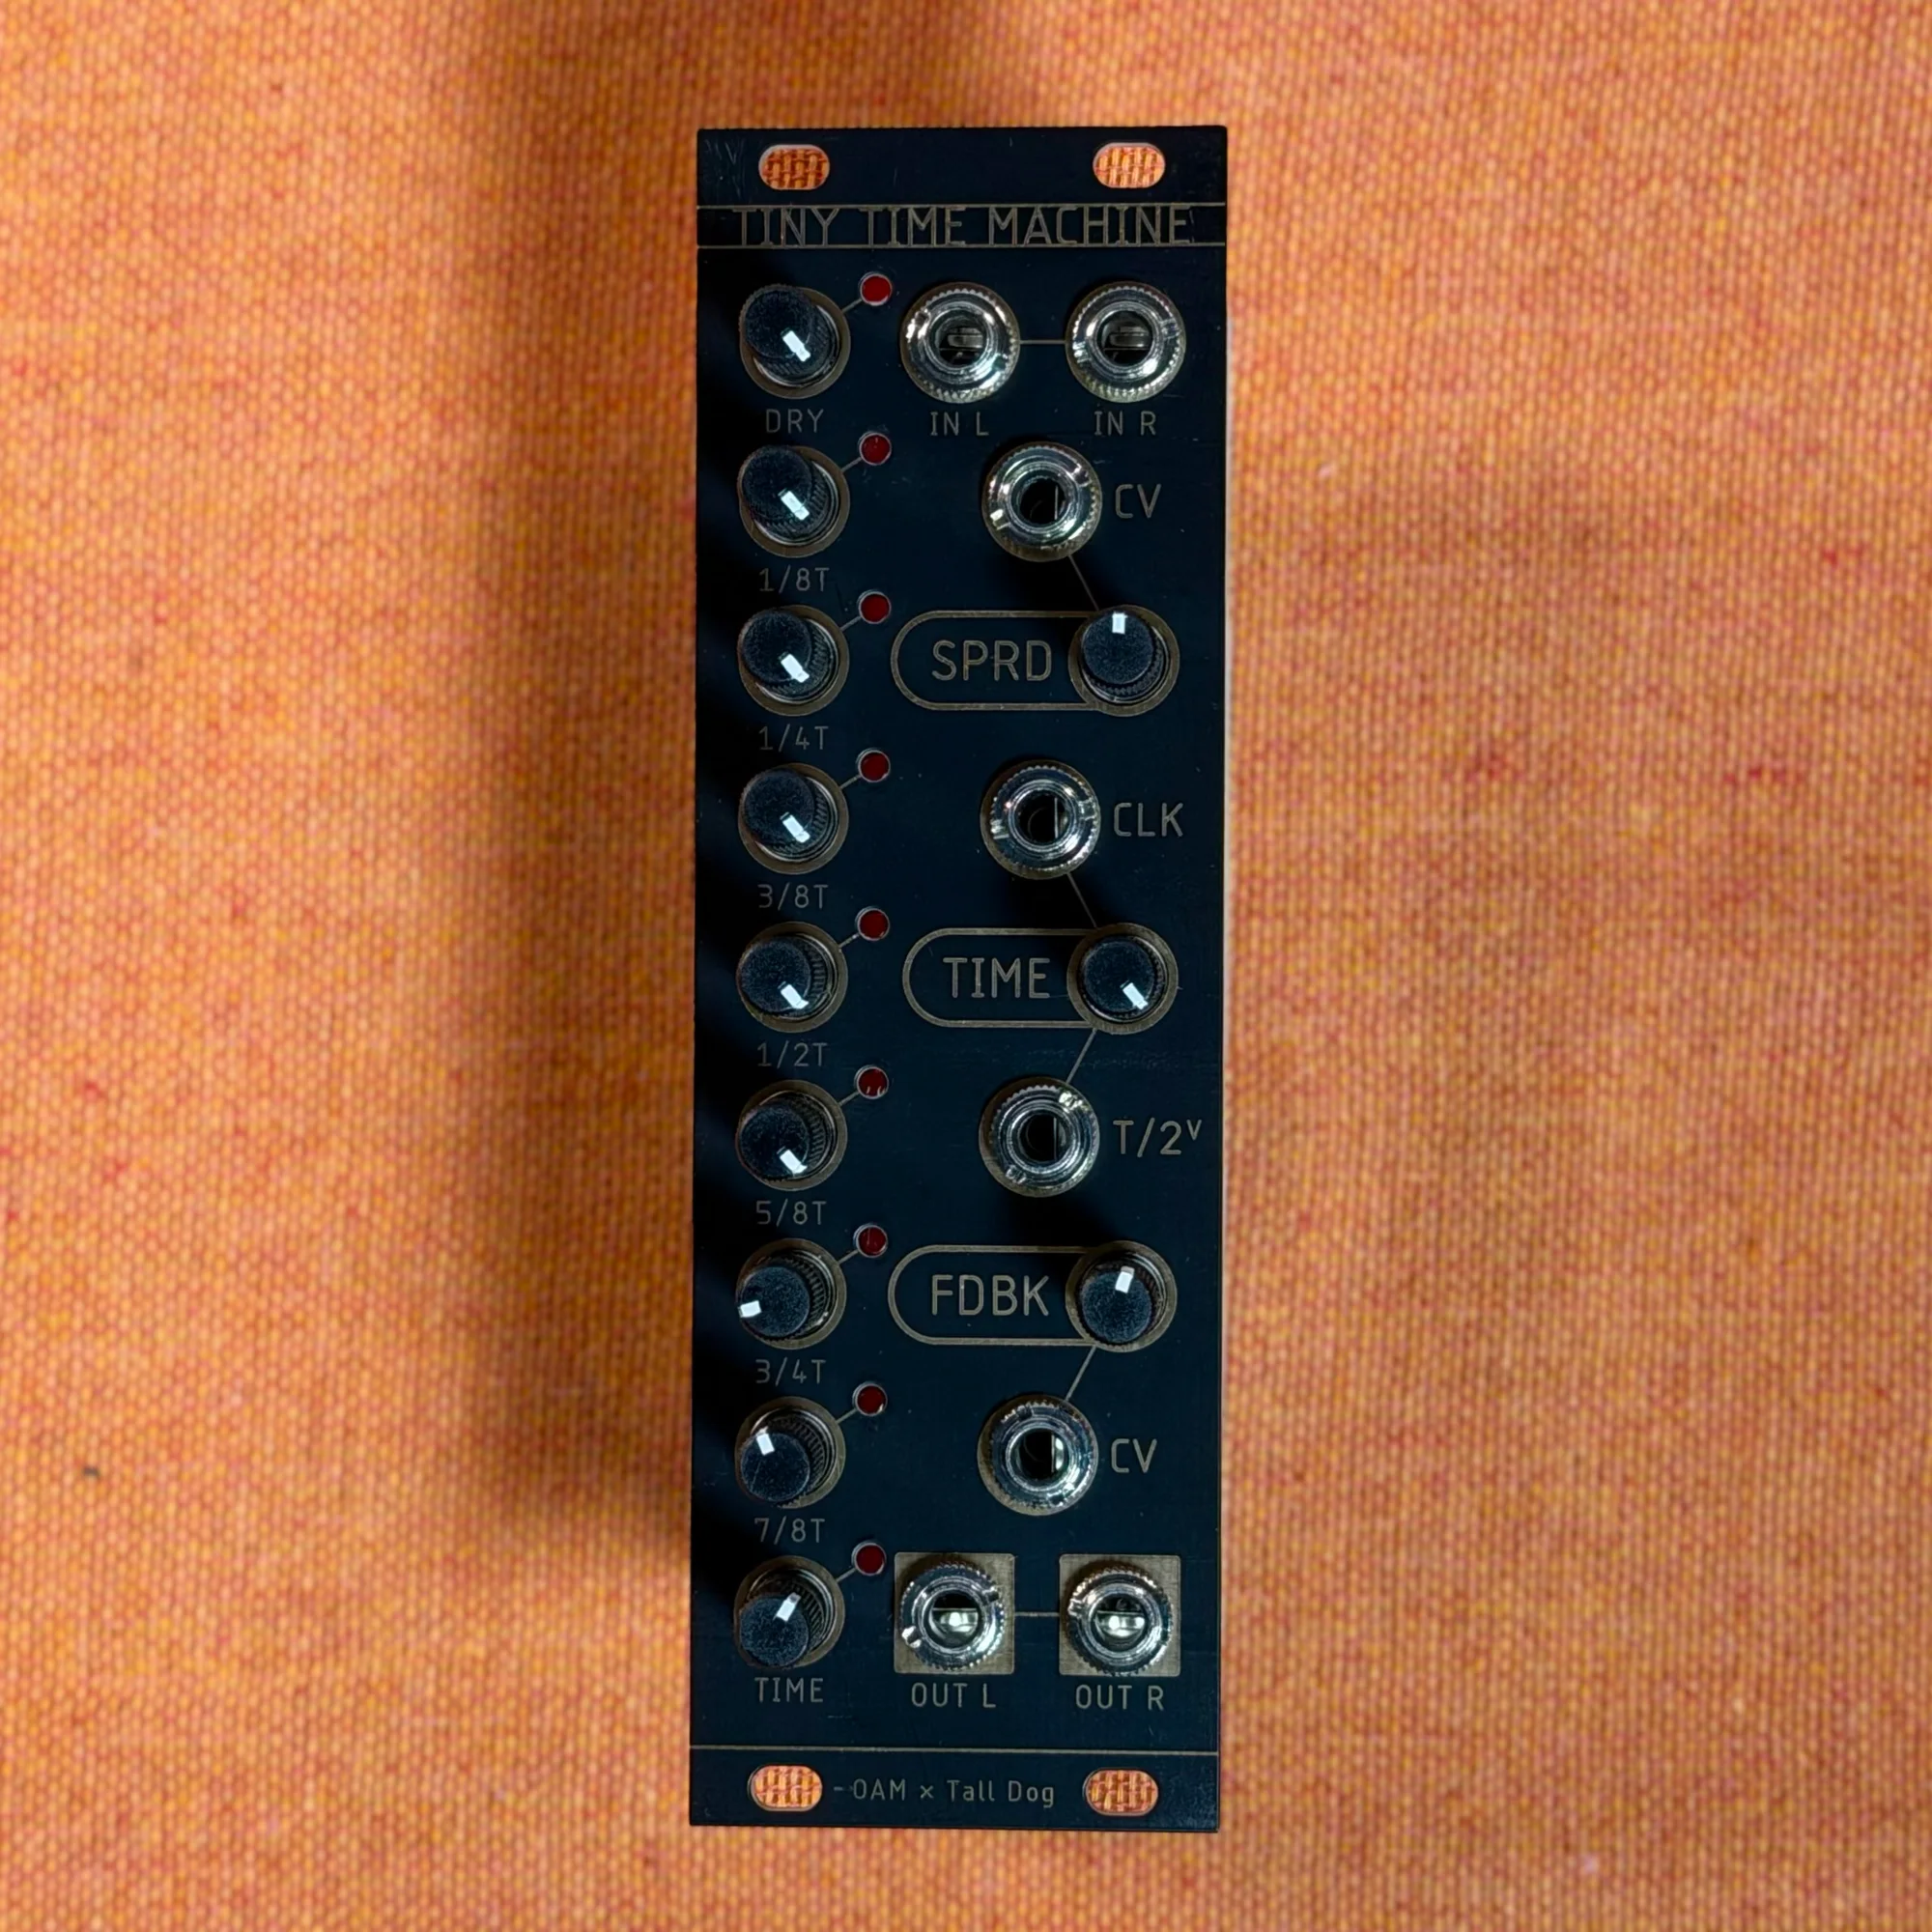
Compatibility Note
The VCA Expander is NOT compatible with the Tiny Time Machine.
That concludes our walk-through of the OAM Time Machine firmware upgrade procedure.
If you have any questions, please reach out via the Takazudo Modular Discord server — we're happy to help.
We hope you find this helpful.