
This is EP.11 of the OXI ONE MKII guide series. This time we'll cover Modulation Lanes.
Modulation is the mechanism that adds movement and variation to otherwise static sequences. The OXI ONE MKII provides three types of modulation sources: Modulation Lanes, two LFOs, and external modulation via CV/MIDI CC. This EP.11 focuses on Modulation Lanes; the LFOs and internal modulation destinations will be covered in later videos.
Takazudo Modular publishes manuals and related documents with Japanese translations. See the links below.
- Modulation Lanes Overview
- Demo Setup with OXI Coral
- Accessing Modulation Lanes
- Global Modulation Amount (Destructive Offset)
- Treating a Modulation Lane as a Sequencer
- Lane Settings and MIDI CC Destinations
- Pan Modulation and the Second Row of a Lane
- Range Limits with Min / Max Values
- Modulation Offset (Non-Destructive Offset)
- Internal Modulation Destinations
- Division (Time Division)
- Smooth (Slew)
- Link (Sequencer Sync)
- Init / End (Start / End Points)
- Per-Step Value Display and Multi-Lane Editing
- Shift + Random to Randomly Generate a Lane
- Drawing Modulation via Live Recording
- Practical Example: Evolving a Single Sequence
- Assigning a Modulation Lane to a CV Output
- DAW Integration Example (Ableton Drift)
- Coming Up Next
Modulation Lanes Overview
Each sequencer has 8 independent Modulation Lanes. Each lane has its own length and time division, and can target up to two external MIDI CCs and two internal parameters.
The most common use case is automatically controlling MIDI parameters on a connected synth or DAW, but you can also drive CV outputs for modular systems, or modulate the OXI ONE's own internal parameters.

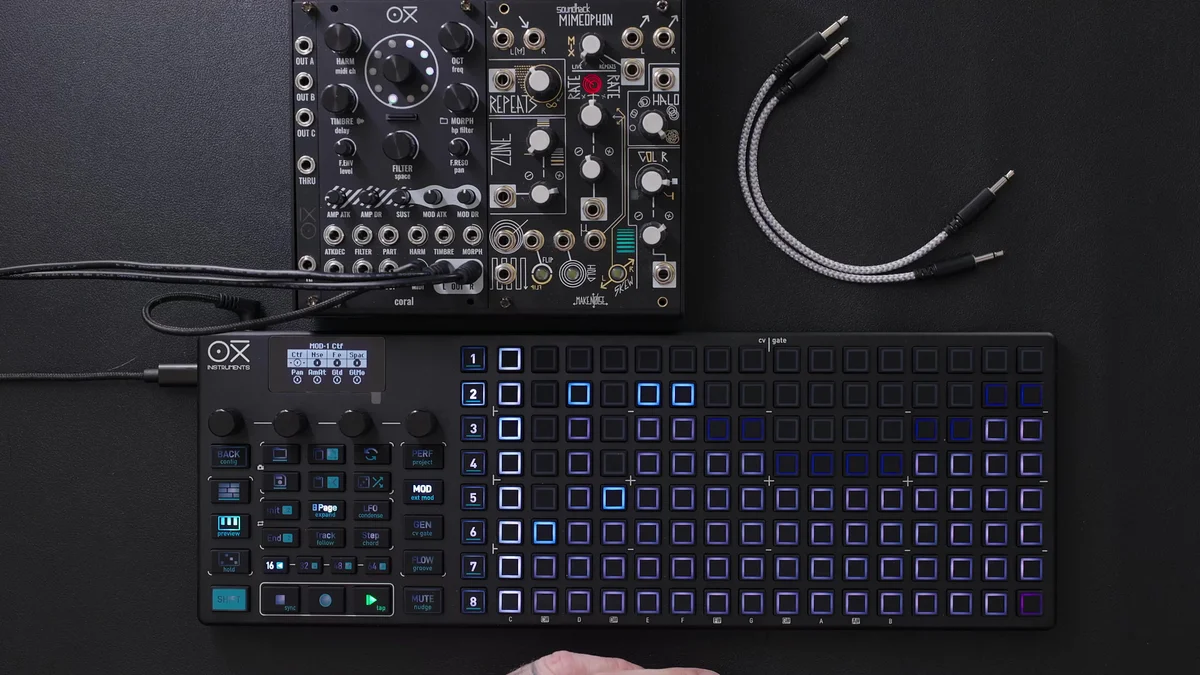
Demo Setup with OXI Coral
In the video, OXI's own sound module OXI Coral is used as the demo target. Coral has deep MIDI implementation — nearly every parameter can be controlled via MIDI — so it's well suited for showcasing Modulation Lanes.
If you load an Instrument Definition from the OXI One companion app, the parameter names of your modulation targets are displayed directly, so you can pick parameters without having to remember CC numbers.
To select an Instrument Definition, hold Shift and press the sequencer number three times. A list of loaded Definitions appears — just pick the target device.
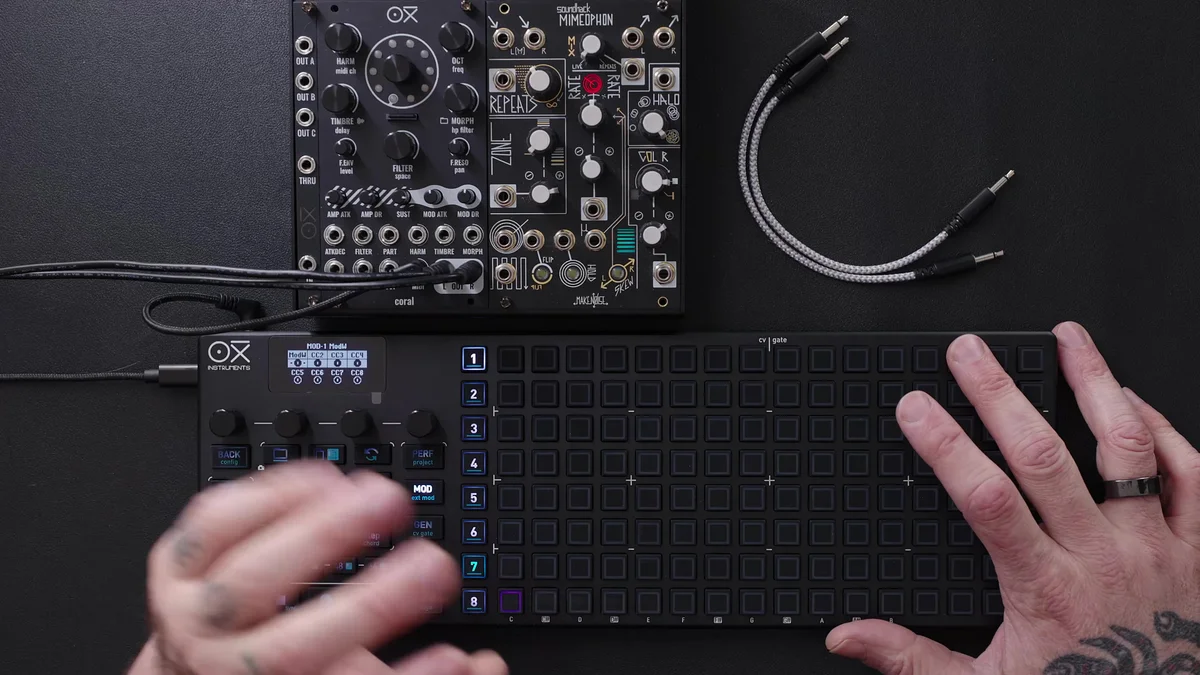
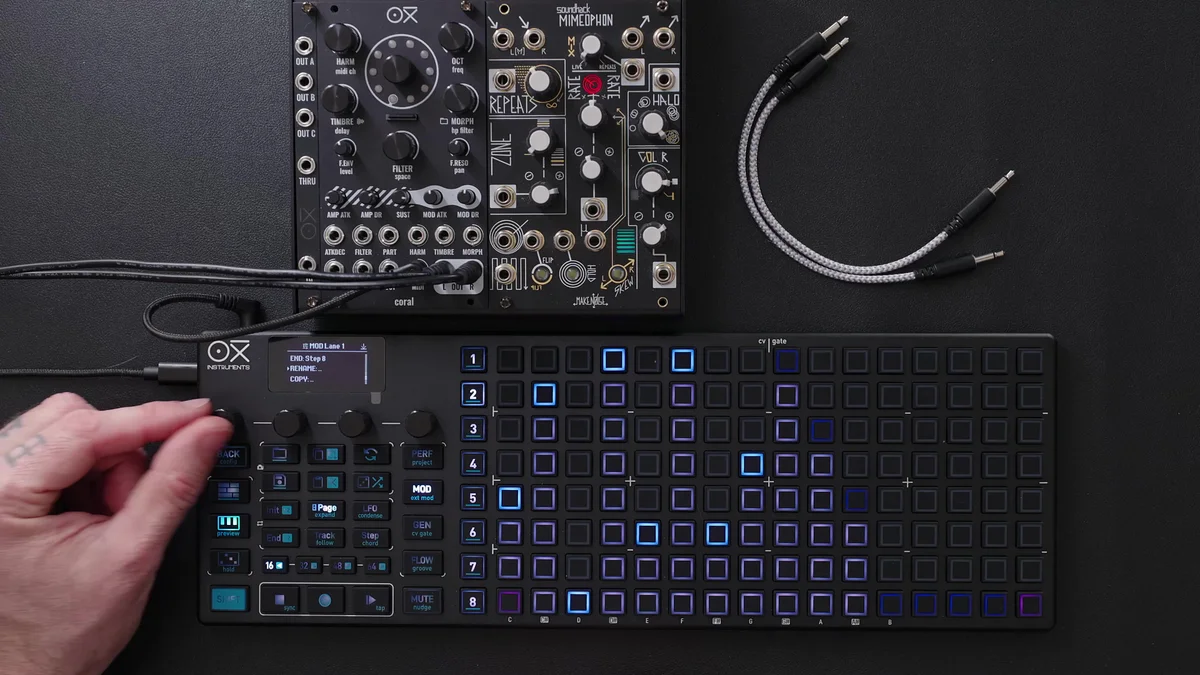
Accessing Modulation Lanes
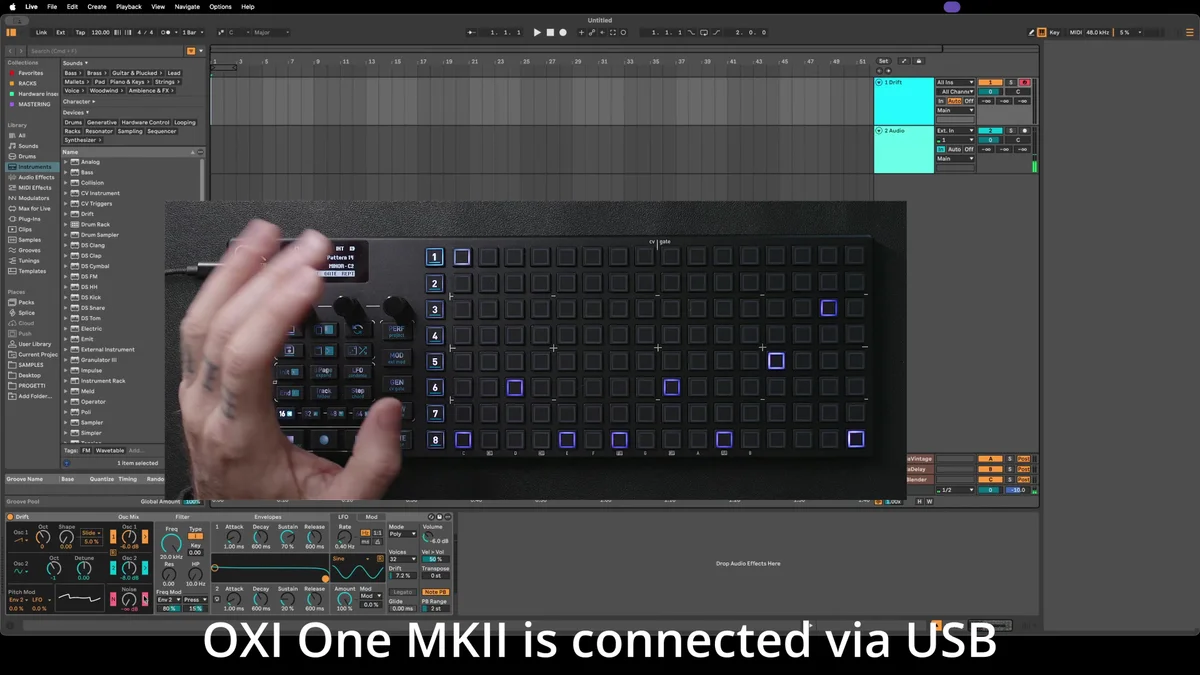
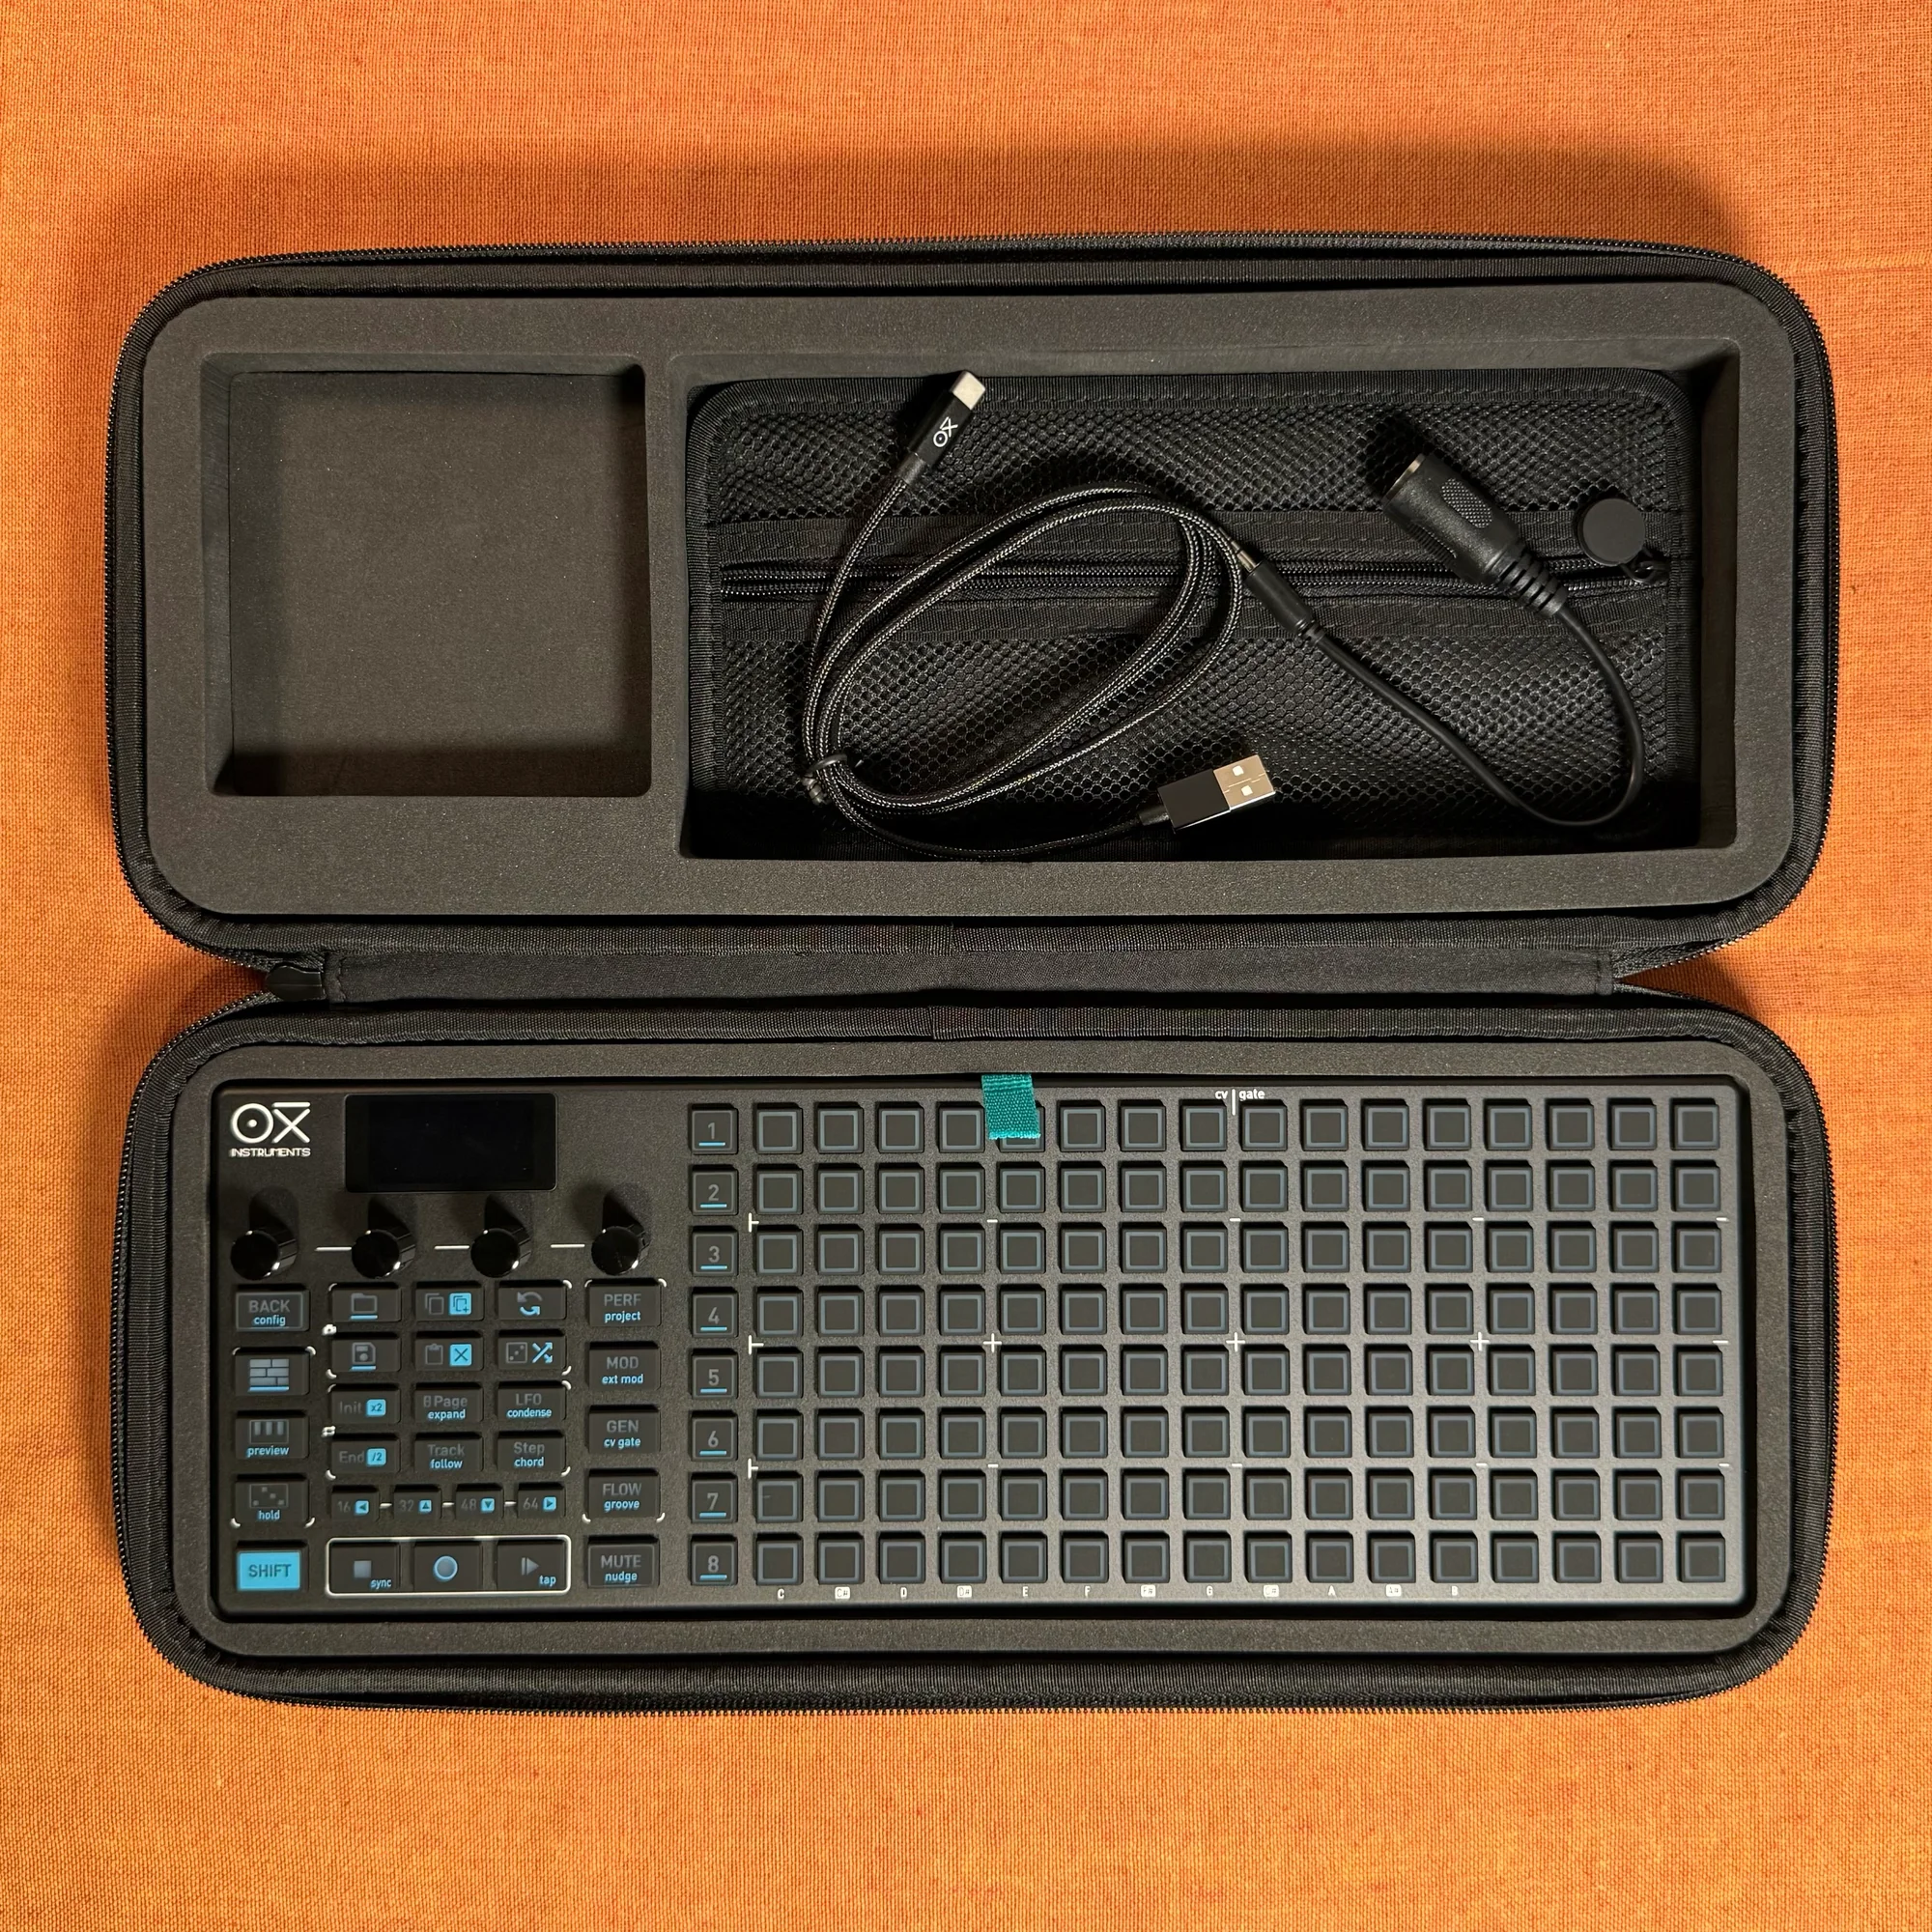
Press the Mod button to enter the Modulation Lanes page. The display shows 8 lanes and each lane's MIDI CC destination.
Short-press encoder: Select a lane
Short-press again: Switch rows
Long-press encoder: Mute / unmute the selected lane
Hold Mute + turn encoder: Same mute operation
The currently selected lane is shown at the top of the display.
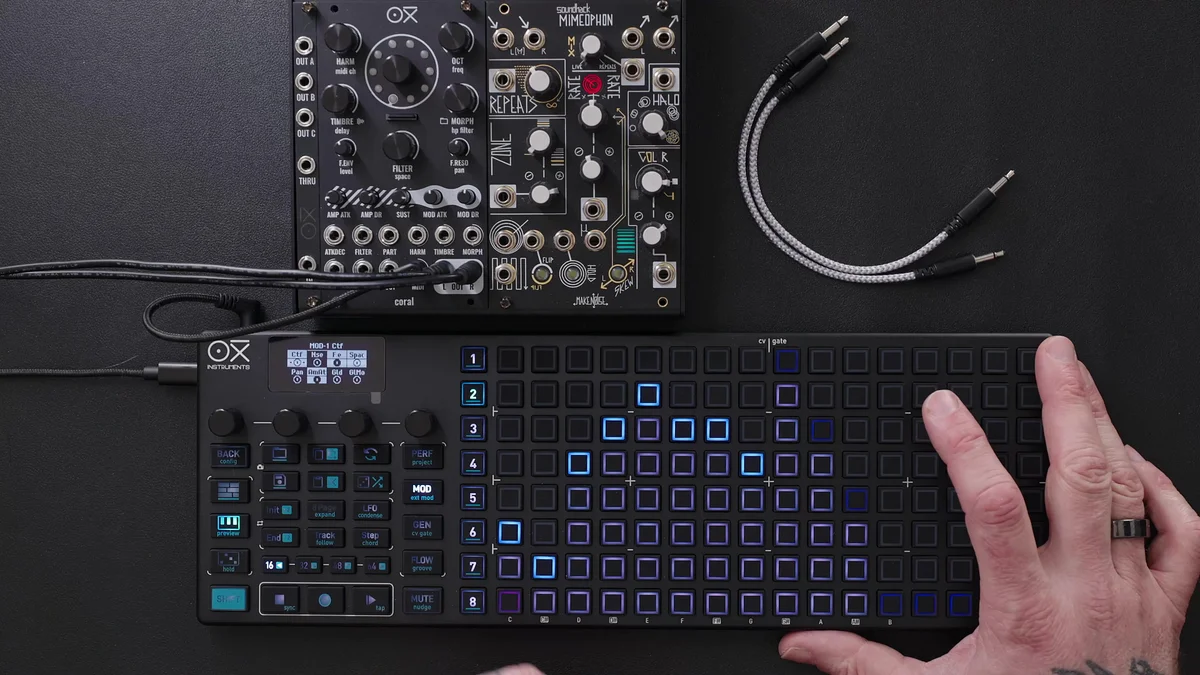
Global Modulation Amount (Destructive Offset)
Even when a lane is muted, turning the encoder adjusts the global modulation amount for that entire lane. On the grid you'll see the whole thing shift up or down.
This adjustment is destructive. Once the modulation curve hits the upper or lower range limit and clips, you can't recover the original shape. So if you want to keep the drawn curve intact and just shift its overall position up or down, use Modulation Offset (or Shift + encoder), described later.
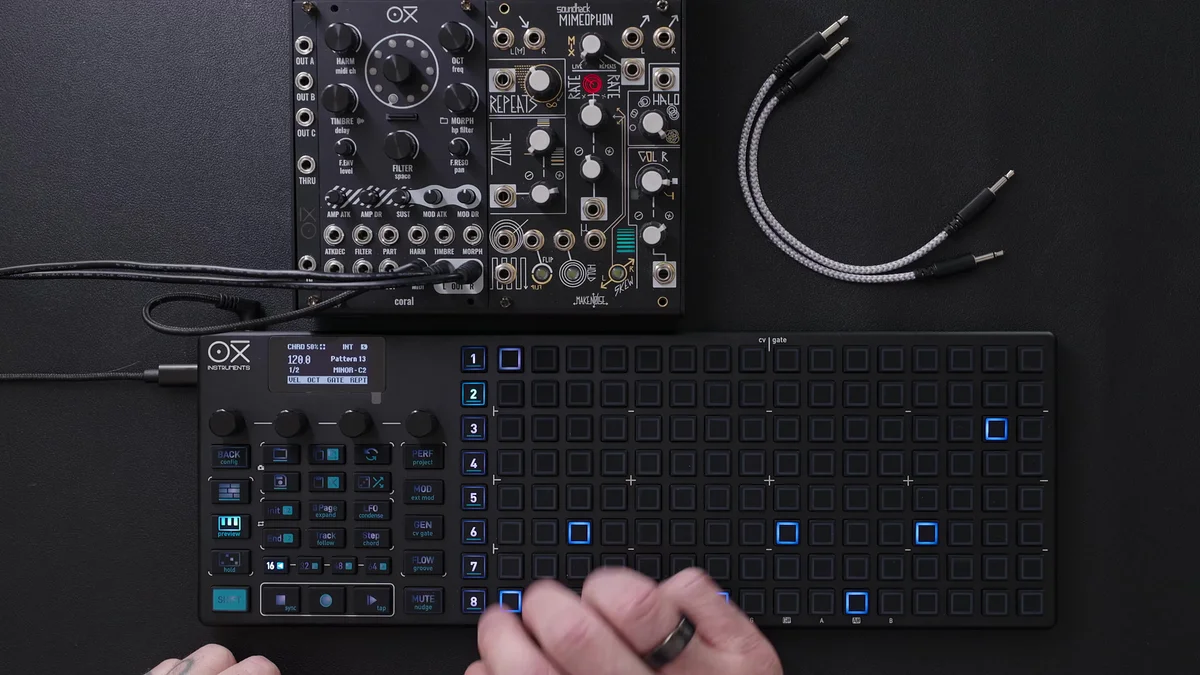
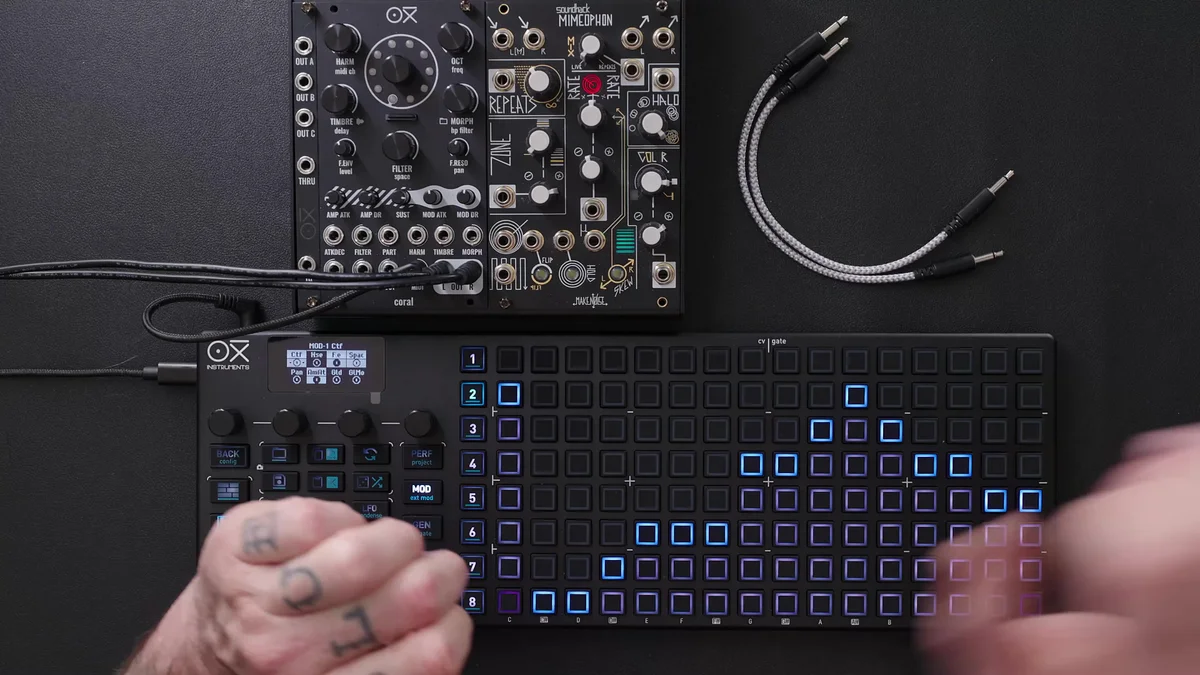
Treating a Modulation Lane as a Sequencer
Each Modulation Lane functions as an independent sequencer in its own right. Every lane has the following characteristics:
128 steps spread across 8 pages
Independent Init / End (start / end points)
Independent time division
Per-step values can be drawn with the pads
As an example, the video shows setting a lane's length to 6 steps, then doubling its speed, then doubling it again — intentionally decoupling the lane's timing from the main sequence. These kinds of combinations let you build complex, evolving modulation that can act as either rhythm or melody.
Once you've drawn modulation, you can also offset the whole lane's values by turning the encoder while the lane is selected.
Lane Settings and MIDI CC Destinations
With a lane selected, press Page to enter that lane's settings menu. Here you can assign up to two MIDI CCs as targets for a single lane.
If you've loaded an Instrument Definition, the settings screen shows parameter names like Cut off, Noise, Filter, Envelope, Reverb, Space, and Pan directly.
If you want to assign any CC number without using a Definition, refer to the target device's MIDI implementation chart and specify the CC number. For example, on OXI Coral, Cut off is CC 1. The steps for specifying a CC are:
Select a lane
Press Page to enter lane settings
Press the CC Destination field to edit
Use the encoder to select a CC number (e.g., CC 1)
Loading an Instrument Definition saves you this hassle, so for supported gear I'd recommend using it actively.
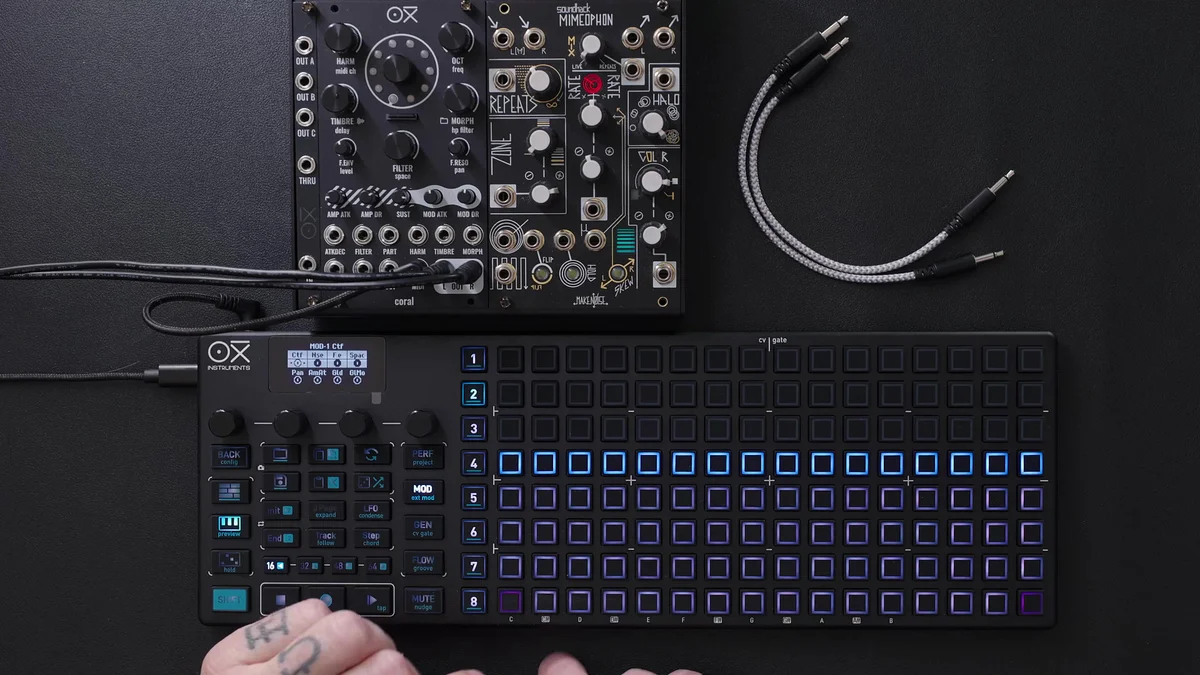
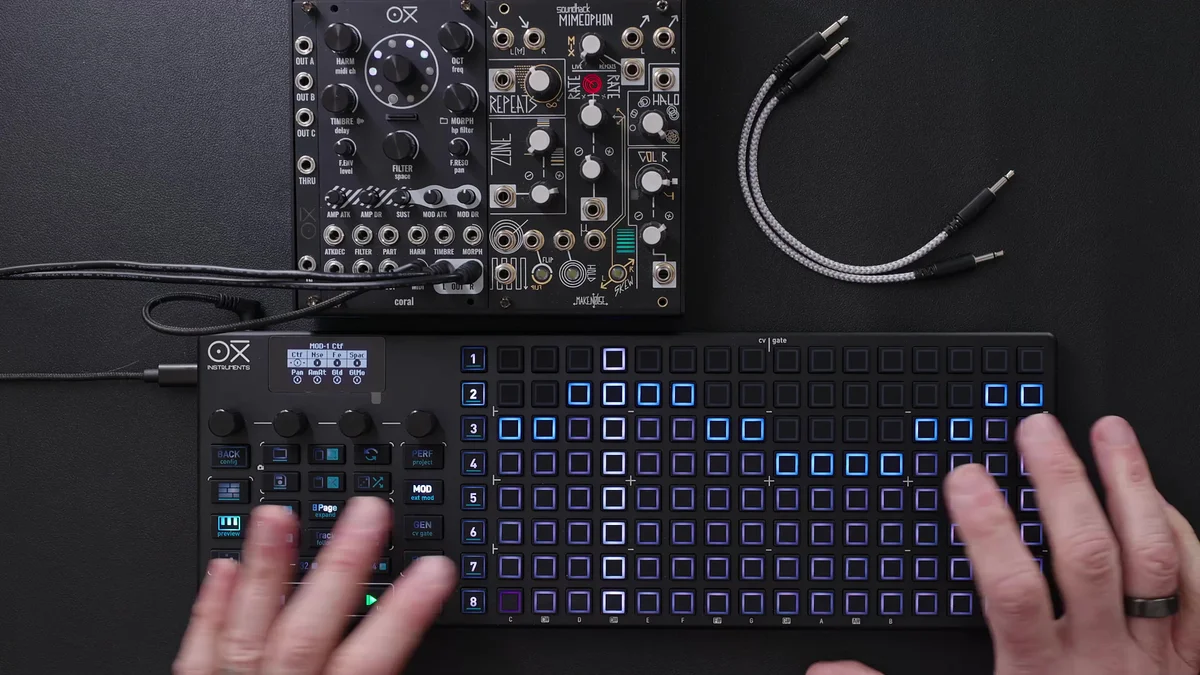
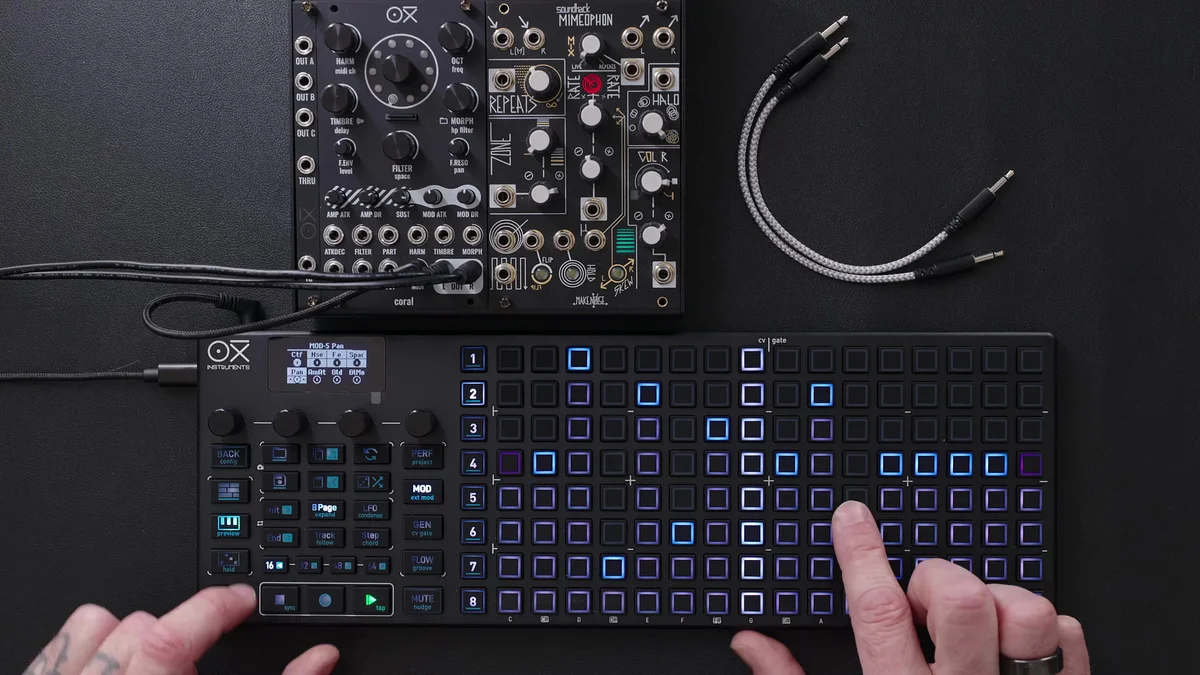
Pan Modulation and the Second Row of a Lane
Since each lane can be assigned two CCs, a common approach is adding Pan modulation on the second row of the same lane.
To select the second row, short-press the encoder to switch rows, and long-press to activate it. When handling bipolar parameters like Pan, the grid displays a midpoint (center value), so if you draw a waveform that swings left and right around that reference line, you get a stereo effect that moves the sound image side to side.
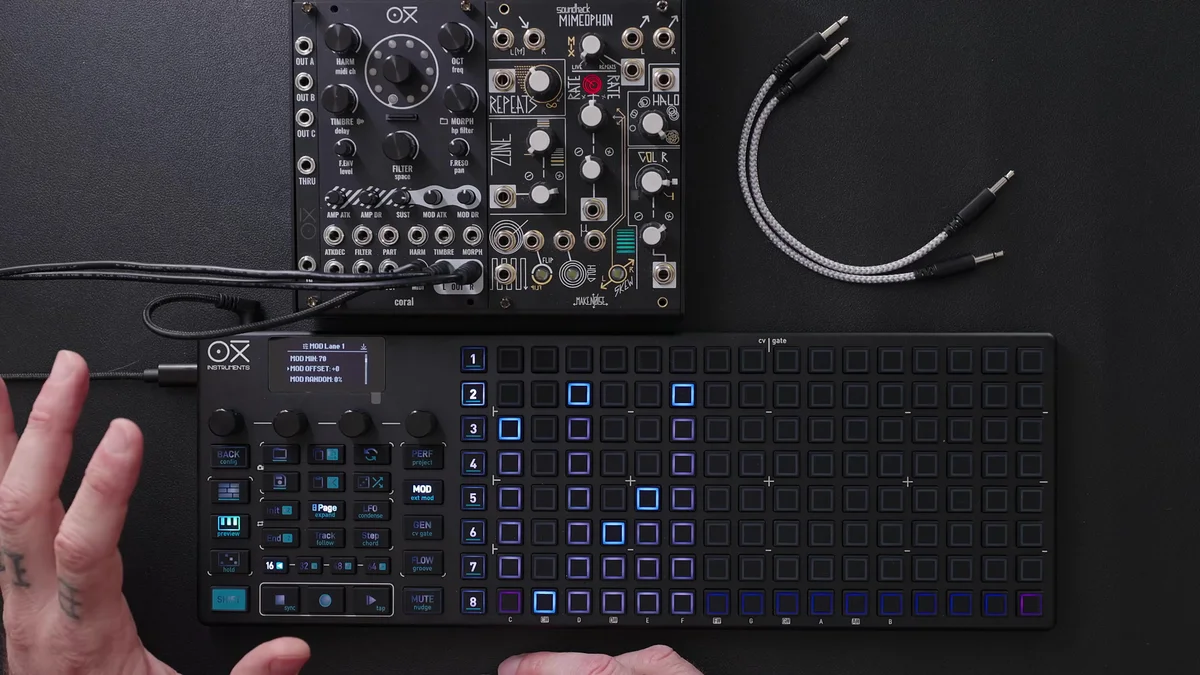
Range Limits with Min / Max Values
In lane settings, you can set the minimum (Min) and maximum (Max) values the modulation can take.
A typical use is preventing the cutoff from dipping so low that sound disappears. The video shows an example of setting the cutoff's minimum to 70 so that the modulation never drops below that. The maximum can be limited the same way.
Modulation Offset (Non-Destructive Offset)
Modulation Offset is a non-destructive offset that shifts the entire lane's values up or down by a fixed amount while preserving the drawn curve. Whereas the earlier global modulation amount clips the curve itself, Modulation Offset simply adds or subtracts values, so the curve's shape never changes.
You can also apply the same offset by holding Shift and turning the encoder. There's no visual change with this approach, but it's the easiest way to add an offset while keeping the modulation you've drawn.
Randomization
The Randomization parameter in lane settings adds controlled randomness to the CC output. For example, adding a small amount of randomization to the cutoff creates subtle variation on every cycle, softening the mechanical feel of pure repetition.
Internal Modulation Destinations
In addition to external MIDI CCs, each lane can specify two internal destinations (modulation targeting the OXI ONE's own parameters). Internal modulation lets you dynamically vary the sequencer's own parameters, opening the door to more advanced playing.
Specific use cases will be covered in upcoming advanced videos.
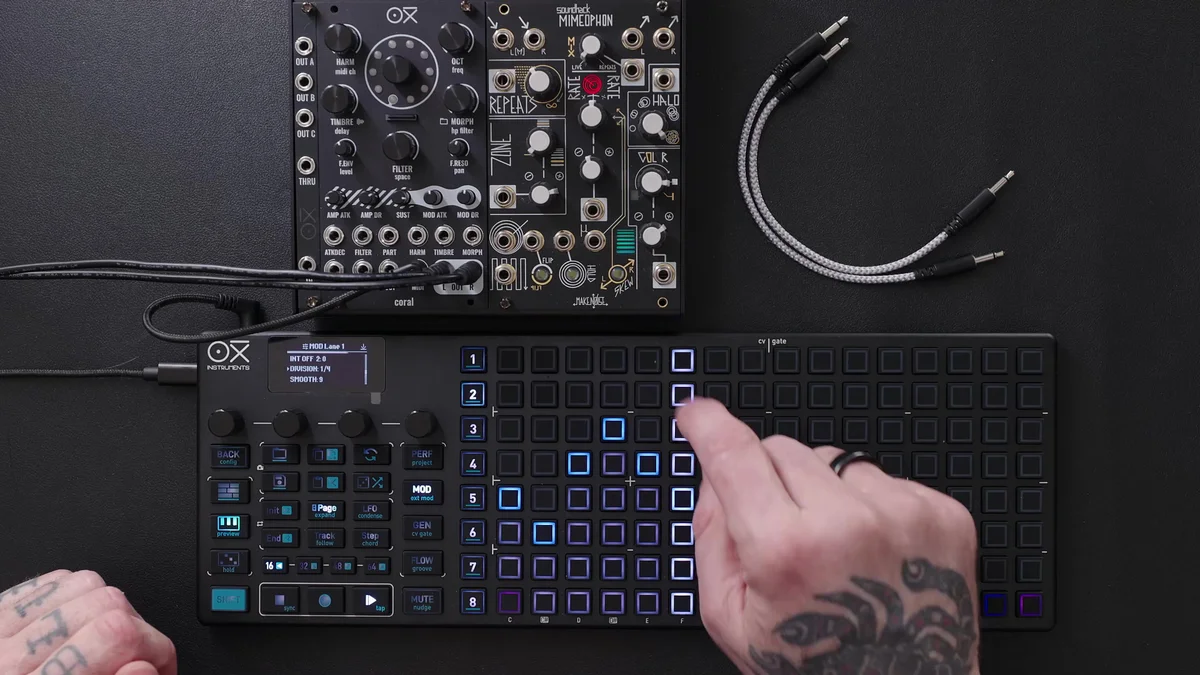
Division (Time Division)
Division determines the speed at which a lane advances. You choose from standard note-value divisions (1/4, 1/8, 1/16, etc.).
Shift + Init: Double the speed
Shift + End: Halve the speed
(You can also select division directly from the lane settings screen.)
Changing Division decouples the lane from the main sequencer (Link, described below, is automatically disabled) and the lane starts moving at its own independent timing.
Smooth (Slew)
Smooth sets the transition time for value changes between steps.
0: Values switch in a stepped shape (sample-and-hold-style behavior)
Higher values: Values slew linearly between each step, producing a smooth transition
If the stepped shape itself is the expression you're going for, 0 is fine — but for continuous parameters like filter and pan, adding some Smooth tends to sound more natural.
You can set the default Smooth value for all lanes at once via Config > MIDI > Mod Default Smooth Factor. Picking a preferred default per project is handy.
Link (Sequencer Sync)
Link ties a Modulation Lane to the sequencer track's length and division, and it's enabled by default.
When Link is on, changing the track's length or division makes the lane follow along. However, if you change the lane's length or Division on the lane side, Link is automatically disabled, and the lane starts operating independently from the sequencer. The decoupling described earlier happens via this automatic disabling.
Init / End (Start / End Points)
Init and End let you specify the lane's start and end positions. There are two ways to set them:
Hold Init / End and press a step: Set that step as the start / end position
Specify numerically from the lane settings menu
On the grid, the configured start / end positions are shown as a purple bar. For example, setting Init to 3 and End to 10 makes the lane loop only over steps 3–10.
Throughout the video, "Init" and "End" refer to the start step and end step of a track/lane respectively. OXI ONE uses this terminology consistently — it's the same concept as in Multitrack mode (covered in EP.9).
Per-Step Value Display and Multi-Lane Editing
Holding a step lets you check that step's modulation value. For example, you'll see something concrete like "cutoff is 53 here," and you can fine-tune it on the spot with the encoder.
You can also edit the same step across multiple lanes simultaneously. It's handy when you want to adjust several parameters at the same moment in one go.
Shift + Random to Randomly Generate a Lane
Pressing Shift + Random randomly generates steps for the currently selected lane. The lane's length is preserved, while each step's value is replaced with a new random value.
You can keep pressing it until you land on a pattern you like.
Drawing Modulation via Live Recording
Modulation Lanes can also record encoder movements in real time.
Here's the procedure:
Select the target lane (the cutoff lane in this case)
Clear any existing modulation
Set the lane's length to 16
Press the Record button
Press Play — a counter appears on screen and recording begins
Move the encoder to draw the curve in real time
Once the loop comes around, the next pass overwrites the previous values
Press Record again to stop recording
Because the sequence keeps playing while the lane moves, the advantage of live recording is that you can dial in just the right curve while listening to the sound.
External MIDI Input and the Modulation Matrix (Preview)
You can also record incoming CCs from external MIDI devices into a Modulation Lane, or use the Modulation Matrix to route MIDI / CV input signals to any target. It's a core feature when building more complex systems, but the details will be covered in upcoming videos.
Practical Example: Evolving a Single Sequence
The video walks through how to combine the elements we've covered to gradually turn a single sequence into something that feels "alive."
Cut off: A slow, relaxed curve that continuously shapes the tone
Space (reverb amount): Lane length set to 15 steps, kept shifting in time against the sequence for constant variation
Pan: A faster curve swinging left/right, with the trajectory bent partway through
Timbre (changing the destination): Modulation lane 2's destination is changed to Timbre. Use the encoder to audition the tonal change first, then draw in the modulation
The end result is multiple modulation lanes all running simultaneously at different speeds and lengths — a performance that sounds like a fixed sequence but keeps shifting in character.
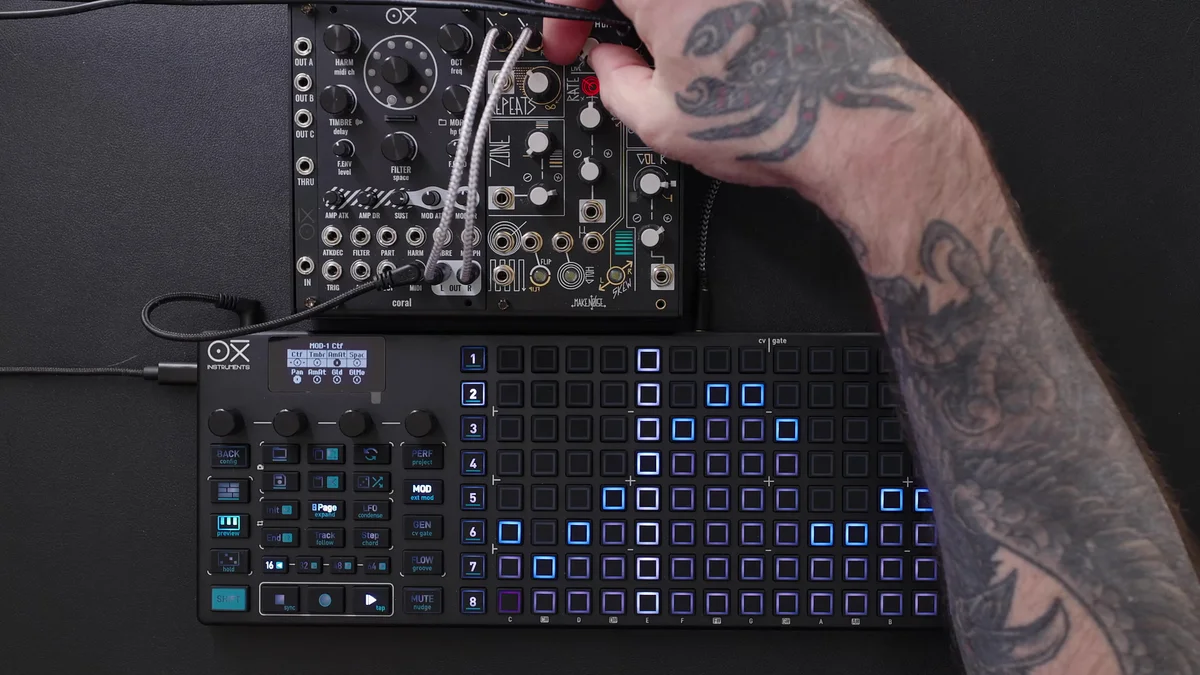
Assigning a Modulation Lane to a CV Output
Modulation Lanes can also be assigned to CV outputs, so you can automatically control parameters on modular gear. The video shows an example where the Dry/Wet control of the bass machine Mimiofone is modulated via CV output 8.
Connections and Attenuator Settings
Patch OXI's CV output 8 into Mimiofone's Dry/Wet control input
Set the attenuator on Mimiofone to 100%
Routing Procedure
Enter the CV and Gate settings screen
Since sequencer 2 is in use, press and hold the 8th step in the 2nd row (= specify the assignment for CV output 8)
Change Type to Modulation Lane 8
Set Offset and Amount as needed
With that, the curve drawn on Modulation Lane 8 is sent directly to CV8, and Mimiofone's dry/wet can be automated. Slow curves, fast curves — either is freely adjustable via the lane's length and Division.
DAW Integration Example (Ableton Drift)
You can also use Modulation Lanes to control plugin parameters inside a DAW. The video demonstrates this with Drift in Ableton Live, using MIDI Mapping to hook things up.
Here's the procedure:
Load a Drift instance in Ableton and enable the Control switch
Open the MIDI Mapping page at the top of Ableton
Click the parameter you want to automate (in this case, Frequency)
With Ableton waiting for a MIDI CC, enter the Mod page on the OXI, select lane 1, and lightly move the encoder
Ableton picks up MIDI channel 1 / CC 17 (the CC assigned to this lane)
Close MIDI Mapping — Modulation Lane 1's movement now automates Drift's Frequency
Apply Smooth for smoother motion
As an important setting when integrating with external controllers, you need to enable the following in Ableton's MIDI settings:
Input on the MIDI port you're using
Output on the MIDI port you're using
Sync (to sync sequence start)
Track and Remote
The MIDI mapping steps differ in other DAWs, but the concept is the same. Once you grasp the flow — "assign a parameter to a MIDI CC, then receive the CC sent by OXI's Modulation Lane" — the same idea applies to many DAWs.
Coming Up Next
At the end of the video, the next topics are previewed: using the two LFOs as modulation sources, and details on internal destinations.
That's it for EP.11. This time we covered Modulation Lanes.
As for Takazudo's personal take, I've used this feature a lot, so I really think it's one of the genuinely useful parts of the OXI ONE.
In the modular synth world specifically, I'm a fan of Befaco: Muxlicer and use it often — I like how slider-style sequencers let you read the values at a glance.
But with the OXI ONE, being able to output eight CVs like that from a single device — that alone makes it well worth incorporating into a modular setup.
And with modular synths, one of the really nice things is being able to loop on whatever step count you want — and the OXI ONE handles that kind of thing flexibly on its own, too.
Well, I could keep going forever, but another fine detail worth mentioning is how versatile the slew setting is. I like to combine this Modulation Lane with the ADDAC207 Intuitive Quantizer to build pitch sequences with CV instead of a piano roll. In that case, subtle slew can actually get in the way — so being able to switch to instantaneous changes, or dial in a glide-like effect, gives you a lot of expressive range.
Outputting 8 CVs like that is great for modular, but on the MIDI side you can basically use it endlessly. This is a feature I really encourage you to experiment with.
OXI ONE MKII Product Details
See the product details for the OXI ONE MKII below.
Black Edition of the next-generation standalone sequencer succeeding the original OXI ONE, handling 8 parts and up to 64 tracks. Enhanced generative features, a large OLED display, and a beefed-up CPU suit it for modular rigs, MIDI-hardware live sets, and DAW-based production.
Nostalgia Edition of the next-generation standalone sequencer succeeding the original OXI ONE, handling 8 parts and up to 64 tracks. Enhanced generative features, a large OLED display, and a beefed-up CPU suit it for modular rigs, MIDI-hardware live sets, and DAW-based production.
