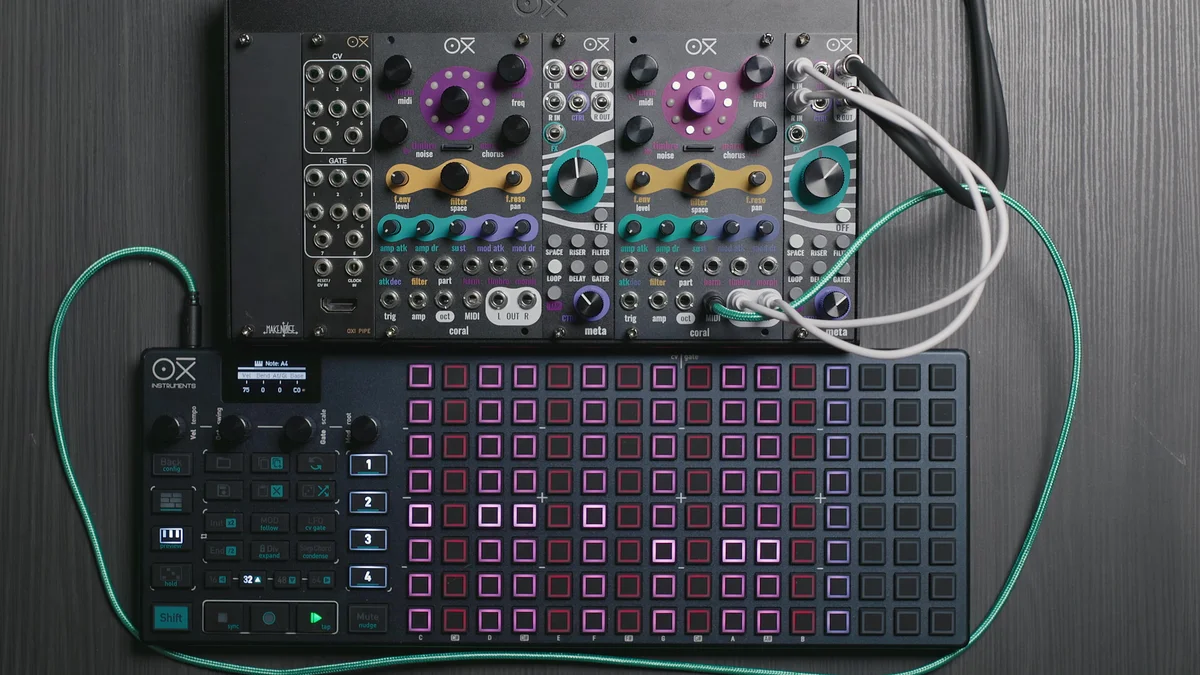
Welcome to EP.6 of the OXI Coral guide series. This time, I'll be covering the Configurator app.
OXI Coral is flexible enough to let you split voices across MIDI channels in a multi-part setup, and to assign a different sound engine to each voice — but configuring all of that from scratch on the module can be tedious at first. The Configurator app is an official OXI tool that runs in your browser, letting you visually design a preset's structure and then write it out to the SD card.
Takazudo Modular publishes manuals and related documents with Japanese translations. See the links below.
- What Is the Configurator App?
- Selecting the Firmware Version
- Assigning Voices to Parts
- Configuring Sound Engines
- Saving the Preset
- Customizing the Settings File (Options)
- Writing to and Reading from the SD Card
- Drum Machine Setup
- Tips
What Is the Configurator App?
The Configurator app is a browser-based tool you can access from the Coral page on the OXI Instruments website. No installation needed — you can create Coral preset files and a settings file (options.txt) on your PC and download them.
You can open the Configurator app here. Just open it in Google Chrome — there's no additional install step required.
Selecting the Firmware Version
The first thing you do after opening the app is select the firmware version currently installed on your Coral. OXI Coral ships in four firmware variants, and each one offers a different set of sound engines.
No Drums: Virtual Analog, Waveshape, FM, Wavetable, MDO, String, Additive Distortion, ACID, etc.
Drums: Virtual Analog, Waveshape, FM, Wavetable, MDO, plus Hi Hat Synth, Snare Synth, Kick Model, etc.
Drums Acid 3VCO: The Drums build plus ACID and 3 Osc Virtual Analog
Dual Wavetable (No Drums): Includes the Dual Wavetable engine with two independent wavetable oscillators
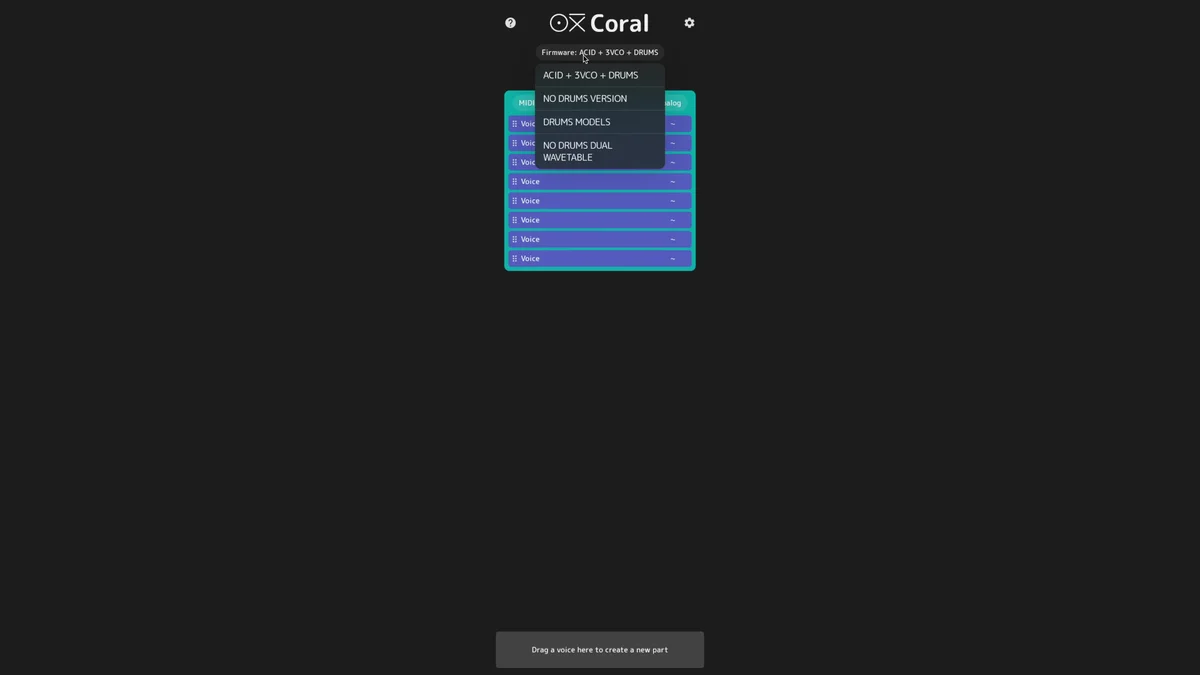
In the dropdown at the top of the app, select the same version that's actually written to your Coral. If you get this wrong, you'll end up building a preset with engines that don't exist on the module, so it's important to confirm it beforehand.
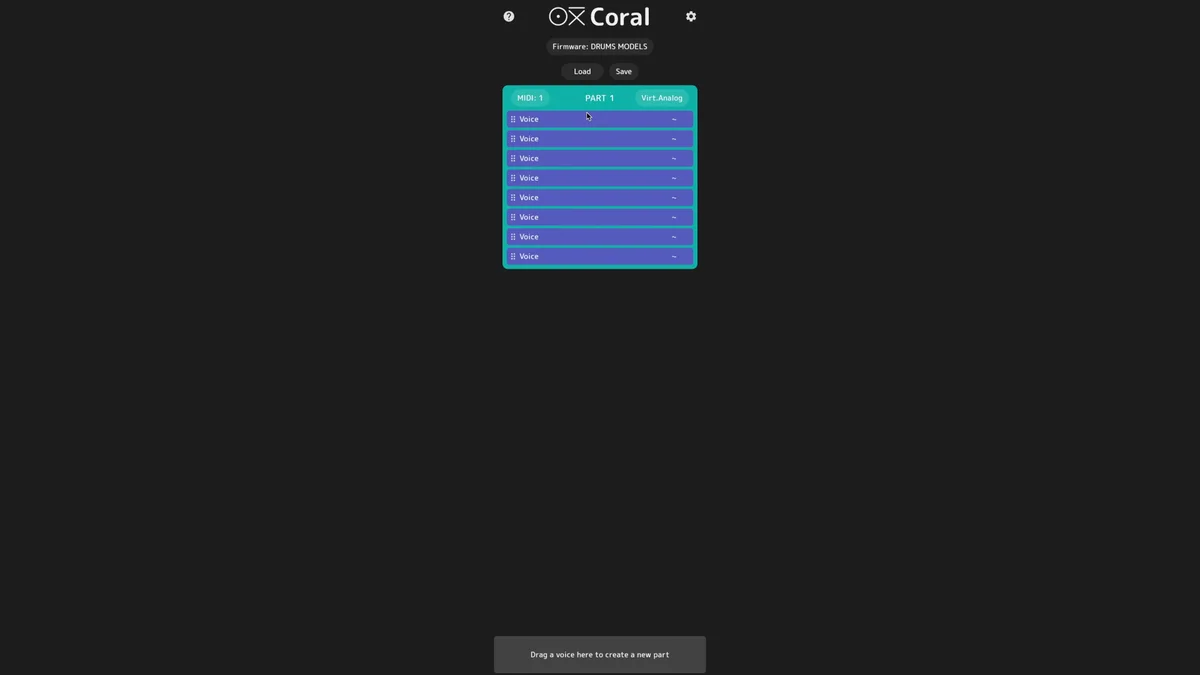
Assigning Voices to Parts
Once you've picked the firmware, the next step is deciding which part each of the 8 voices belongs to. By default, all 8 voices are assigned to Part 1 and the unit acts as a single polyphonic synth.
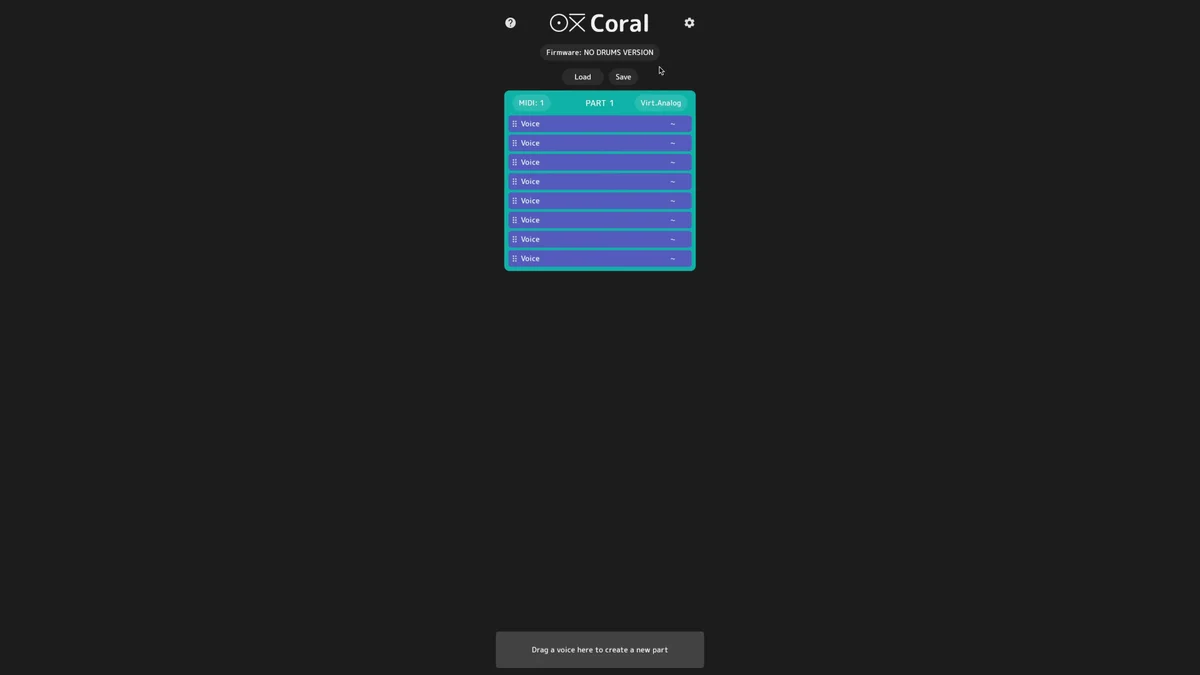
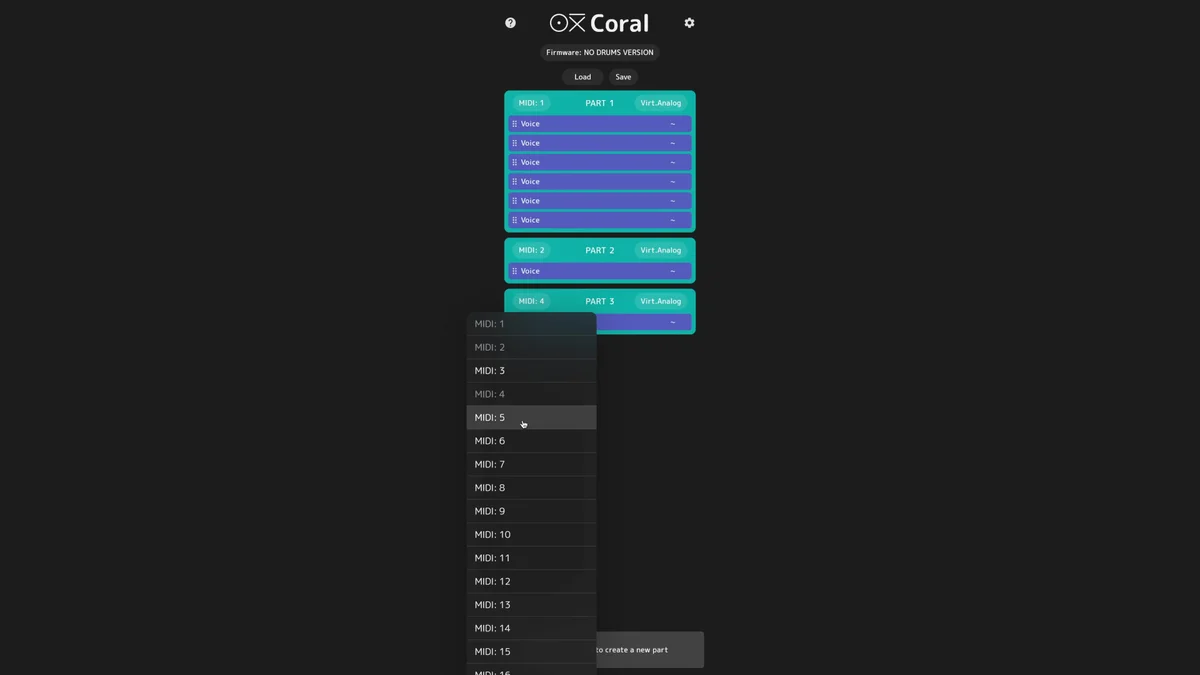
The video uses a 3-part setup as an example: "two mono synths + one poly synth." Drag two voices from the voice list at the top down to the box below, and a new part is generated automatically.
When a part is created, the app automatically assigns it a MIDI channel. In the example above, Part 1 gets MIDI channel 1, Part 2 gets channel 2, and Part 3 gets channel 3 — but you can also change these manually.
Configuring Sound Engines
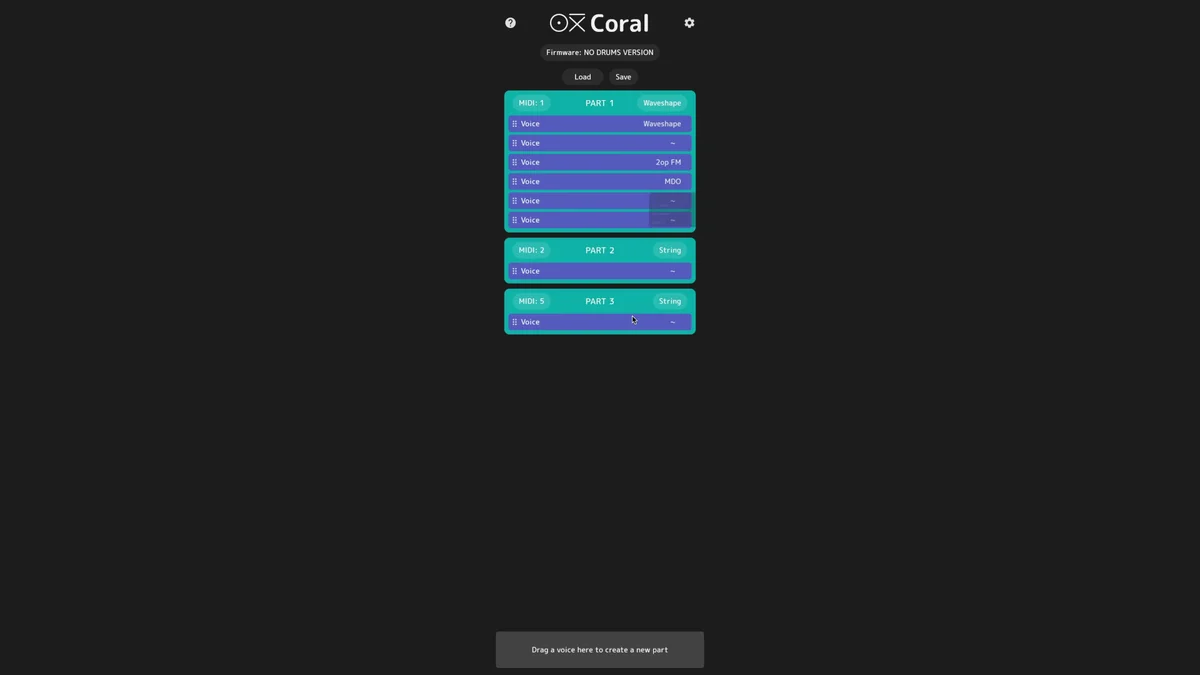
Once the part structure is set, you assign a sound engine to each part or each voice. There are two levels of granularity here.
Per part: All voices in the same part use the same engine (good for using a part as a polyphonic synth)
Per voice: Each voice within a part uses a different engine (lets you stack tones for more complex sounds)
When you assign different engines to individual voices, you can build layered sounds where multiple engines play at the same time. For example, combining Virtual Analog and Waveshape within the same part gives you a thicker tone where two engines sound together on a single MIDI channel.
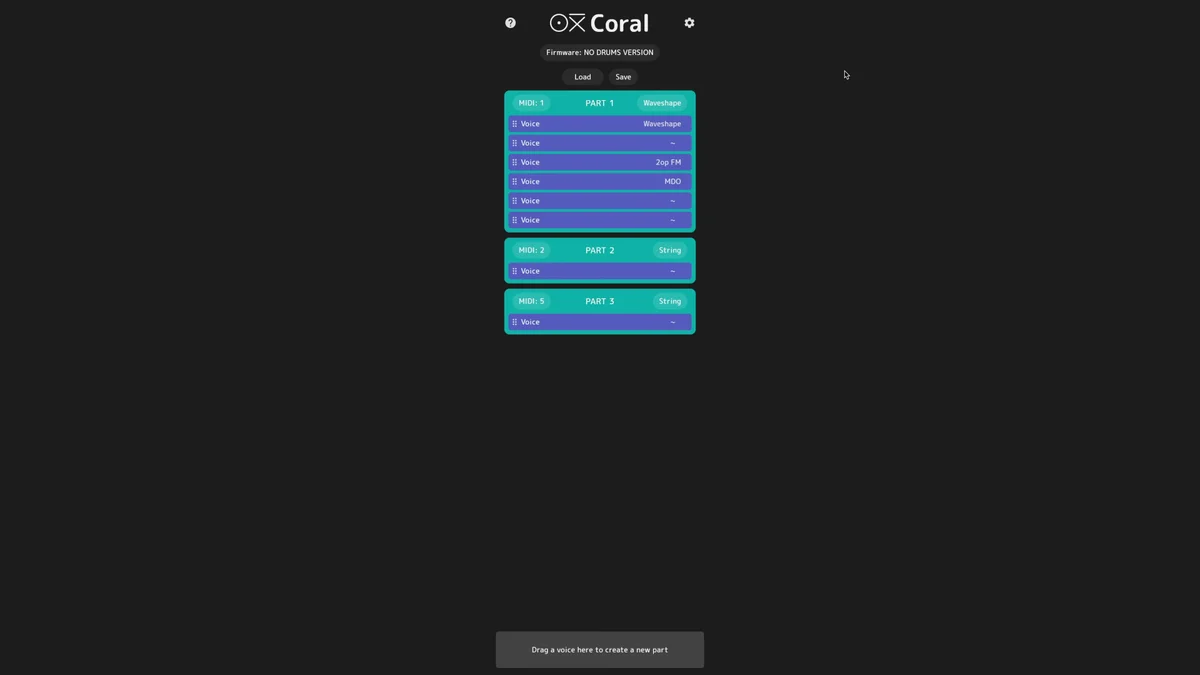
Saving the Preset
Once the part structure and engine settings are finished, you save it as a preset. Pick a target from the preset slots (1–10) in the app and hit Save — the preset file is written to your downloads folder.
Coral has up to 10 preset slots, and presets can also be loaded and saved using the encoder on the module itself. When you use the Configurator app, you write the preset file out via the SD card.
Customizing the Settings File (Options)
In the preset save screen, the Settings button opens a GUI where you can configure Coral's various options. When you save the settings, a file called options.txt is generated.
options.txt is a text file that controls Coral's behavior, and it goes in the coral/system/ folder on the SD card. Some of the main options you can set include:
polycv 1: Enable polyphonic playback from the CV input (different CV values trigger different voices)encpri 1: Make the encoder rotation select voices, and press-and-turn select engines (the default is the reverse)delena 1: Enable the delay effect (the Noise knob's secondary parameter becomes Delay send)mpeena 1: Enable MPE controller supportvumetr 1: Display the master VU meter on the LED ring
You can also edit options.txt directly in a text editor, but the Settings screen in the Configurator app lets you set things visually and check them at a glance.
Writing to and Reading from the SD Card
Once the preset file and options.txt are ready, copy them to the SD card and load them into Coral.
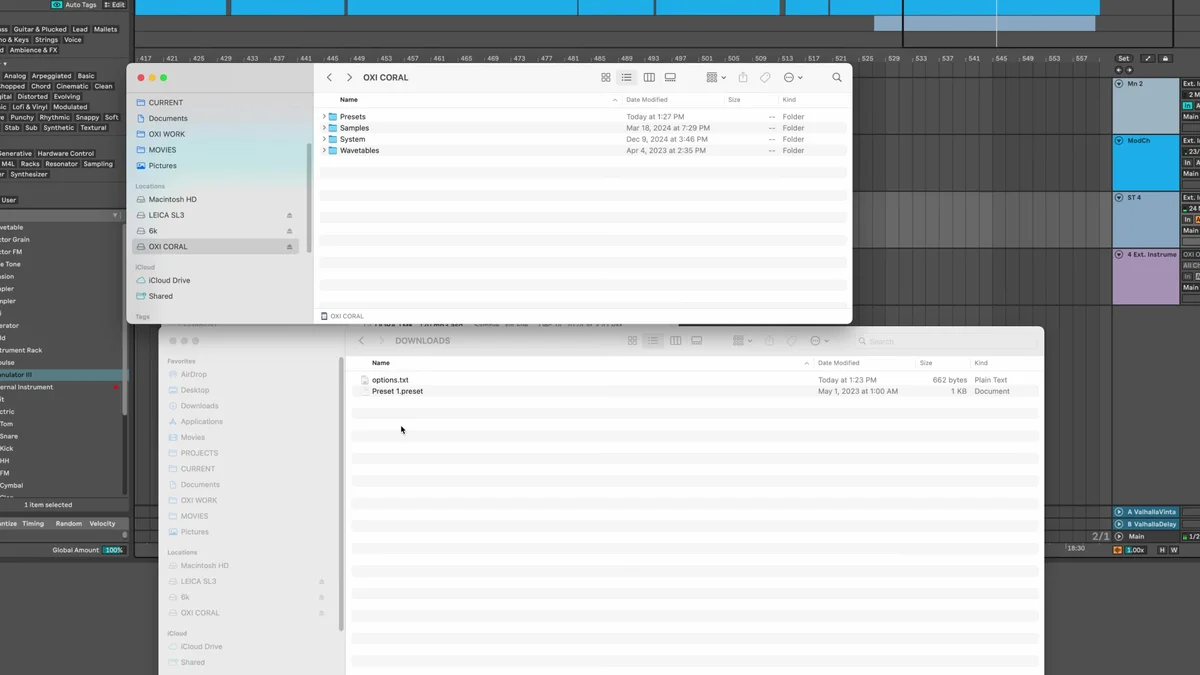
The SD card folder layout is as follows.
Preset files → copy to the
coral/presets/folderoptions.txt → copy to the
coral/system/folder
Once the copy is done, put the SD card back into Coral. To load a preset, tap the encoder once to open the Load screen, select the target slot, and tap to confirm.
The options.txt settings take effect after you power-cycle Coral.
Drum Machine Setup
The Configurator app is also handy if you want to use Coral as an 8-voice drum machine. The video walks through a setup using the Drums firmware, which includes the drum engines.
In the app's dropdown, select Drums (or any version that includes drum engines, like Drums Acid 3VCO).
Next, drag all 8 voices down to the lower area. This creates 8 independent parts, with MIDI channels 1–8 assigned to each.
Then assign a drum engine to each voice. You combine the drum-specific engines like Kick Model, Snare Synth, and Hi Hat Synth.
Save the preset and write it to the SD card, and Coral is ready to use as a drum machine the moment you power it on. Send patterns from an external sequencer to each MIDI channel, and you have a setup that plays chords, bass, and drums simultaneously on a single unit.
Tips
Check the firmware first: Before configuring anything in the app, confirm which firmware version is loaded on your Coral. If the versions don't match, you'll end up setting engines that aren't actually available
Customizing MIDI channels: You can change the MIDI channels the app auto-assigns. Aligning them with your external sequencer's track numbers makes everything more intuitive to manage
Per-voice engine settings: Assigning different engines to individual voices within a part lets you stack multiple sound sources into a layered tone. Even with just one part, you can get a wide range of timbres
Putting options.txt to use: With things like
delena 1to enable delay, ormpeena 1to support MPE controllers, you can customize Coral's behavior to match your setup
The Configurator app lets you handle the entire flow — from designing a multi-part structure to writing it onto the SD card — visually on your PC. The basic workflow of dragging voices to build parts, assigning engines, and saving is incredibly helpful when you're first getting started with Coral too.
OXI Coral Product Details
See the OXI Coral product details below.
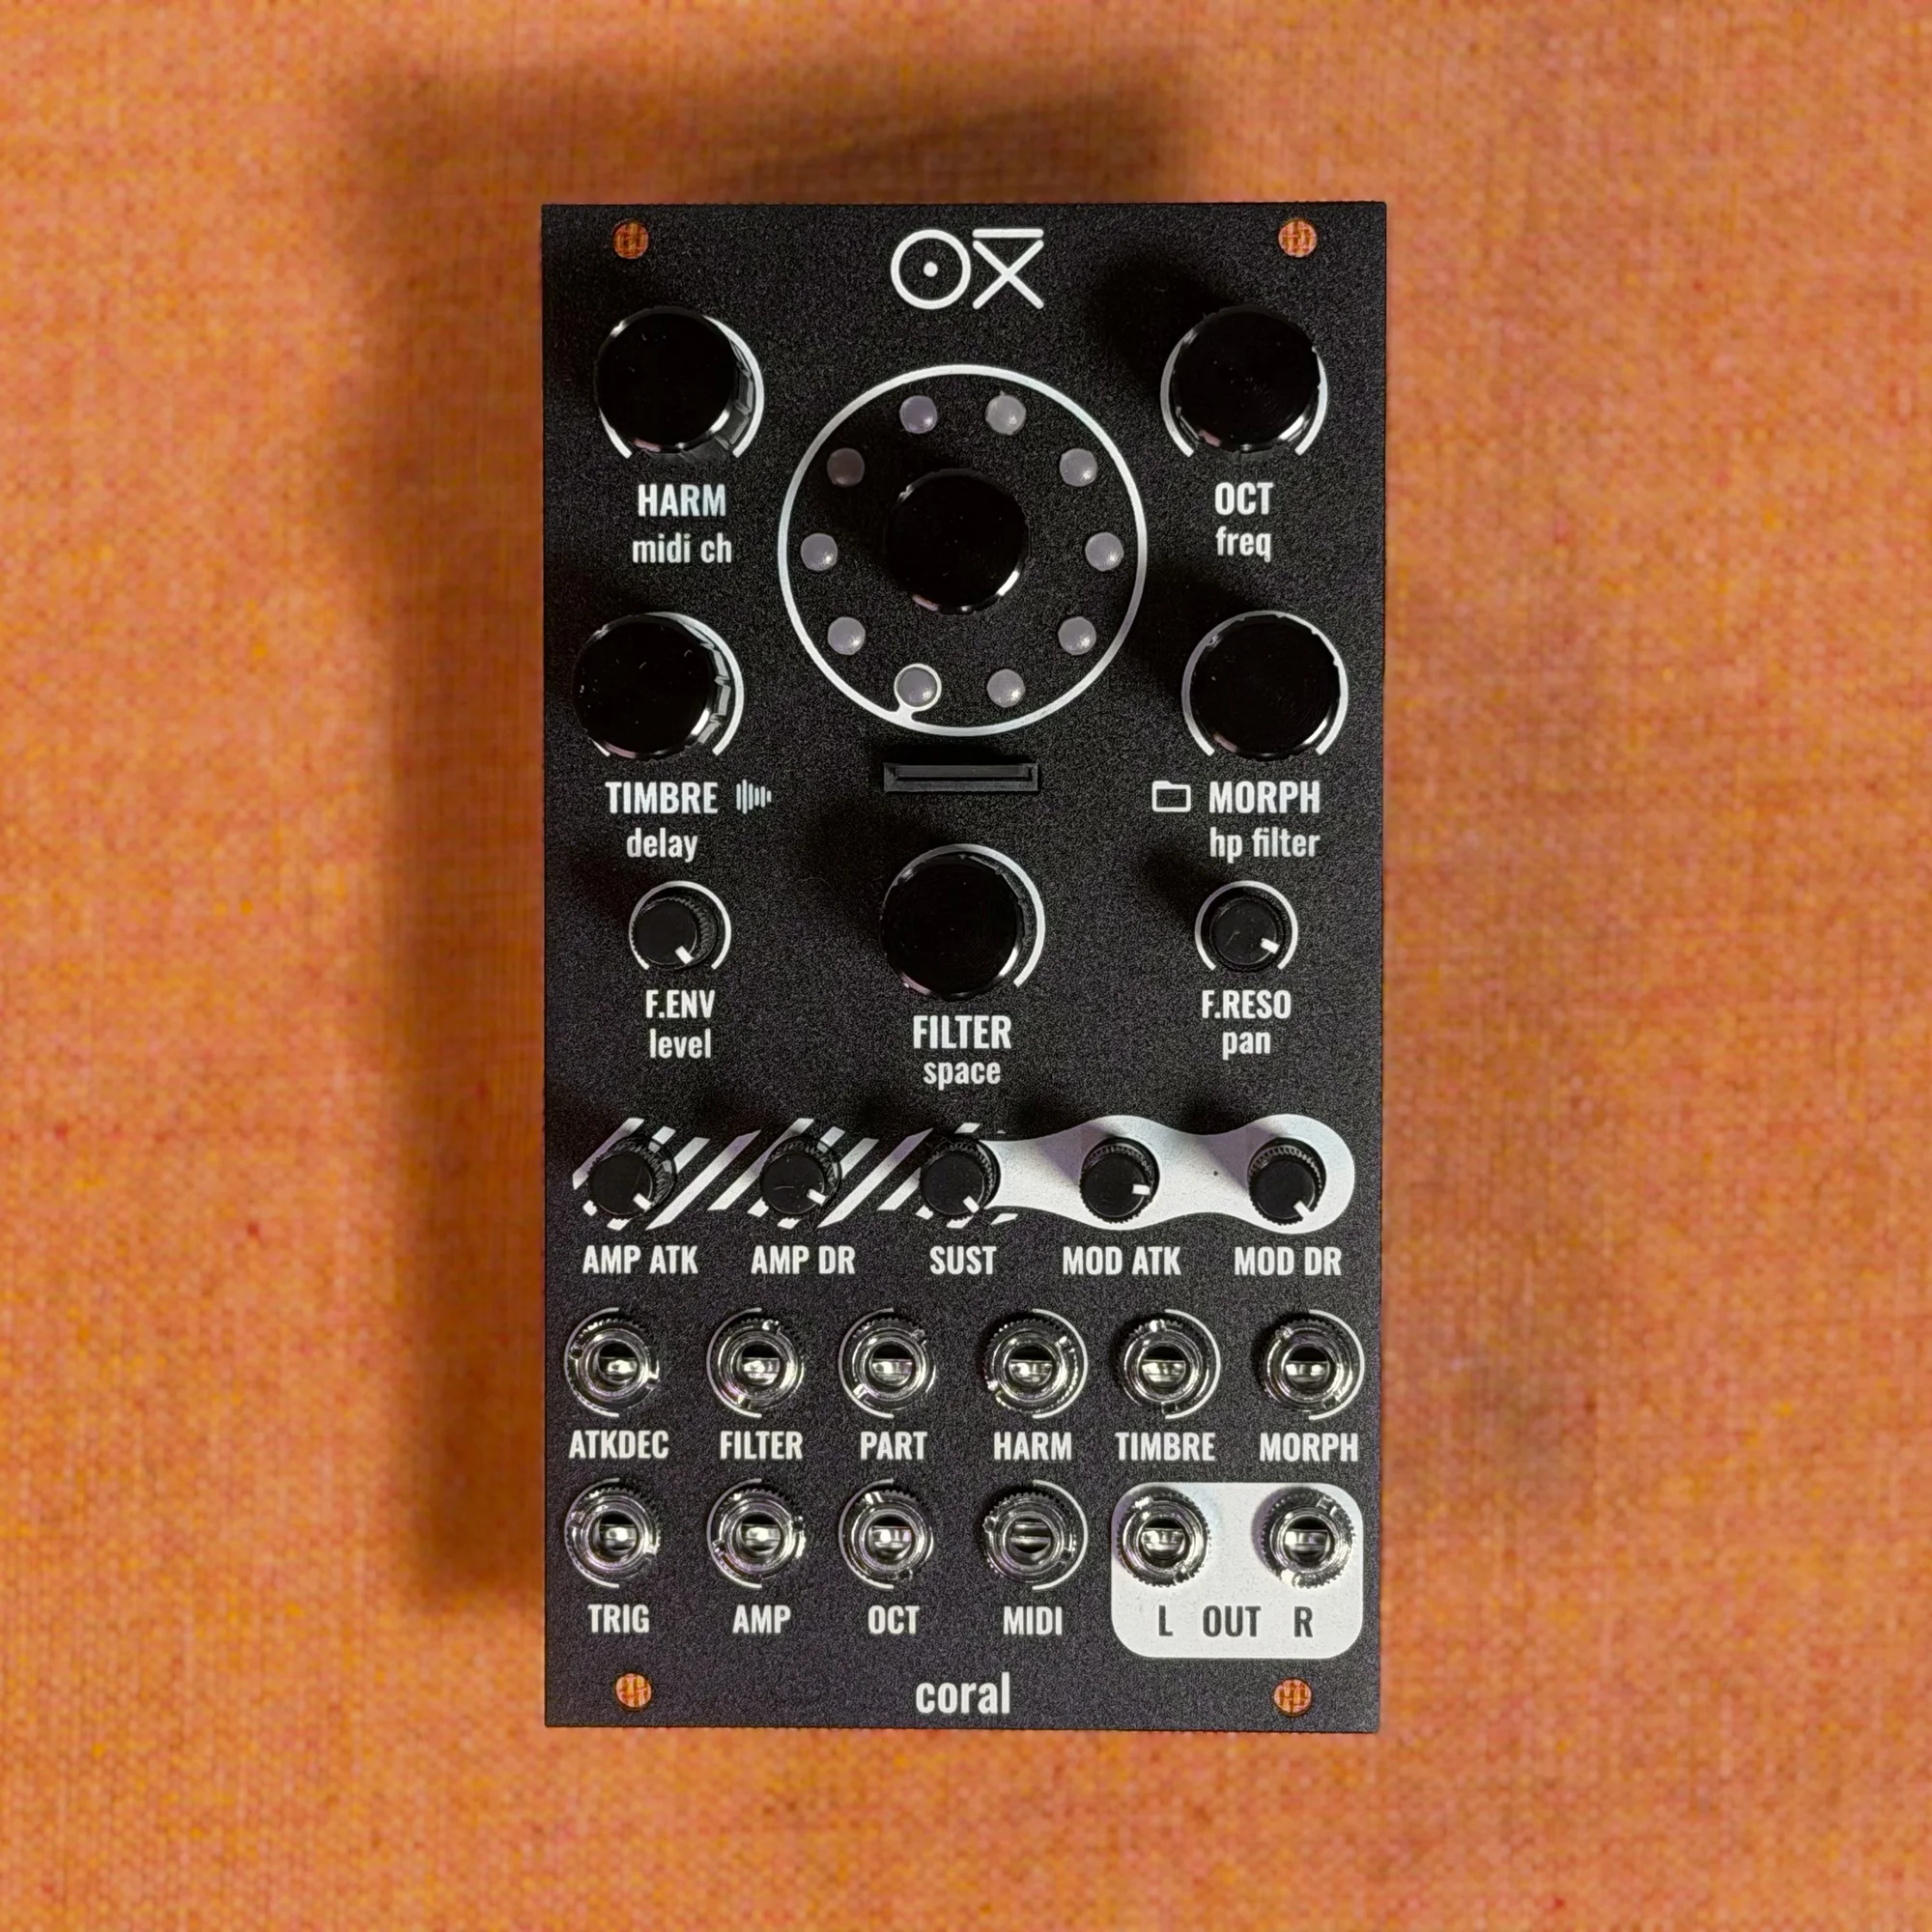
8-voice multitimbral polysynth module in 14HP. Combines synth, sampler, and drum functions with a low-pass filter, chorus and reverb effects, custom wavetables, and multiple firmware options.
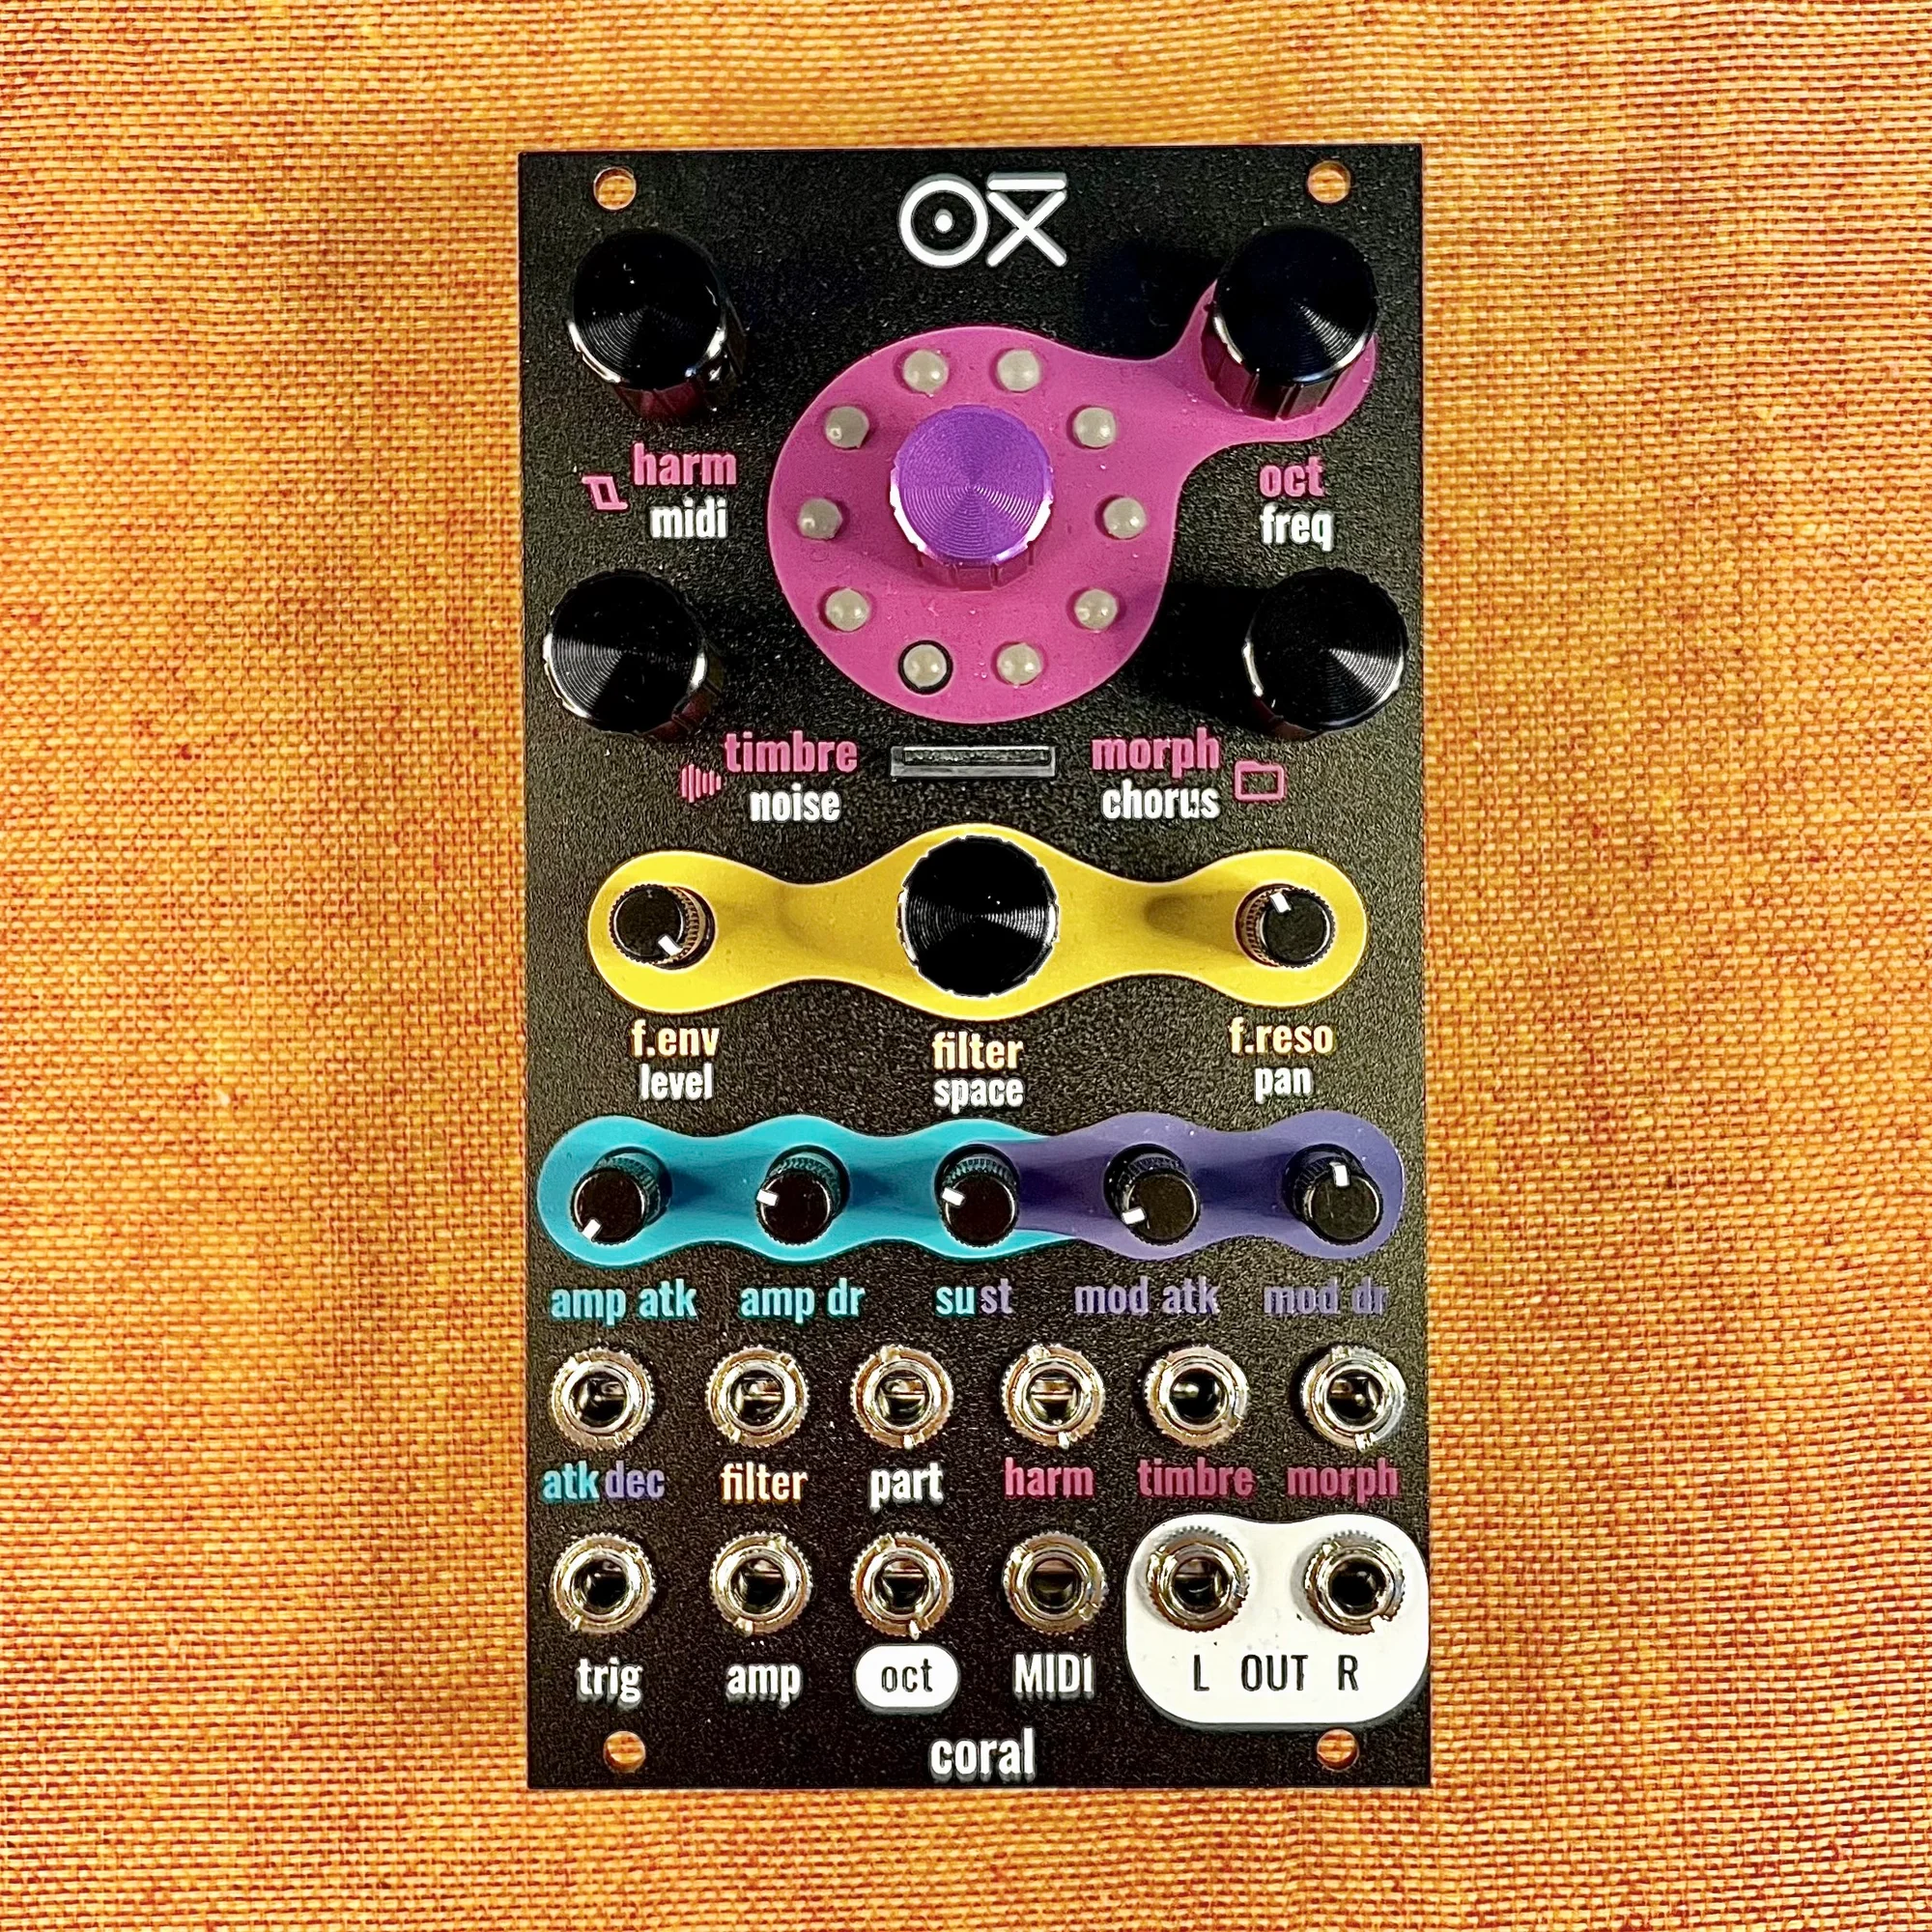
8-voice multitimbral polysynth module in 14HP. Combines synth, sampler, and drum functions with a low-pass filter, chorus and reverb effects, custom wavetables, and multiple firmware options. Black edition.